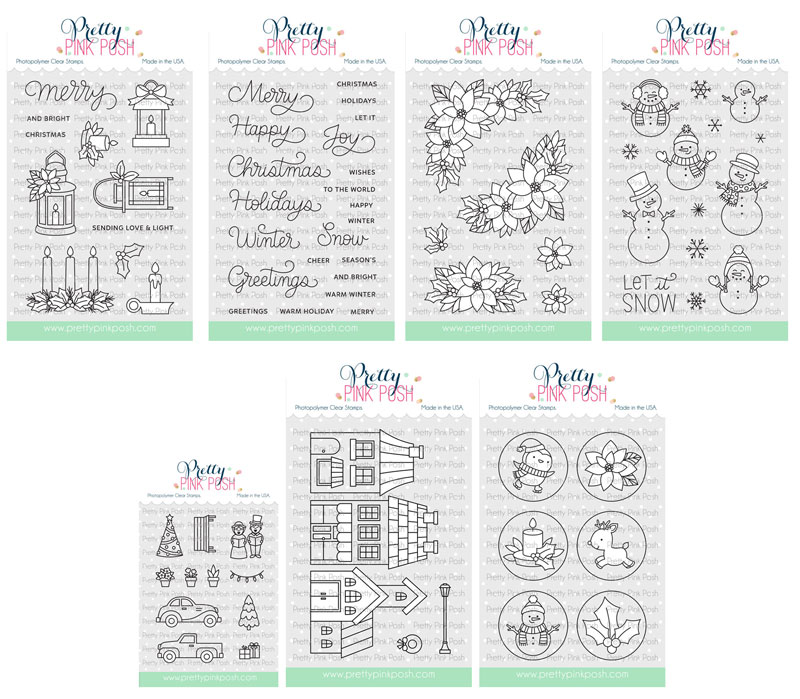
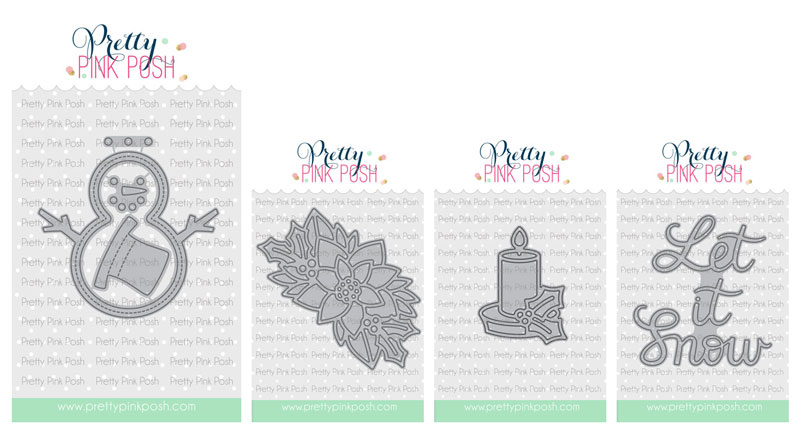
Whimsical Layered Ornament Backgrounds
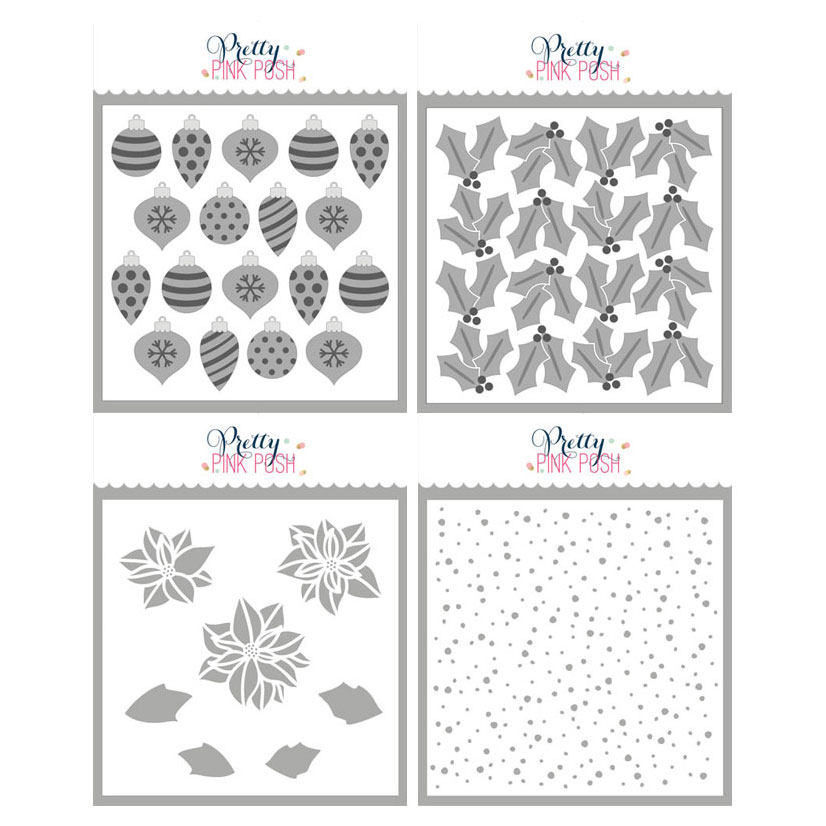
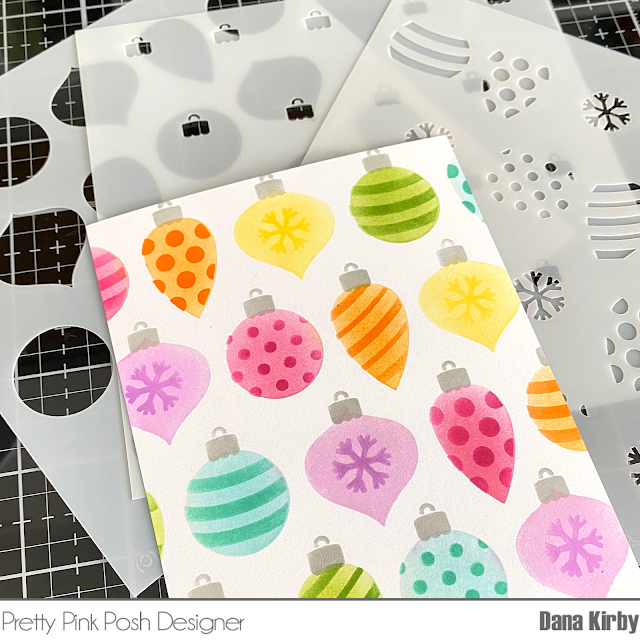
Good morning! It’s Lindsey here today to share a couple projects using the new Layered Ornaments Stencils. I LOVE this set! It’s very easy to align and the ornaments are so cute!
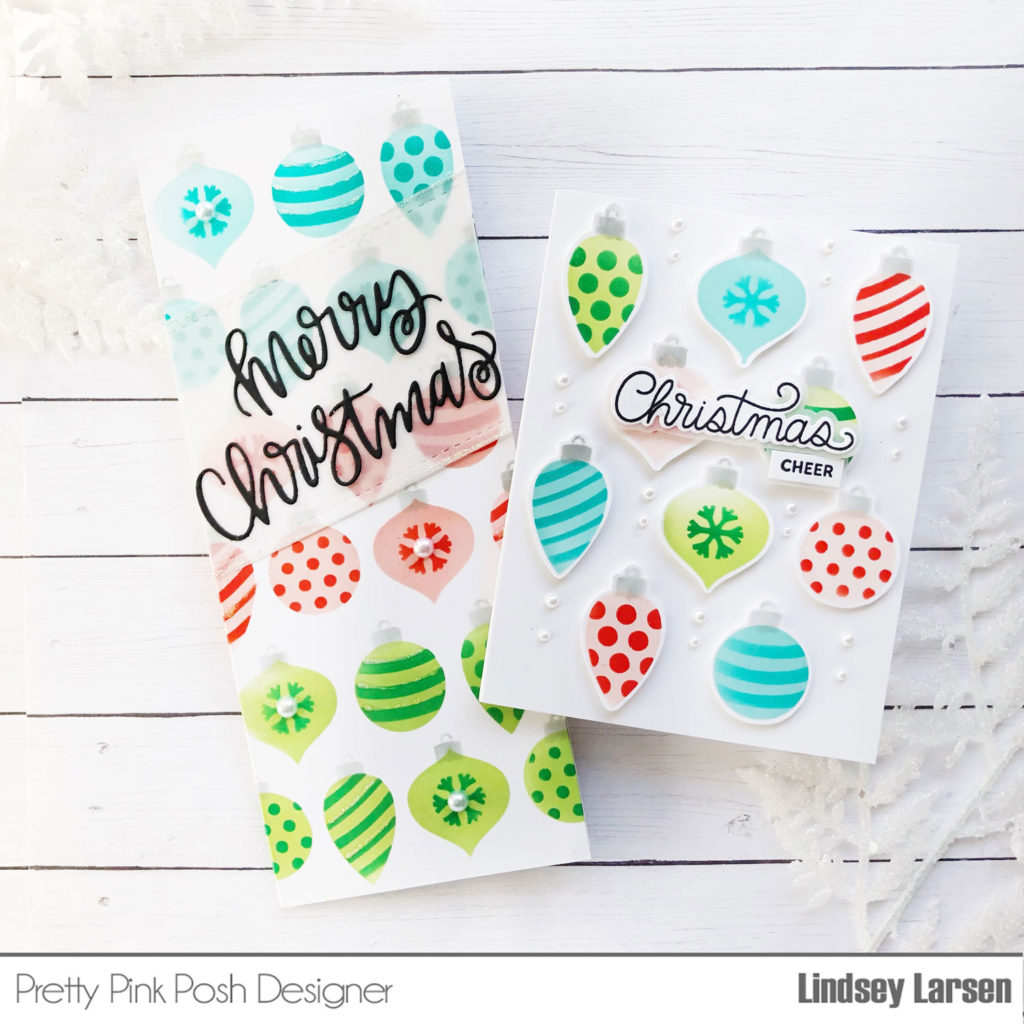
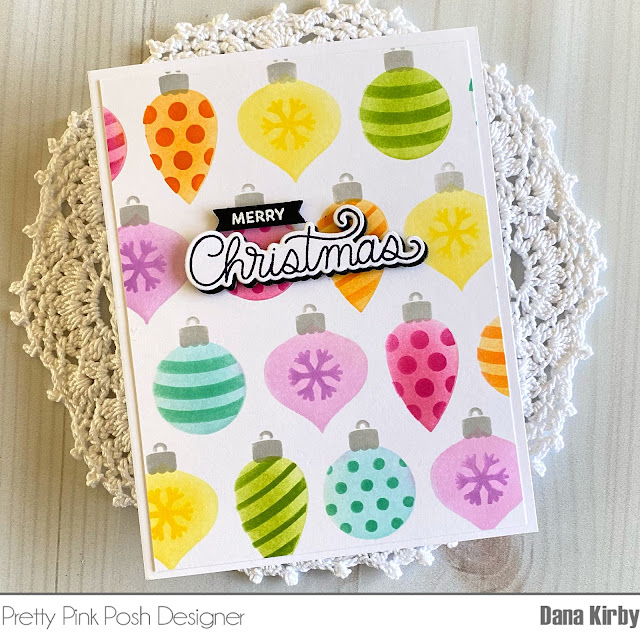
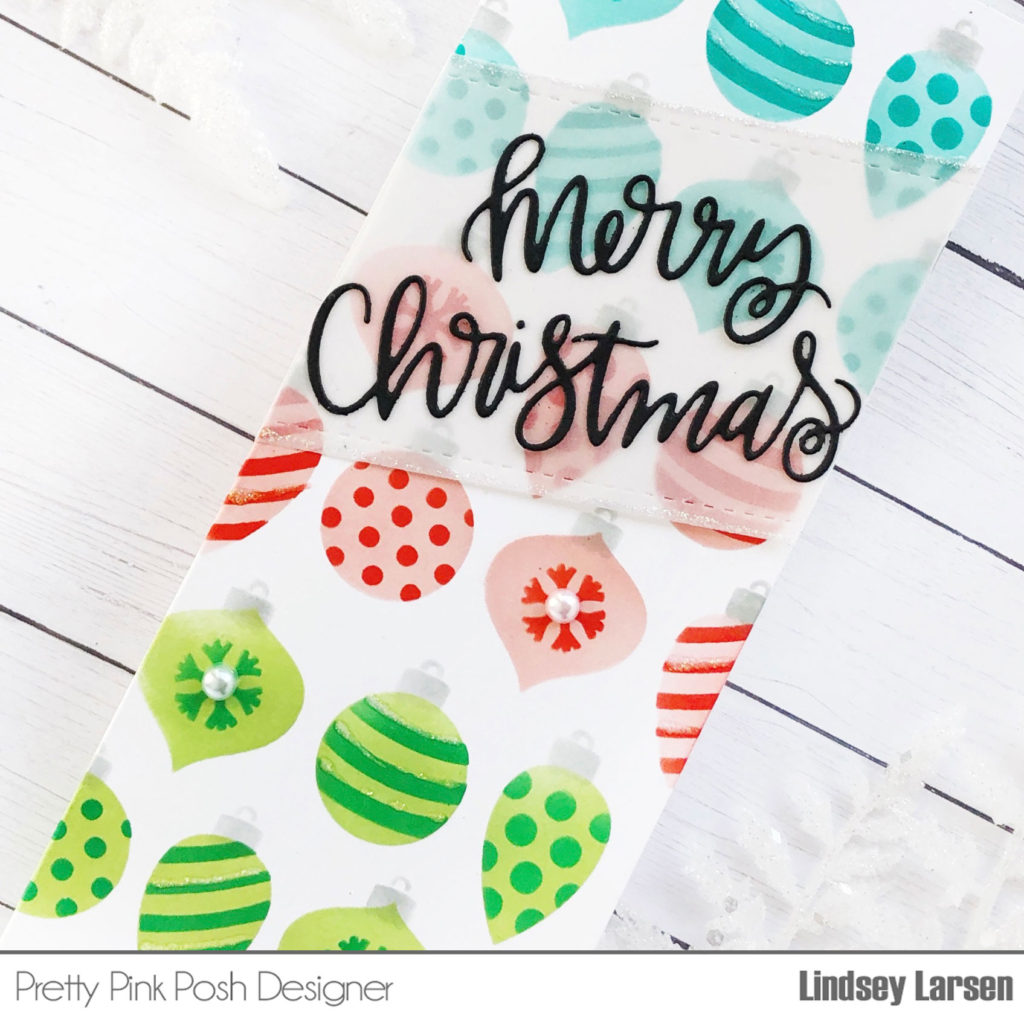
Stencils are a great way to fill space quickly, so I decided to make a slimline card. I blended the first two rows in aqua, the second two in pink, and then I moved my stencil down a bit to create a third set of rows in green. I added the ornament details in darker shades of each color using the second stencil in the set, and finally I added the ornament tops in grey with the third stencil layer.
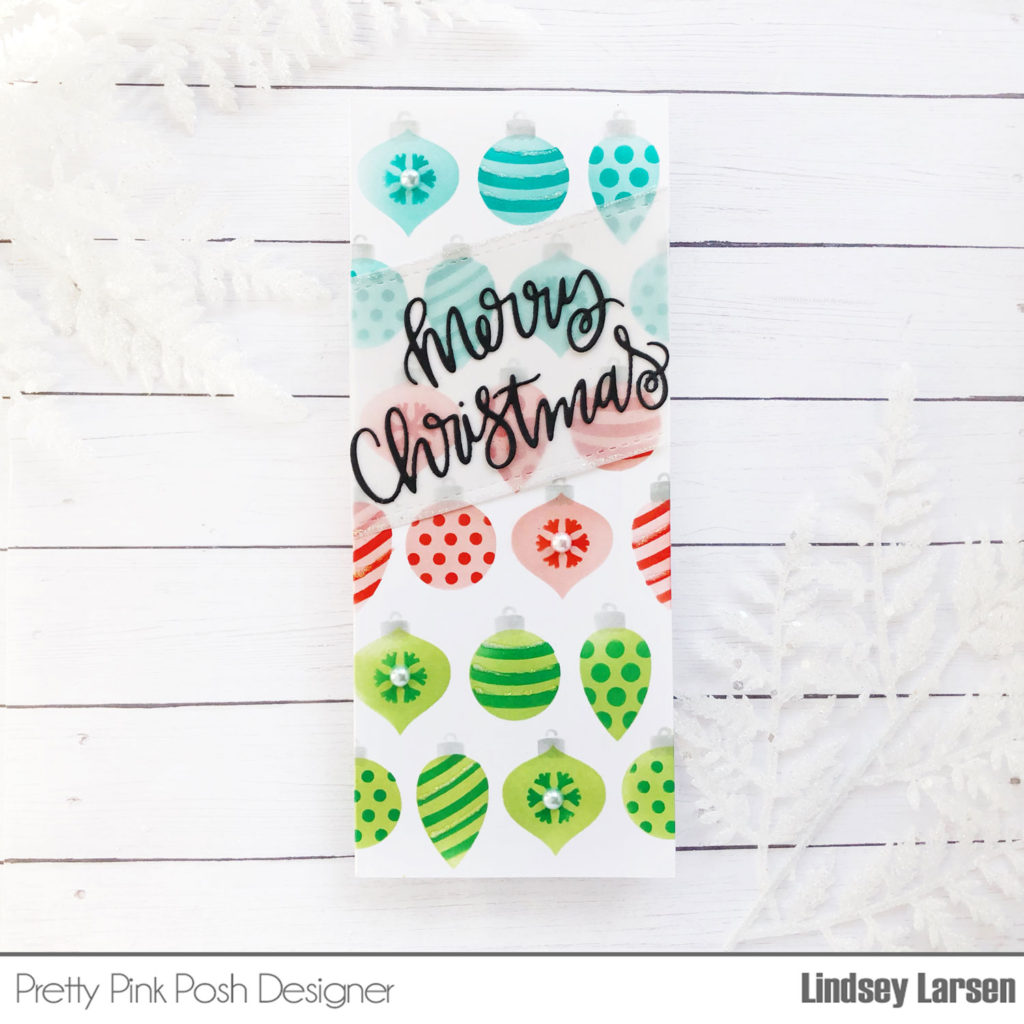
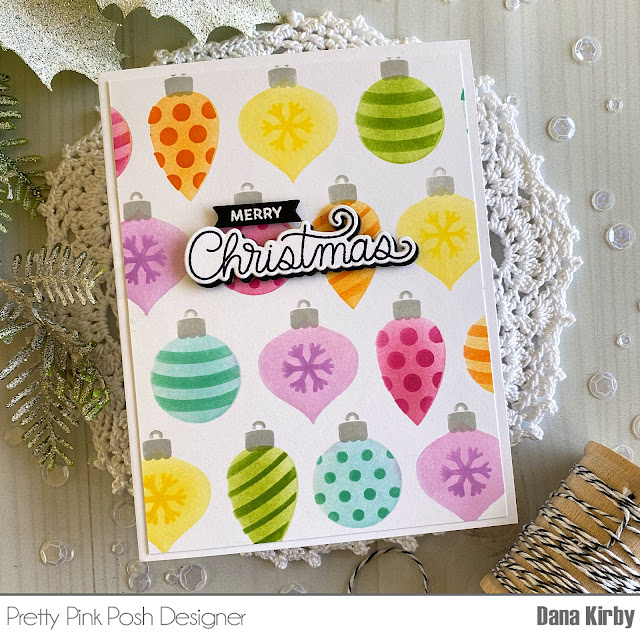
I wanted a sentiment that would still allow the ornaments to be visible, so I decided to use vellum. Cutting the vellum with the smallest frame in the Slimline: Peekaboo Windows Dies created stitched lines at the top and bottom of the sentiment strip. Then I simply cut the Merry Christmas Script Die in black, placed it on my vellum strip, and adhered it at an angle on my card.
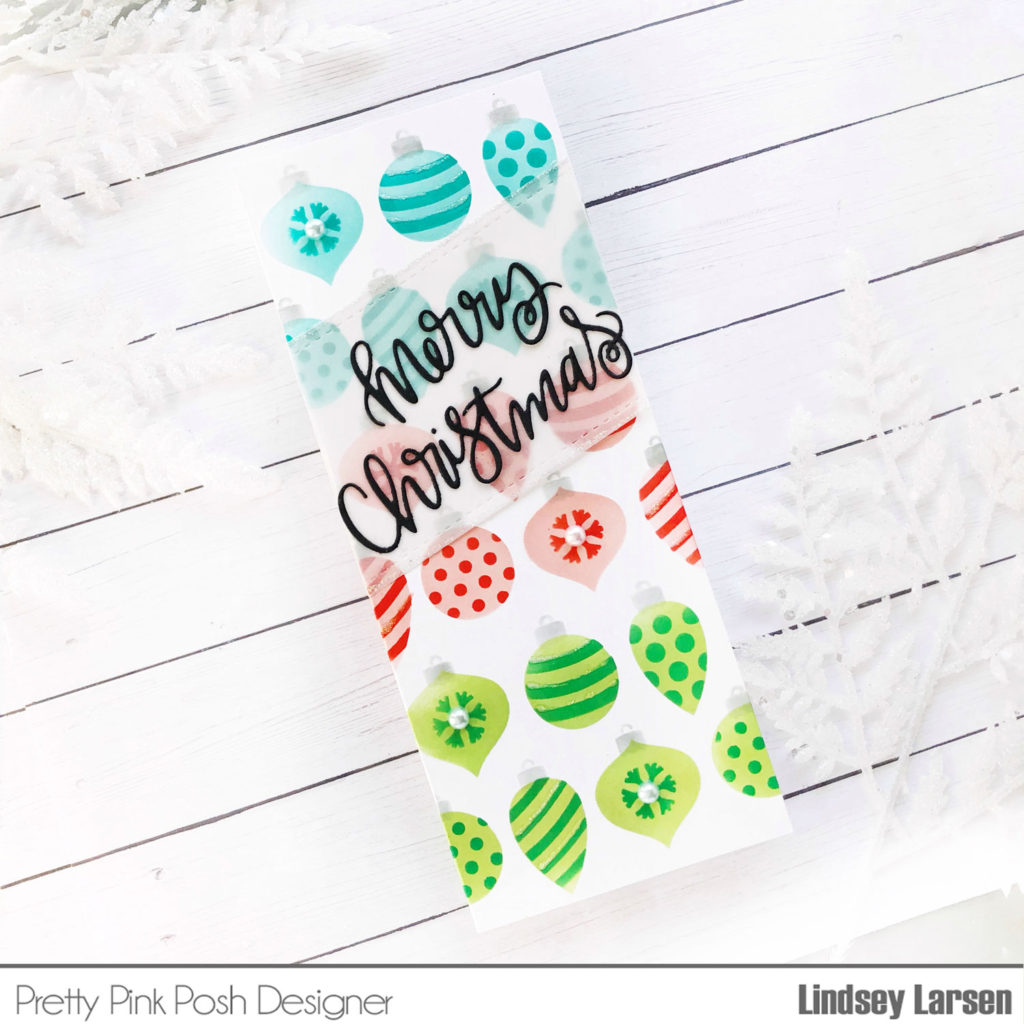
I could have stopped there, but recently when I was cleaning out some crafty supplies I found a bottle of glitter glue, and now seemed like a good time to use it. I added glitter lines to the top and bottom of my sentiment strip as well as various stripes on the ornaments. A little sparkle made the ornaments even cuter! The final touch was a few marshmallow pearls in the snowflake centers.
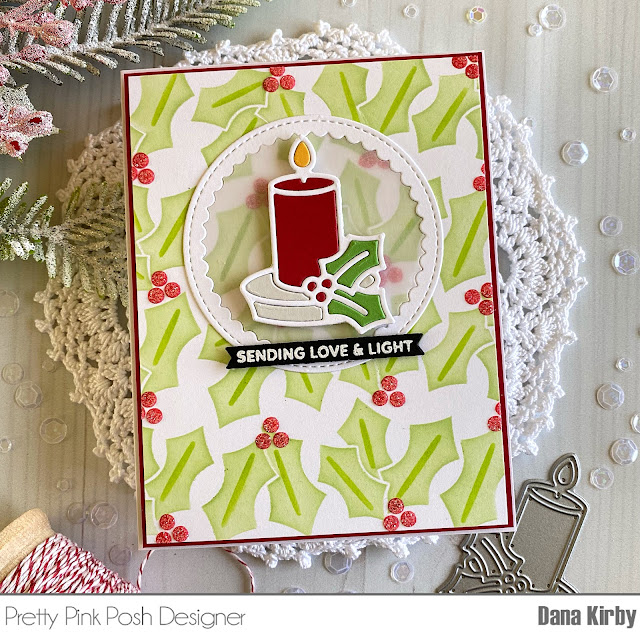
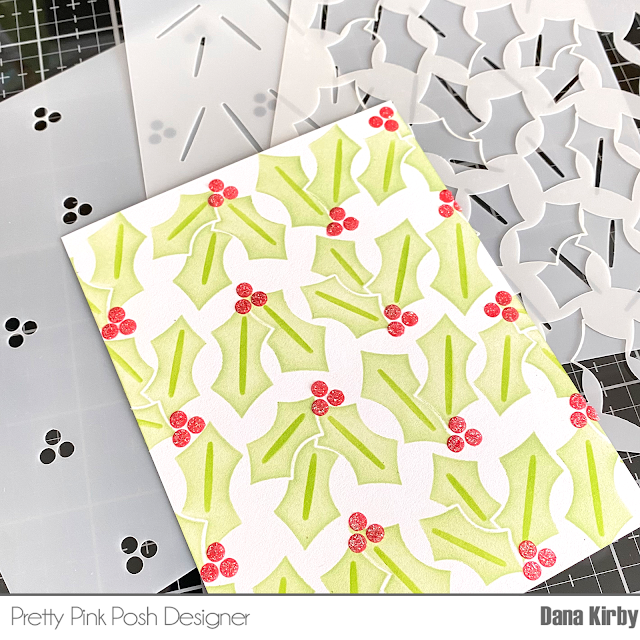
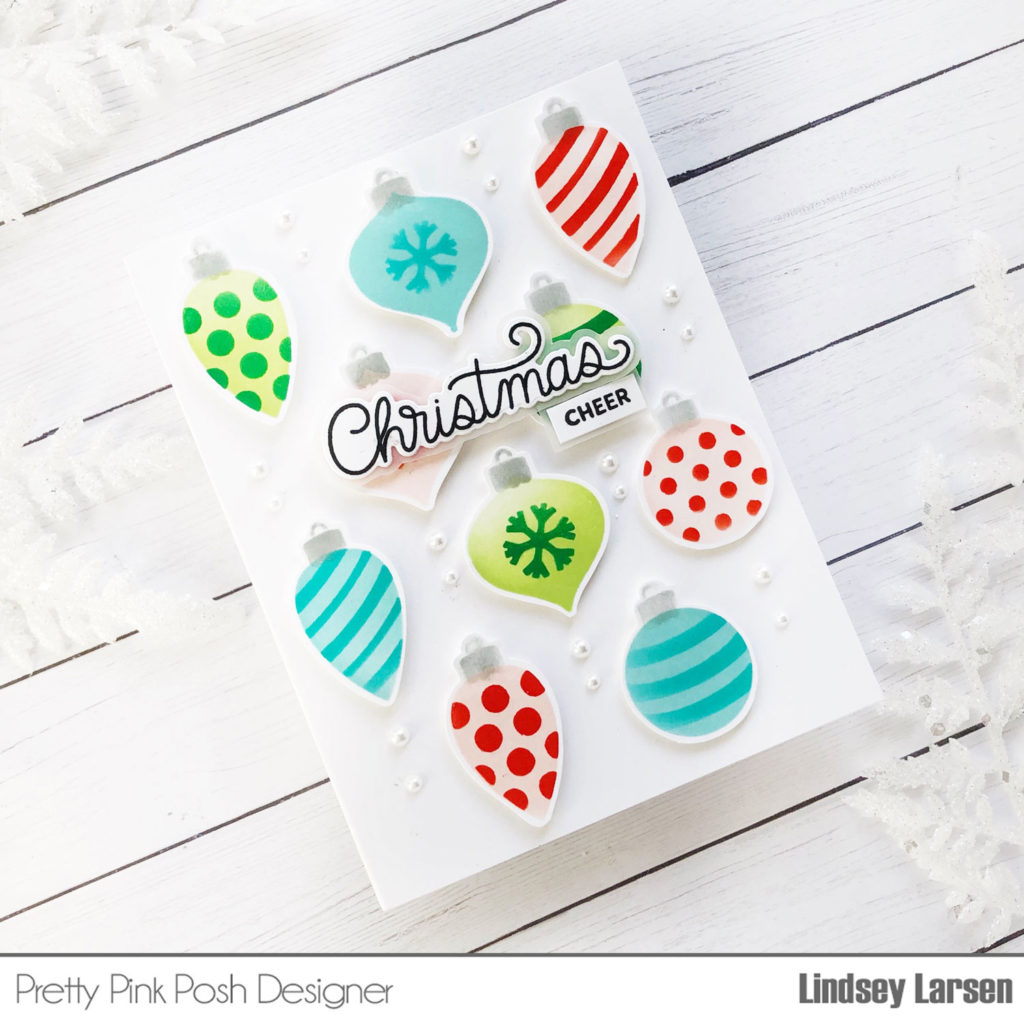
With the same supplies out, I got to work on my second project. I knew I didn’t need as many ornaments, so I just randomly stenciled some of the Layered Ornaments in the turquoise, green, and pink/red combos. Then I trimmed them out with scissors and arranged them on my card, popping them up with a bit of foam tape for dimension.
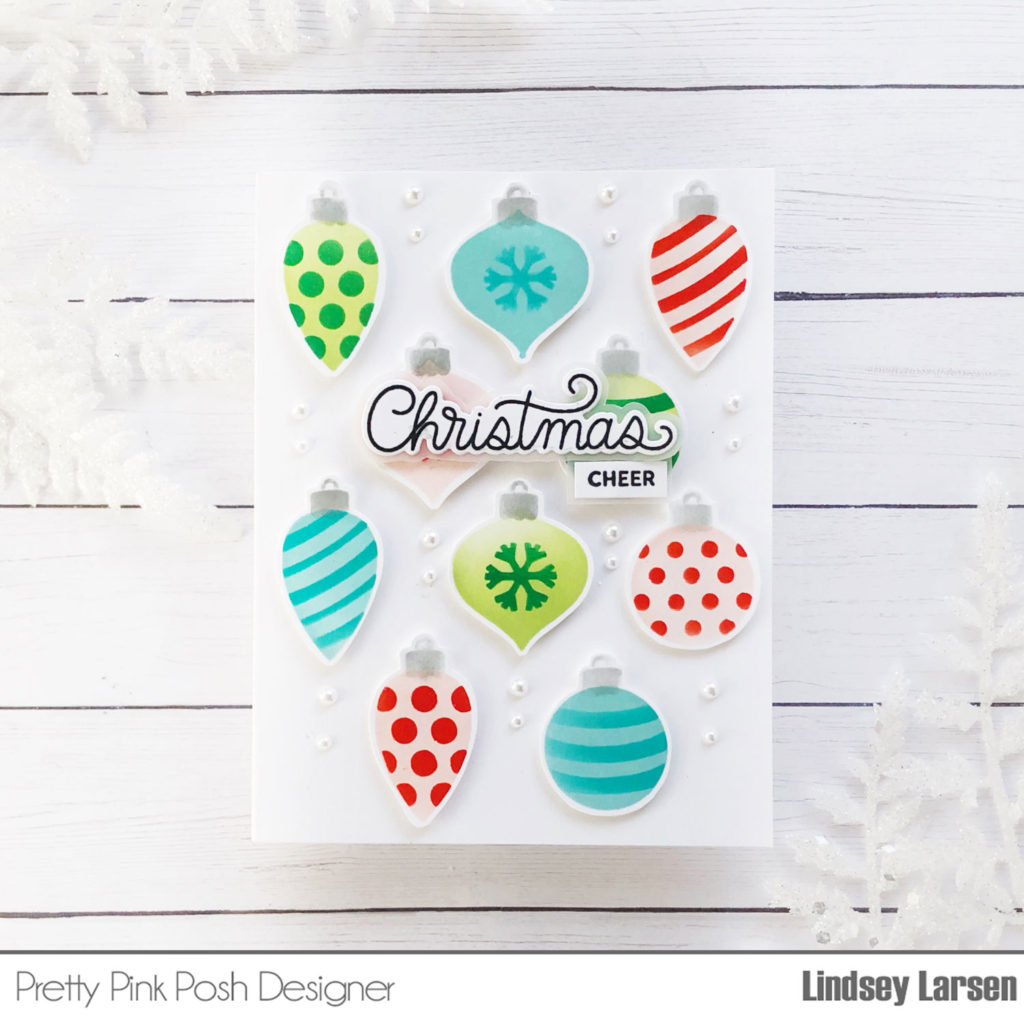
I filled in some of the open white space with the two smallest sizes of marshmallow pearls…because, why not? :) I used the Holiday Scripts stamps + coordinating dies (love them!) for my sentiment. I even snuck the vellum on this card, too, by backing the sentiment with an added layer of vellum.
There are SO MANY possibilities with the new Layered Ornaments Stencils. I’ll definitely be using them again and again. Thanks so much for visiting today! We can’t wait to see what you create with these new stencils.