
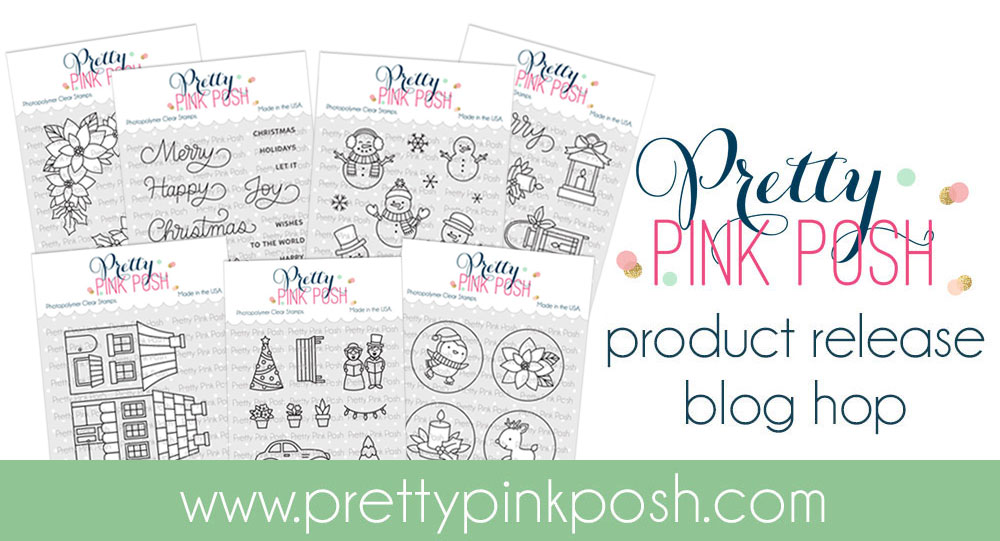
Day 3: Blog Hop + Holiday Release Now Available
If you missed Day 1 CLICK HERE // If you missed Day 2 CLICK HERE
Hey friends! Elaine here today from @pinkpeppermint cards. A new Pretty Pink Posh release is here and I have a super fun and festive project to share with you. Go ahead and grab a coffee and join us for a fun blog hop showcasing lots of fun inspiration using the new release plus a chance to win a prize!
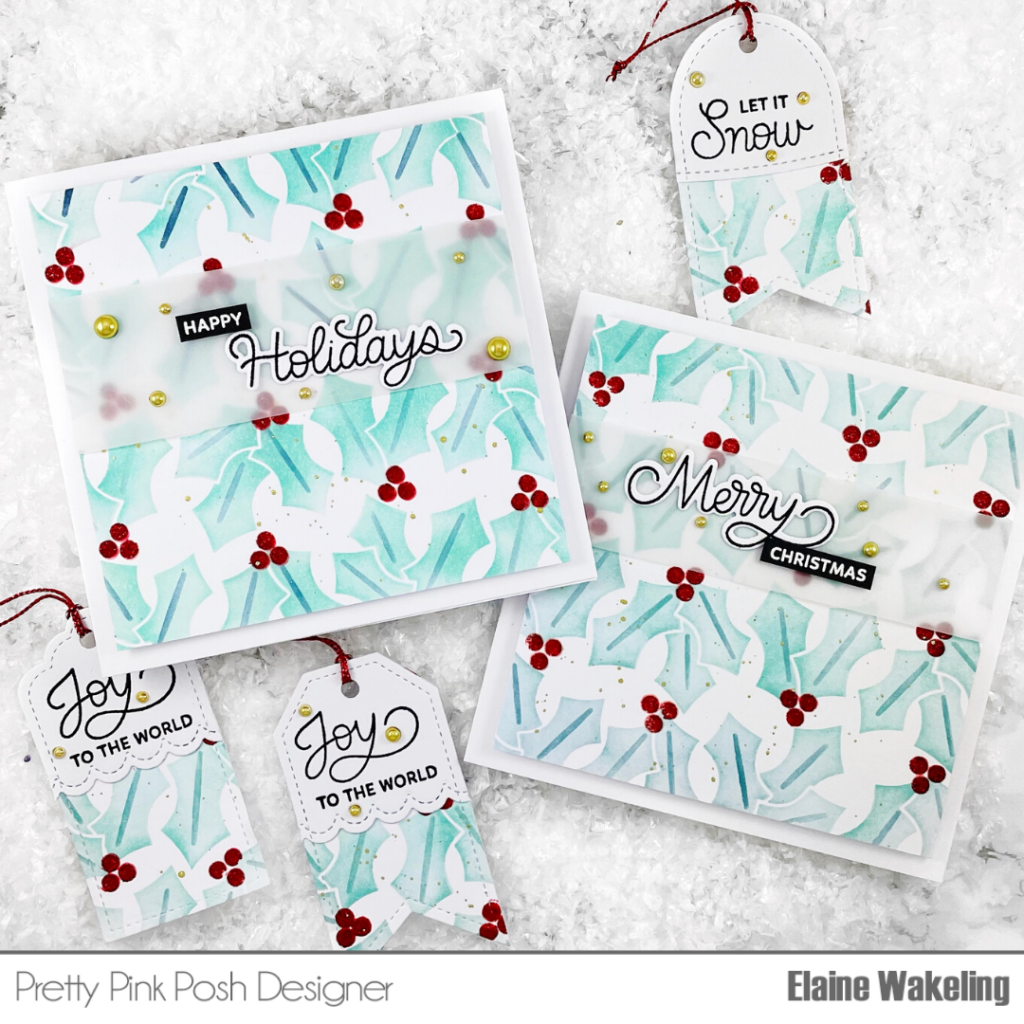
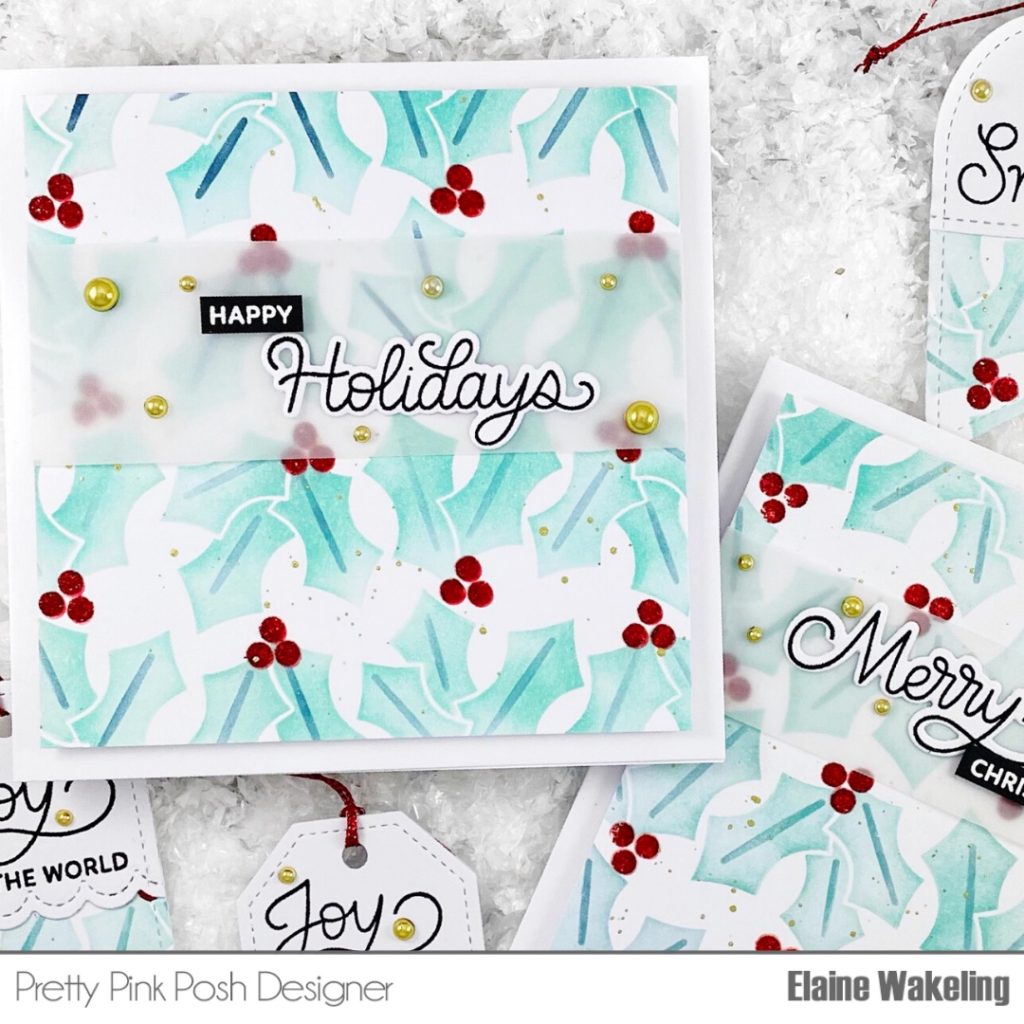
To start my project I took 4 pieces of heavyweight white card cut to 6”x6”. Taking the Layered Holly Stencil I took stencil B and ink blended on the holly leaves in a green, teal shade all over each of the card panels. I then used stencil C to blend a slightly heavier layer of the same ink through the apertures to create the spines of the holly leaves. Lastly, took stencil A to apply a red ink through the holes to add berries to the panel. Before removing the stencil, I applied Nuvo Glimmer Paste in Sceptre Red to give some sparkle and added dimension. To add a little more interest to my card panels and add extra sparkle I splattered on some gold metallic paint over the top of the stencil pattern. I set all 4 panels aside to dry and thoroughly cleaned my stencils and paint brush.
While the panels were drying, I prepared my tags and sentiments. Firstly I die cut some tags from white card stock using the Stitched Essentials 1 die set. I used a border die from the Stitched Borders 1 die set and cut away the bottom half of each tag. For the tags, I added sentiments using the beautiful new Holiday Scripts stamp set in a black pigment ink. I also prepared the sentiments for my cards while my card panels were drying. I stamped the words ‘Merry’ and ‘Holidays’ on to white cardstock with a black pigment ink and used the Holiday Scripts coordinating dies to cut out the words. I also white heat embossed the words ‘Christmas’ and ‘Happy’ on to black cardstock and trimmed into thin strips.
Using a guillotine, I trimmed 2 of my holly stencilled panels down to 4.5” x 4.5”. I wrapped a strip of vellum around each card panel and adhered each end to the back with double sided adhesive. I put foam tape on the back of each panel and adhered each one to a white 5”x 5” side folding card base. I applied my pre prepared sentiments on to the vellum strip with liquid adhesive.
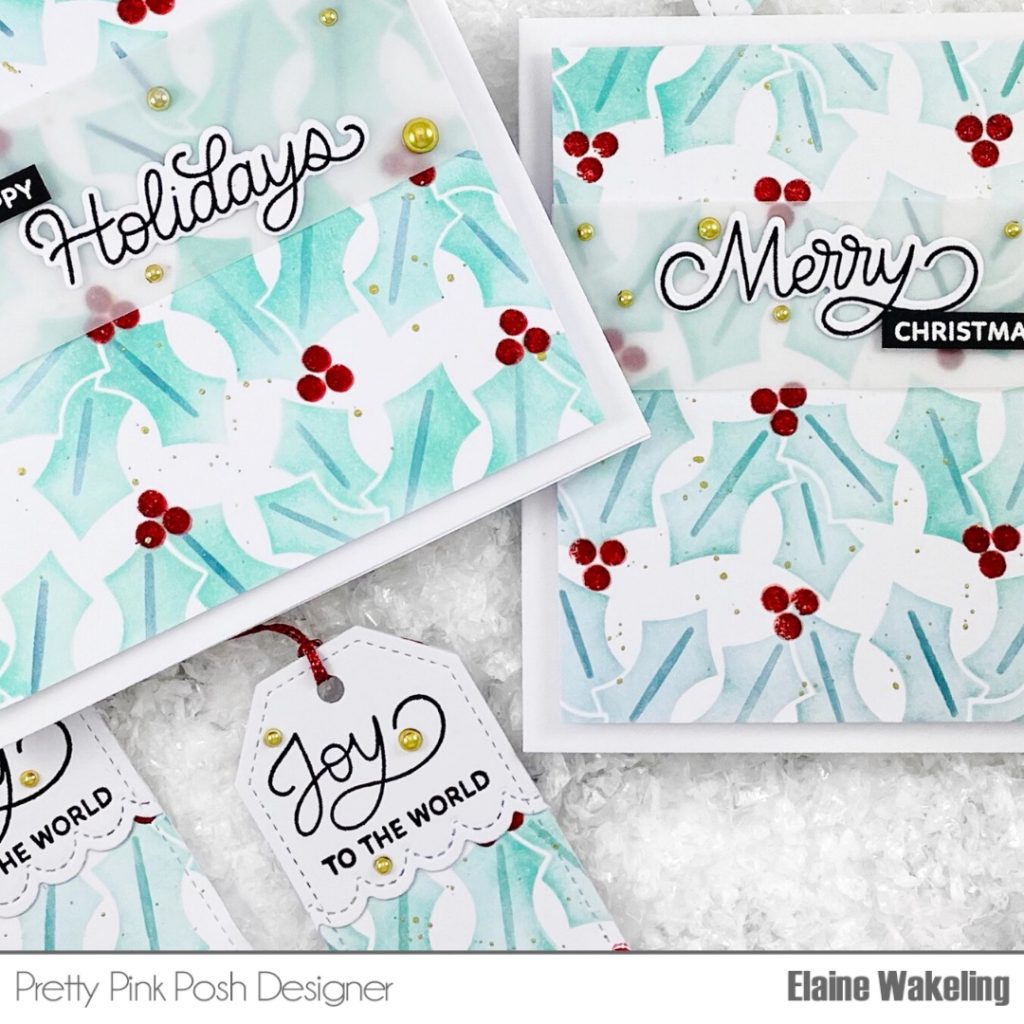
Taking the Stitched Essentials 1 die set again, I cut tags from the remaining holly blended panels. I adhered the stamped tag pieces over the top of the stencilled tags with liquid adhesive. I used a hole punch to add some holes to the tags and popped some red thread through the openings.
As a final embellishment on both the cards and tags I added some new Metallic Gold Pearls in various sizes using some liquid adhesive.
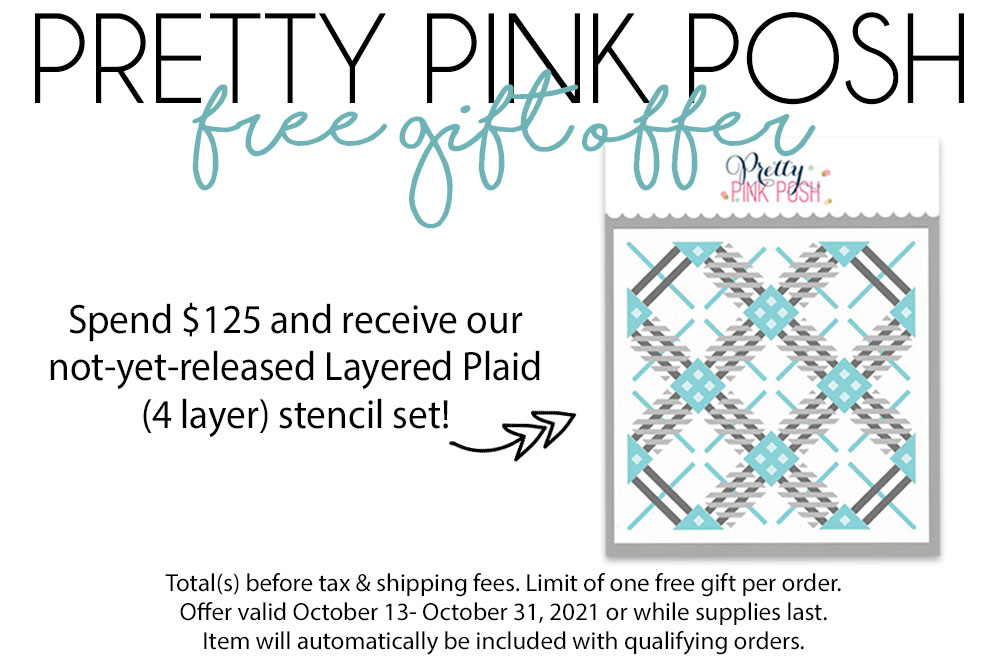
Did you hear the news? We’re giving away this not-yet-released 4 layer stencil called Layered Plaid with qualifying orders over $125. This is while supplies last and will automatically be included with orders.
PRIZES: be sure to leave comments on each stop. We are giving away 3 $25 gift certificates to three random comments (1 winner each day) left before October 19, 2021 at 11:59 PM PST. I’ll be announcing the winners next week, so be sure to return and see if you are one of the winners
Pretty Pink Posh blog << you are here
Mona Toth
Mindy Eggen
Melody Rupple
Ashley Ebben
Leica Palma
I hope you are inspired to create cards with the new products and were inspired by this three day blog hop! Thank you for hopping with us!
Oh Paulina!!! I just love this release! The stencils are my favorite! What a gorgeous card!
This is beautiful. I love the colors
The card and the tag are very striking. Love the red berries. Love the stamps with critters and flowers in the new release.
I love the large size of the images on the stencils, so that you could cut them out and pop them up on a card or scrapbook layout. Love this release!
These are so pretty! Love the teal shade!
Love the cards and matching tags. I also really like the teal and red combo. So fresh but classic.
I am so enjoying this hop! The release is awesome!
I am loving the stenciling. I like how the color changes from green to sort of a blue? NICE
So excited for this release. The holiday script sentiment are AWESOME!
LOve the soft color combo and those tags are adorable!
Love the stencils.
Gorgeous cards and tags! I love the minty colors and beautiful sentiments! Fabulous stencil set!
Gorgeous card! Love the stencils
Thanks for sharing
The teal holly leaves with shiny red berries really pops, and the gold pearls finish it beautifully. Love the tags also!
Beautiful card. The layered stencil sets in this release are amazing!
The DT has done an amazing job of showcasing such a gorgeous release. Love it all!
Cute coordinated set!
A wonderful release highlighted by these gorgeous cards!
Holly is so quintessentially perfect for Xmas. It has the green and the red and it’s an easy shape to replicate. These stencils are a home run. Love what I am seeing!!
Lori S in PA
Love the colors!
pretty cards and tags!
I love this new release and have to say stencils are my favorite!
Thanks for sharing.
Pretty
Such pretty cards and tags. Love how you used the stencils!
What a gorgeous set!!! I love all this inspiration!
I like the colors you used with the new stencil!
Looking forward to day #3 inspiration!
I love, love, love holly! So beautiful!
Very nice card with that layering stencil. So beautiful!
Beautiful cards! :)
Love this technique. Would love to be able to create cards like this. Just beautiful.
Gorgeous! I love the teal colors with the the sparkly red berries. So festive!
I love them all. Want them all, unfortunately I can’t afford them all.. Although ’ll do my best To get them.
thank you for being great designers.,
BJ Clark
I love them all and want them all just can’t afford them but I’m gonna do my best to get them.
Such a great release!
Love the tags. This gave me the urge to go make some myself. <3
What a great release! Love it all.
Great stencil. Love your card. Thank you for sharing.
These card’s and tag’s are just too cute I’m loving how this new Layered Holly Stencil looks in action and I’m loving this new release
I just adore this wonderful new release!! This beautiful holly stencil is amazing!! Thanks so much for the great inspiration. Stay safe! :)
Love layering stencils and PPP products always. A perfect combo
This is beautiful! I love it!
Elaine, your card and tag set are charming!!! Thank for the inspiration :)
Love the simplicity of this card! Such a great design to mass produce!