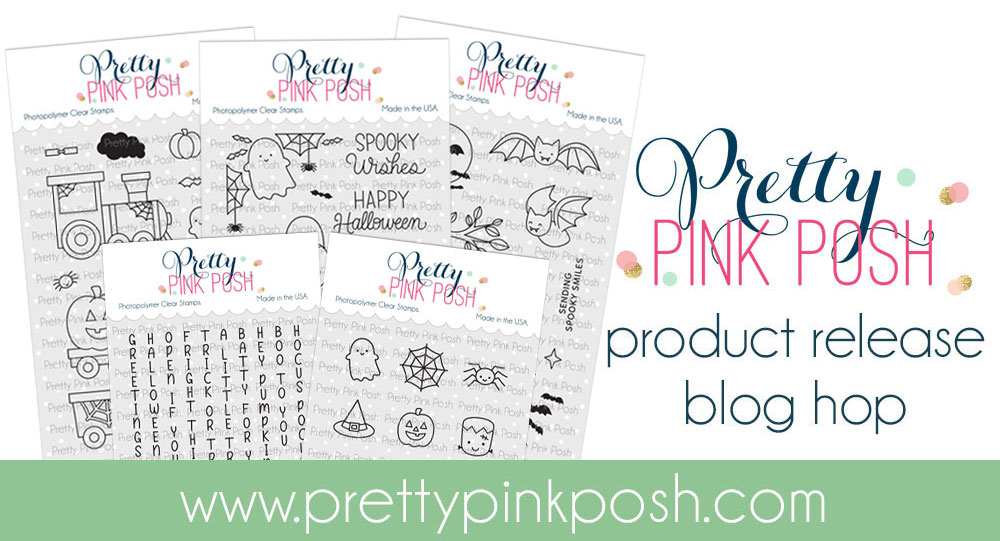
Halloween Theme Week- Day 4
**All items in the Halloween section are 15% off during theme week**
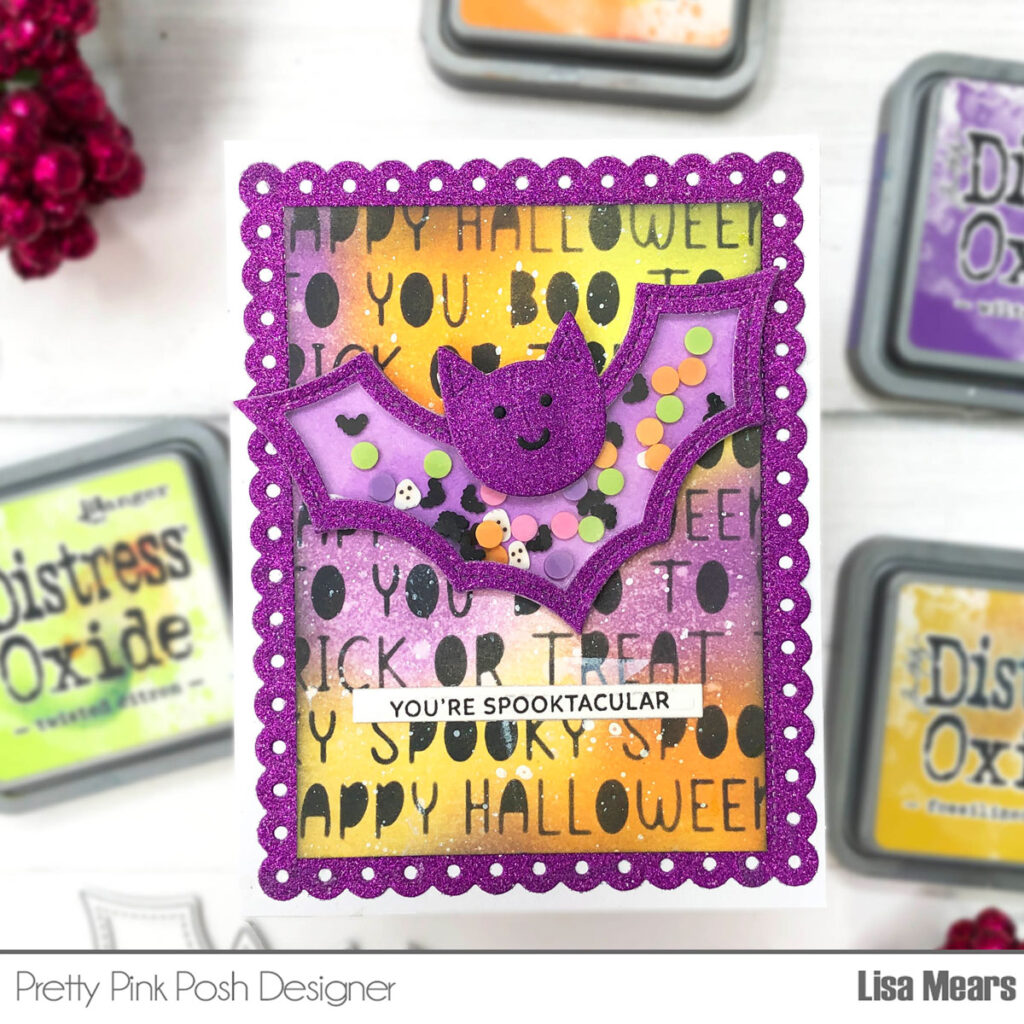
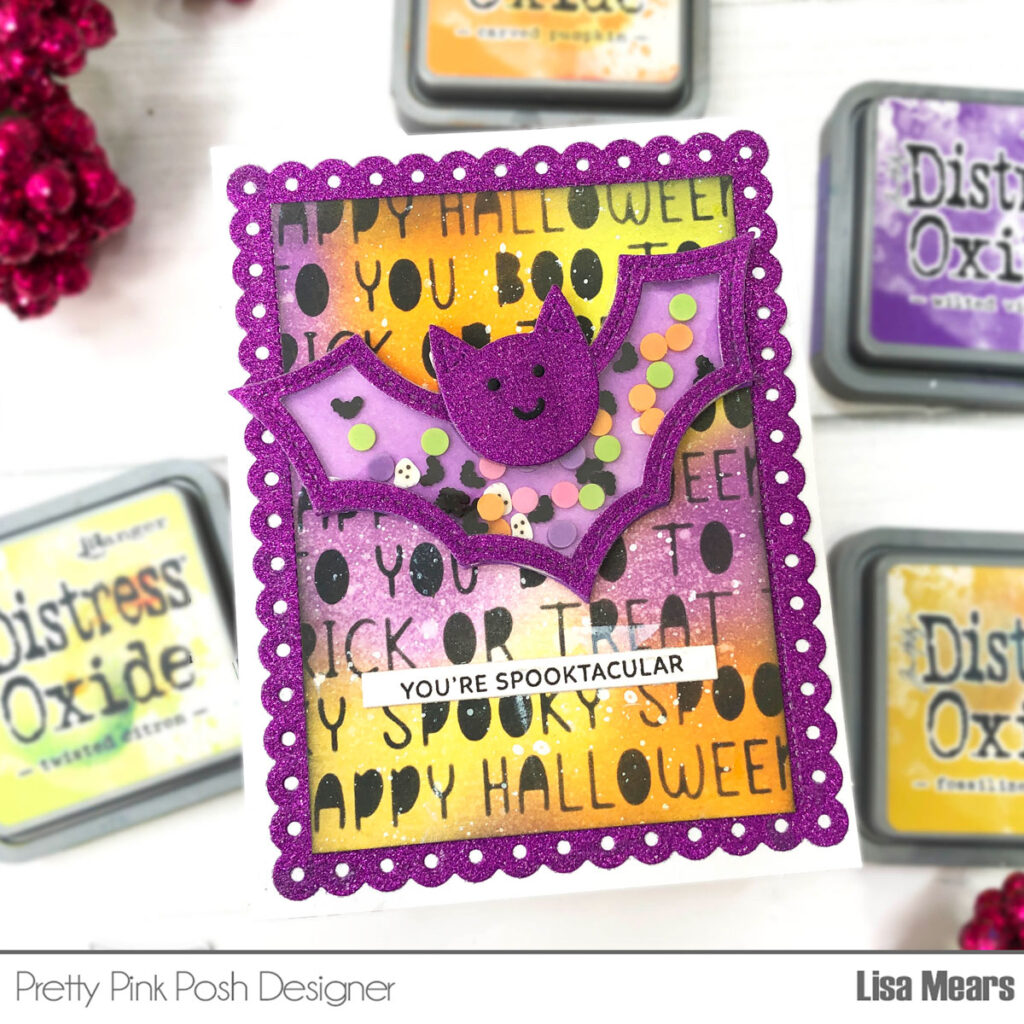
Hello crafty friends. It’s Lisa Mears on the blog today. If you enjoy handing out treats for Halloween, here’s a creative twist to make it even more special.
In my video, I’ll walk you through the steps to create these candy buckets for your spooky celebrations!
Watch the video above I Watch the video in HD on YouTube
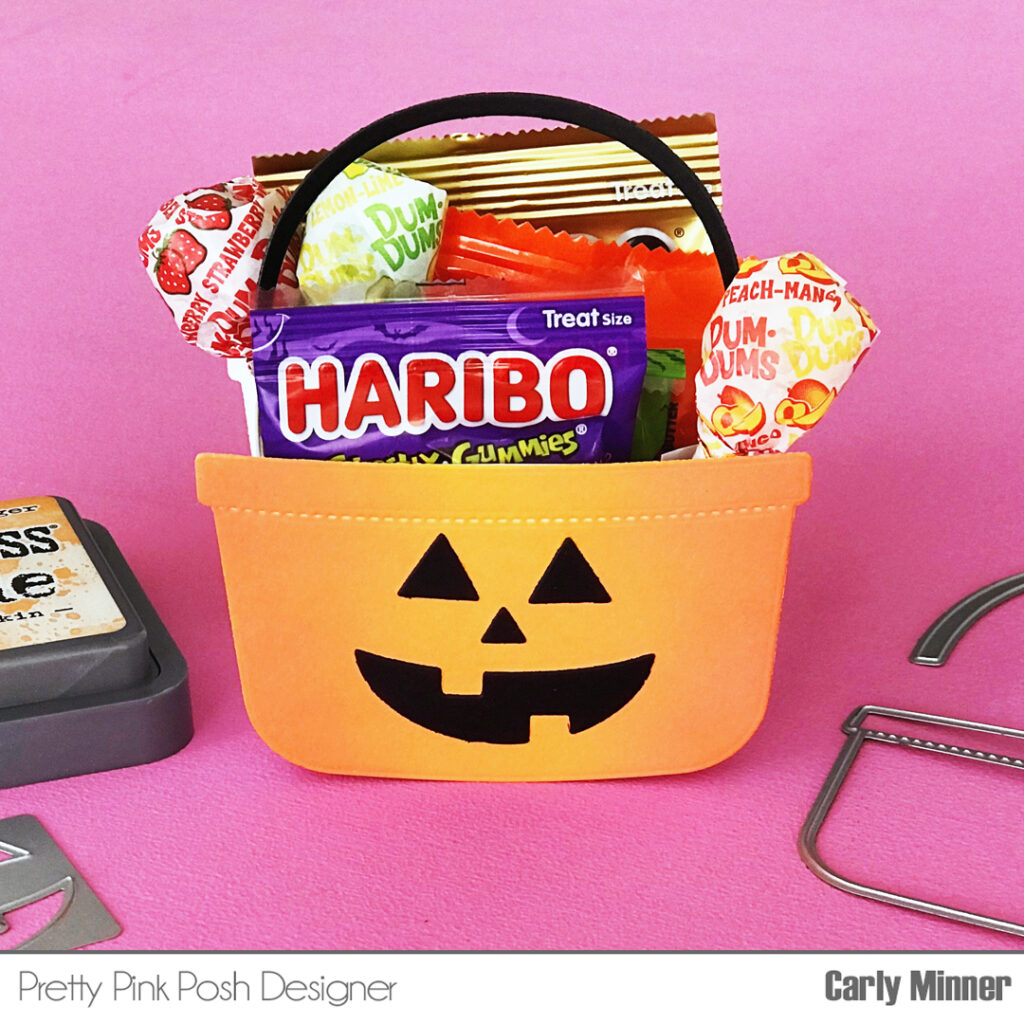
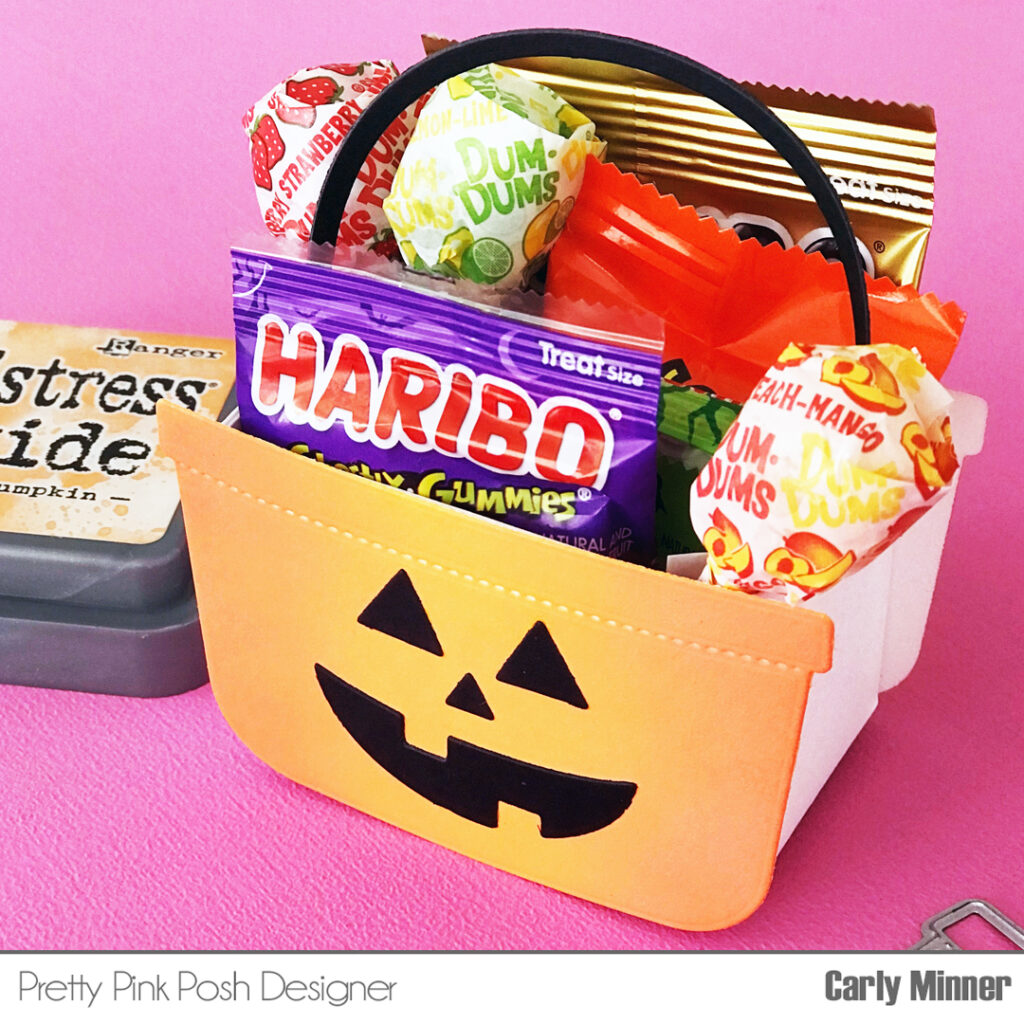
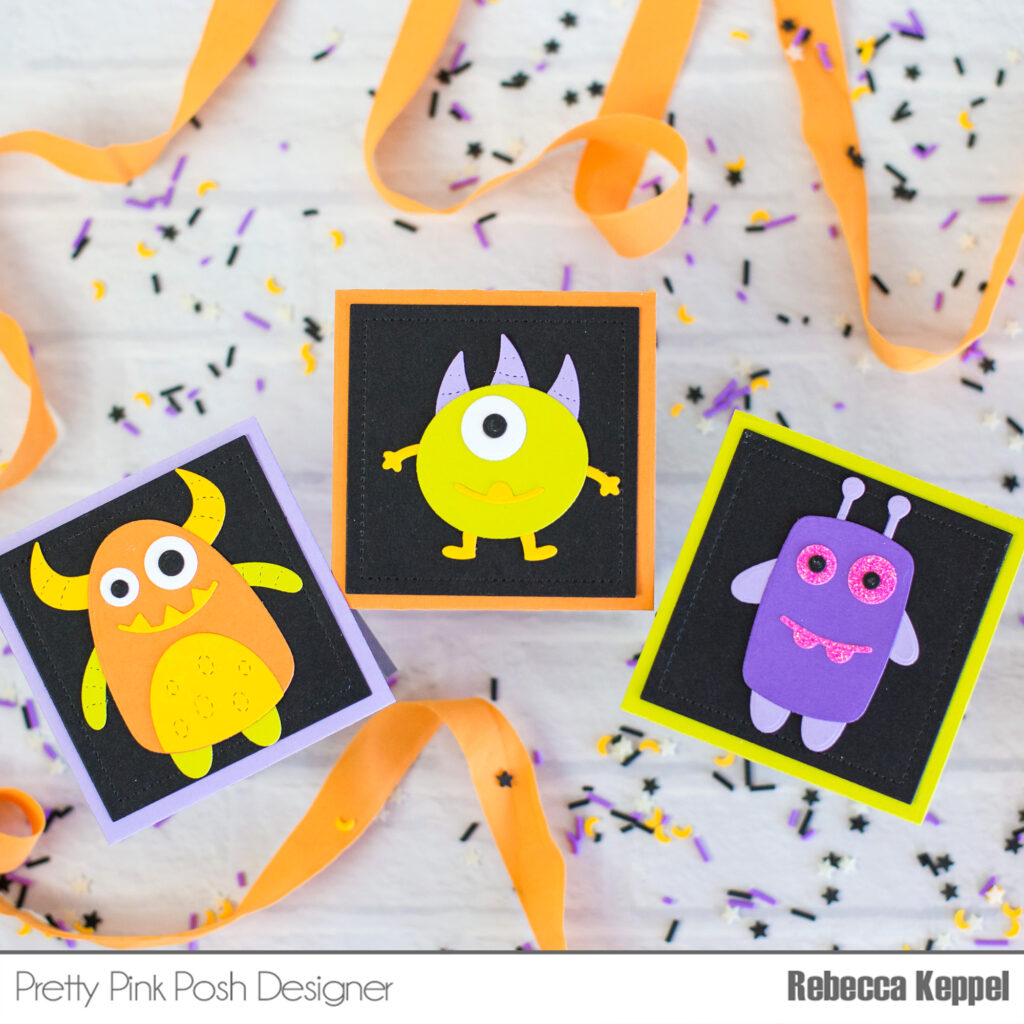
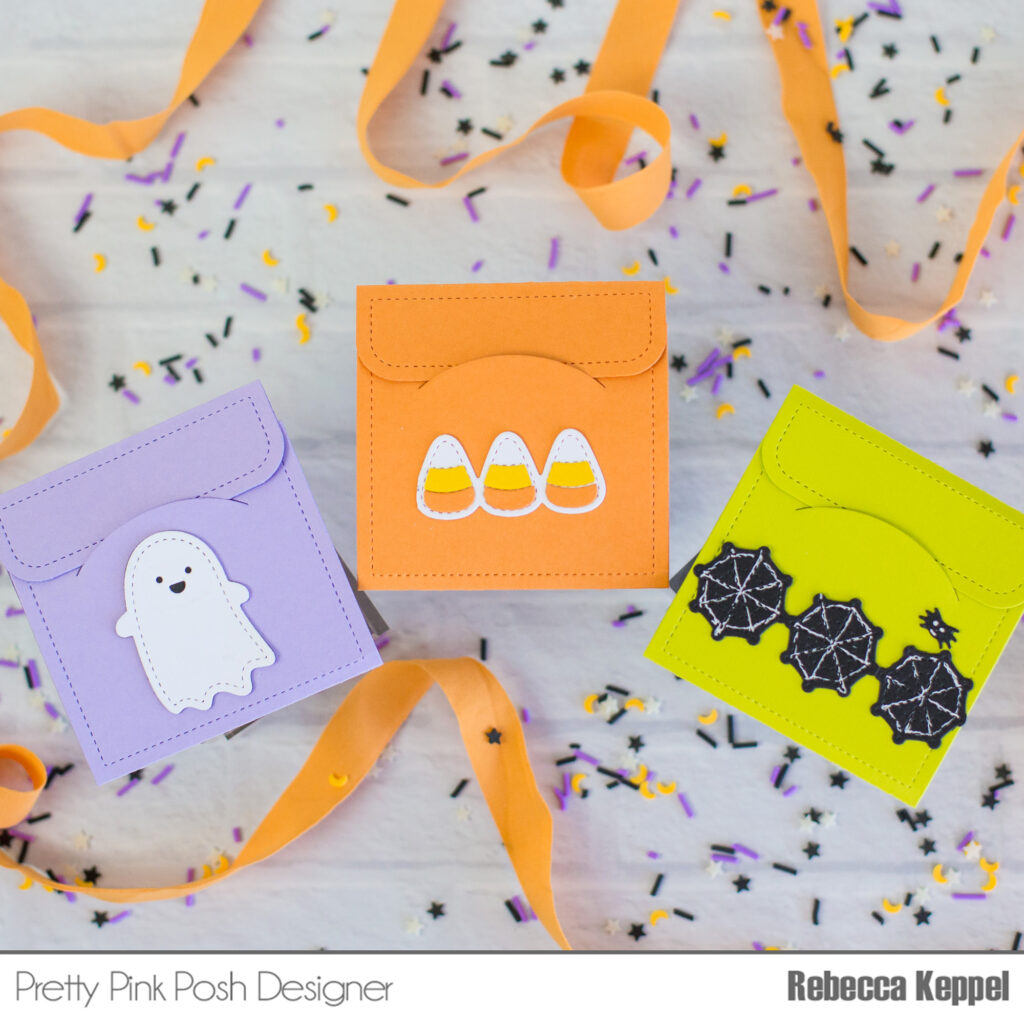
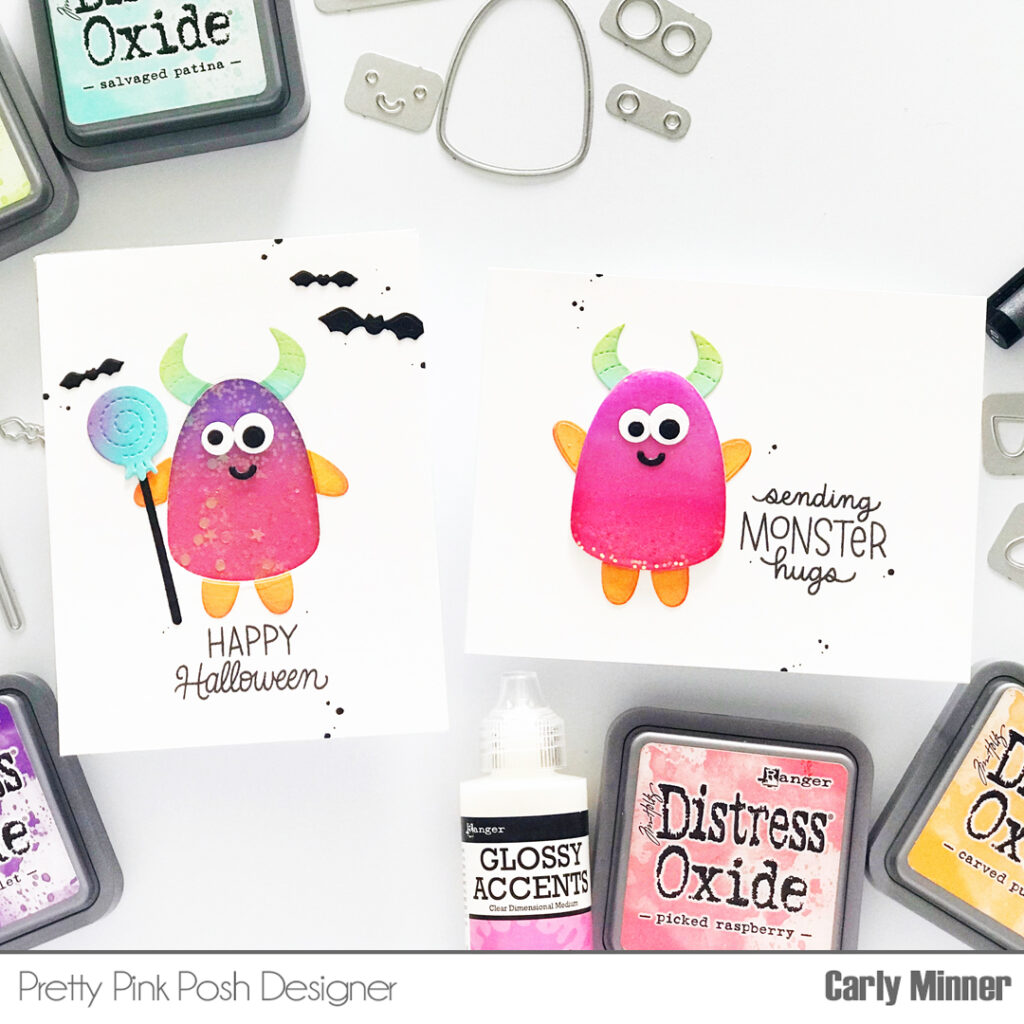
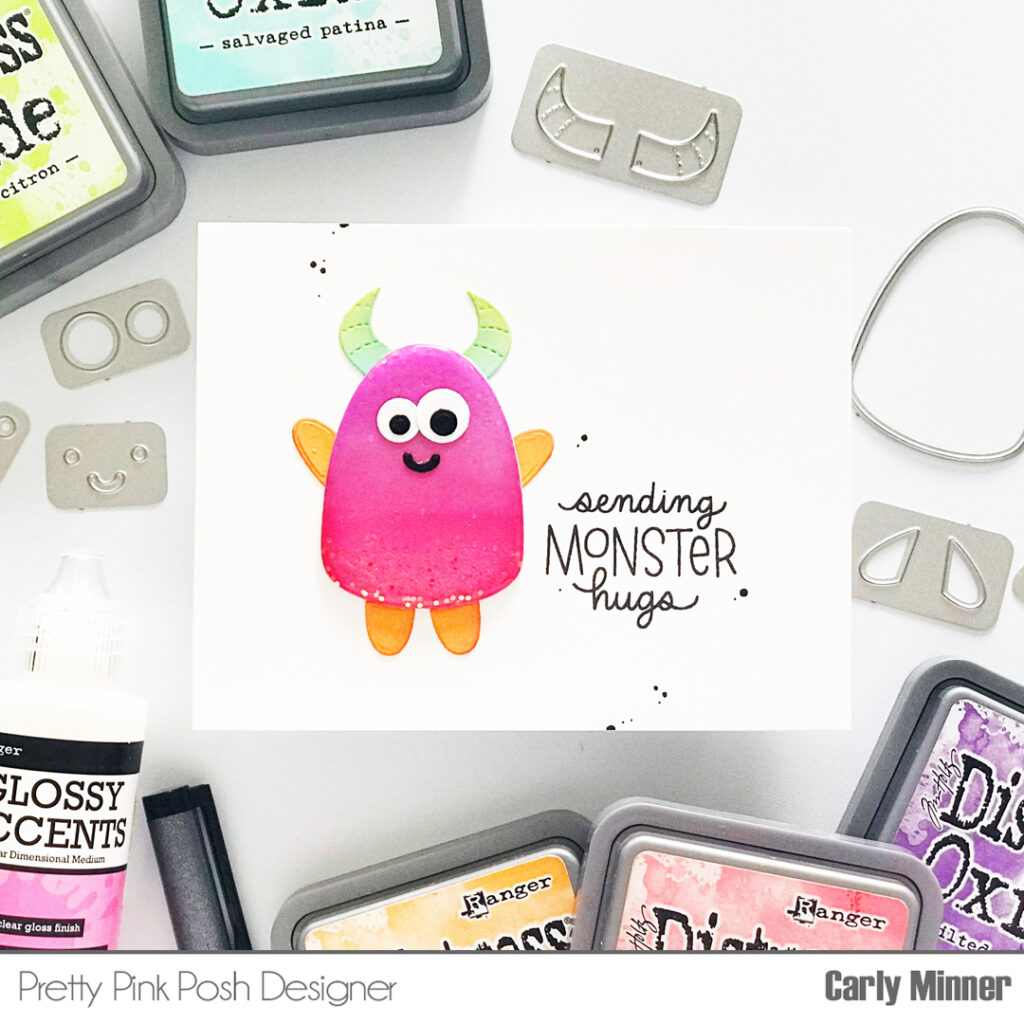
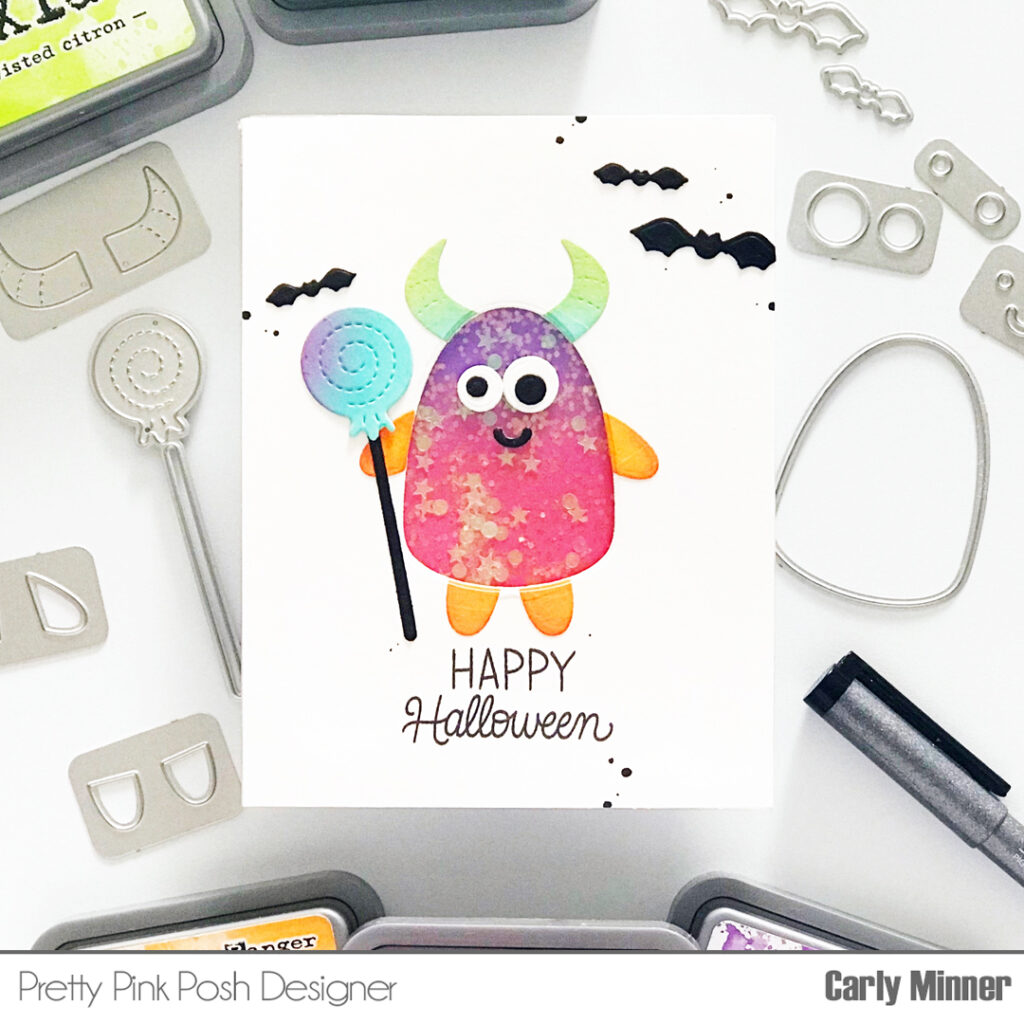
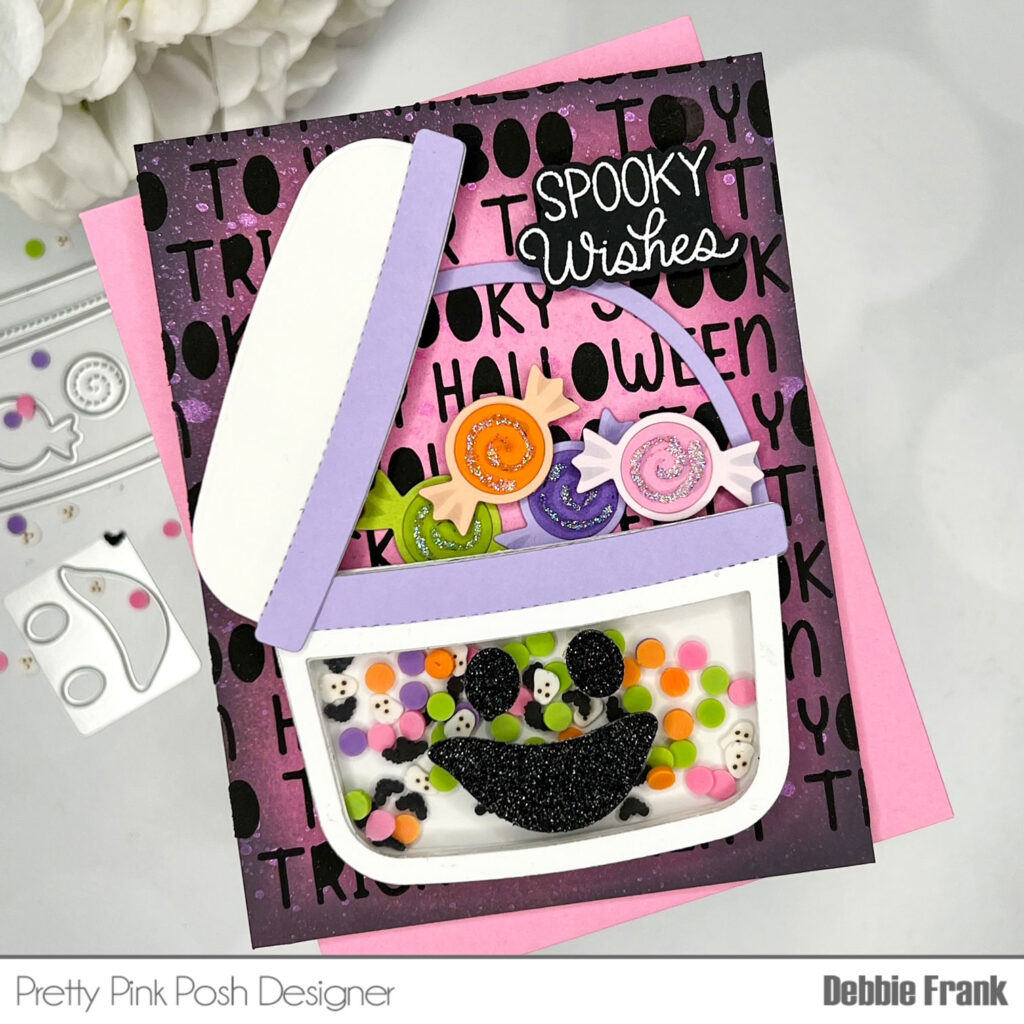
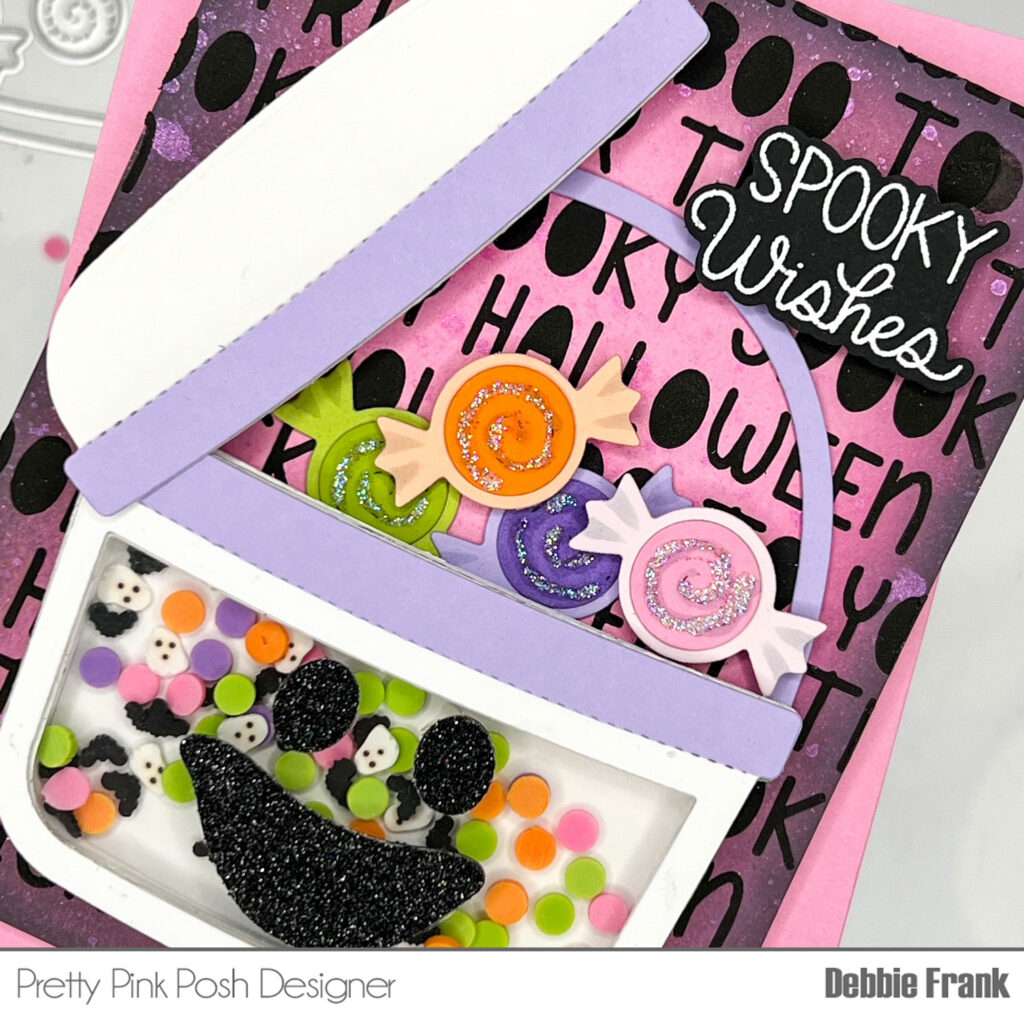
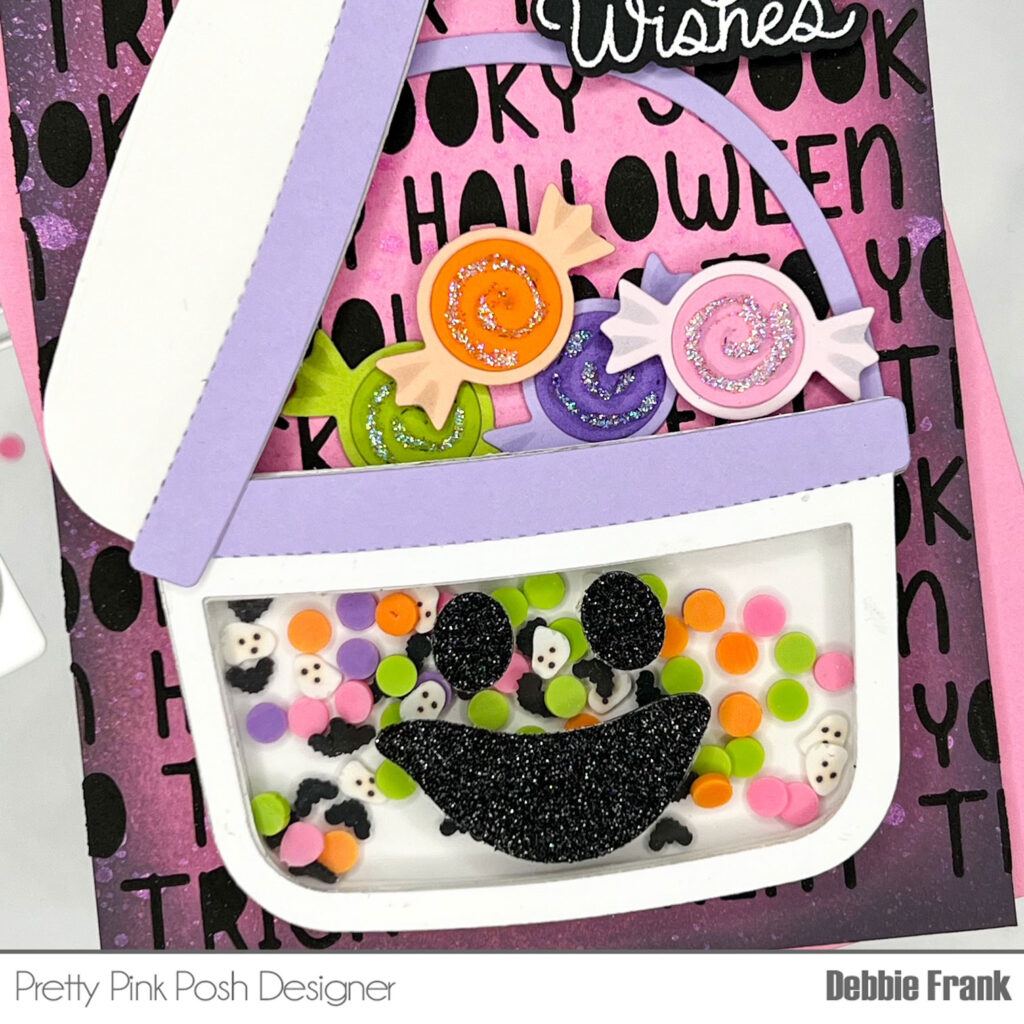
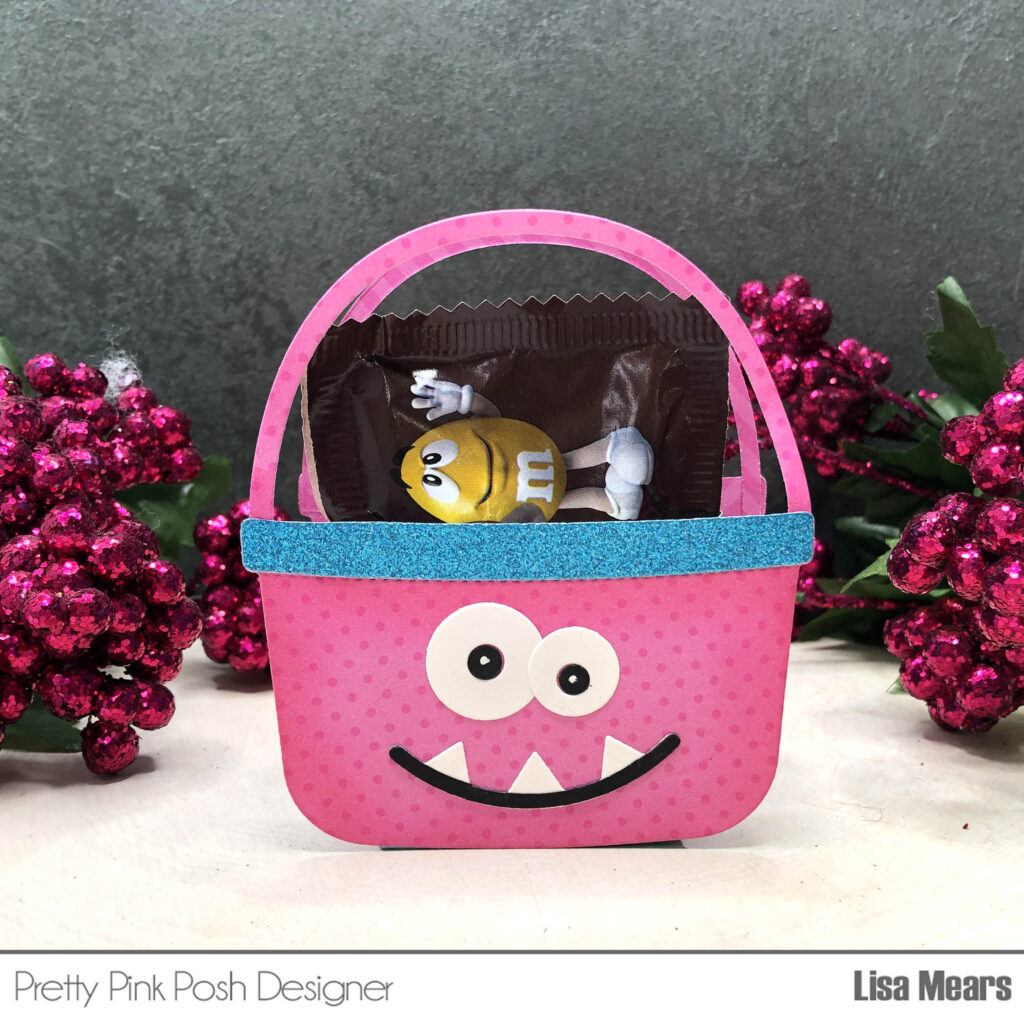
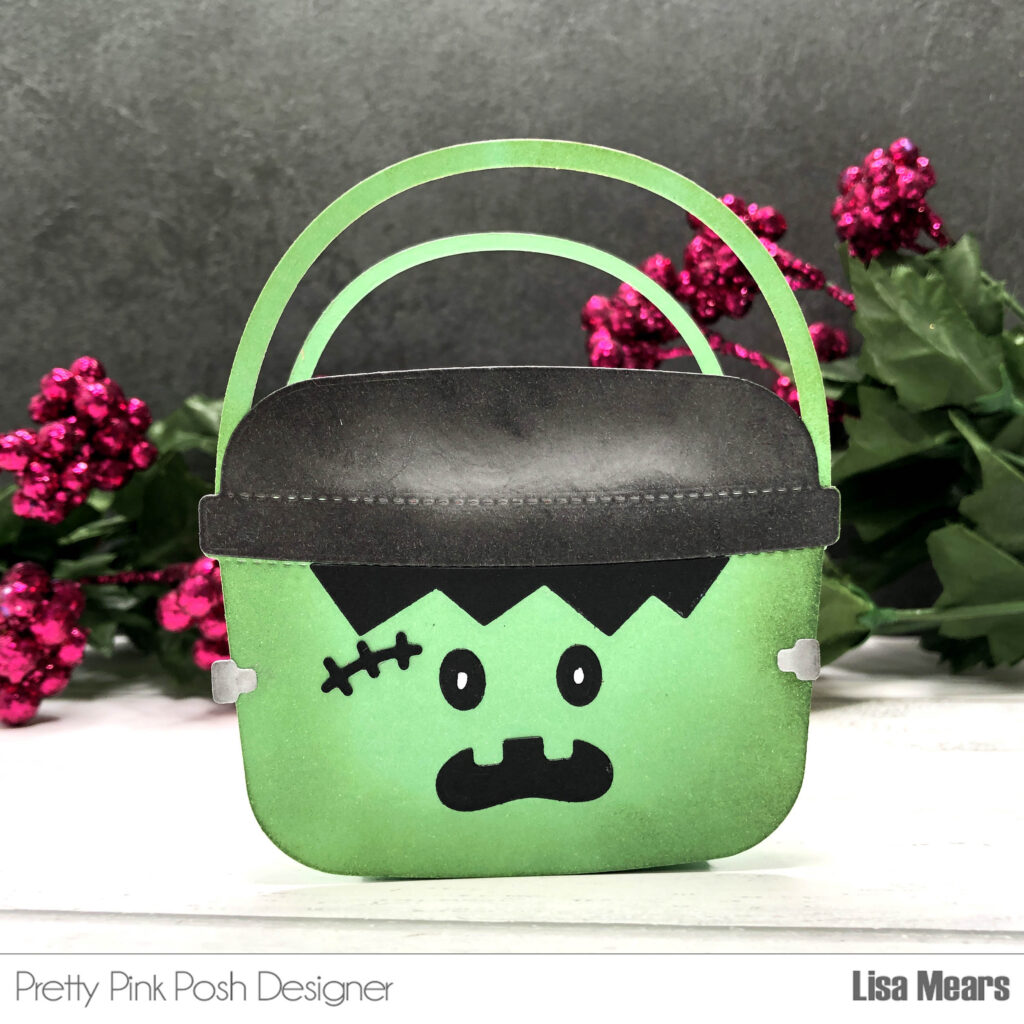
I made some adorable candy buckets using the Candy Bucket dies. These easy-to-make buckets are perfect for holding goodies and adding a festive flair to your Halloween.
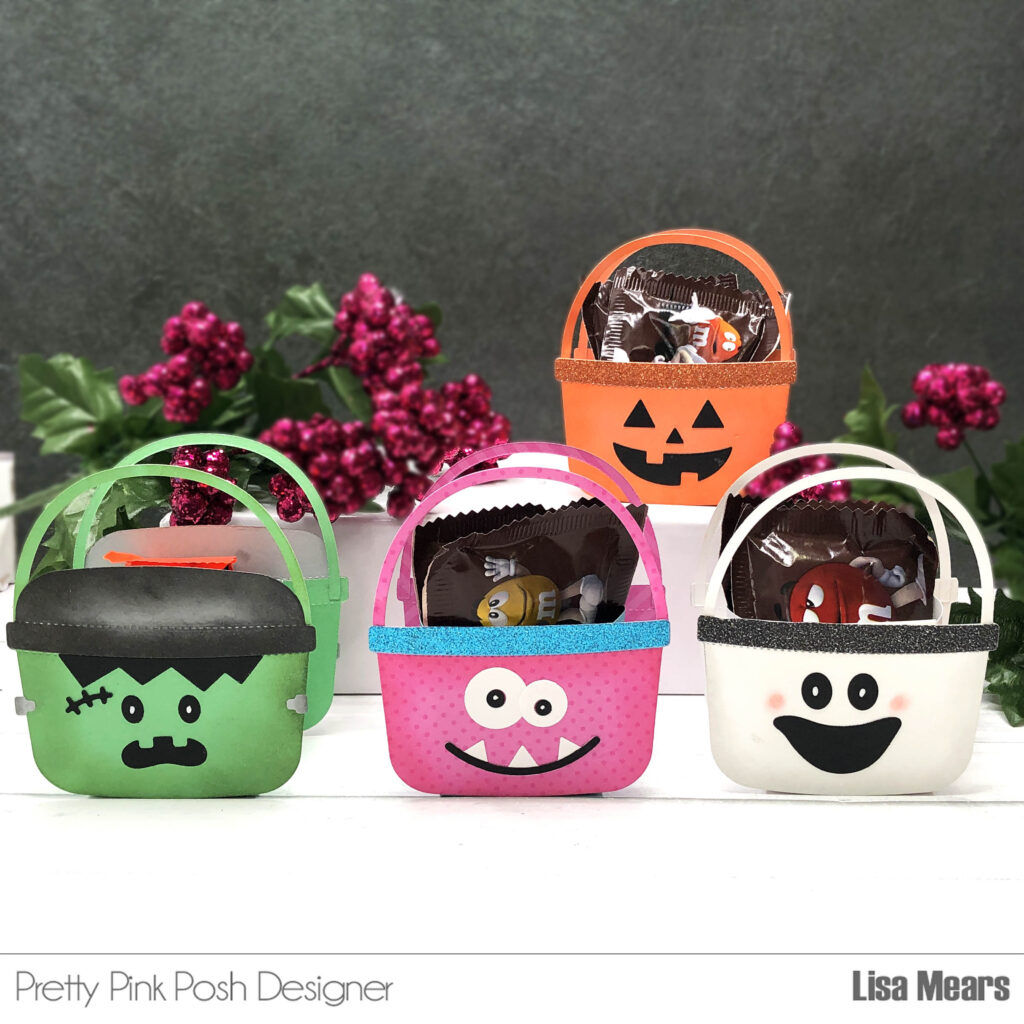
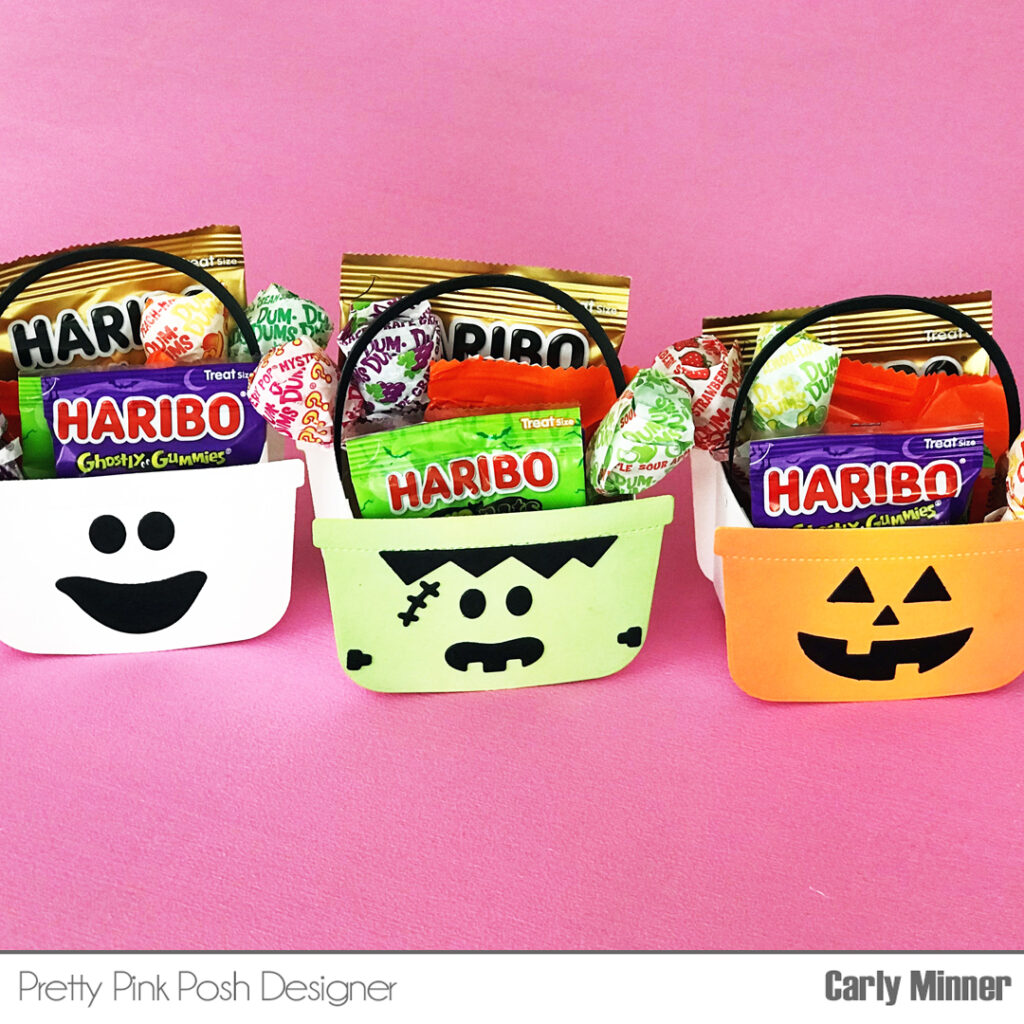
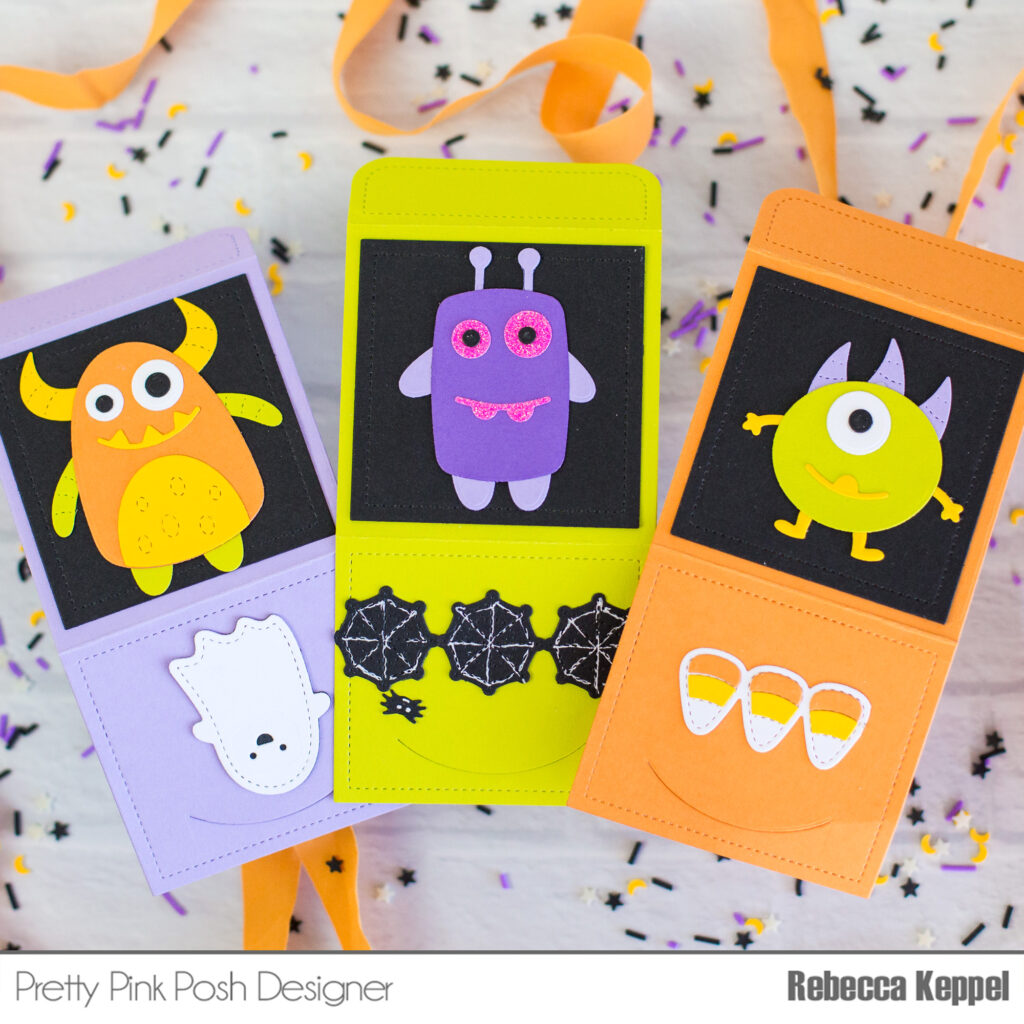
I love how there are four face options for the candy buckets — Frankenstein, a pumpkin, a ghost, and a monster — and I made one of each!
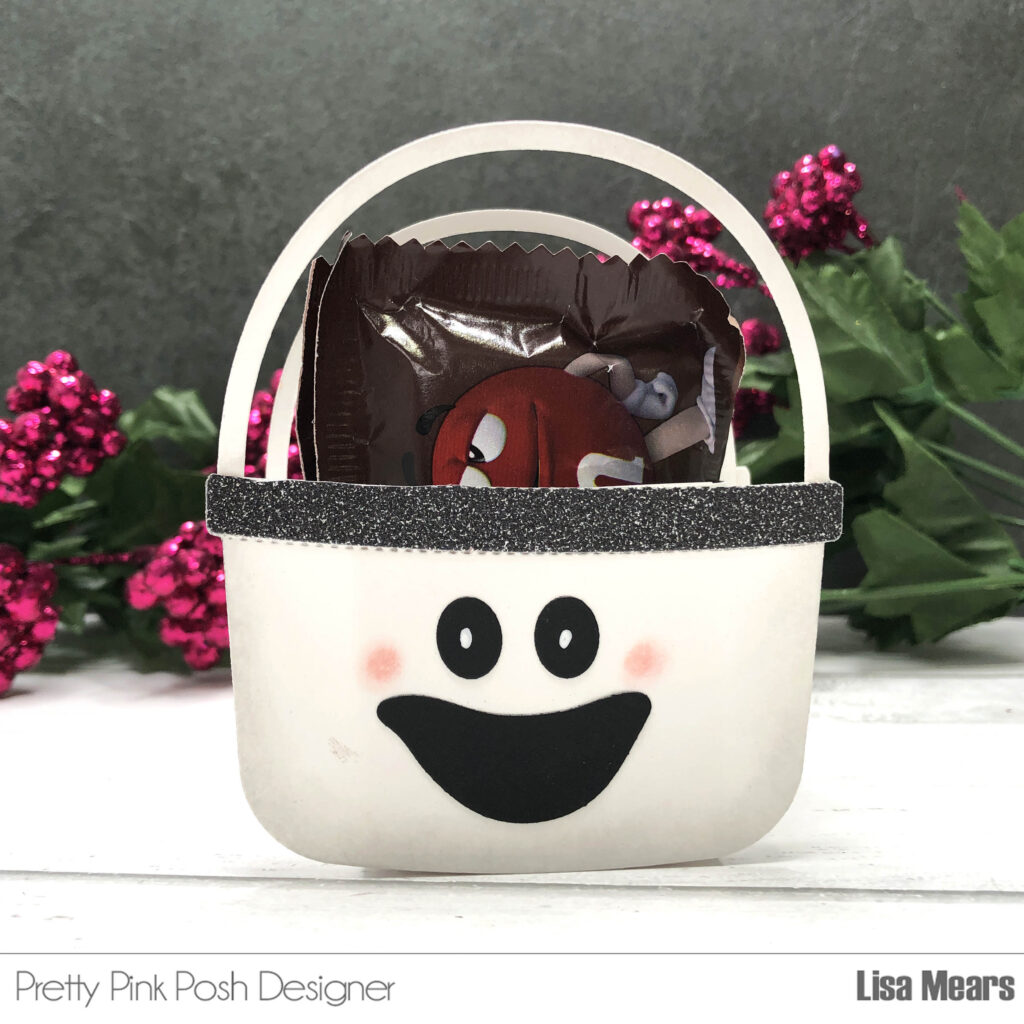
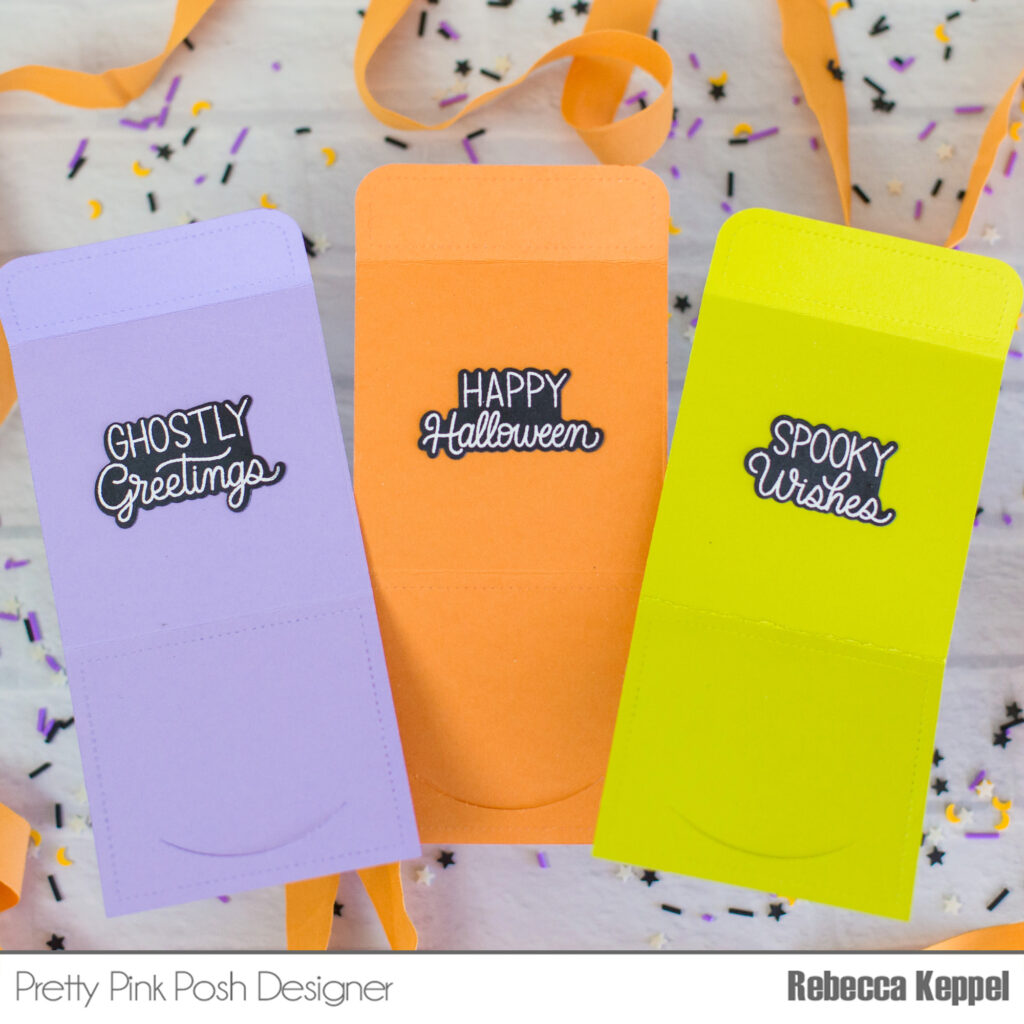
You can use the front of the candy buckets on cards, but I made them into little candy buckets that you can put candy inside.
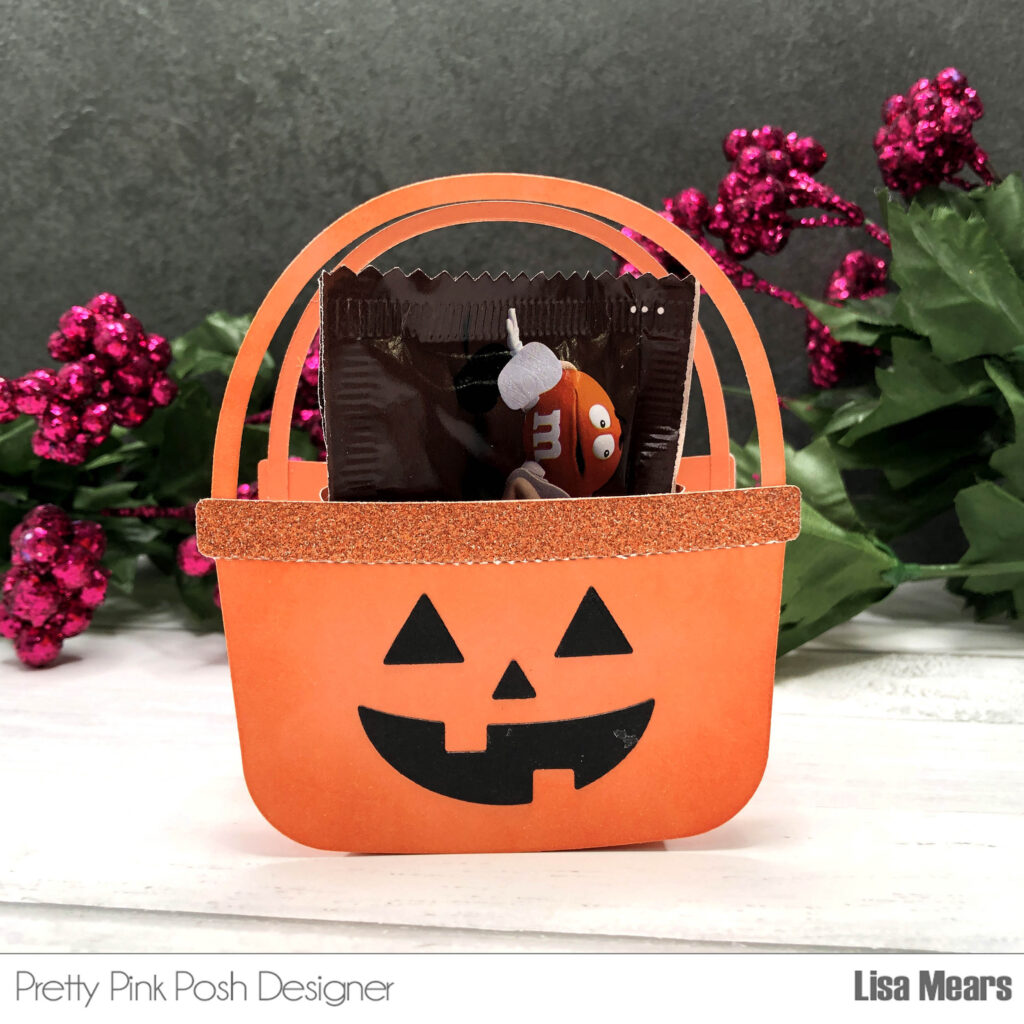
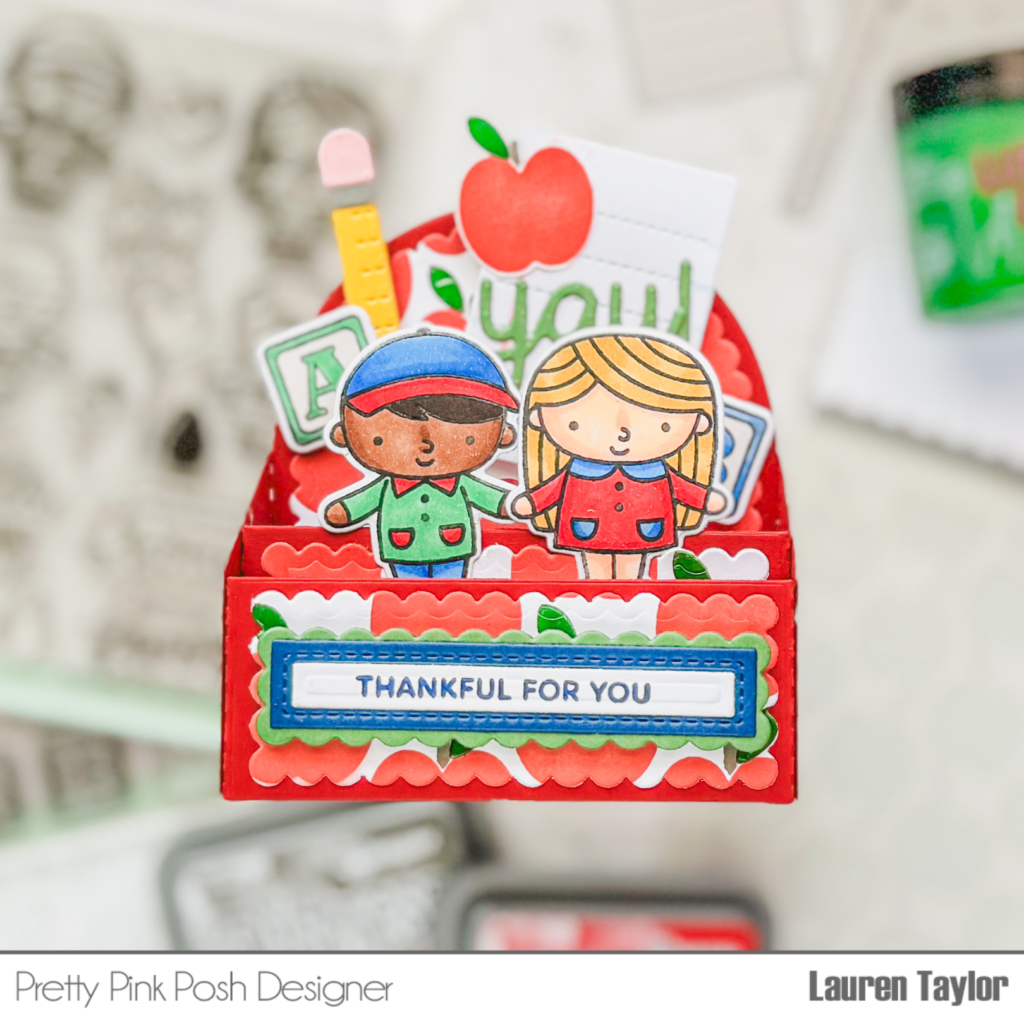
I made a box to put in the middle of two of the candy buckets and attached the box with double sided adhesive tape to the front and back pieces.
These would be super cute to give to kids, friends, family, and co-workers on Halloween. You can fill them with candy, or other small snacks, or toys.
Thank you so much for stopping by today. Have a spooktacular day!
Lisa Mears