Happy Valentine Cupcakes + Video
Hi, friends! It’s Lauren and I am back with a new video on the blog today. I designed this card to make with friends at a Galentine’s Day themed crop and I wanted to share it with all of you, too!
Watch the video above I Watch the video in HD on YouTube
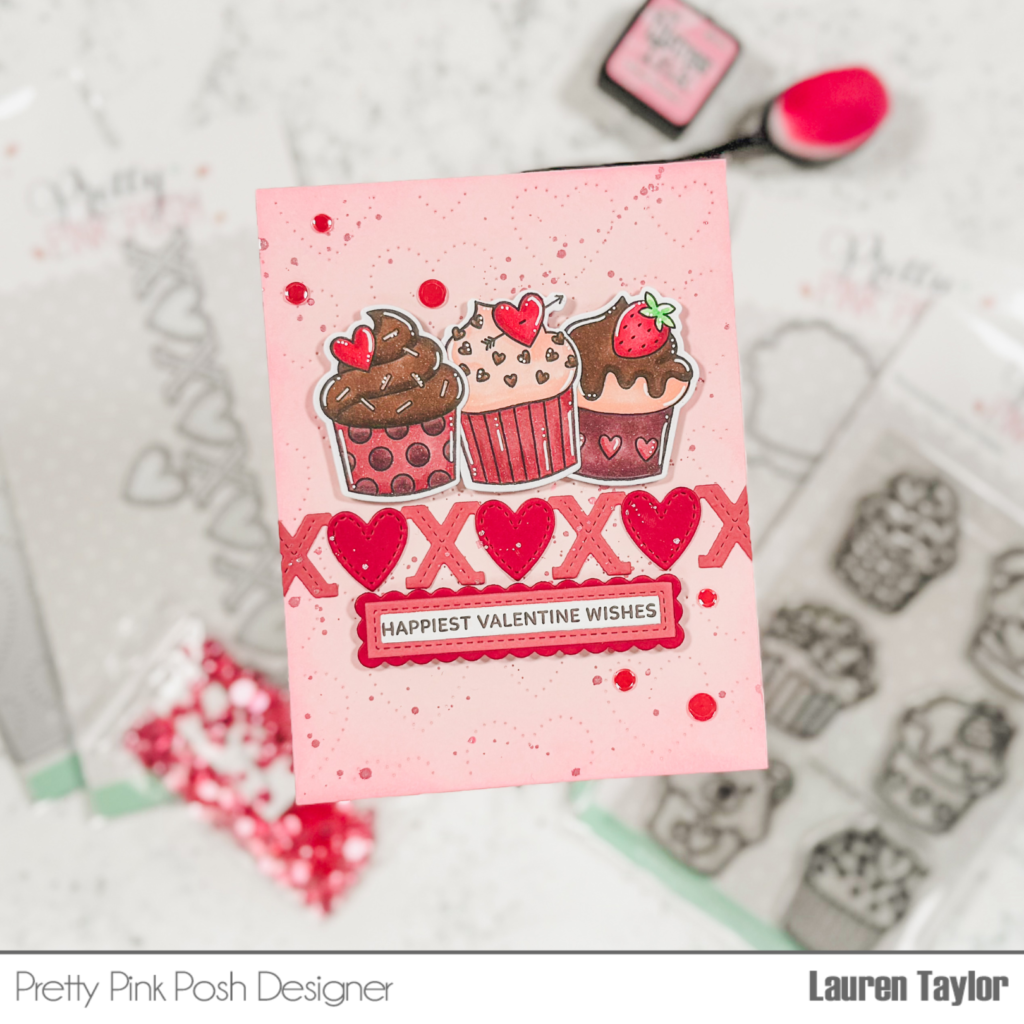
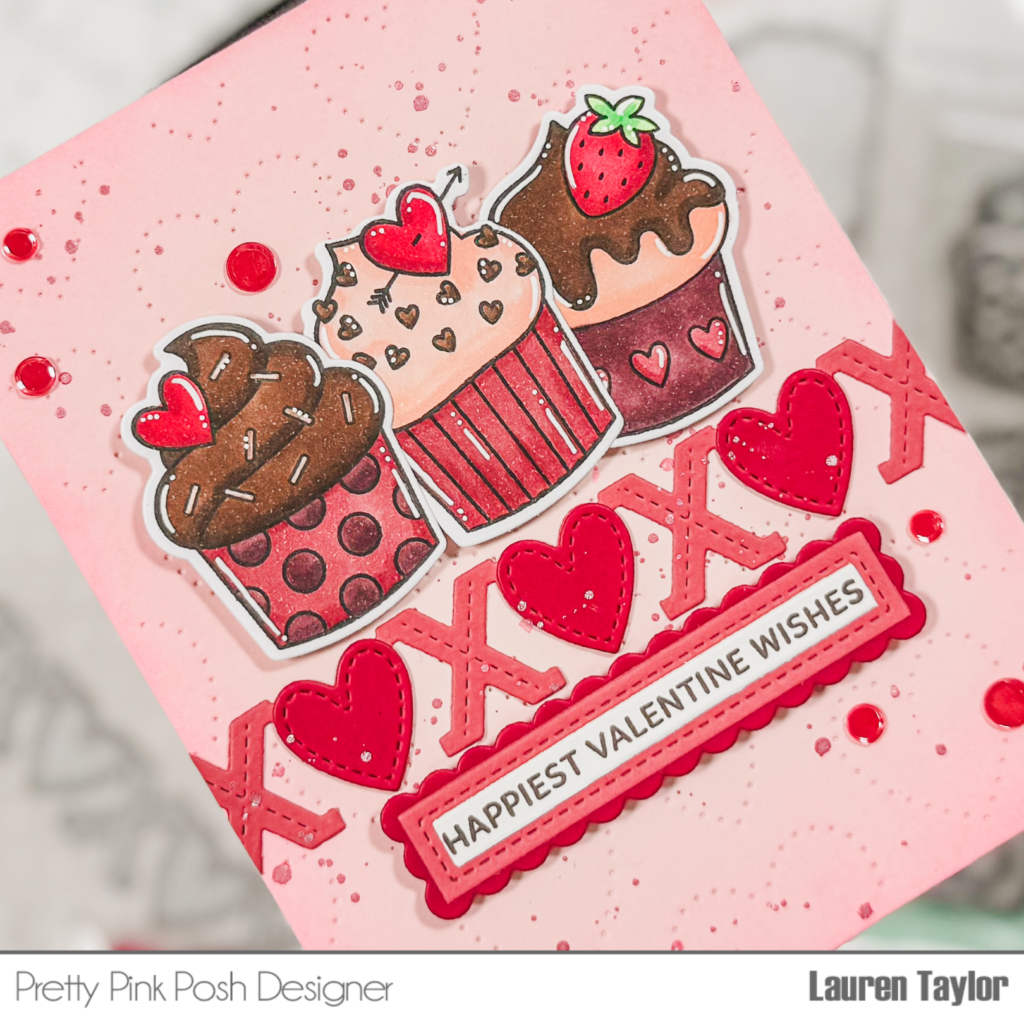
I started with die cutting the Pierced Hearts Plate Die out of light pink cardstock. Using an ink blending brush, I added Kitsch Flamingo Distress Ink to darken the edges of the A2 background. Next I cut the XOXO Heart Border Die from pink cardstock with the separate heart die three times from dark pink cardstock. I glued the dark pink hearts to the first three hearts on the XOXO border.
Using liquid adhesive, I glued the XOXO Heart Border to the Pierced Hearts background a little more than half way down the A2 background so that the three hearts are centered. I used a metallic pink watercolor to add splatter to the background and once everything was dry, I trimmed off the excess XOXO border from the sides of the background.
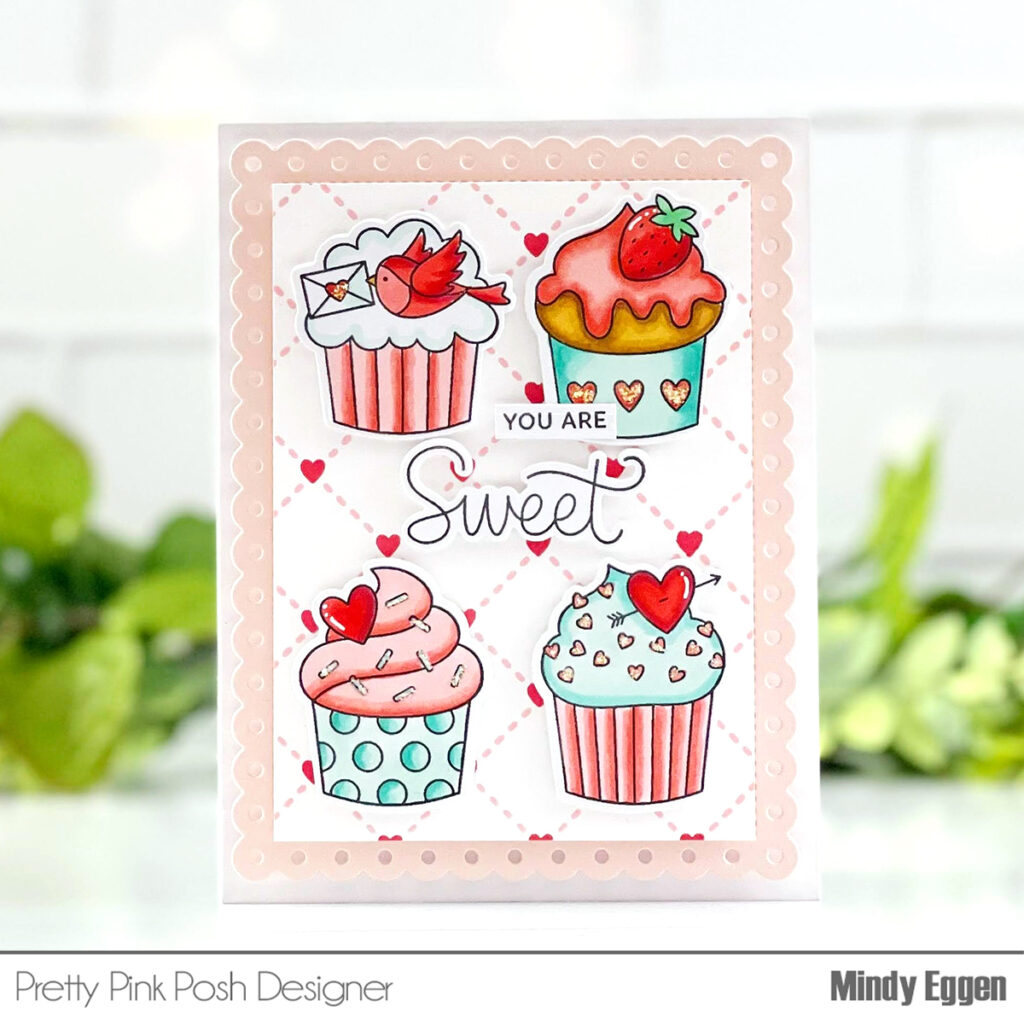
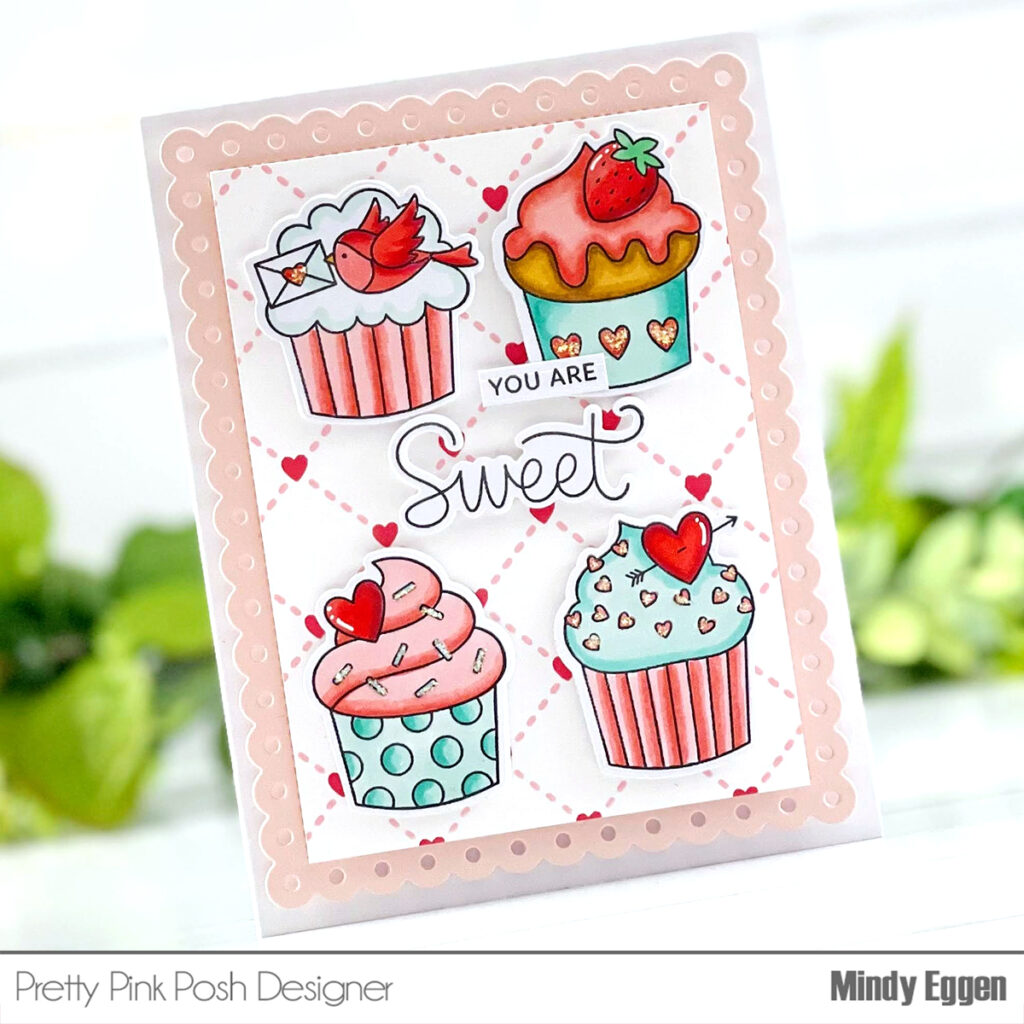
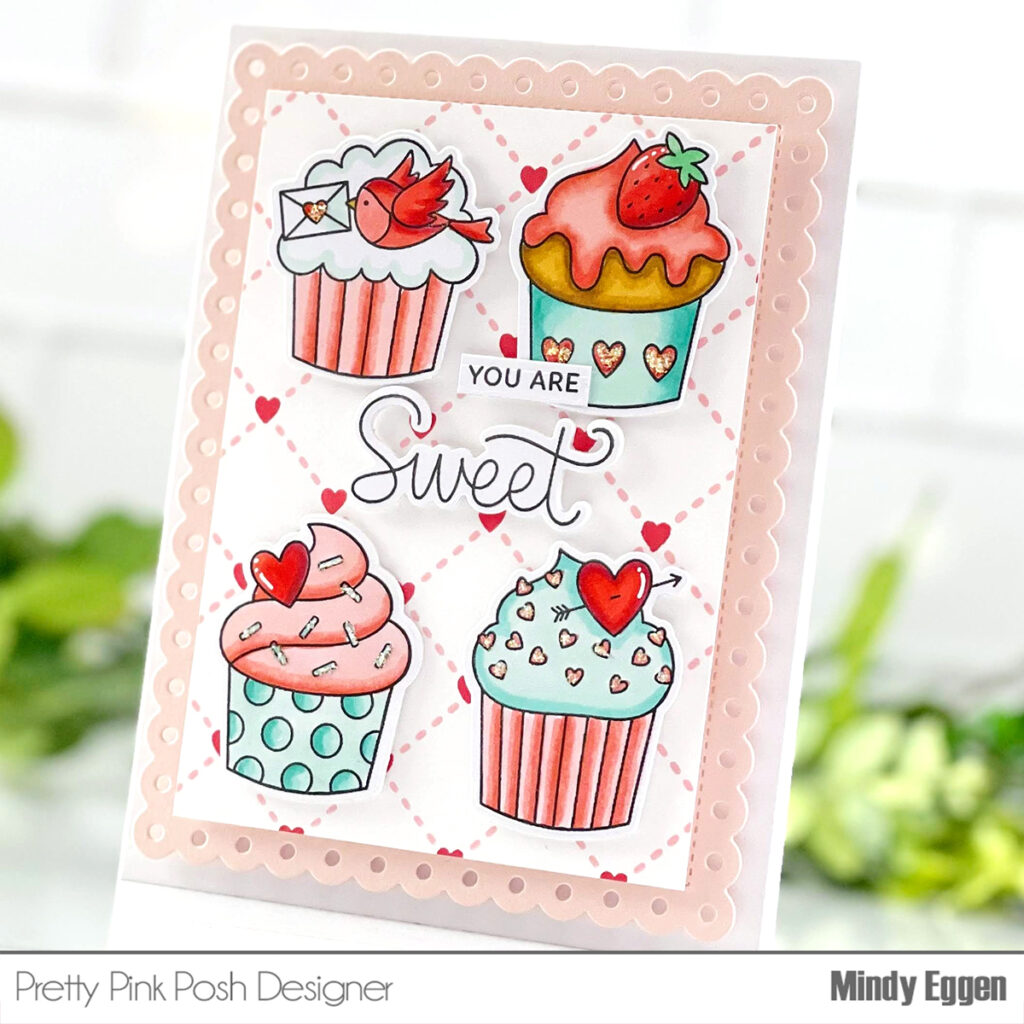
Next I stamped three of the Valentine Cupcakes Stamps in an alcohol marker friendly black ink and colored them in with my Ohuhu Art Markers. They are also cut out with the Valentine Cupcakes Coordinating Dies. I also used a white gel pen to add a few highlights and to cover up anywhere I colored outside the lines!
My sentiment is stamped in a brown ink on white cardstock from the Sentiment Strips: Valentine Stamp Set and I used the Sentiment Strips Dies to cut out the sentiment as well as the coordinating stitched rectangle in pink and scalloped rectangle in dark pink. They are all glued together to create a pretty layer of the scallops peeking out behind the rectangle.
The cupcakes and sentiment are added to the card with foam adhesive to add some fun dimension to the card. I also added some Strawberry Shimmer Confetti around my card with liquid adhesive to add more shine! I hope you enjoyed this card and let me know which cupcake is your favorite from the stamp set!
Thanks for stopping by today!

