Valentine Double Heart Shaker + Video
Hi, friends, it’s Lauren! Welcome back to the Pretty Pink Posh blog. I’m so excited to share a step-by-step guide to creating a sweet Valentine’s Day shaker card.
Watch the video above I Watch the video in HD on YouTube
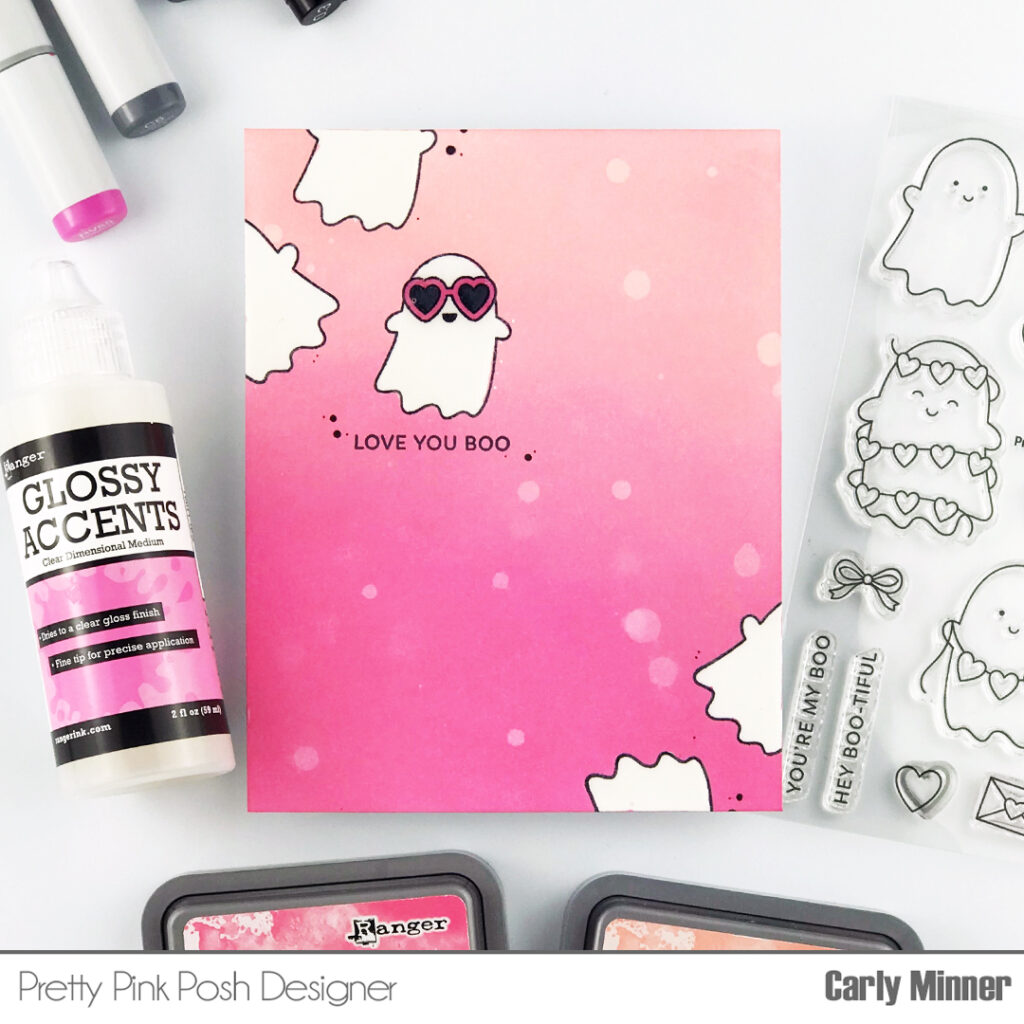
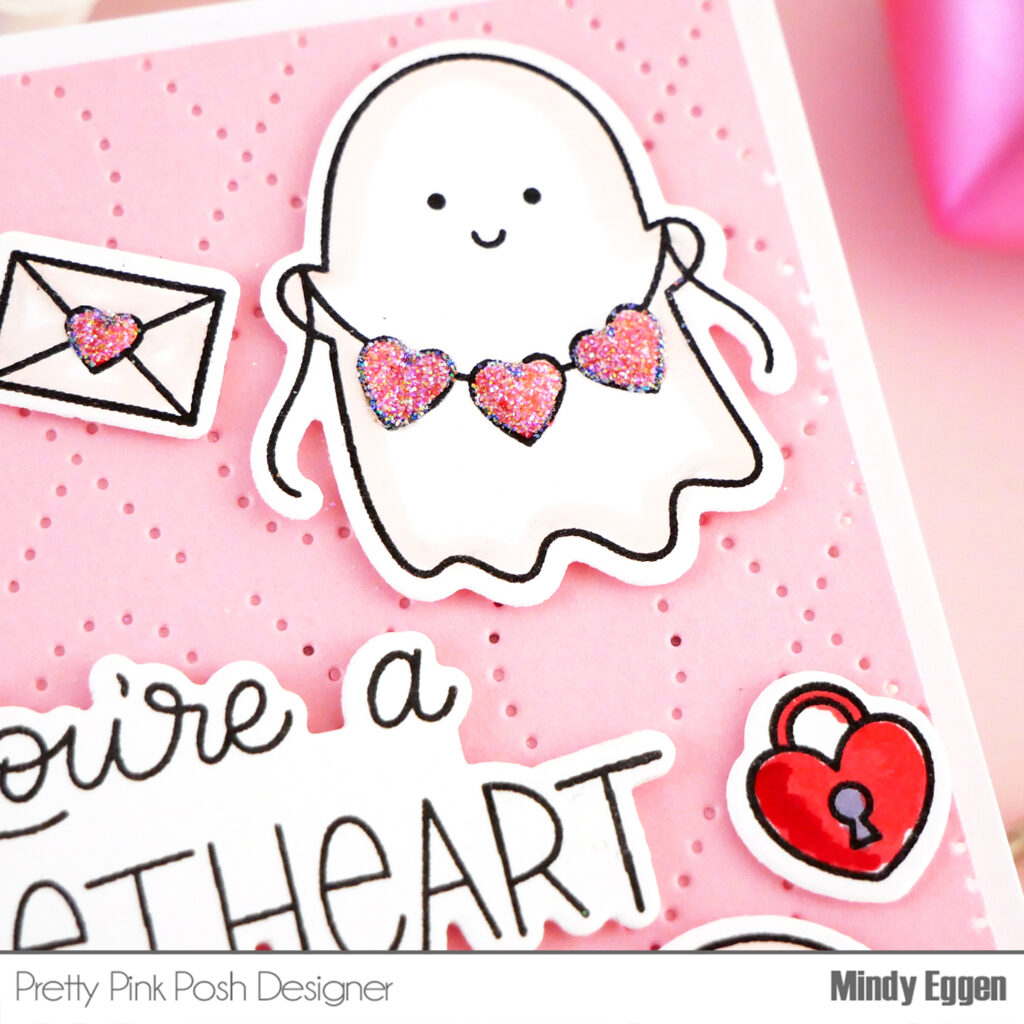
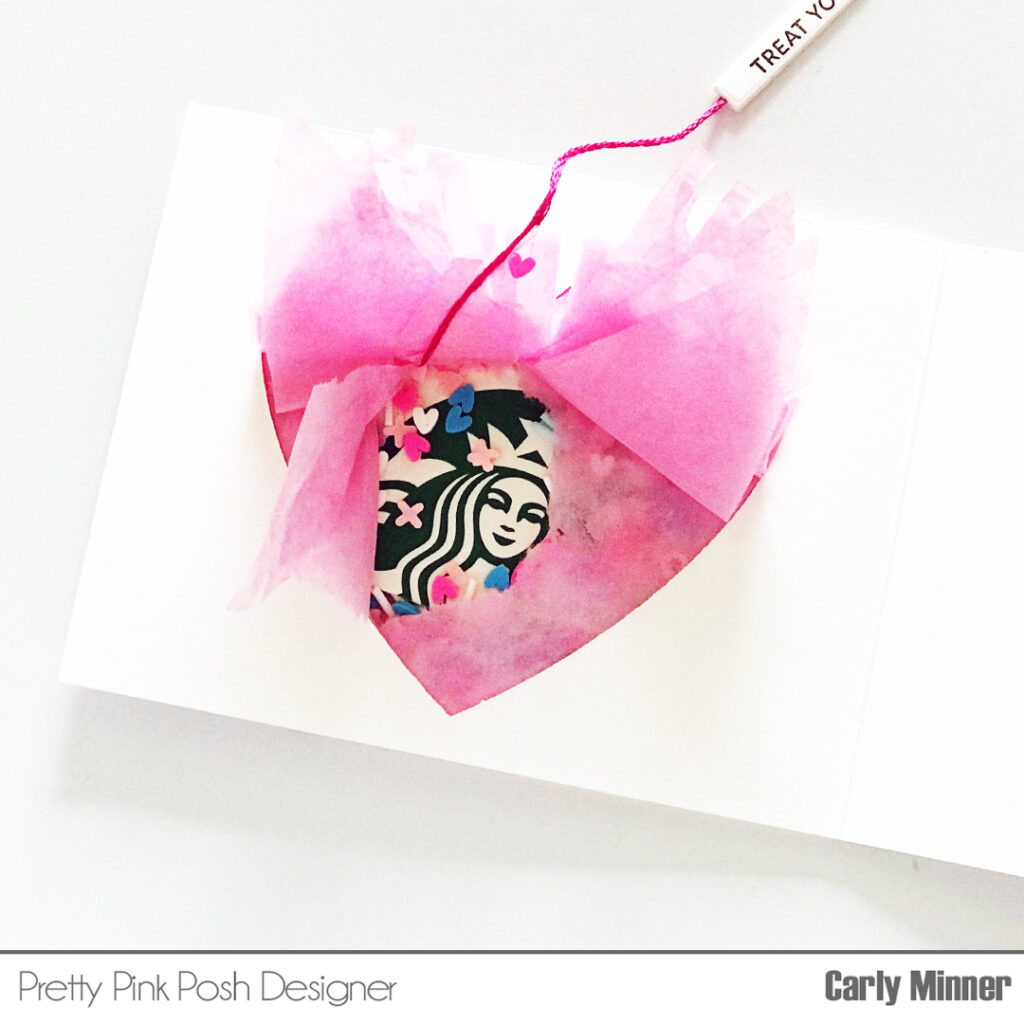
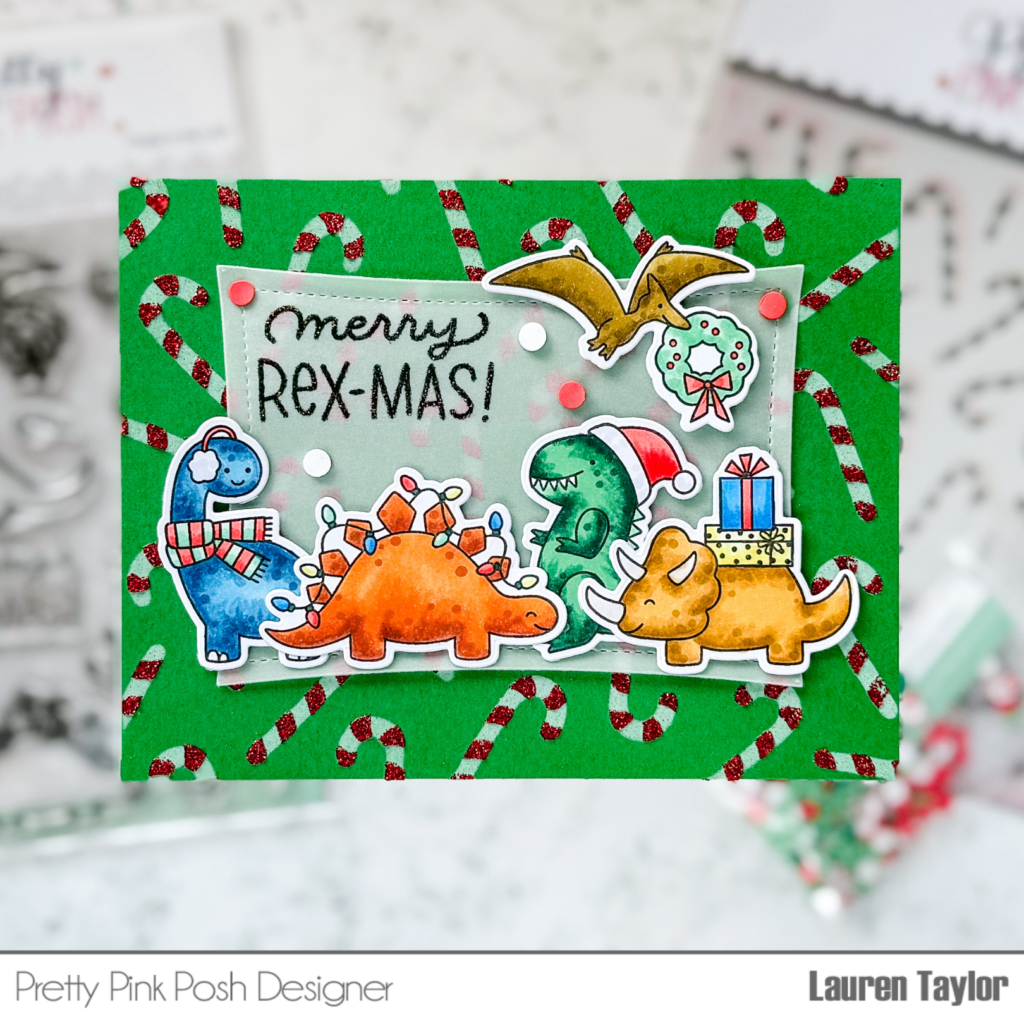
For this project, I’ve combined the adorable Fresh Berries stamp set and coordinating dies with the newly released Valentine-themed products, including the Valentine Greetings stamp set, coordinating dies, Double Heart Shaker Dies, and the XOXO Pierced Plate Die. The centerpiece is a double heart shaker element, filled with the lovely Love Shaker Beads and Strawberry Valentine Mix. These vibrant accents inspired me to bring back the strawberries from the Fresh Berries Stamp Set—don’t they pair perfectly?
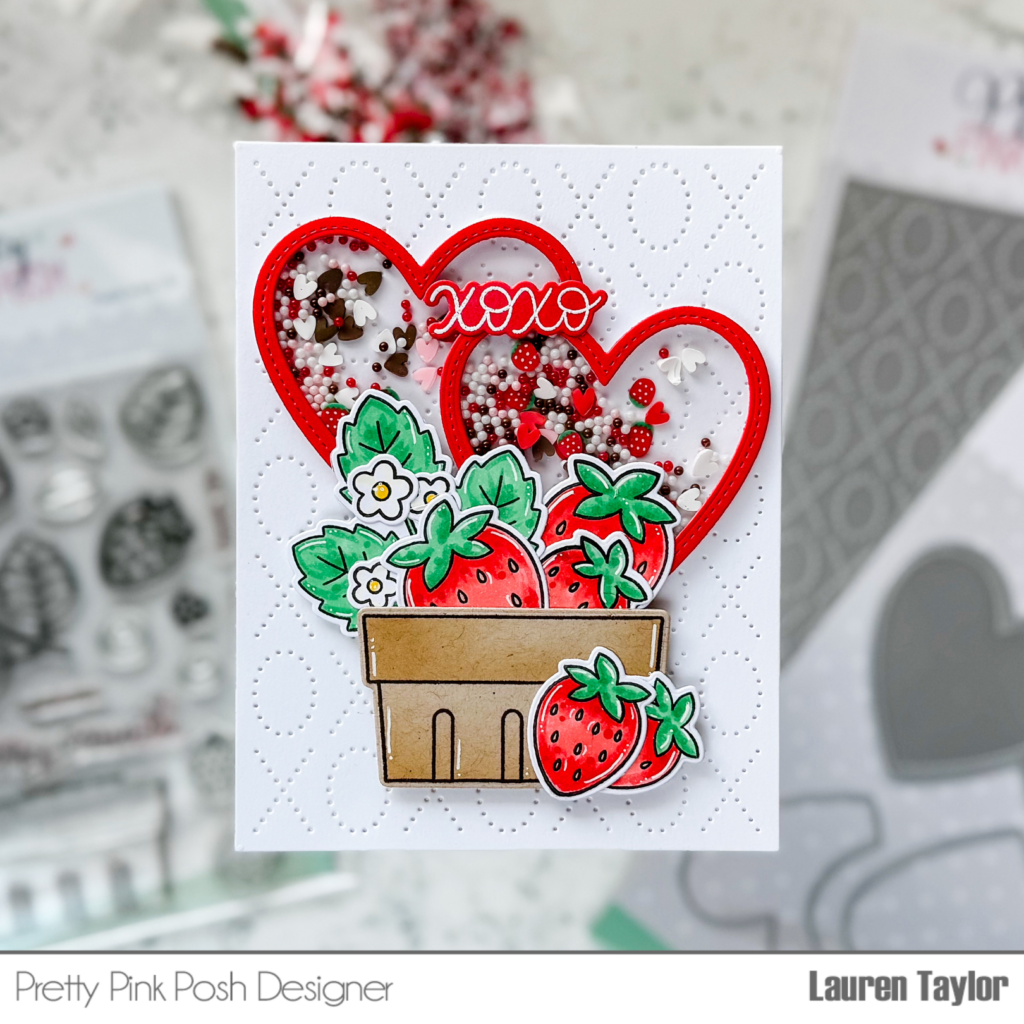
I began by stamping the images from the Fresh Berries stamp set in alcohol marker-friendly black ink on white cardstock. Using my OLO markers, I carefully colored the strawberries with three shades of red for dimension and shine. I added brown tones to the seeds and green tones to the leaves, finishing with subtle highlights using a white gel pen. The flowers were kept white with pale yellow centers for a delicate touch. For the berry basket, I stamped it on kraft cardstock and shaded it with Vintage Photo Distress Ink to create a textured, dimensional look. Once everything was colored, I used the Fresh Berries coordinating dies to cut out all the pieces.
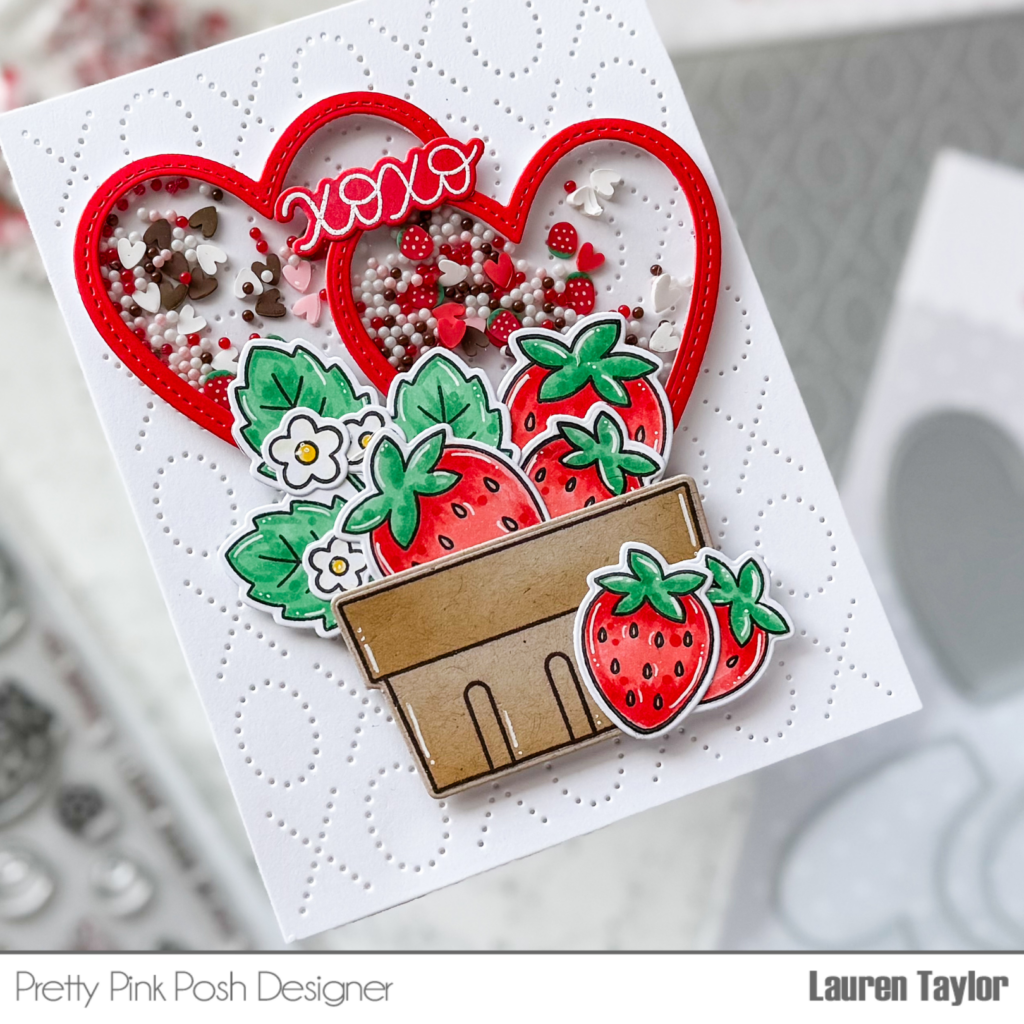
Next came the heart-shaped shaker frame, created using the Double Heart Shaker Dies. For the window, I used acetate, hand-trimming it to fit the heart frame. After adhering the acetate with liquid glue, I added foam adhesive strips to the back to build the shaker compartment. Filling it with the Love Shaker Beads and Strawberry Valentine Mix was so fun! The mix of strawberries and clay hearts added just the right festive flair. After securing the shaker to my card base, I assembled the berry basket with its charming strawberries and flowers, layering them with foam adhesive for added dimension.
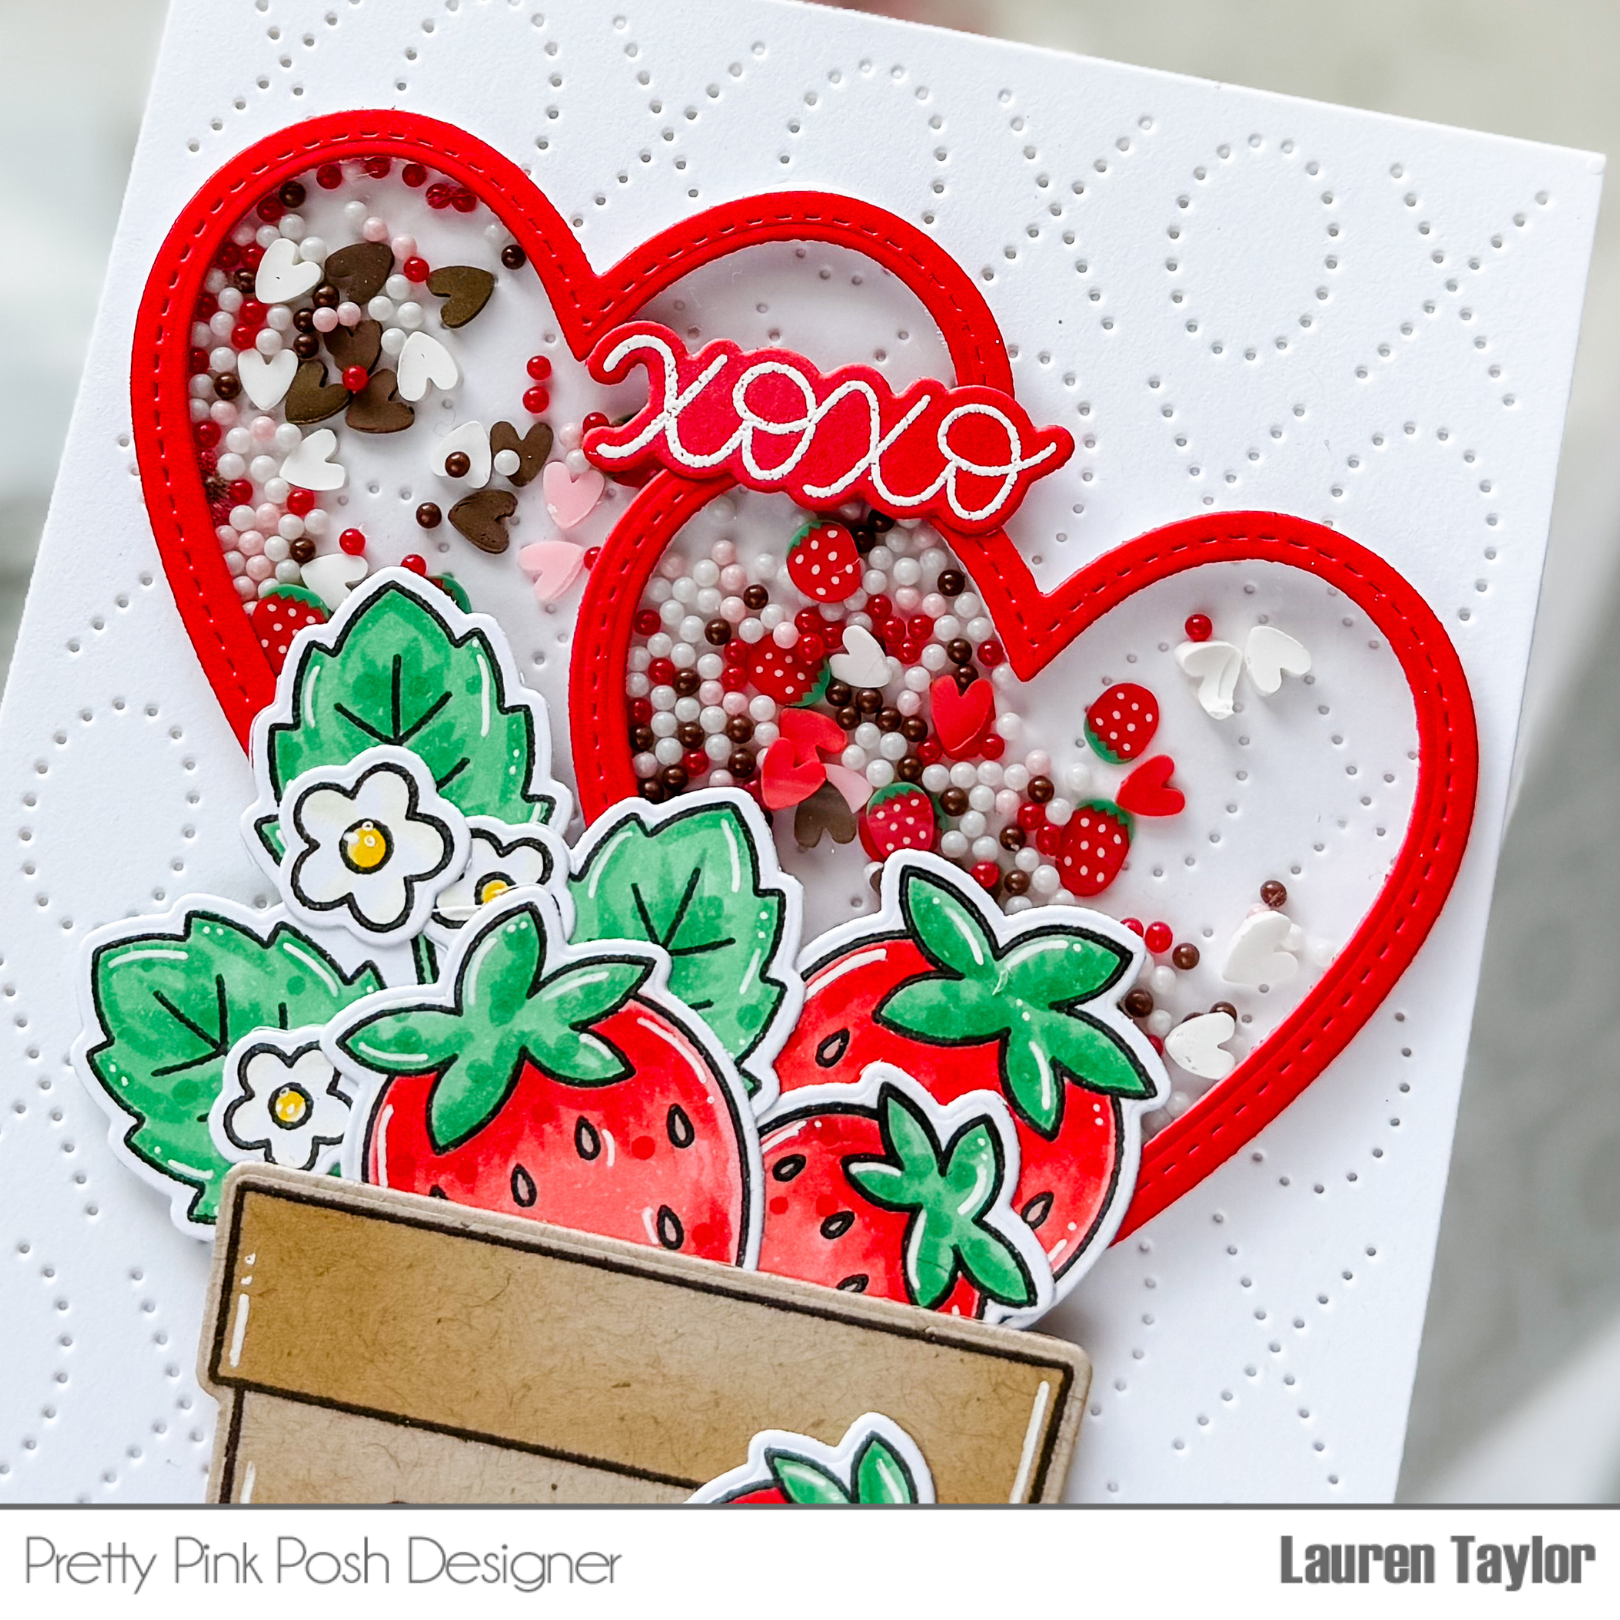
To finish, I added the sentiment “XOXO” from the Valentine Greetings stamp set, embossed in white for a crisp, elegant look, and cut it out with the Valentine Greetings coordinating dies. I adhered it to the heart shakers to tie everything together. This card was a labor of love, but seeing it come together made every step worthwhile.

I hope you enjoyed crafting with me and feel inspired to pair Pretty Pink Posh’s new Valentine products with older favorites for your projects. Thanks for joining me, and stay tuned for more creative inspiration. Happy crafting!