Spring Vase Shaker Card + Video
Hi, friends! Lauren Taylor here and I’m so excited to share a brand new handmade card with you today featuring the latest and greatest from Pretty Pink Posh!
Watch the video above I Watch the video in HD on YouTube
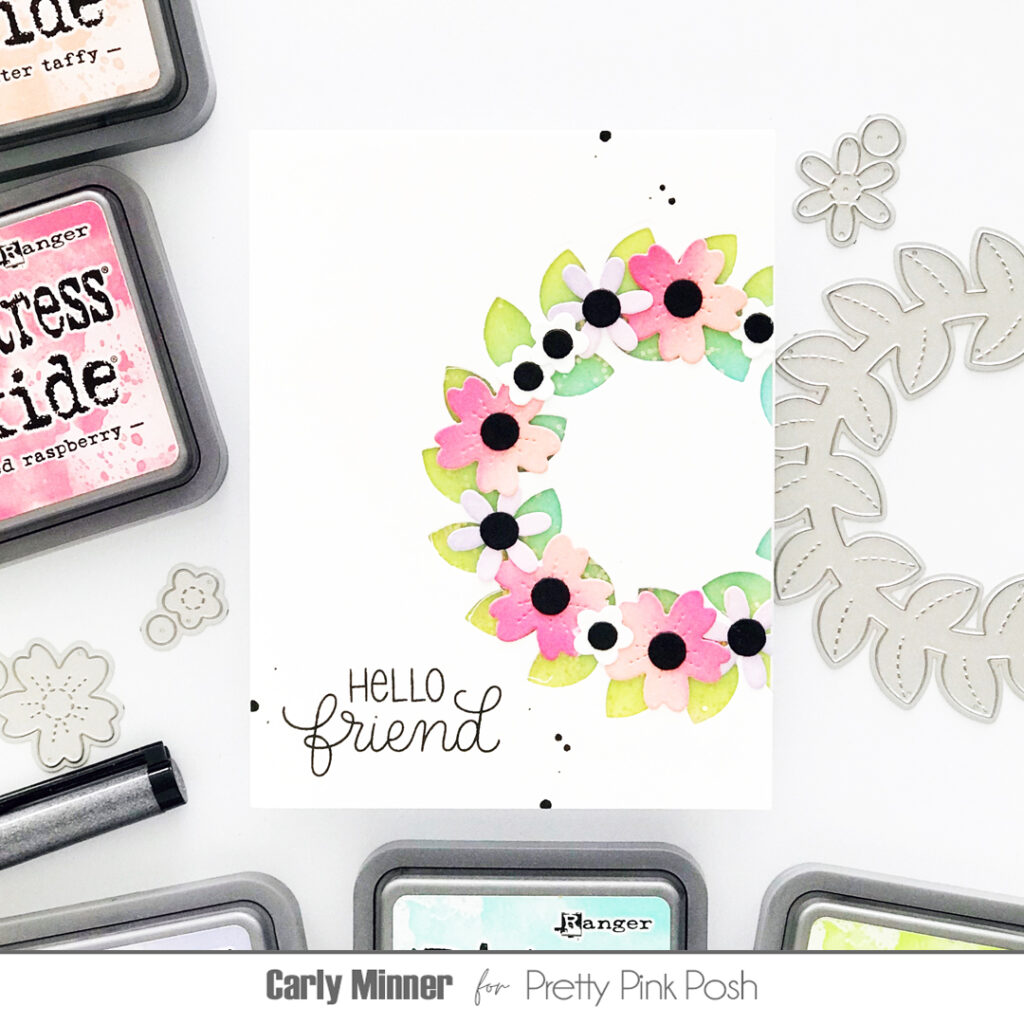
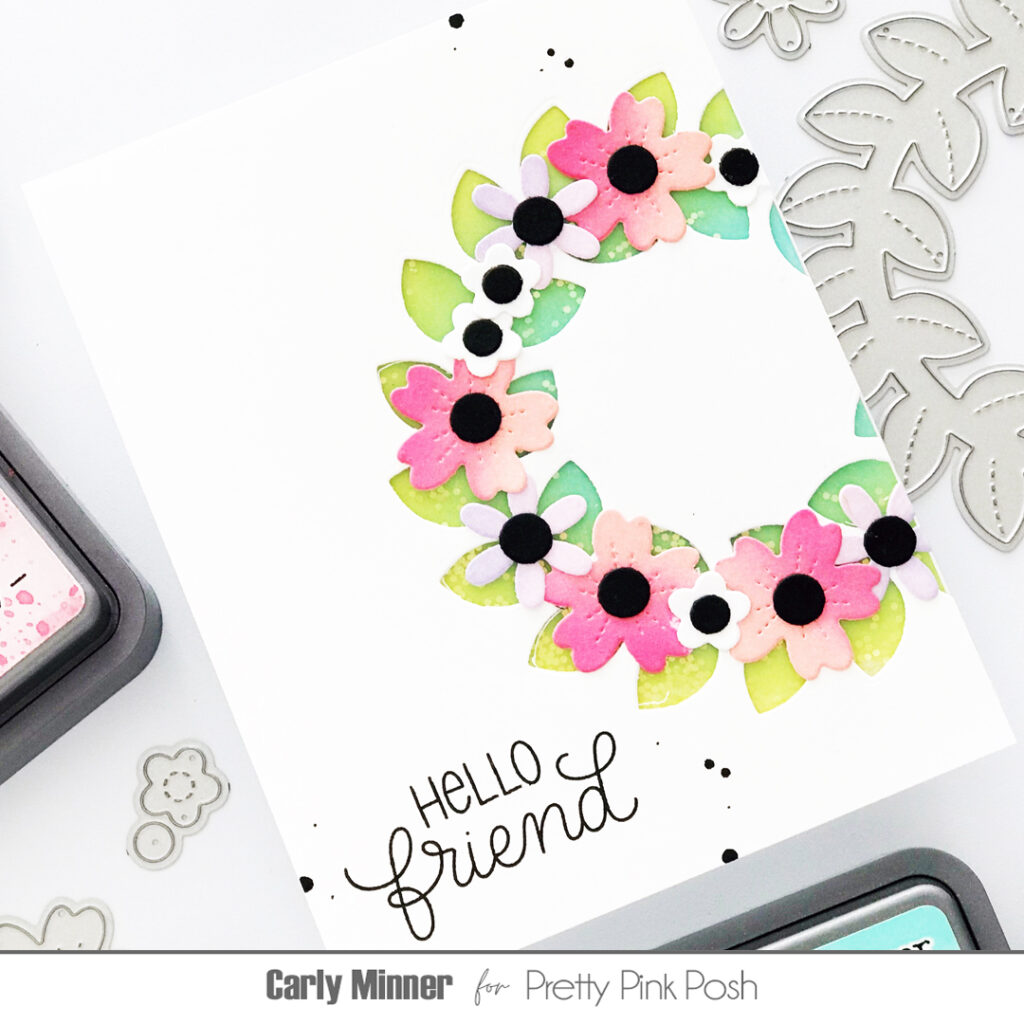
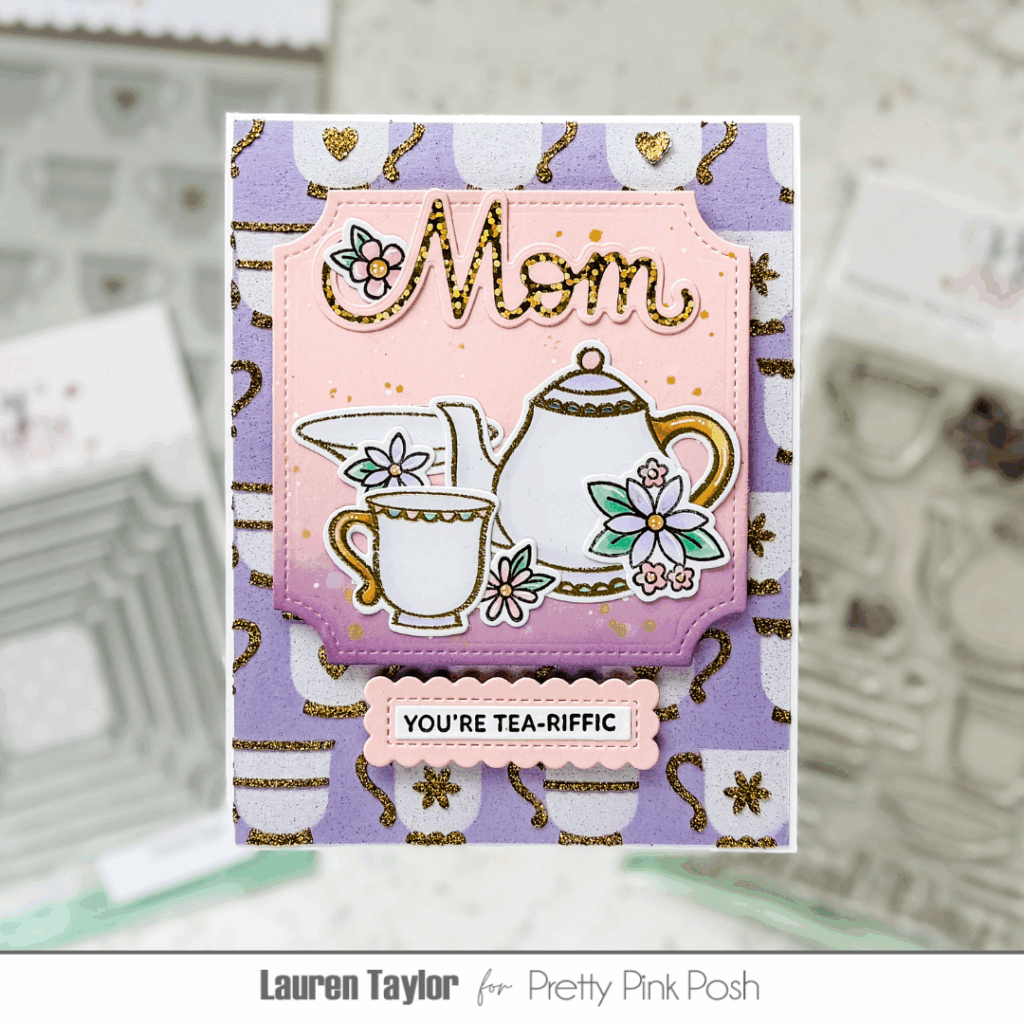
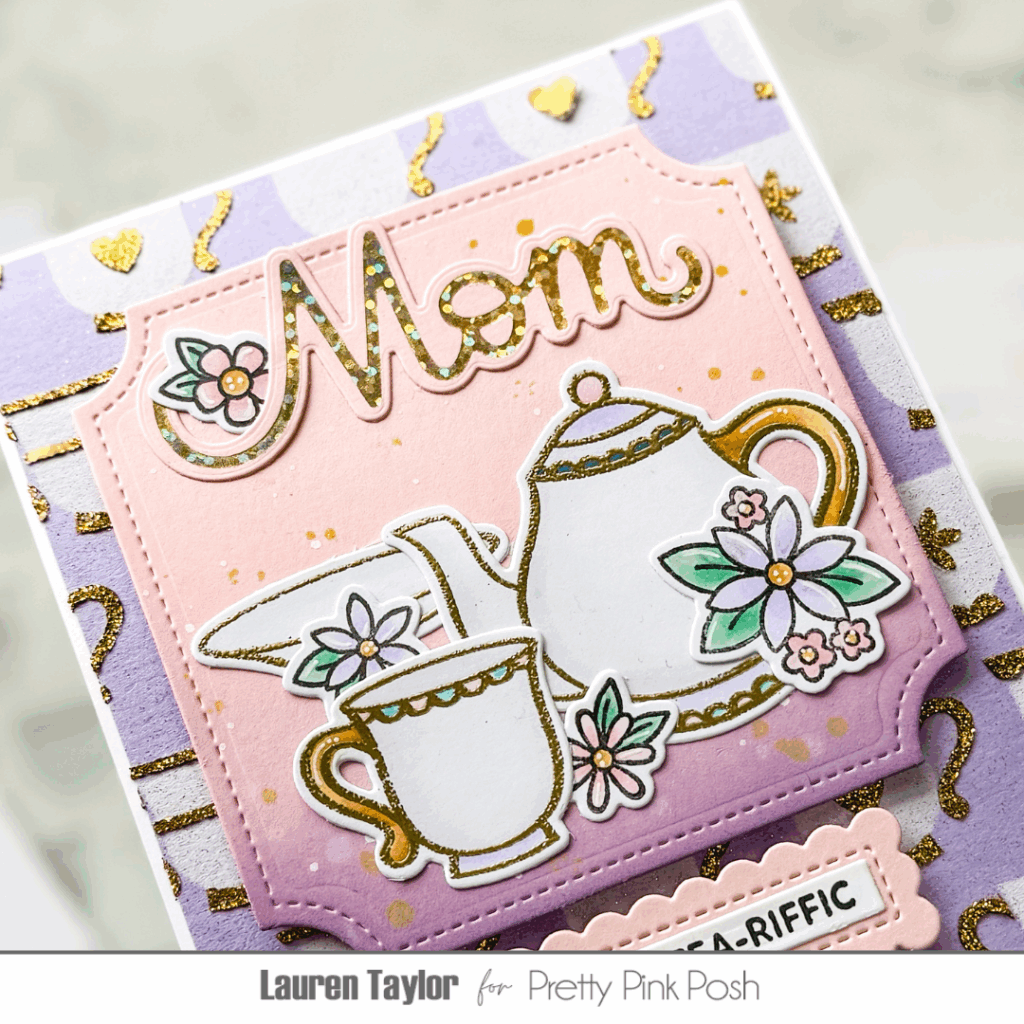
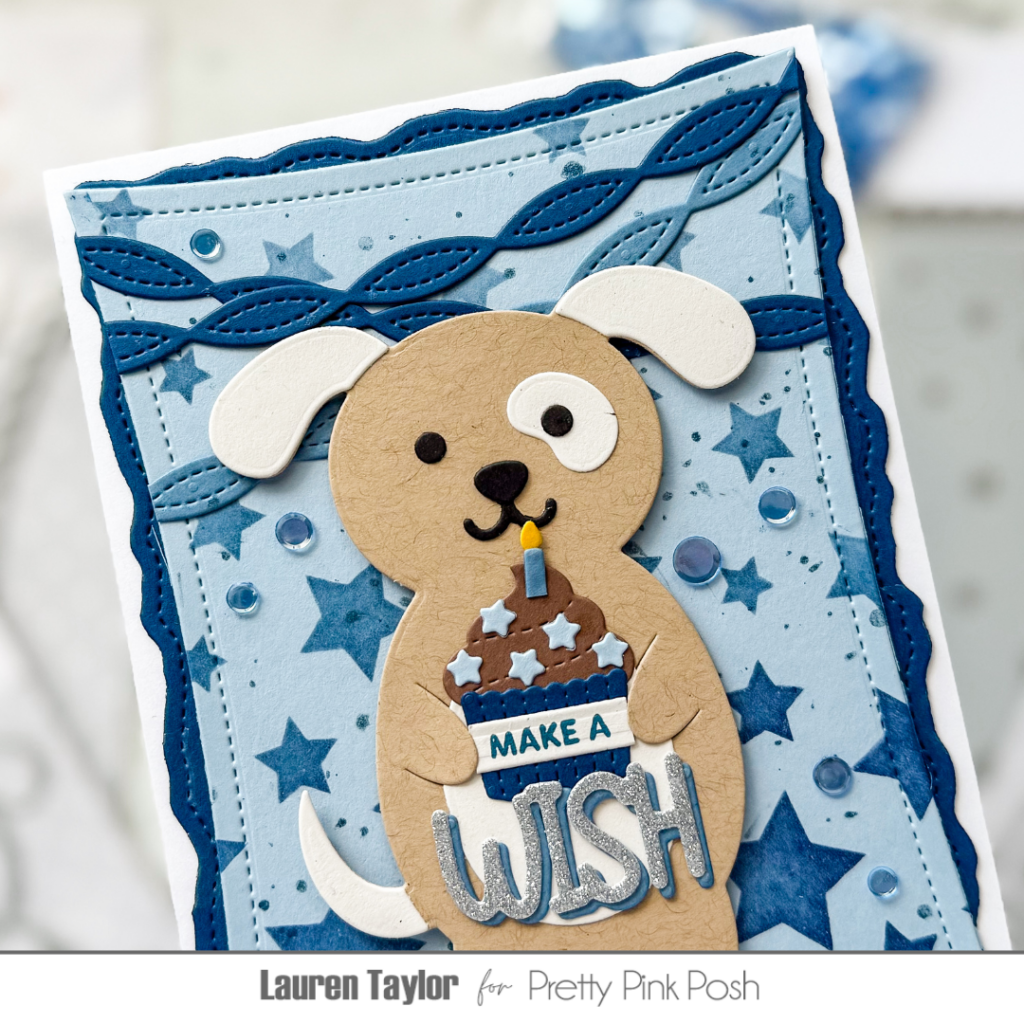
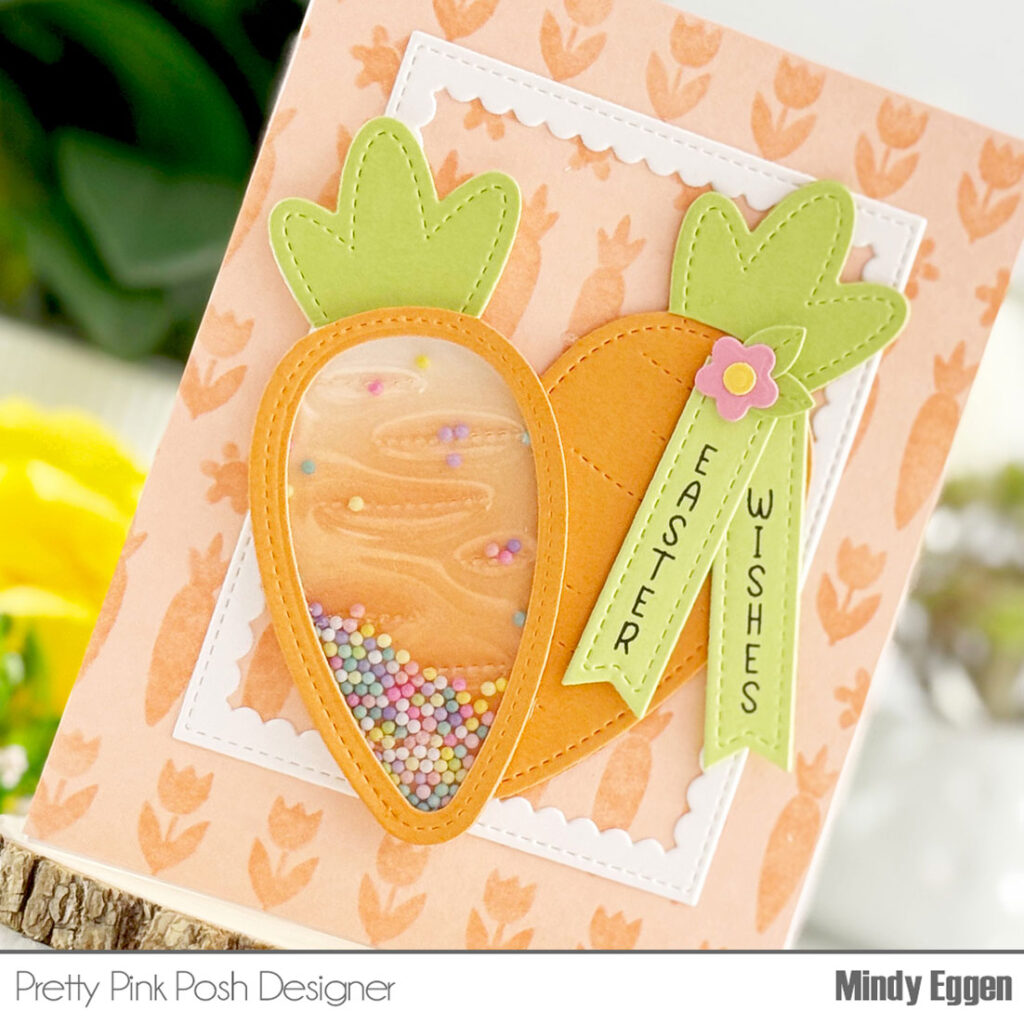
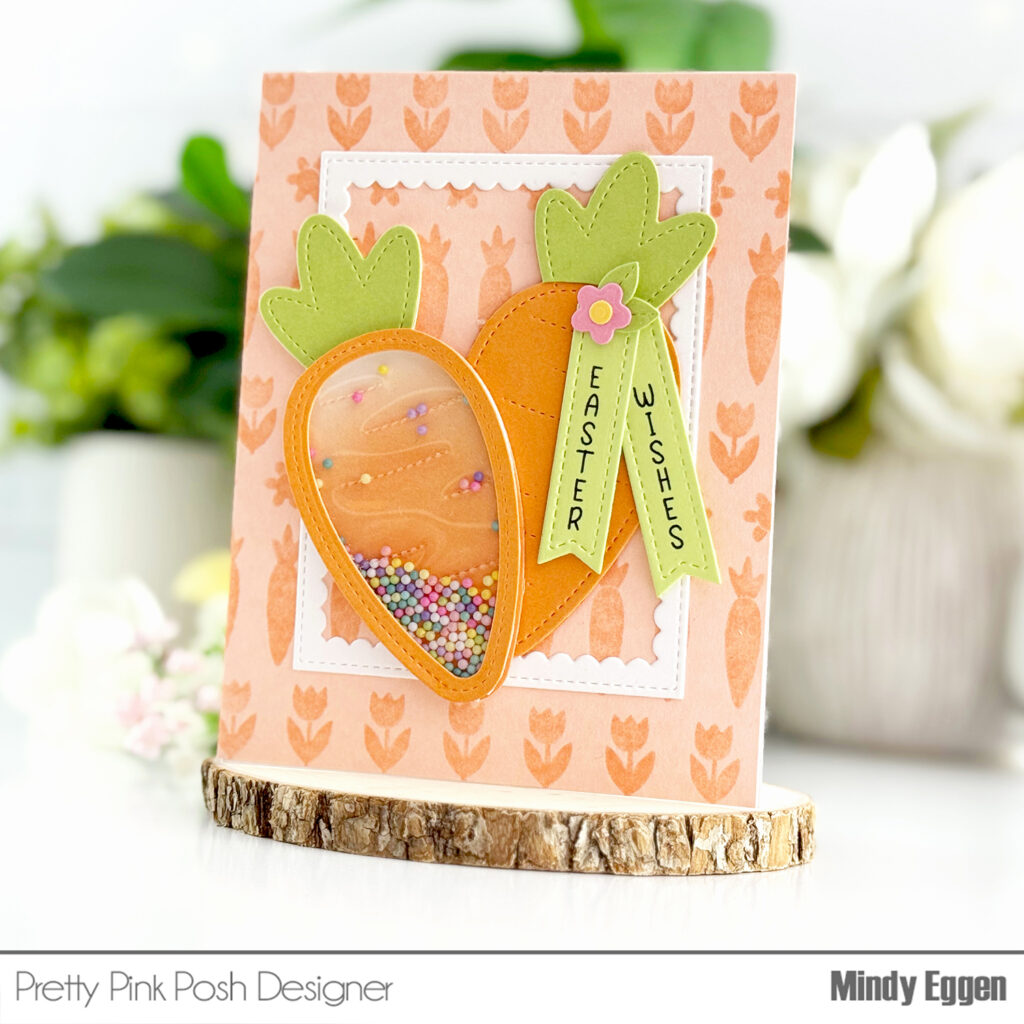
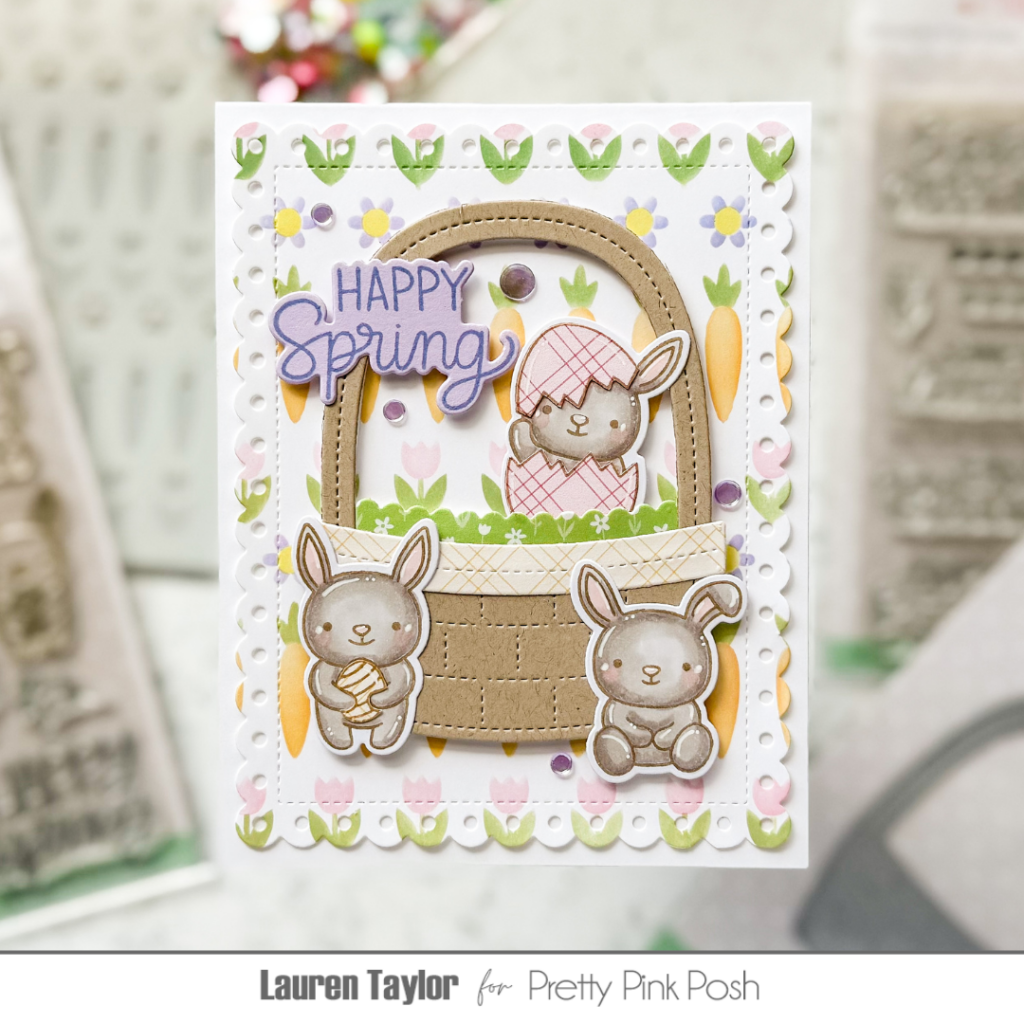
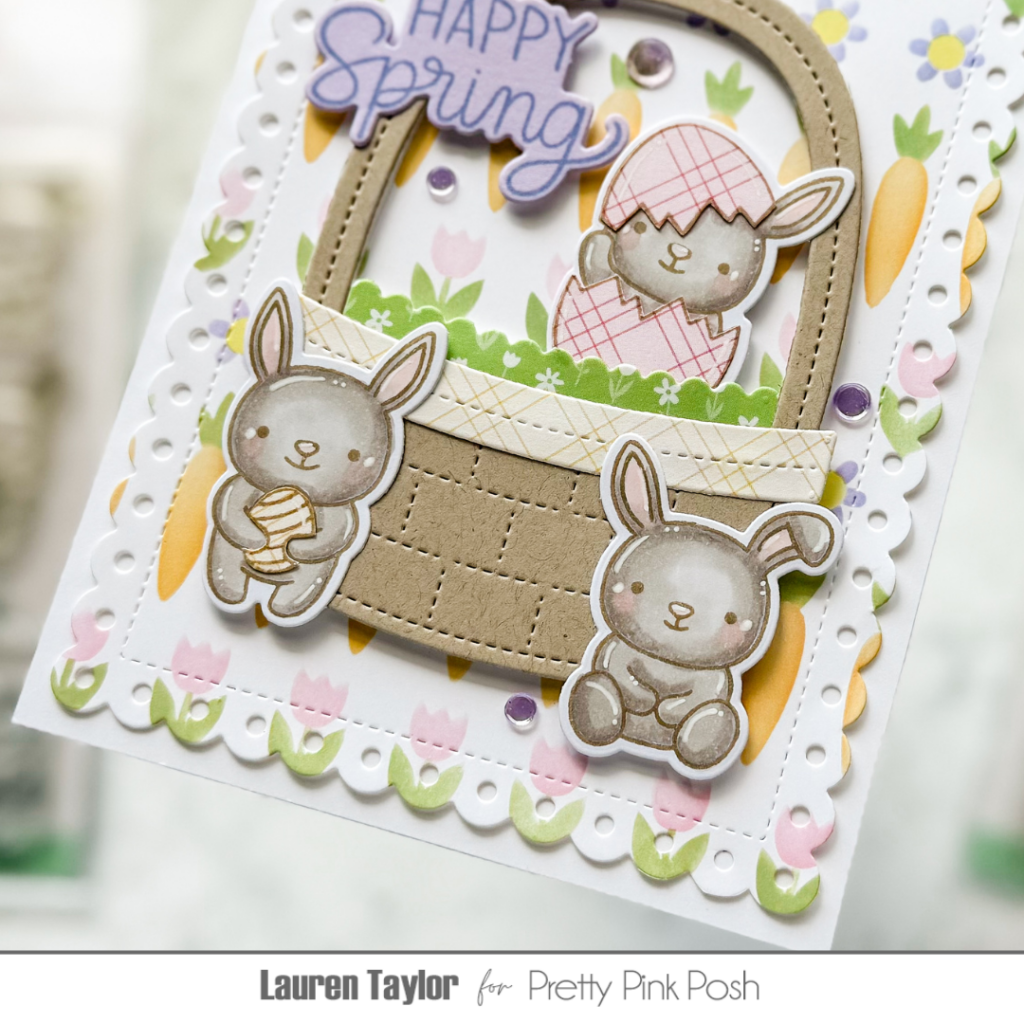
Get ready for a burst of spring with this delightful floral shaker card. I’ve been playing with so many gorgeous new products, including the innovative Vase Shaker Dies, the beautiful Spring Floral Dies, and the intricate Layered Blooming Vines Stencils. To add a touch of delicate detail, I also used the Scallops Pierced Plate. And of course, no card is complete without a heartfelt sentiment, which I pulled from the Friend Greetings stamp set and its coordinating dies.
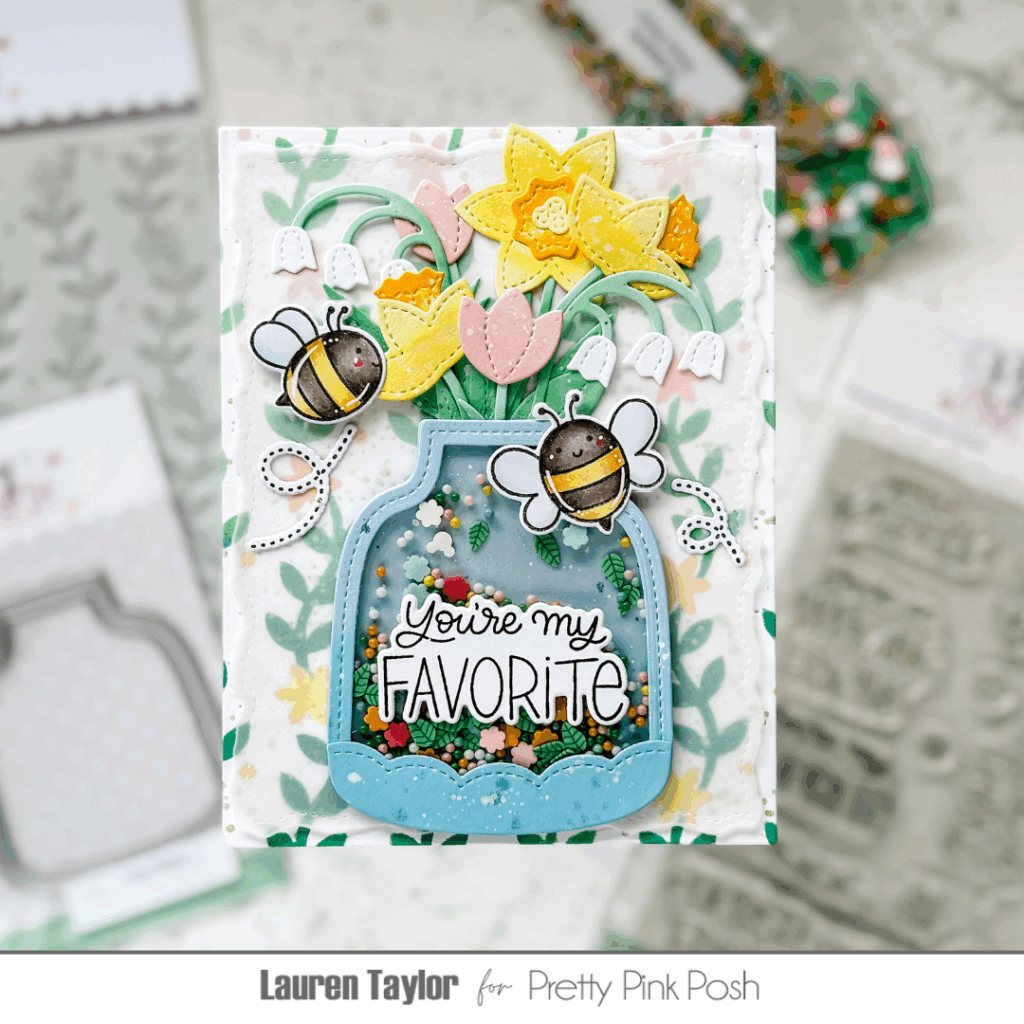
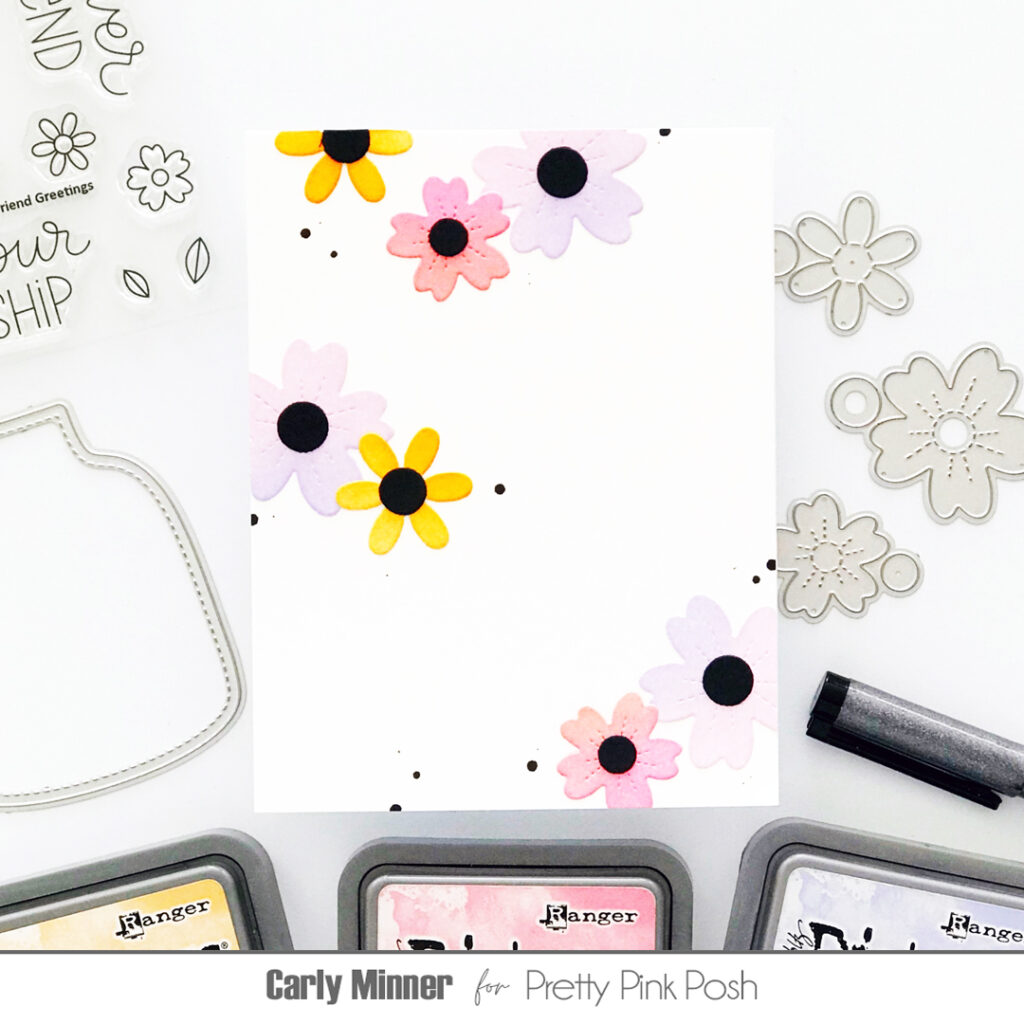
To create this lovely card, I started by crafting a vibrant background using the Layered Blooming Vines Stencils and Distress Oxide inks in Cracked Pistachio and Lucky Clover for the leafy vines, blending from light to dark. For the second layer of the stencil, I brought in Spun Sugar and Squeezed Lemonade Distress Oxides to create a colorful floral pattern. A touch of watercolor splatters added a bit of shimmer before I die-cut the panel with the Scallops Pierced Plate. Then came the fun part – die-cutting a variety of flowers and greenery from pastel cardstock using the Spring Floral and Vase Shaker Dies. To add depth and interest, I ink-blended Distress Oxides and splattered Distress Spritzes in coordinating colors onto each die-cut piece.
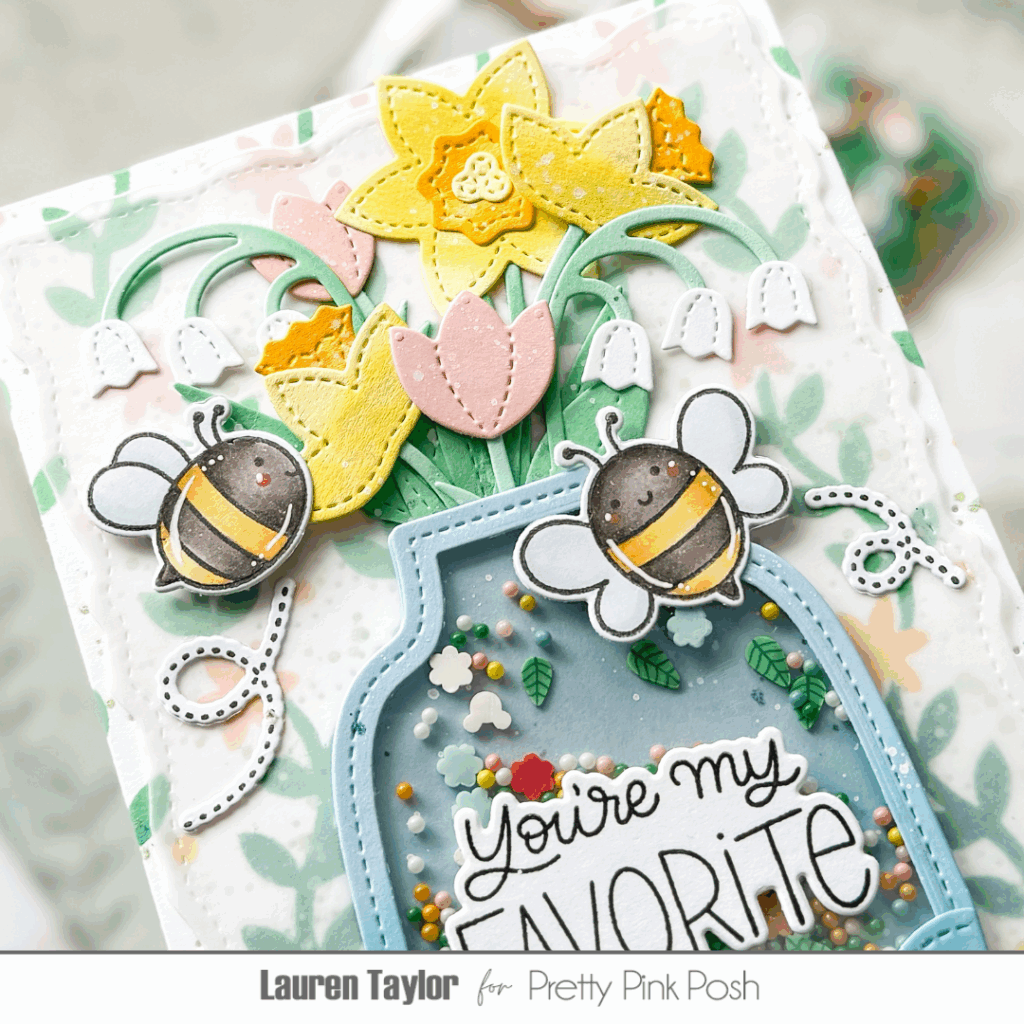
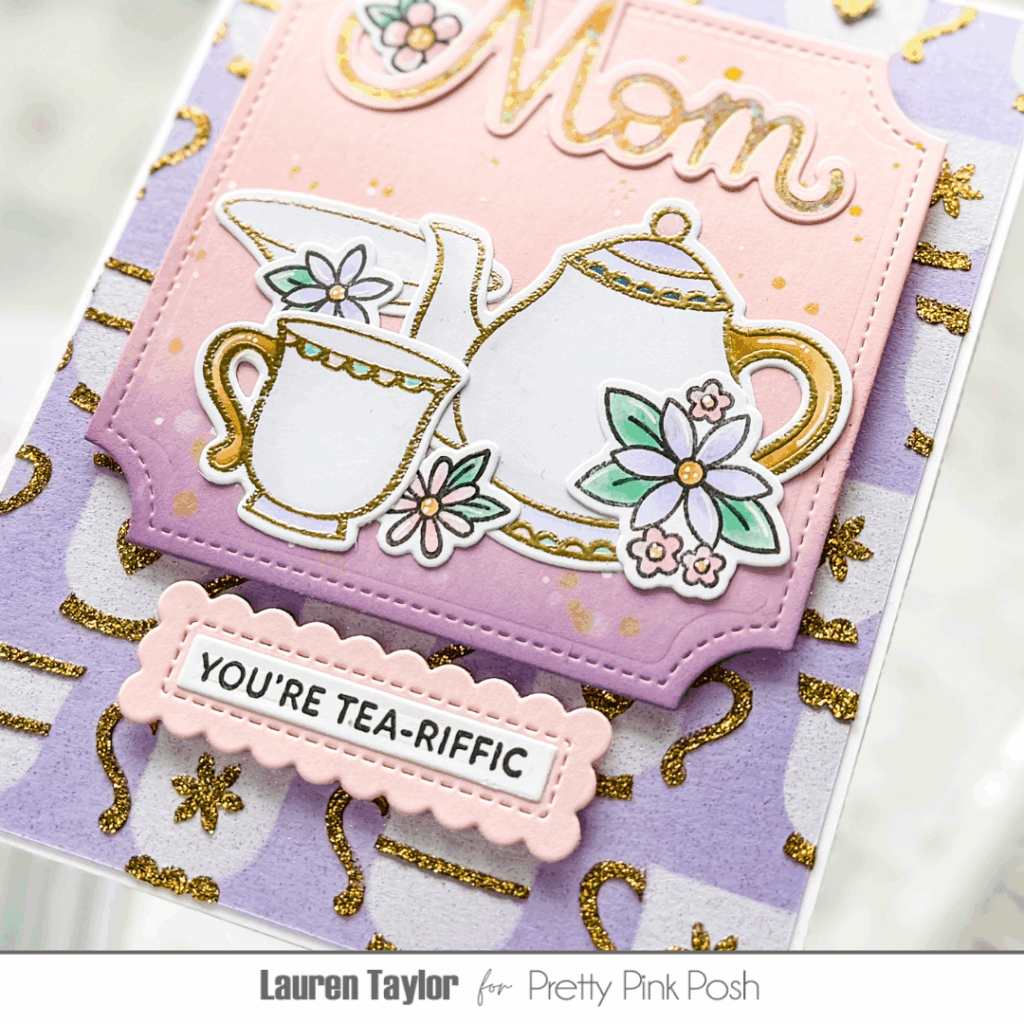
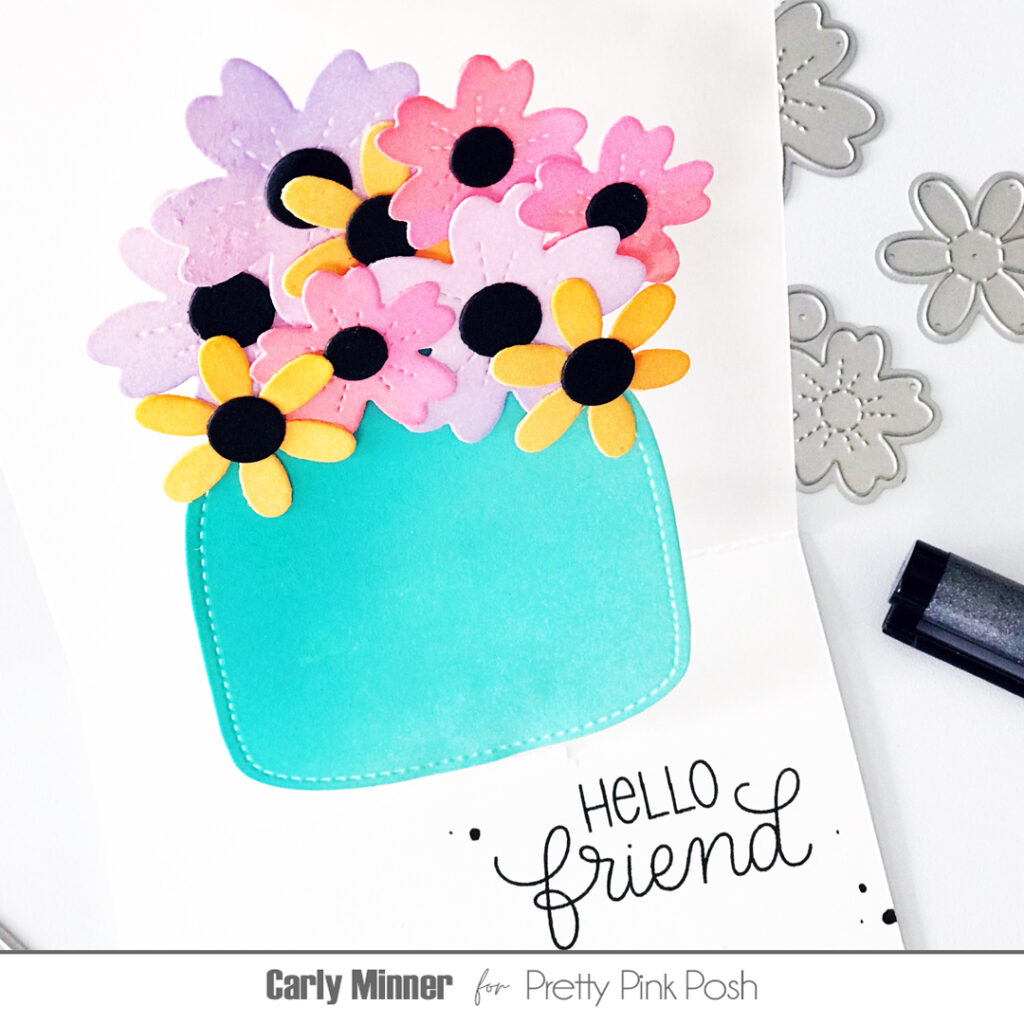
The shaker element truly brings this card to life! I die-cut the Vase Shaker from acetate and adhered the frame. After adding foam adhesive to create a well, I filled it with a charming mix of Enchanted Garden Mix and Enchanted Shaker Beads for delightful movement and sound. Because I felt the background was a bit busy with the floral arrangement, I die-cut a piece of vellum using the Stitched Torn Rectangle Dies and arranged all my die-cut flowers and greenery onto it, using the vase shape as a guide. This allowed me to create a soft layer over the background while still allowing the stenciled details to peek through.
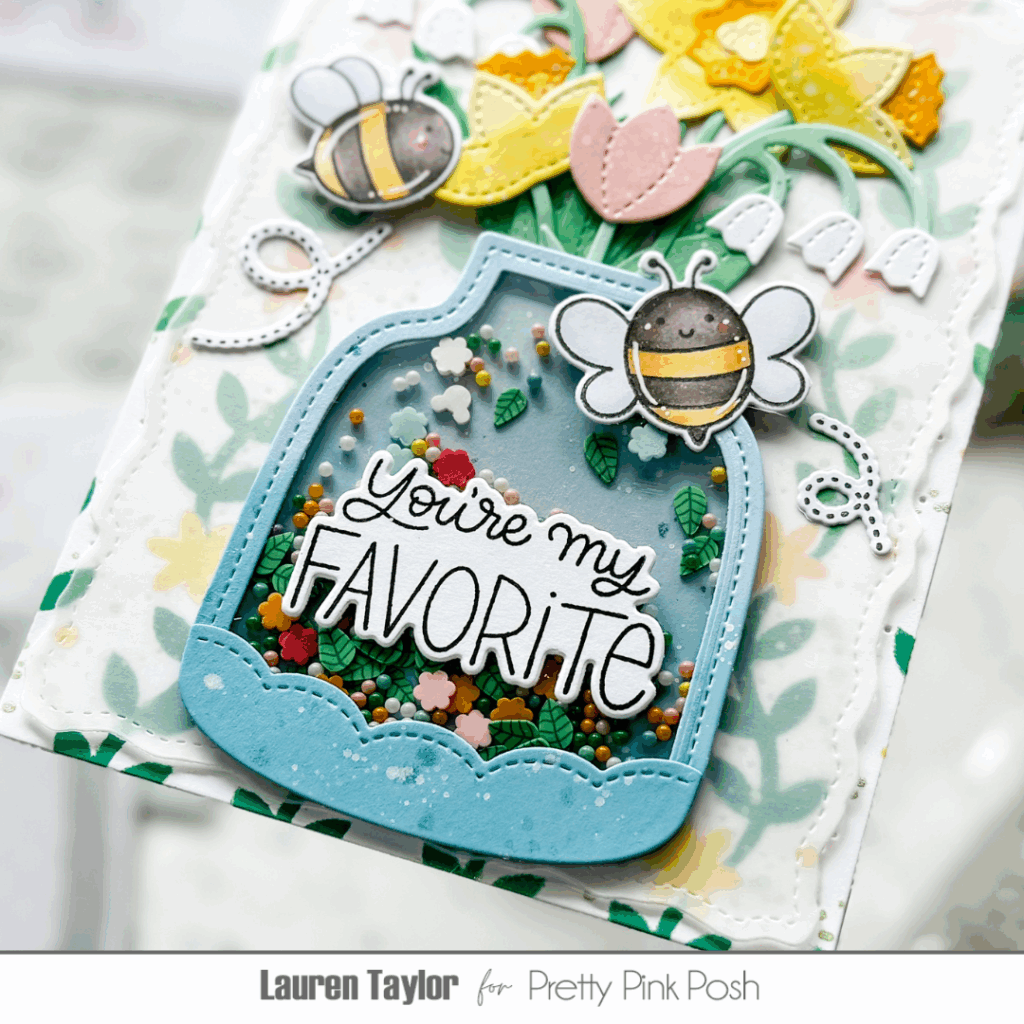
Finally, I adhered the vellum with the floral arrangement to the stenciled background and then attached the shaker vase over it. I added the sweet “You’re My Favorite” sentiment onto the vase and embellished the card with adorable little bees from the Bee Friends Stamp Set and coordinating dies, popped up on foam adhesive for dimension.
Thanks for stopping by. Happy crafting!