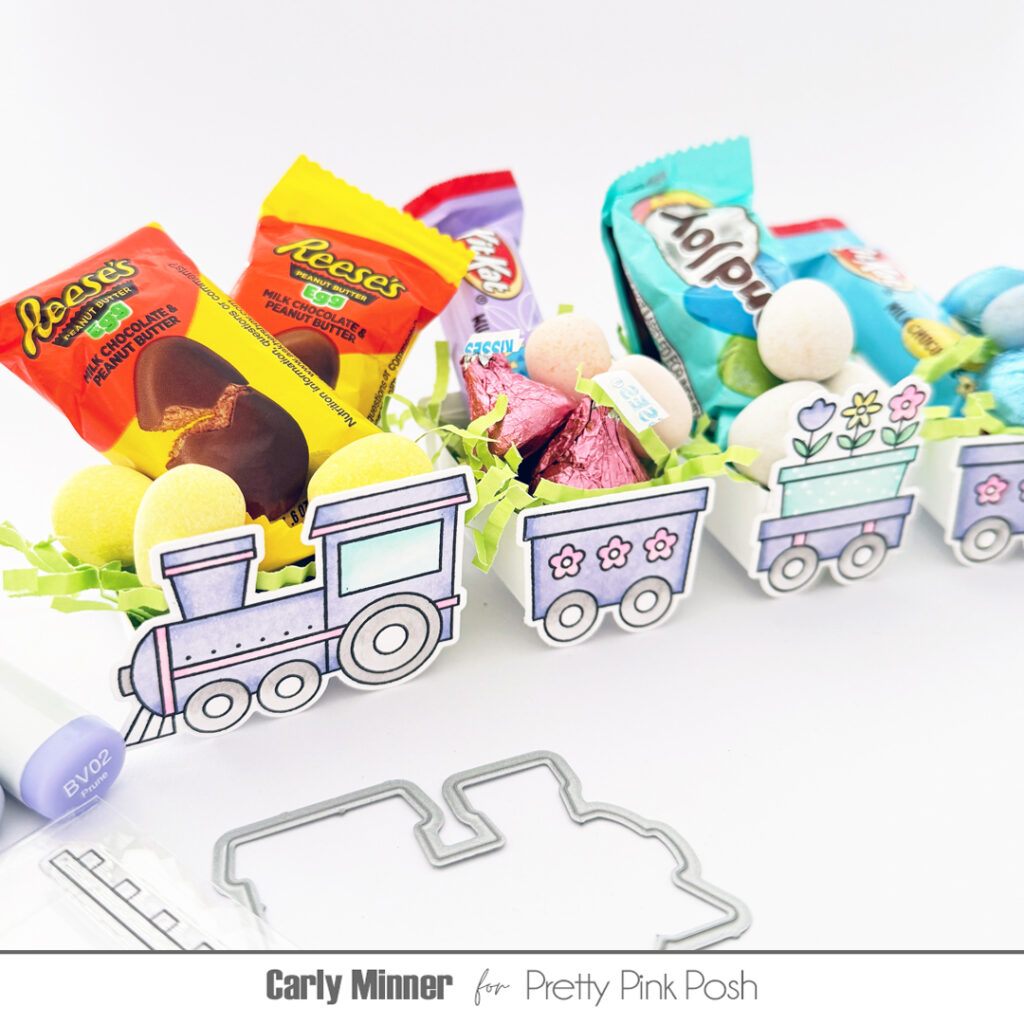
Hi Crafty Friends! Carly here and I’m getting so excited for spring…the sunshine, the flowers, the candy…I love Easter candy! And since I love Easter candy so much, I decided to create a little treat train to fill with candy!
I’ve made these little treat trains before (HERE) and they are so fun every time! And they are truly so easy to make with a simple formula for creating a box, which you can see in the process video!
Thanks so much for stopping by! I hope you’ll join us again tomorrow for another day of Easter inspiration.
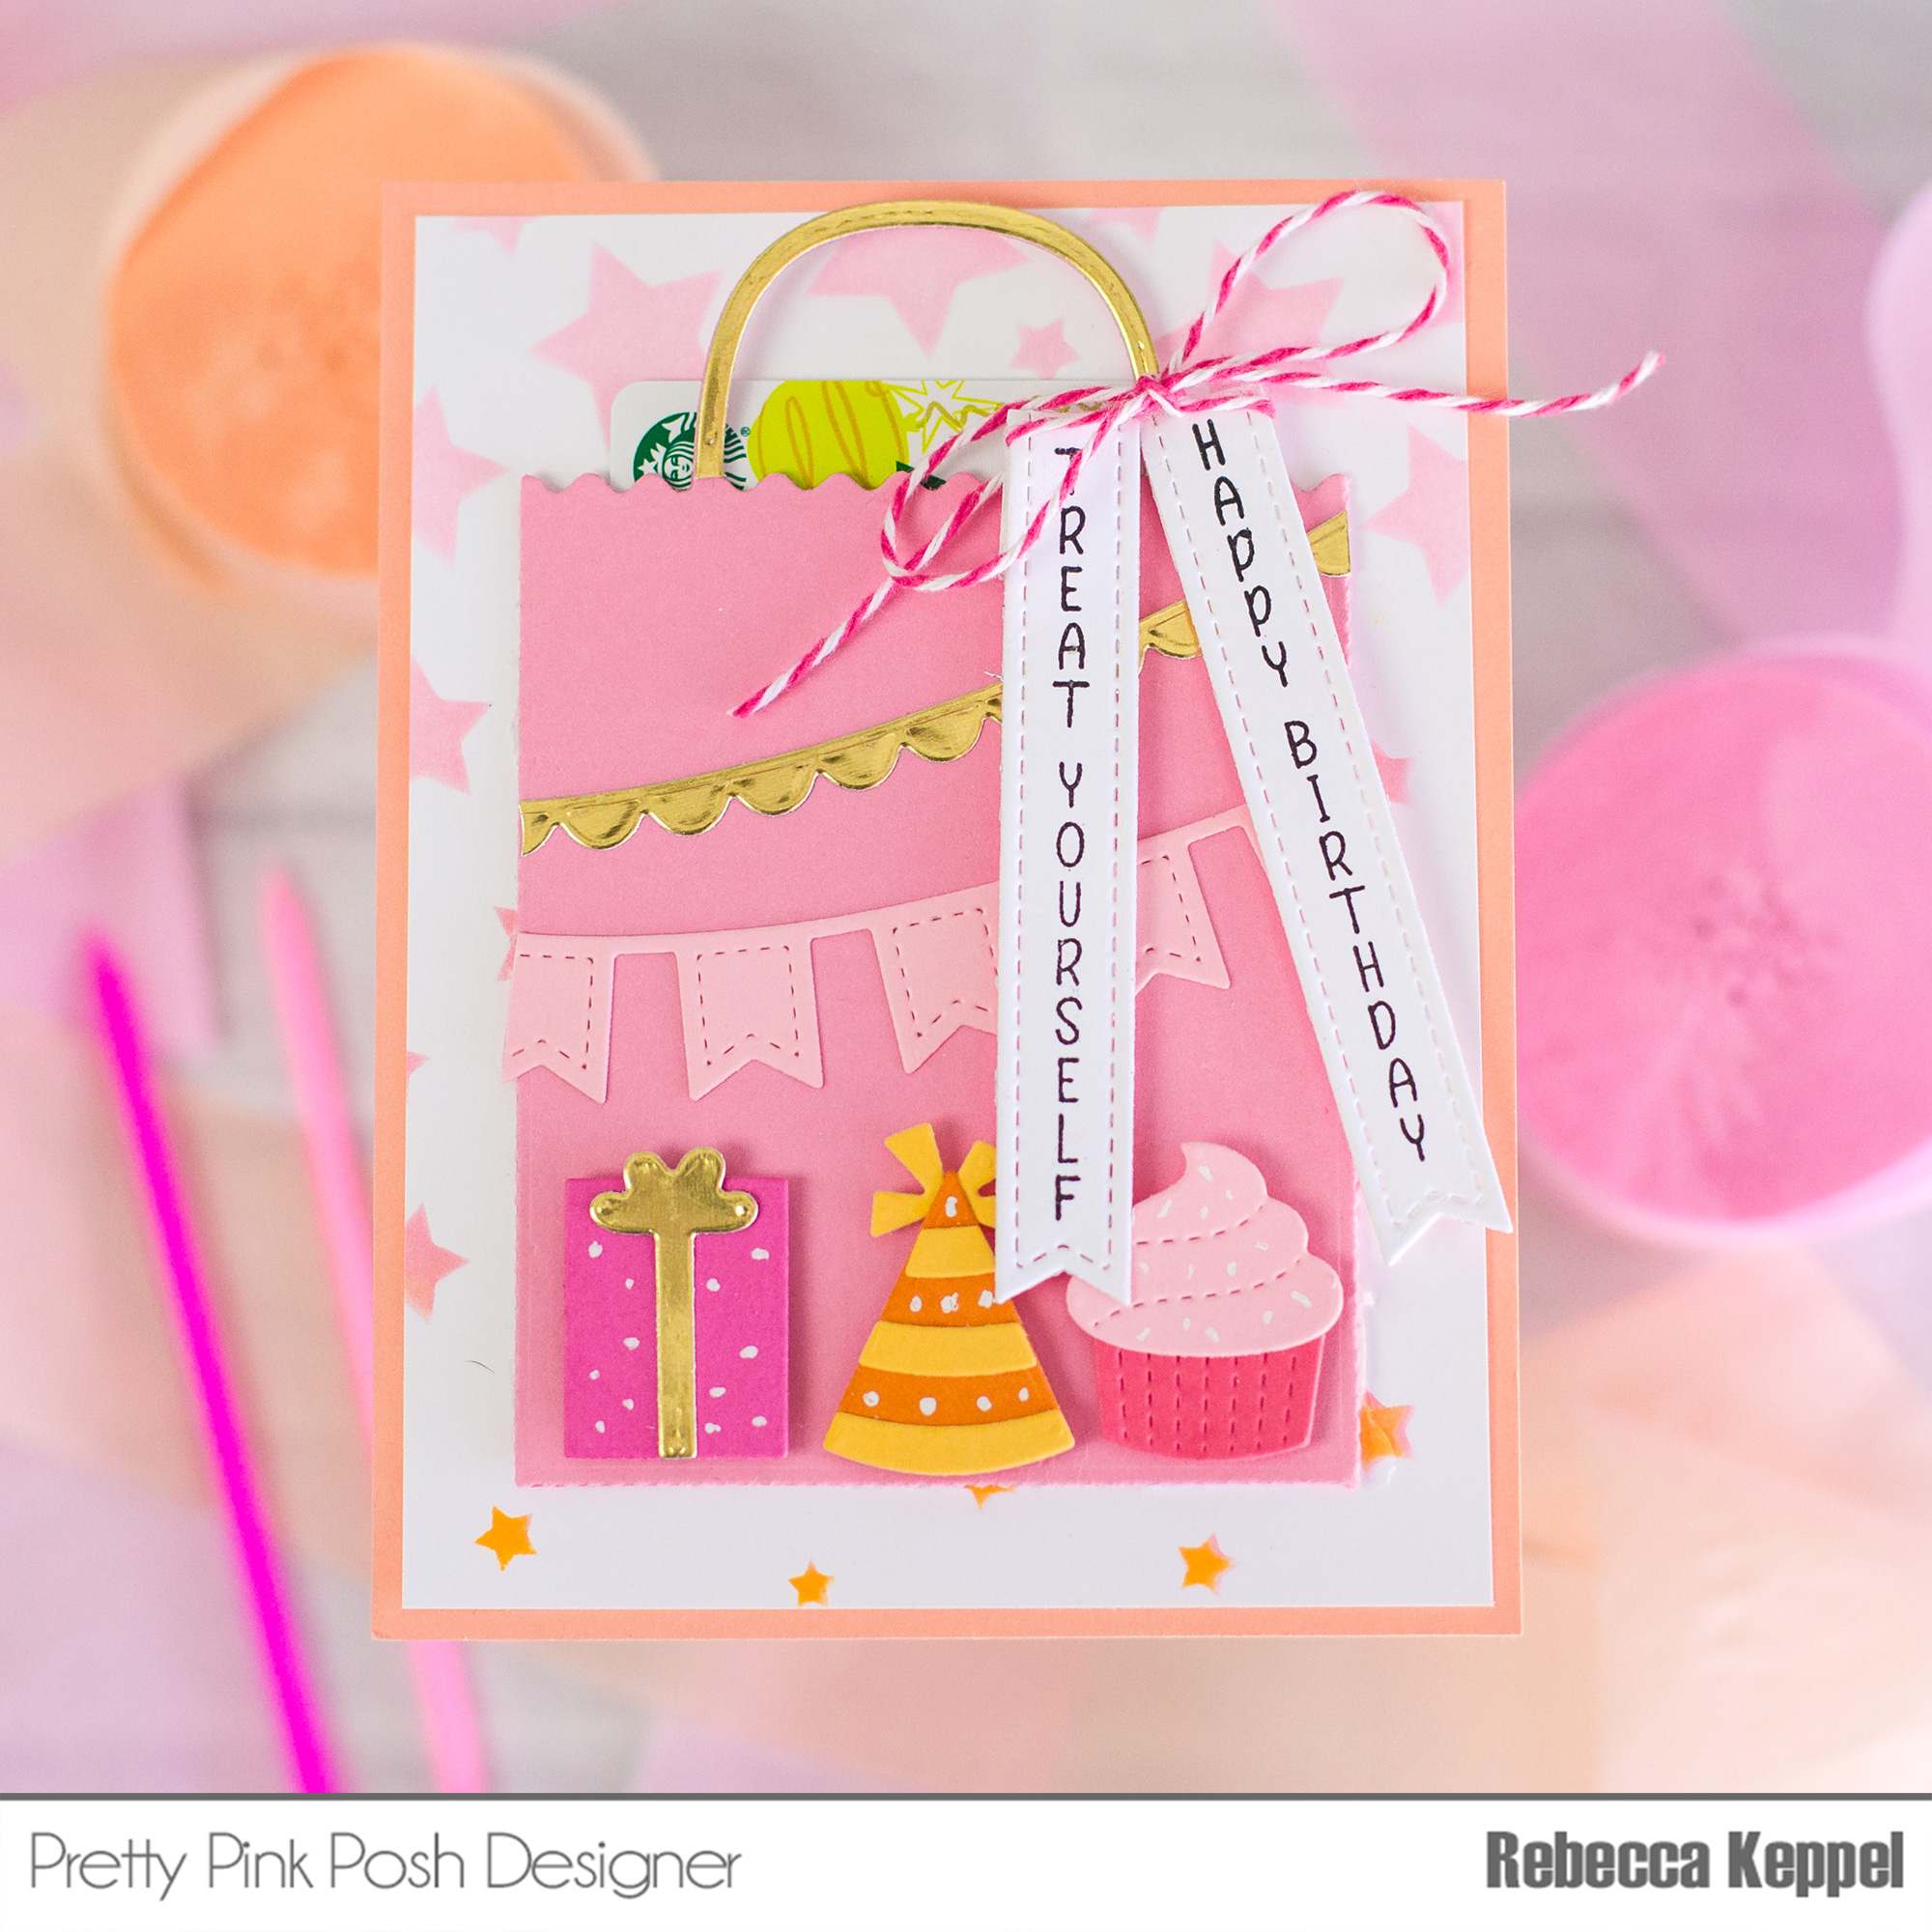
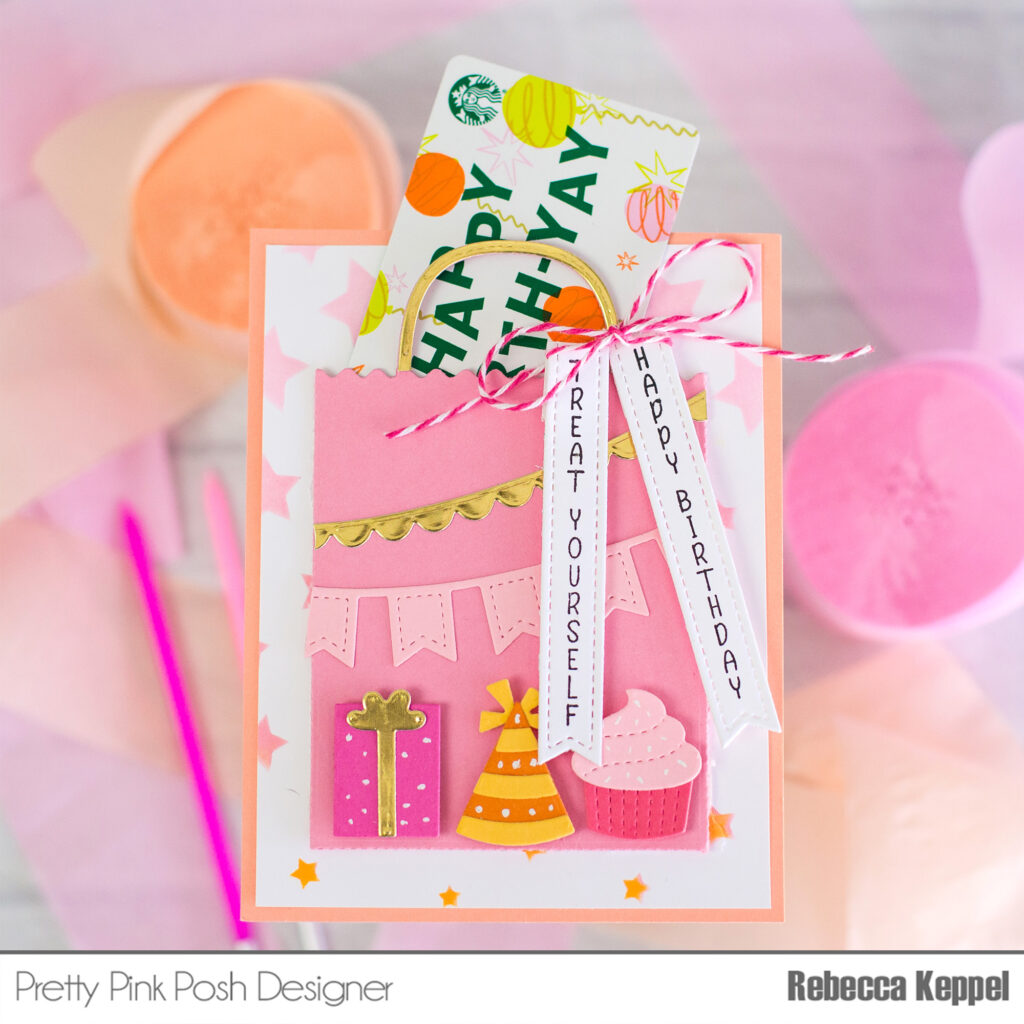
Hi crafty friends! Rebecca here with a birthday card gift card holder! I love creating gift card holders so it’s so easy to give a quick last minute birthday gift!
To create this gift card holder, I started by creating the background with the Cascading Stars Stencil in a gradient of colors. Cut the panel down to 4×5.25” and matte on one of the colors of cardstock.
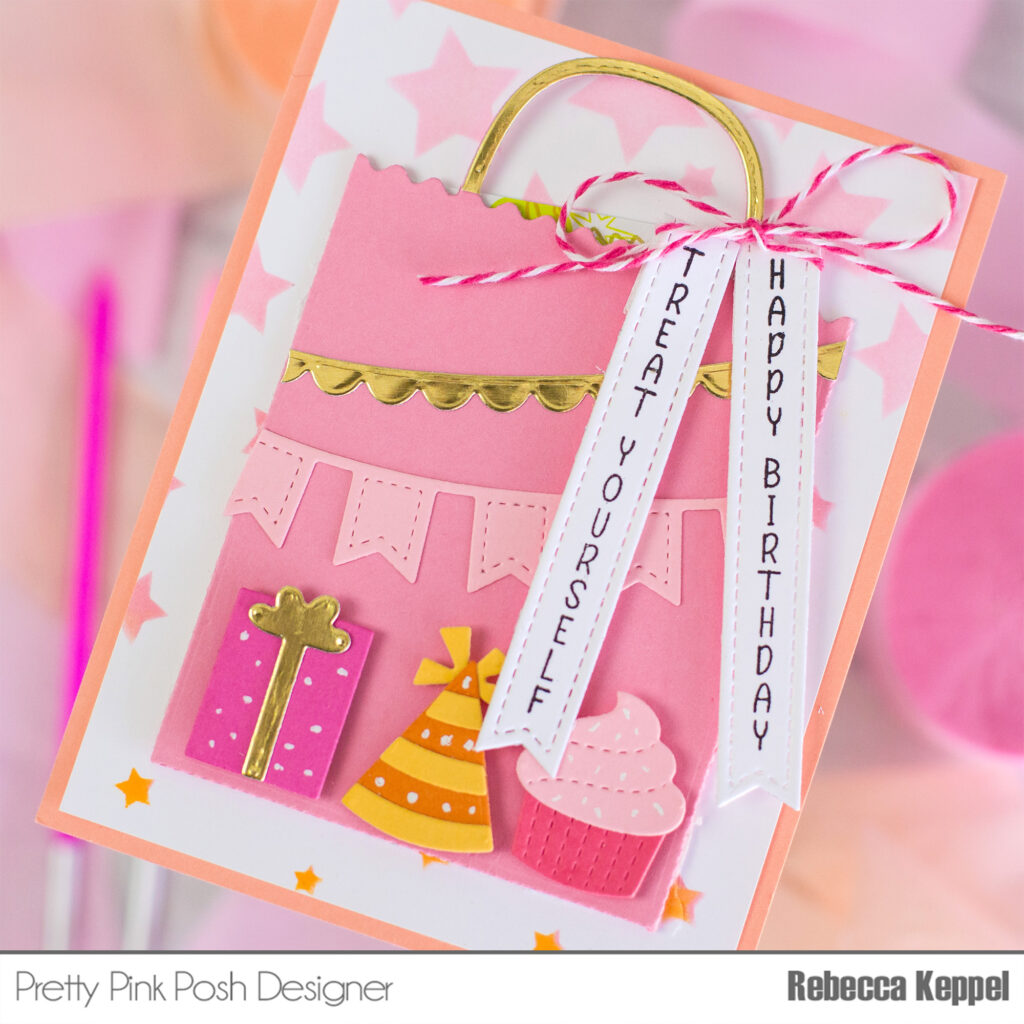
Then I cut the previously released Gift Card Bag Dies out of a coordinating color of cardstock. There are easily foldable flaps on three sides of the gift bag so bend them back, add double sided tape and then adhere down to the stars background.
For a sentiment, I stamped two of the Upright Greetings: Birthday Stamp Set and then cut them out with one of the Sentiment Strip Dies. Fold the tops of the flag back and fold over twine. Adhere them with foam squares and then tie a bow with the twine. Now you can slide your gift card into your decorated birthday gift bag!
I hope you’ll give this combination of stamps and dies a try so that you have a quick gift to give in a last minute situation!
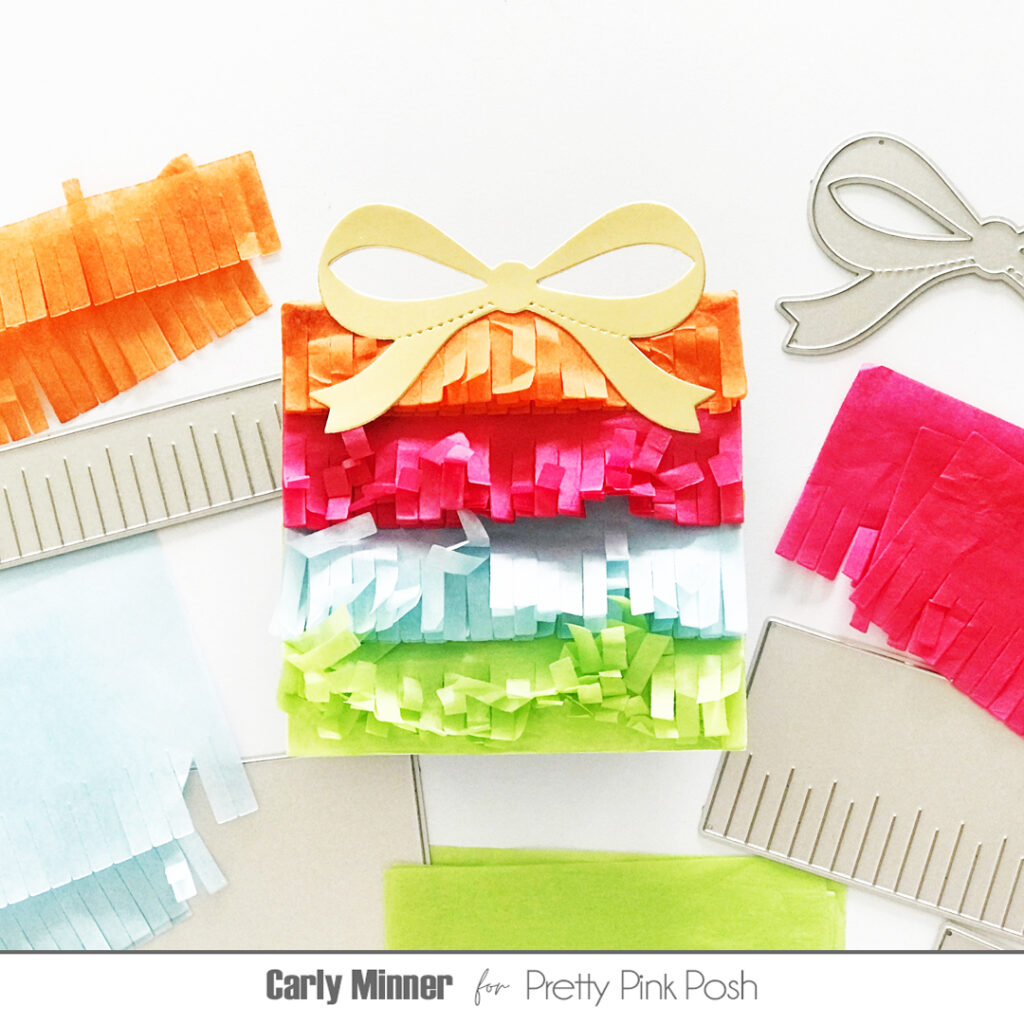
Hi Crafty Friends! Carly here and I love fringe! I think it is so festive & fun so of course I was over the moon when Pretty Pink Posh released the Fringe Present die set! Truly I’ve been smitten with all the Fringe Hearts and Fringe Trees too!
I love to use tissue paper with the fringe dies for lots of fluffy texture and I think it makes this mini card EXTRA in all the right ways!
And how cute is this mini card?!! The small size of the card allows the bow to hang over the edge but still fit nicely in an envelope. Or it makes a really fun card to add to a gift bag because the reinforced bow makes it sturdy enough to hang!
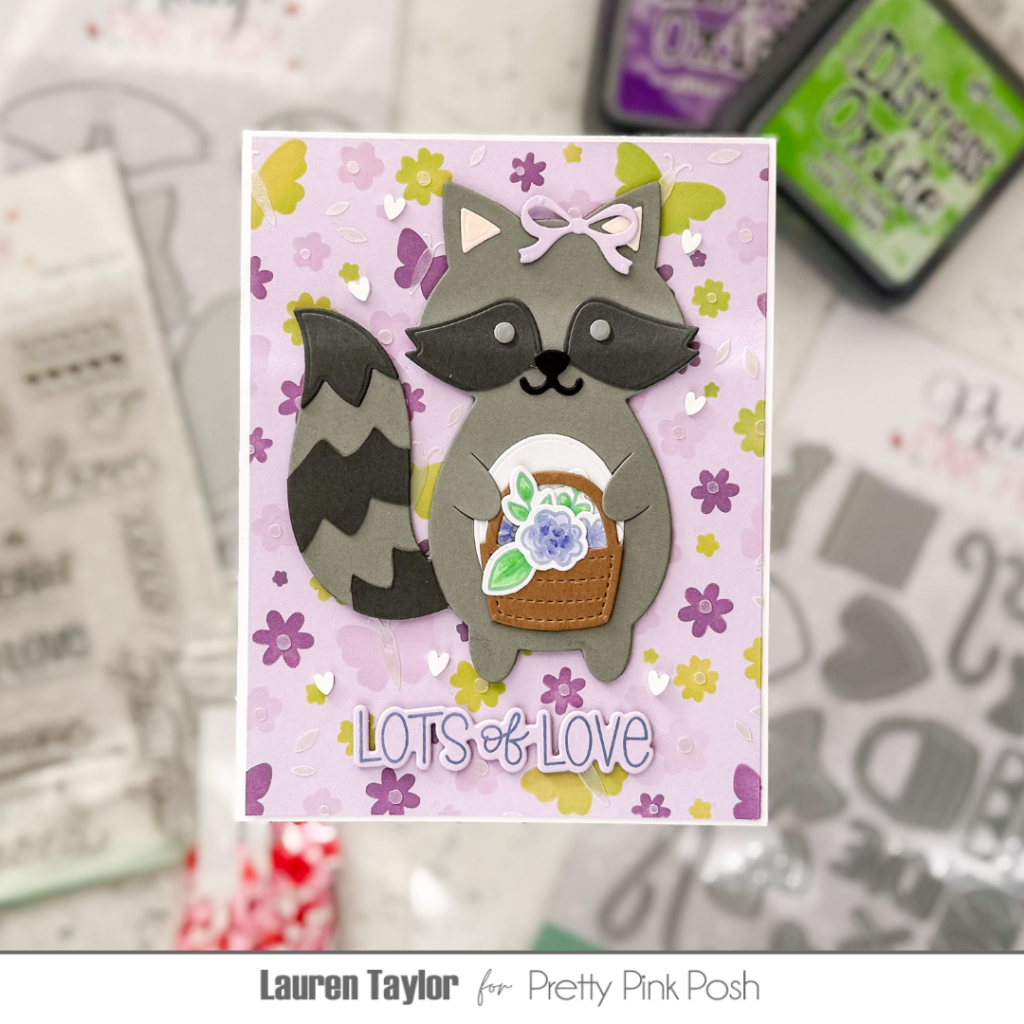
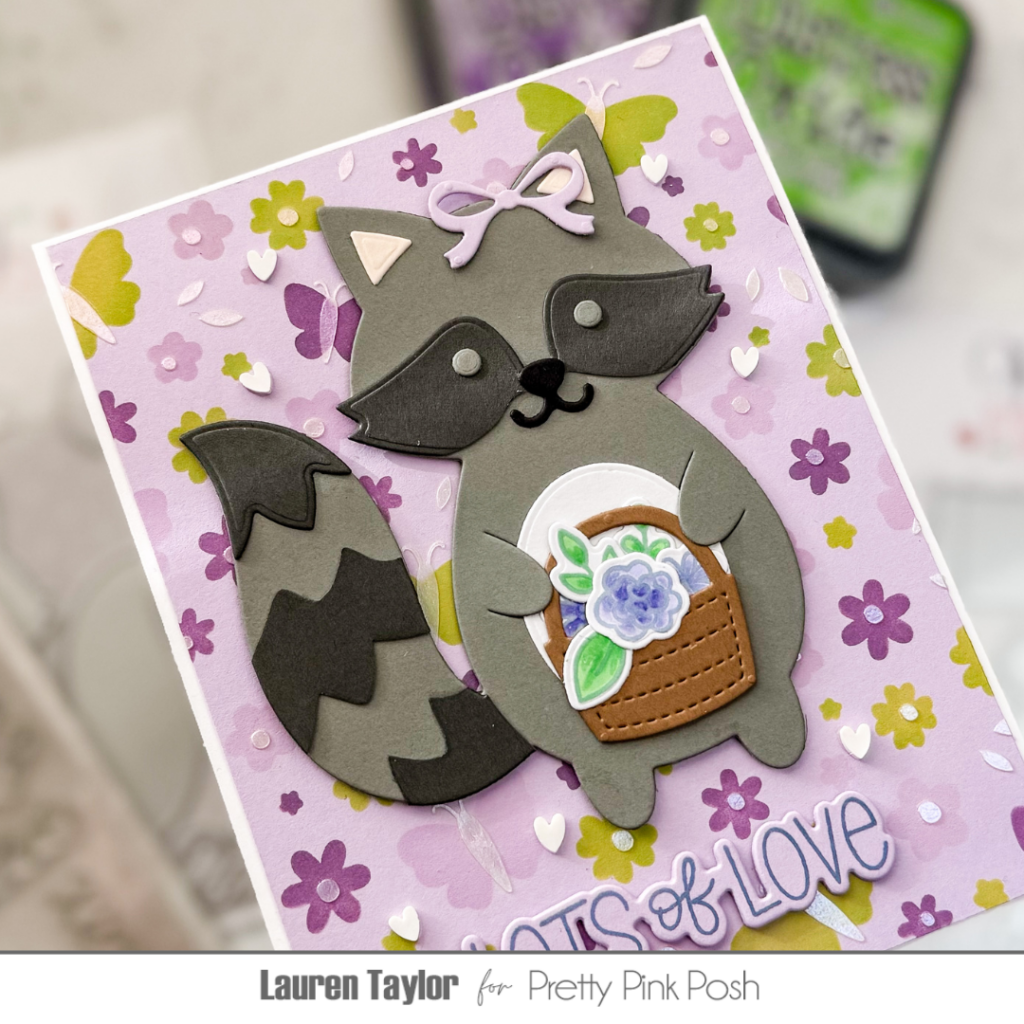
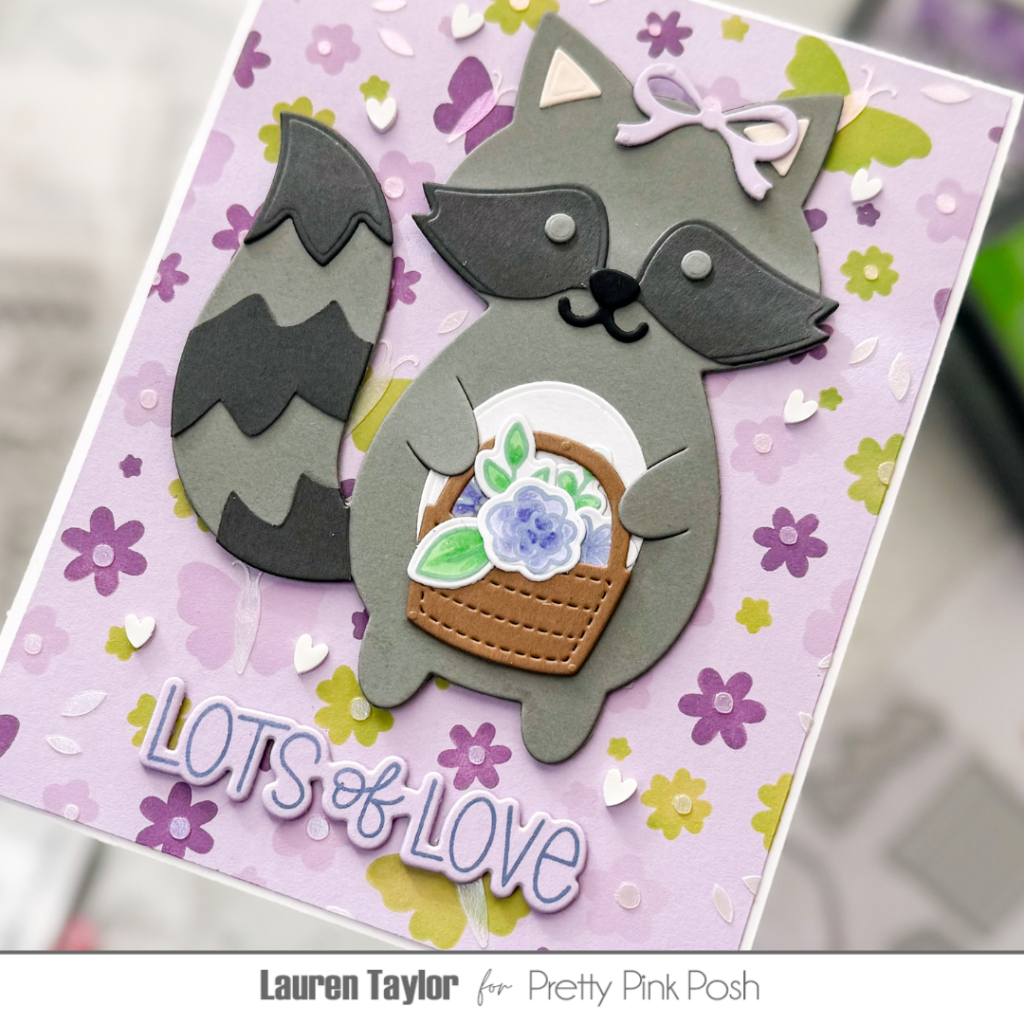
Hi, friends! Lauren Taylor here and I’m so excited that Spring will be here soon, and what better way to celebrate the season than with an adorable handmade card featuring a sweet little raccoon? Today, I’m showing you how to transform the Fox Holder Die Set into a charming raccoon, perfect for a fun and cheerful spring-themed card. I’ll also be using the Valentine Holder Additions Dies, Flower Garden Stamp Setand Coordinating Dies, and the Layered Butterfly Floral Stencils to bring this card to life with soft florals and bright spring colors.
To start, I stamped and colored floral images from the Flower Garden Stamp Set using alcohol markers in shades of purple and blue-violet for the flowers and fresh greens for the leaves. To achieve a crisp and colorful outline, I stamped over the colored images again using VersaFine Clair Inks in Very Peri and Grass Green. Then, I cut all my floral elements with the Flower Garden Coordinating Dies and set them aside.
Next up, the star of the show—our adorable raccoon! I cut the Fox Holder Dies from shades of gray cardstock and customized it by trimming the face piece into a raccoon’s signature bandit mask using darker gray cardstock. I added all the details, including the ears, eyes, and a striped tail, by layering cardstock elements and using liquid adhesive to assemble this little critter. For a sweet finishing touch, I added a bow (originally meant for the basket) to the raccoon’s ear—so cute!
For the background, I ink-blended the Layered Butterfly Floral Stencils onto lilac cardstock using Distress Oxide Inks in Twisted Citron, Dusty Concord, and Milled Lavender. For an extra bit of shine, I added a final layer with Lunar Paste in Royal Flush for a pearlescent effect. Once dry, I assembled my card by attaching the raccoon and floral basket with foam adhesive for dimension. A sentiment from the Valentine Greetings Stamp Set, die-cut with the Valentine Greetings Coordinating Dies and layered for sturdiness, completed the card. For a final touch, I sprinkled a few white heart embellishments from the Valentine’s Day Clay Confetti for added charm.
I absolutely love how this springtime raccoon turned out, and I hope you do too! Happy crafting, and may your spring be filled with creativity and joy!
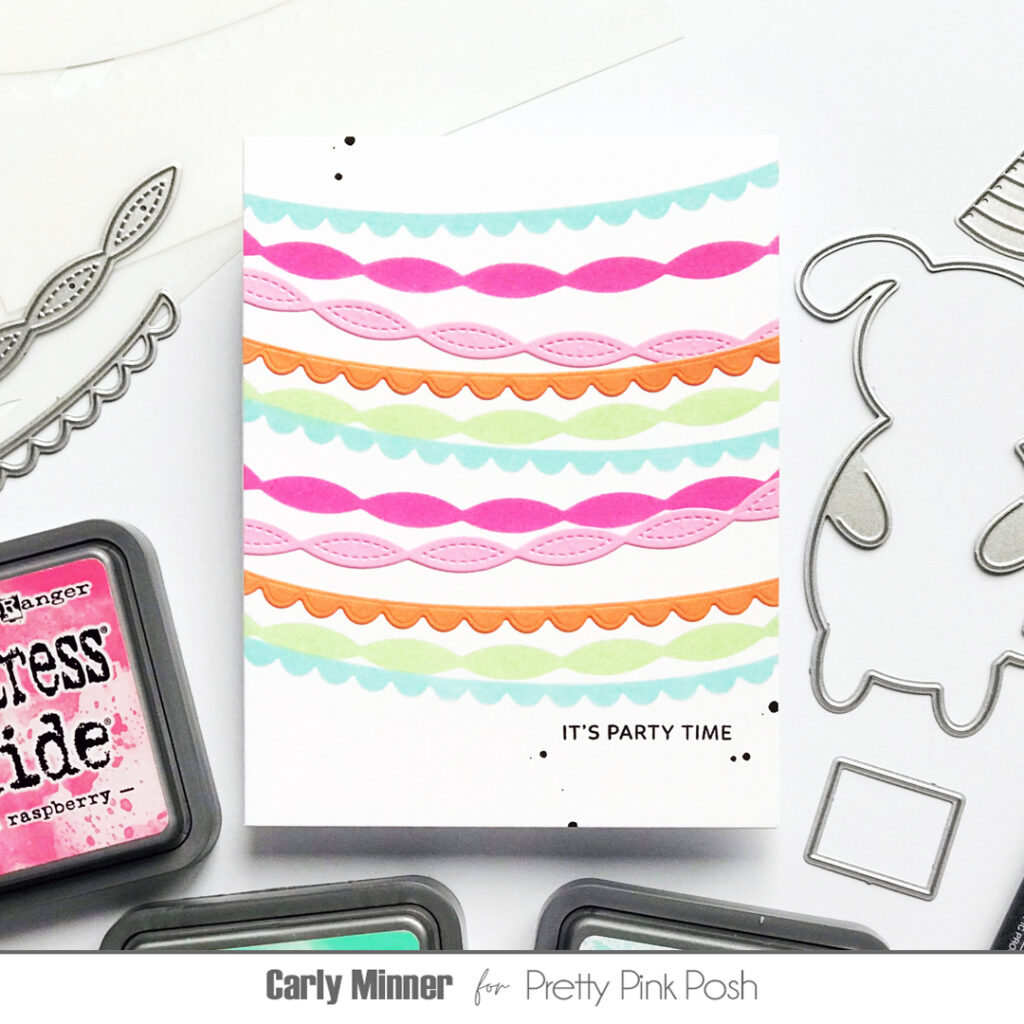
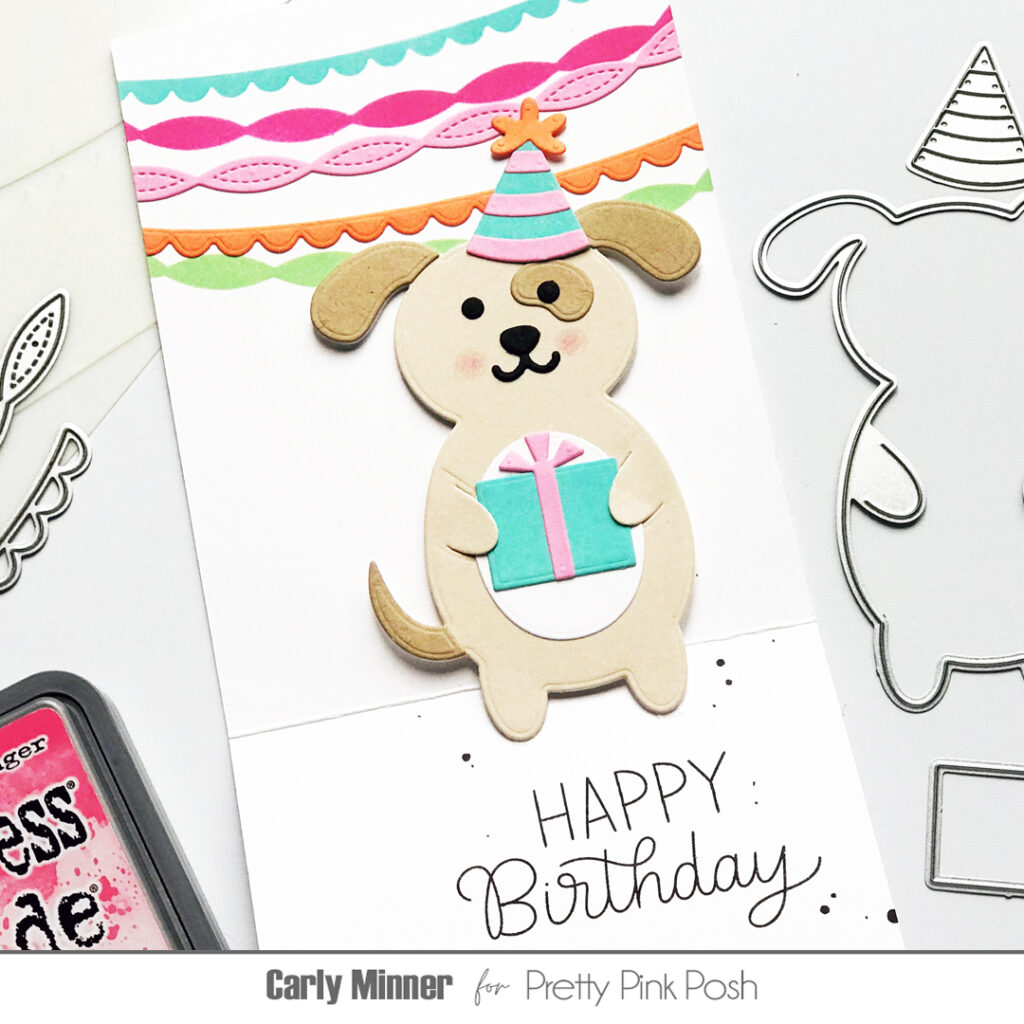
Complicated interactive card designs always seem like too much for my lazy…I mean relaxed crafting heart so I love that there is a pop-up card that takes just a few simple cuts! And I love that this card style pairs so well with the Pretty Pink Posh holder dies!
I used the dog for this birthday card but can you imagine the possibilities?!! A pop up ghost at Halloween! A pop up fox at Christmas!
Thanks so much for stopping by! I hope you were inspired by this pop up card idea!
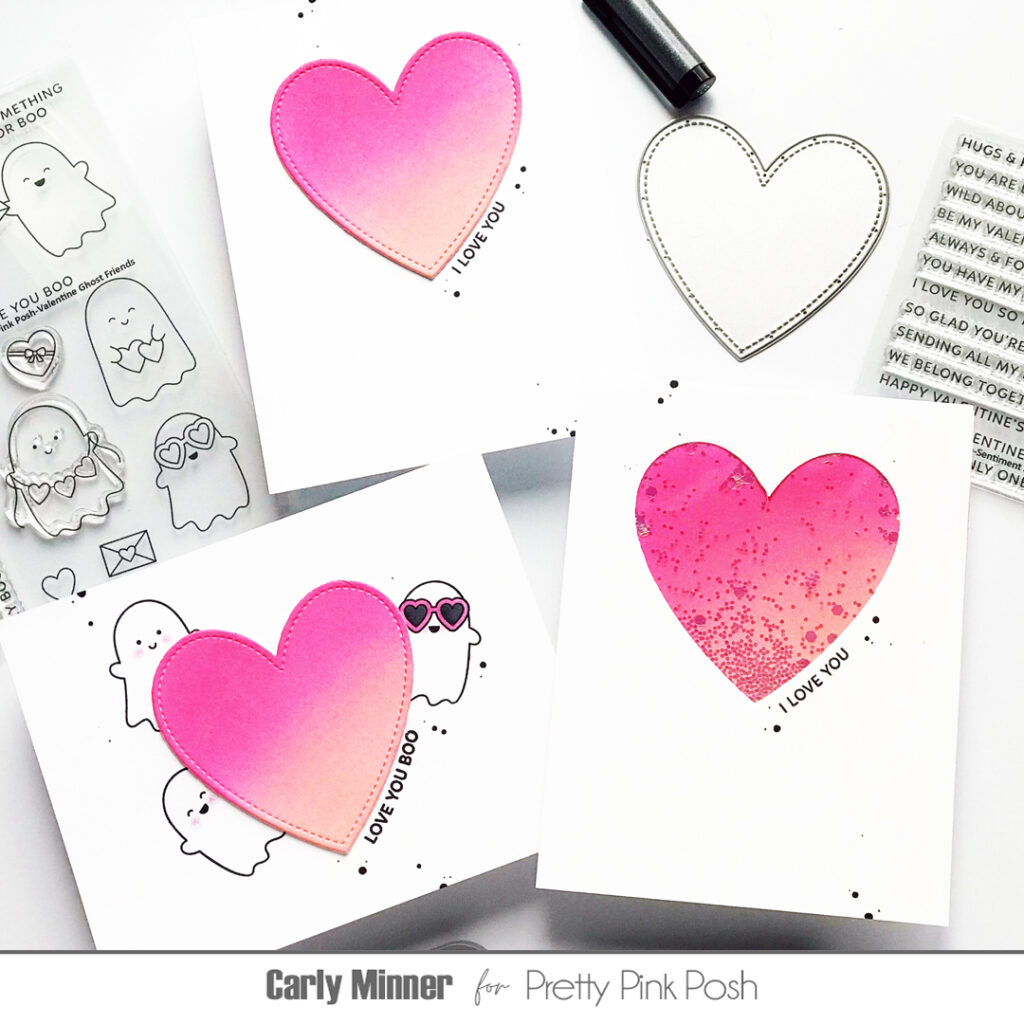
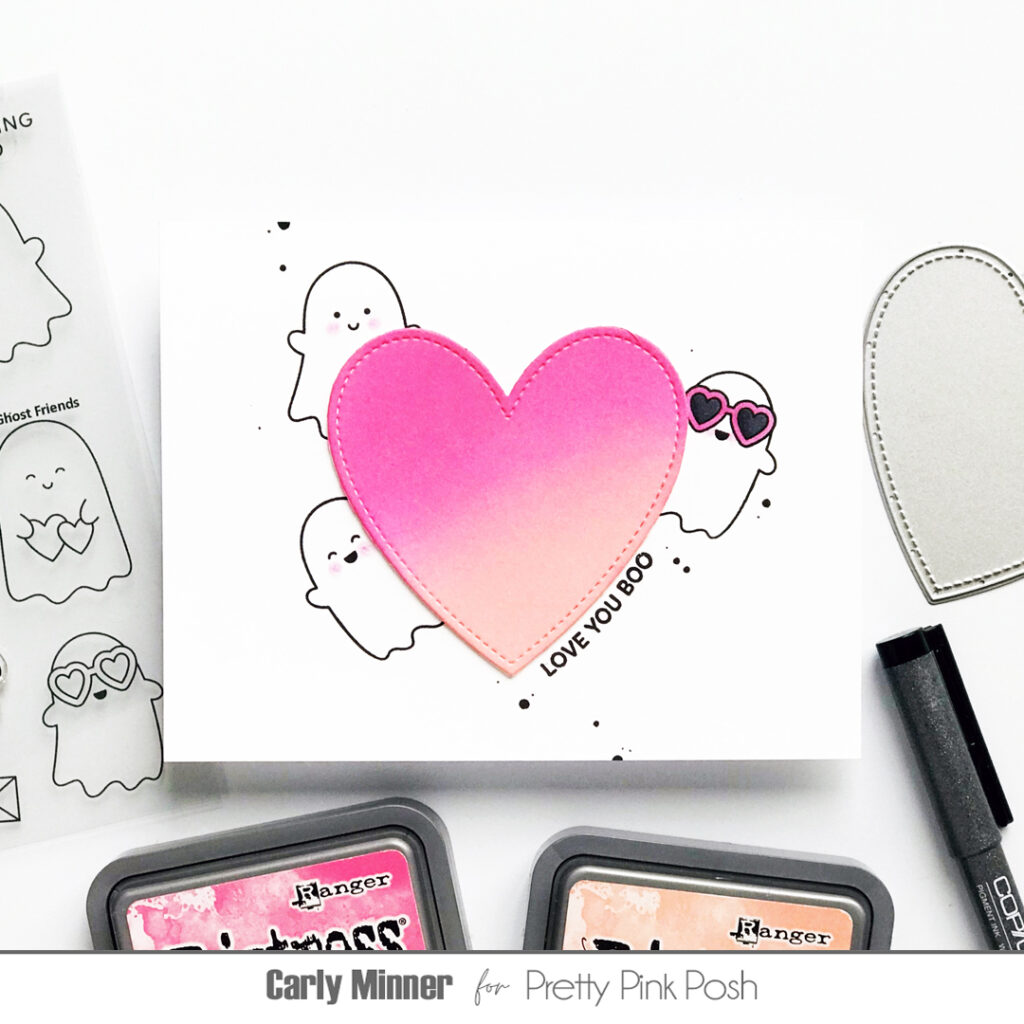
Hi Crafty Friends! Carly here and I’m getting excited for Valentine’s Day! It’s coming up and if you haven’t started to make your Valentine’s cards yet, I have some ideas for cards you can make in a hurry with minimal supplies!
Find ten minutes to create? Add a few black & white stamped critters around a colorful heart! The Valentine Ghost Friends are perfect because they look adorable with just rosy cheeks!
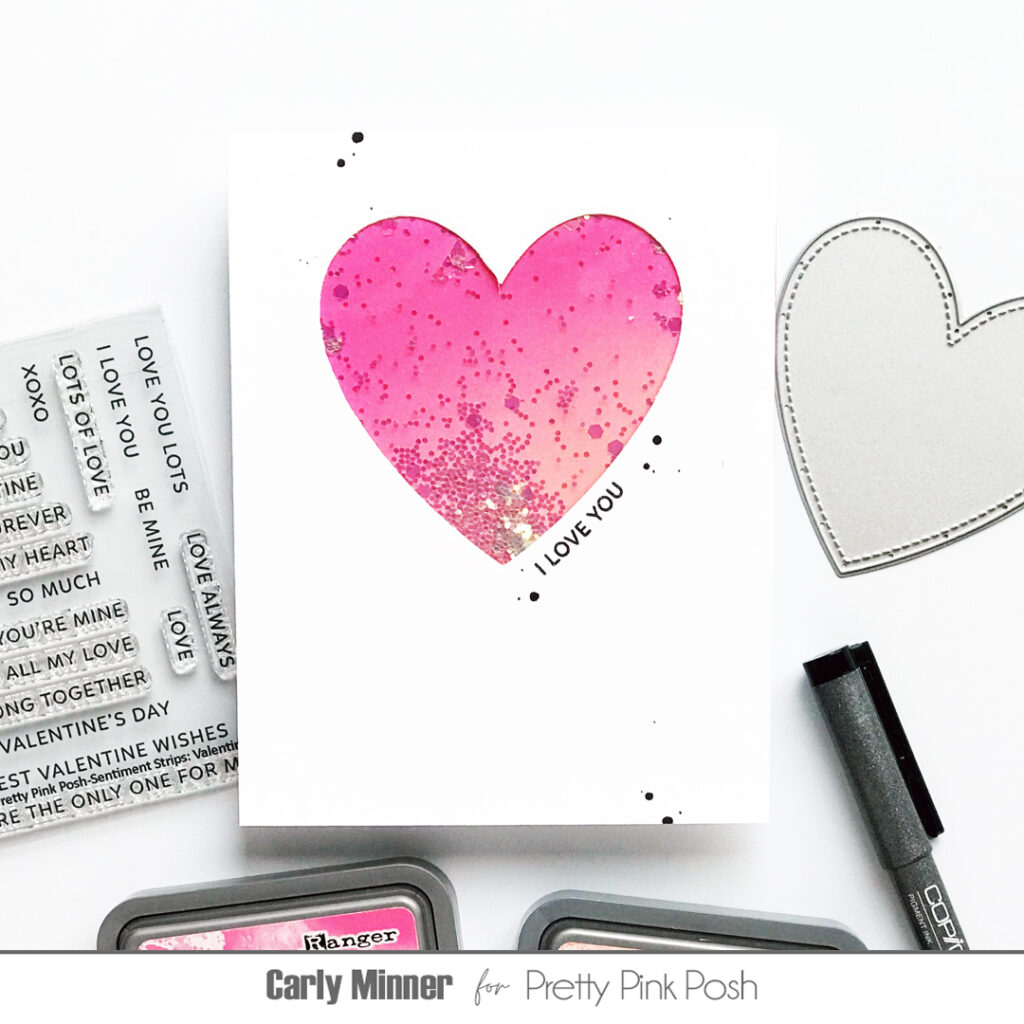
And if you have a little more time, of course I think you should make a shaker!
Thanks so much for stopping by! I hope you were inspired by these quick and easy cards.
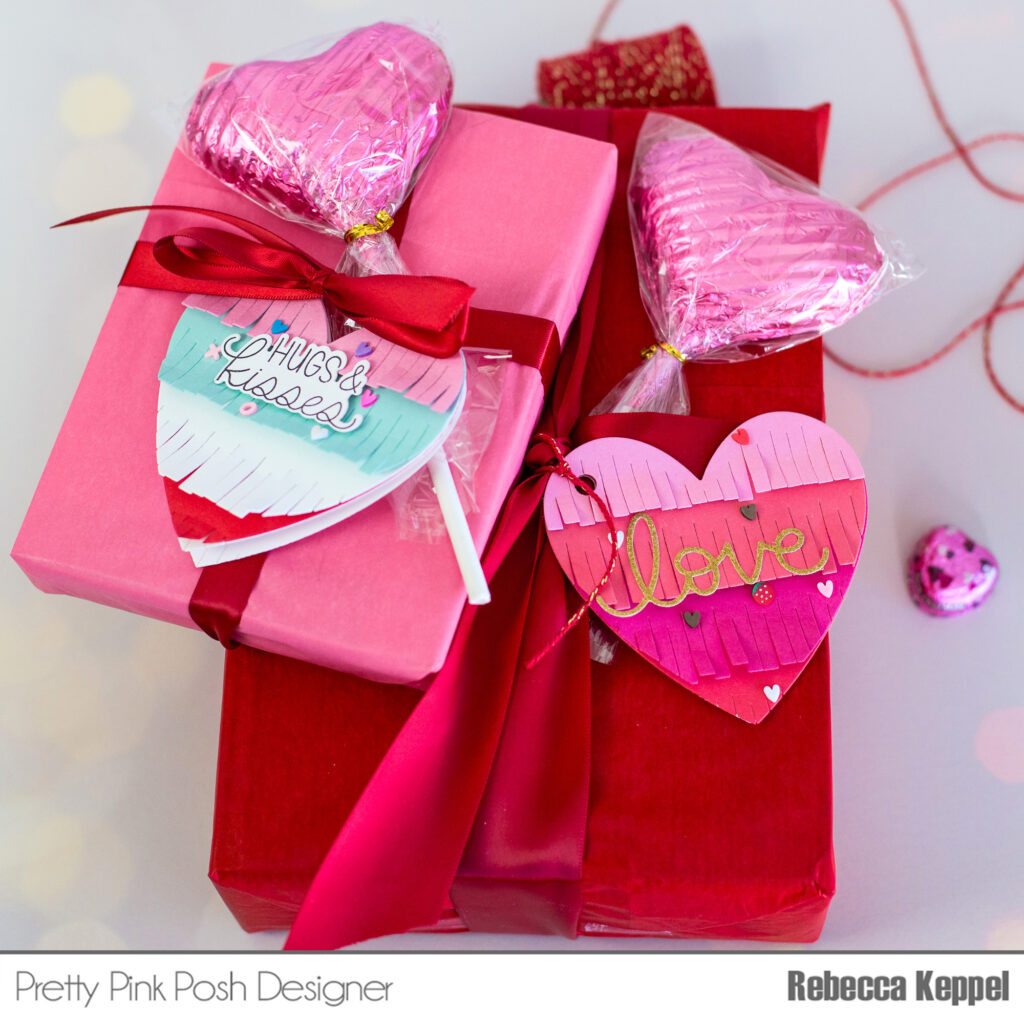
Hi everyone! I’m Rebecca and I am so excited to be here sharing some of the Pretty Pink Posh Valentine’s release! I LOVE LOVE LOVE all the hearts and happiness in this release. Today I have a card and tag for you made with the Fringe Heart Dies that would be great to add to a Valentine’s Day gift!
I cut each die from the Fringe Heart Dies from different colors of cardstock. You could use thinner paper or even tissue paper to create more traditional fringe, but I had more colors of regular cardstock so that’s what I used. If using cardstock you can curl up the ends or fluff them with your fingers to give them a nice fringe effect.
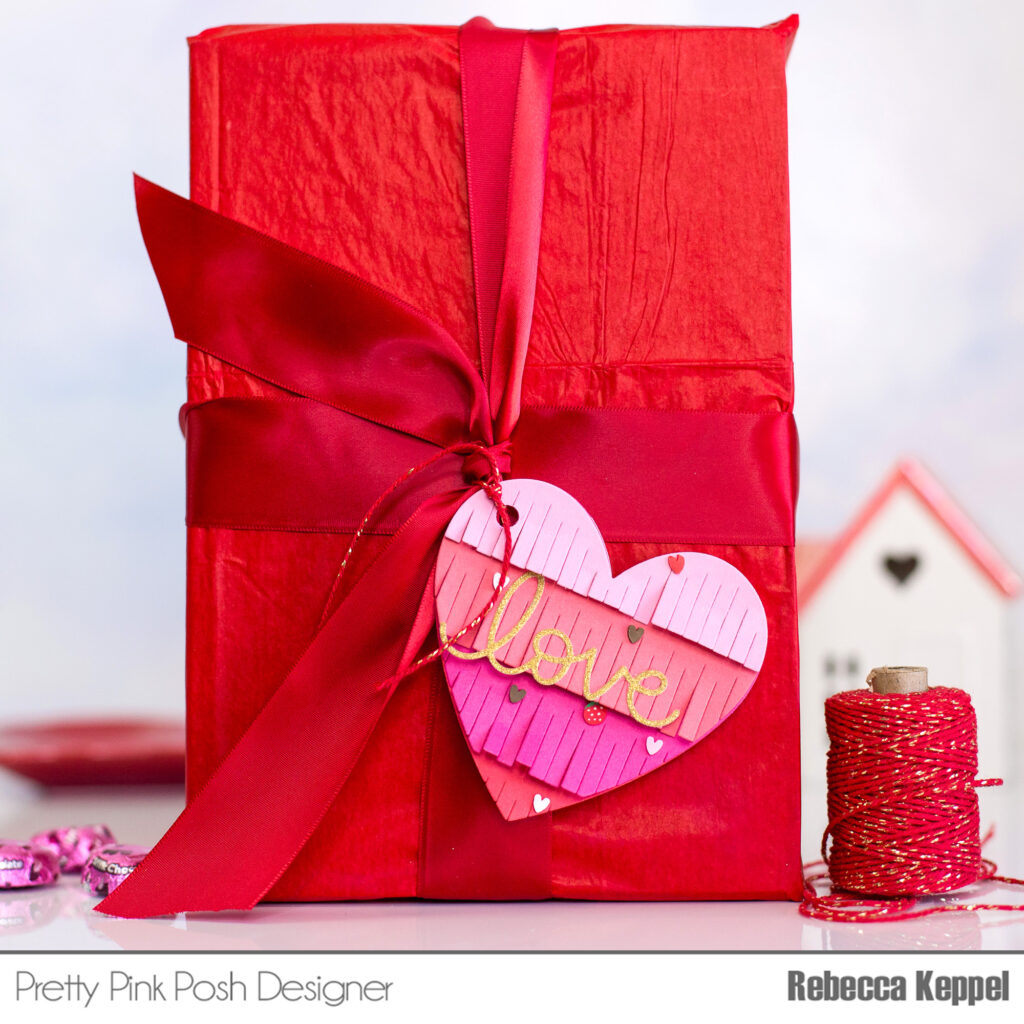
I embellished my hearts with the Hugs and Kisses Clay Confetti and the Strawberry Valentine Clay Confetti. I decided to turn one heart into a tag by punching a hole using a We R Memory Keepers hole punch in the top left corner of the heart. I was able to then use some cord to tie it onto a present that I had wrapper with ribbon I had left over from Christmas! The other heart I can use as a card for the present with a handwritten message inside!
The Fringe Heart Dies quickly and easily creates such a fun look that it is great on a card or as a topper on a gift! I absolutely adore it!
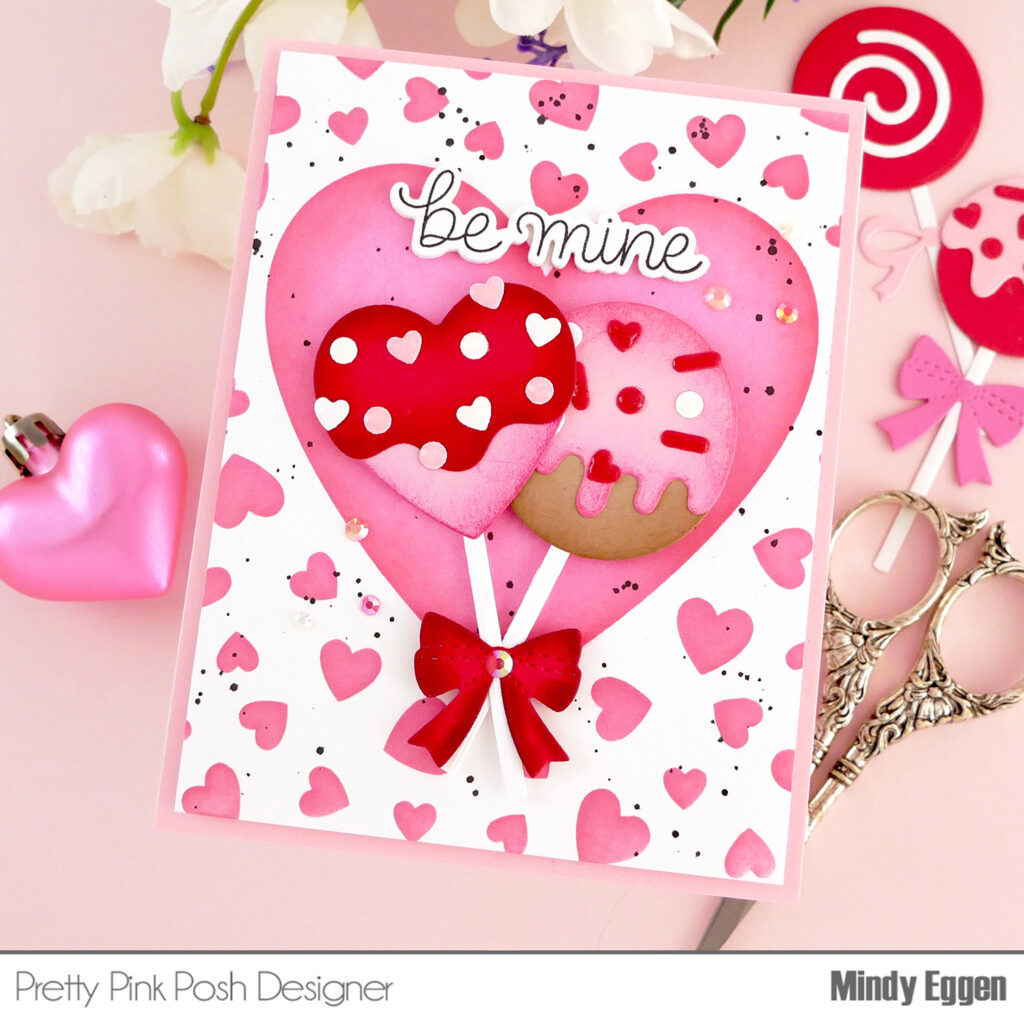
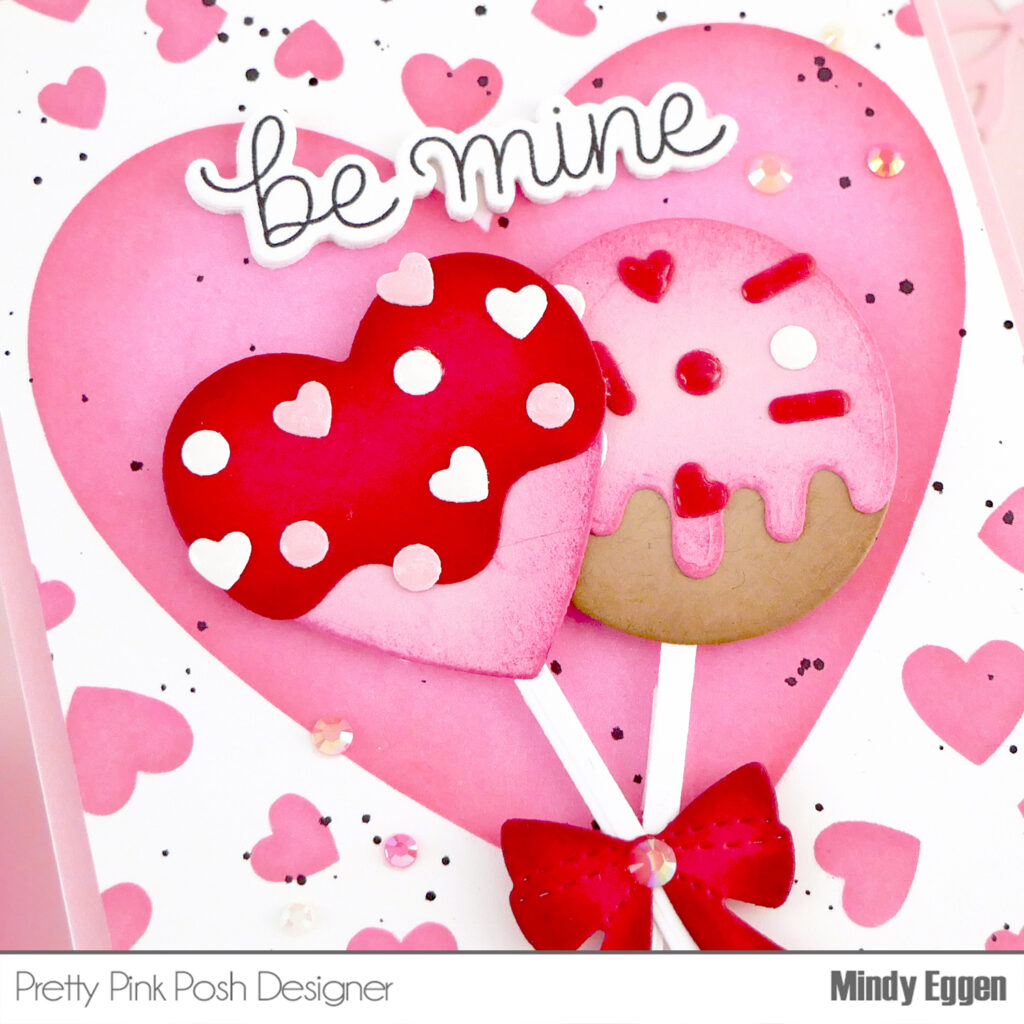
Have you tried cake pops? I’ll share a secret… I have never tried a cake pop. Gasp! What?! I know! But I’ve heard they are yummy.
So since I don’t have these in my home calling my name, I’ll admire them from afar by creating them on a card.
Although I created these in a Valentine’s Day theme with the Scattered Heart Frame stencil in the background with pinks and reds, these could easily be a birthday card, anniversary card or honestly any kind of card.
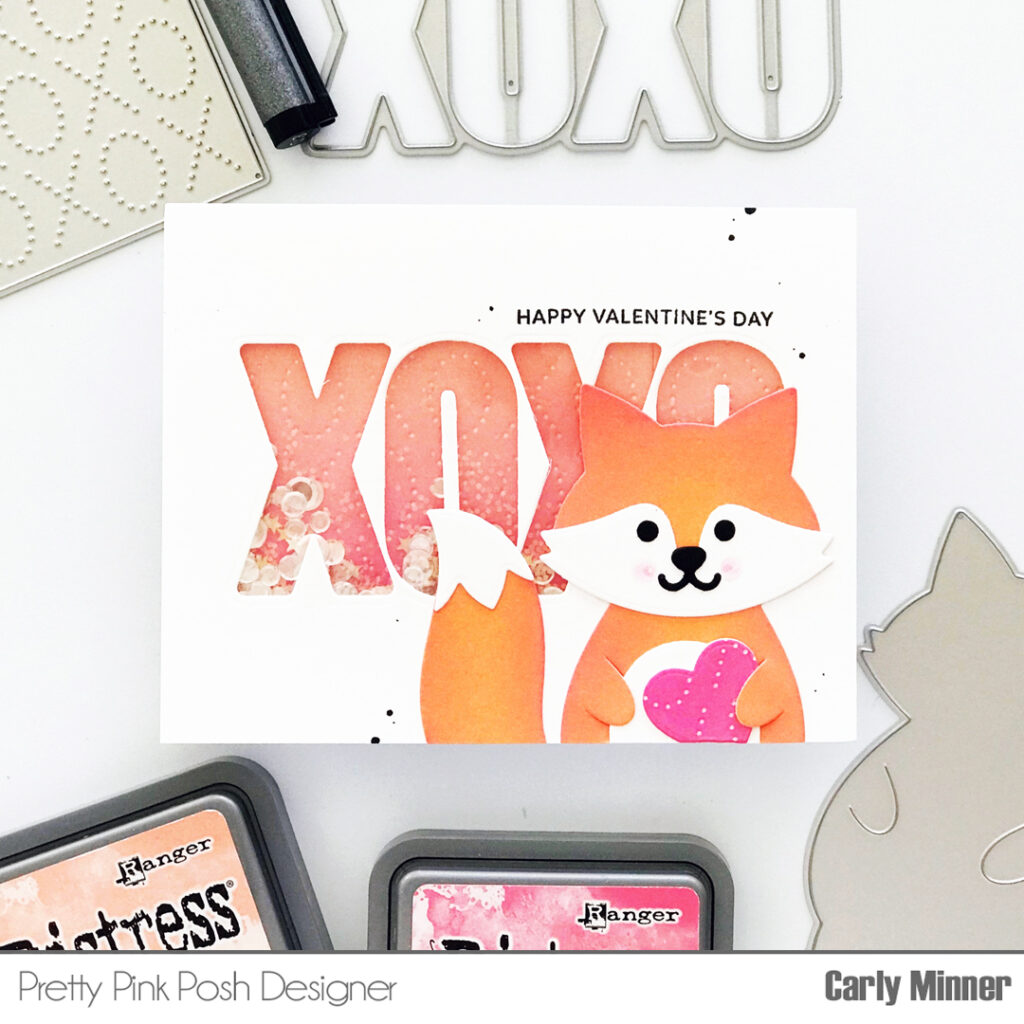
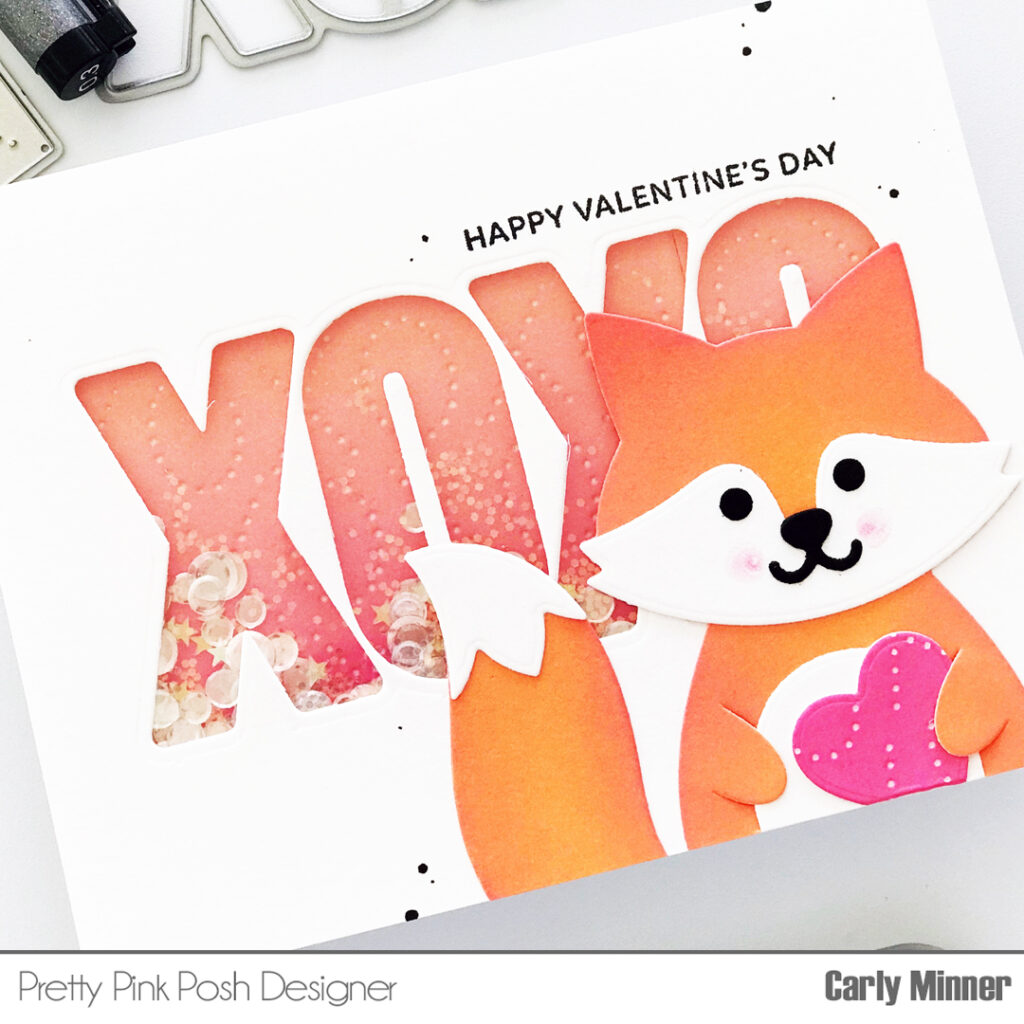
Hi Crafty Friends! Carly here and I must admit that I’m not really a romance & fancy dinner kind of Valentine but I do love to send cute cards to my friends to remind them how much I love them! And what better way to tell someone how loved they are than a shaker card!
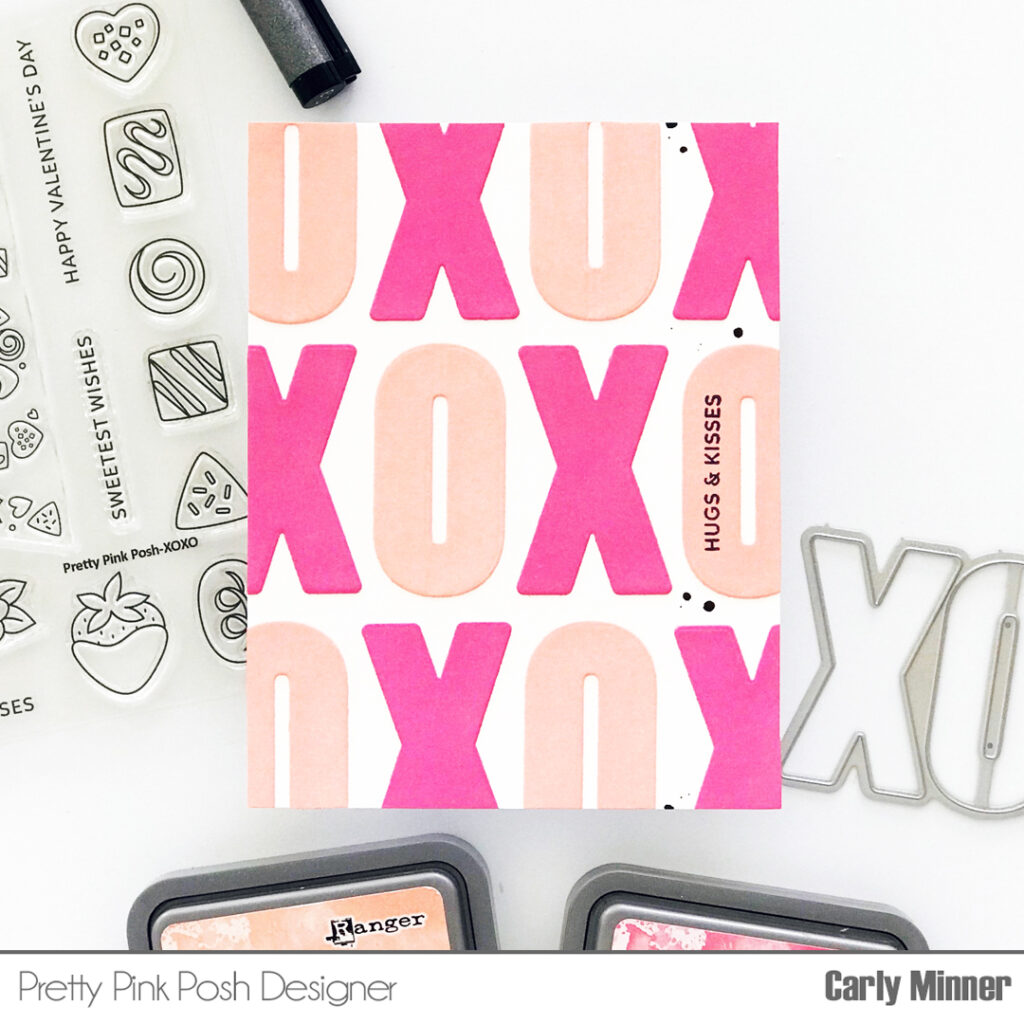
You might know that I always love a shaker card, LOL, but it really is extra fun for Valentine’s Day! And the Pretty Pink Posh XOXO die makes the most fabulous shaker window!
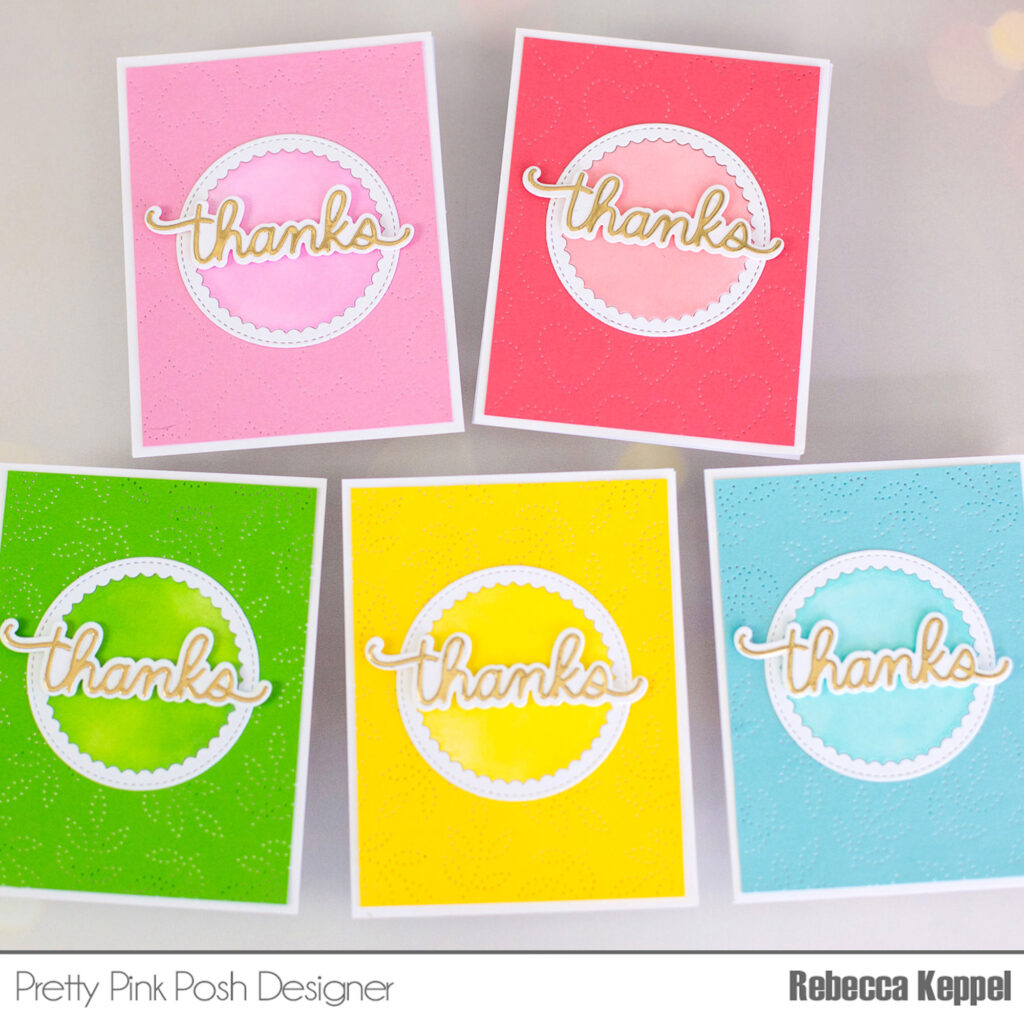
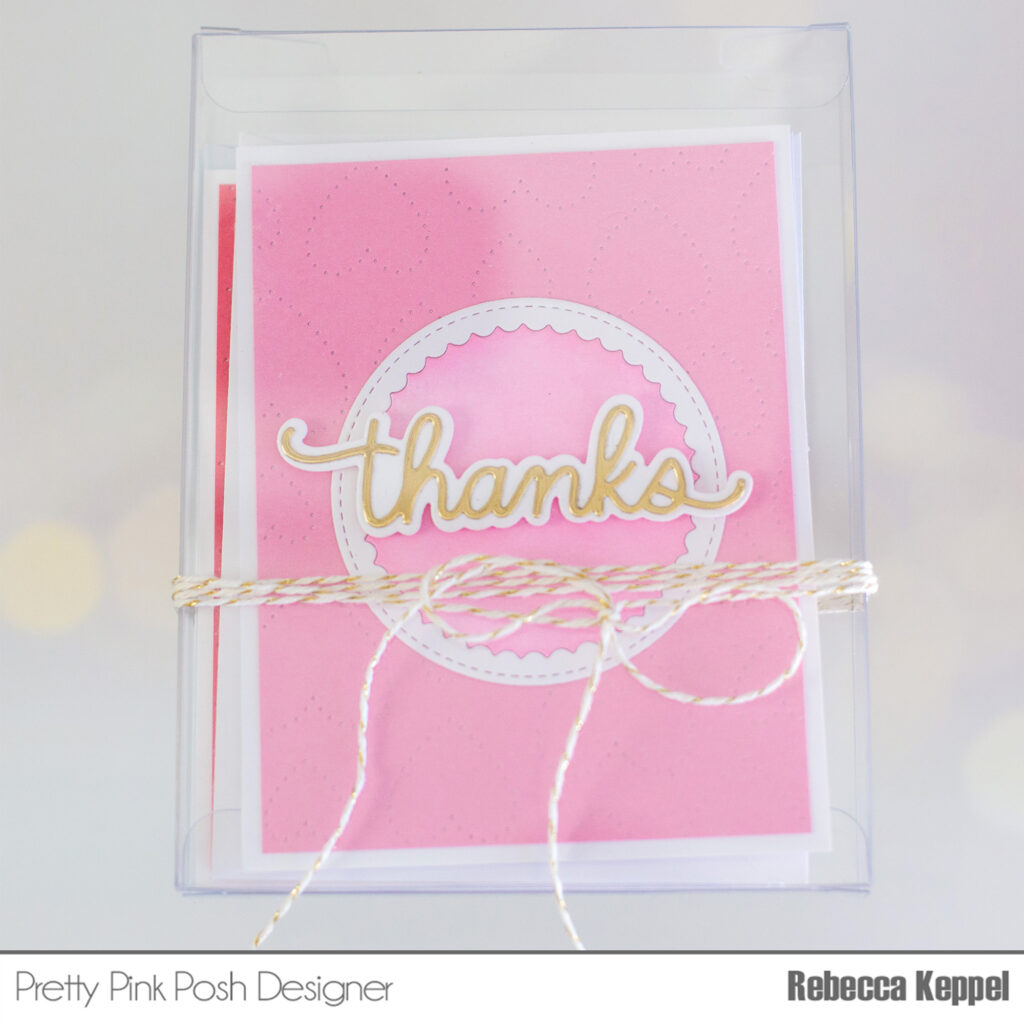
After the holidays, I always have a lot of thank you cards to create! So I love to come up with a design and mass produce it to create several cards at once. This is especially easy with a die cut only card!
A background die is a great way to start by adding texture and interest to the background without any stamping techniques! I love the Pierced Leafy Vines Plate Die and
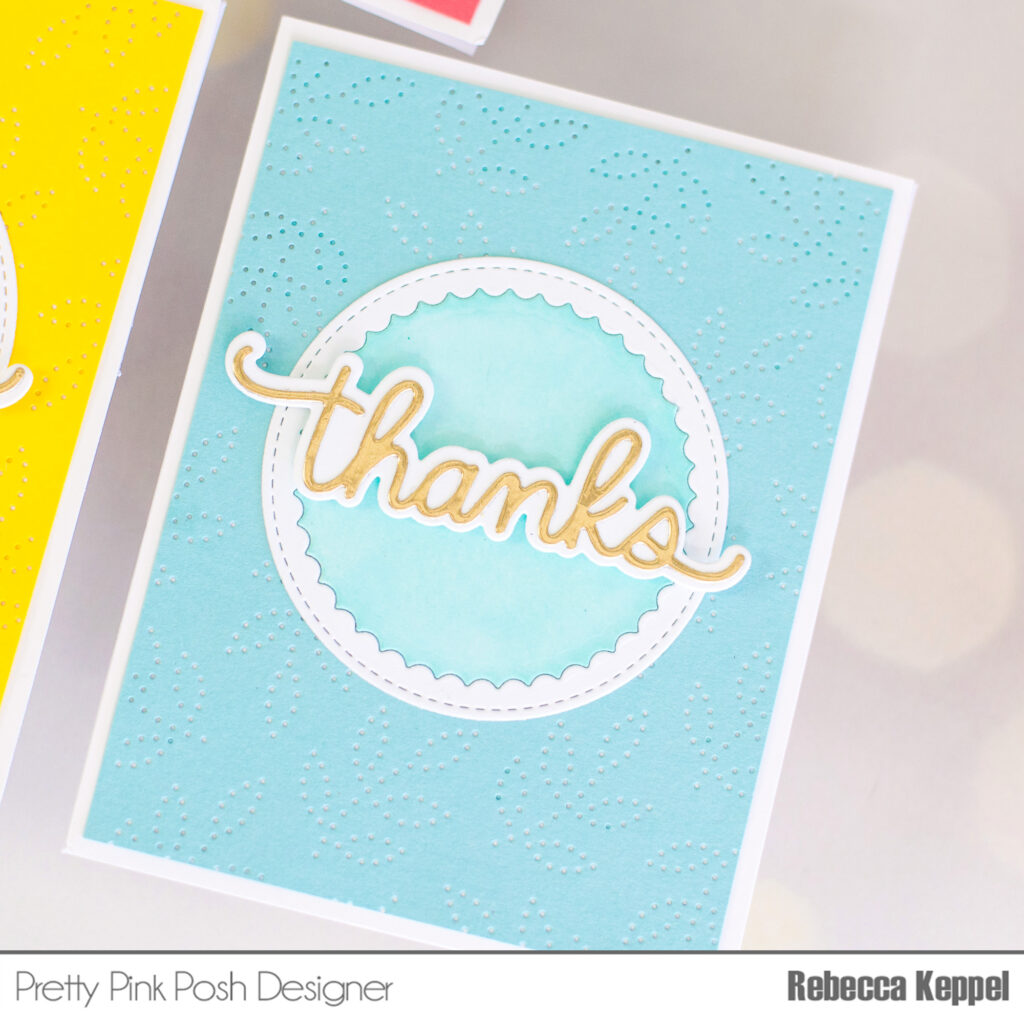
Of course you need a great sentiment. I grabbed the thanks sentiment from the Many Thanks Shadow Dies. Cutting the word die out of specialty cardstock like glitter or foil adds a nice touch of shine.
Since I decided to keep these cards simple without any images, I wanted to make sure the sentiment stood out. So I cut out the Scallop Circles Dies and inked the center piece with colors that coordinated with my cardstock choices. You could also try different sentiment holders like the Scallop Squares Dies or the Scallop Ovals Dies.
If you don’t need to add any more thank you cards to your stash, you could always add envelopes and place them in a gift box and tie with ribbon or twine. Whether for a holiday, birthday or graduation, a box of thank you cards is a fabulous gift!