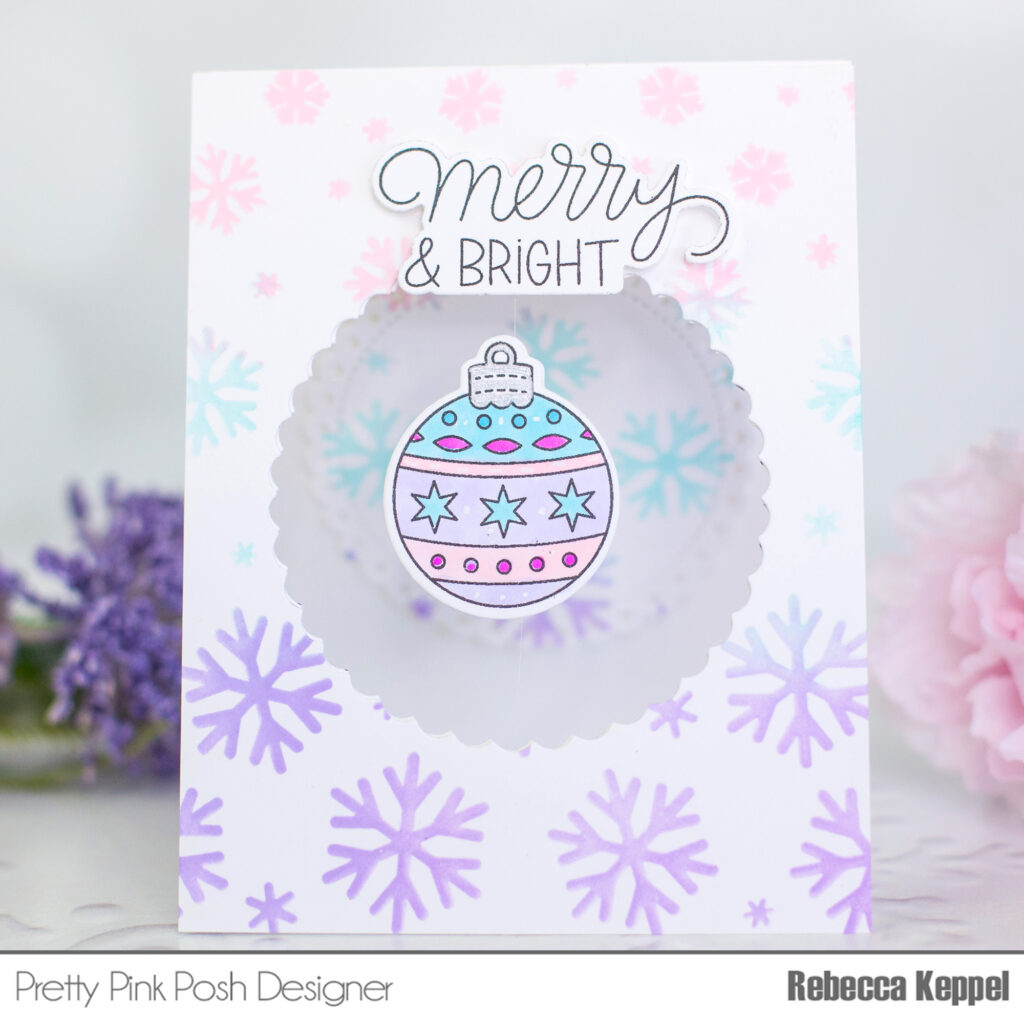
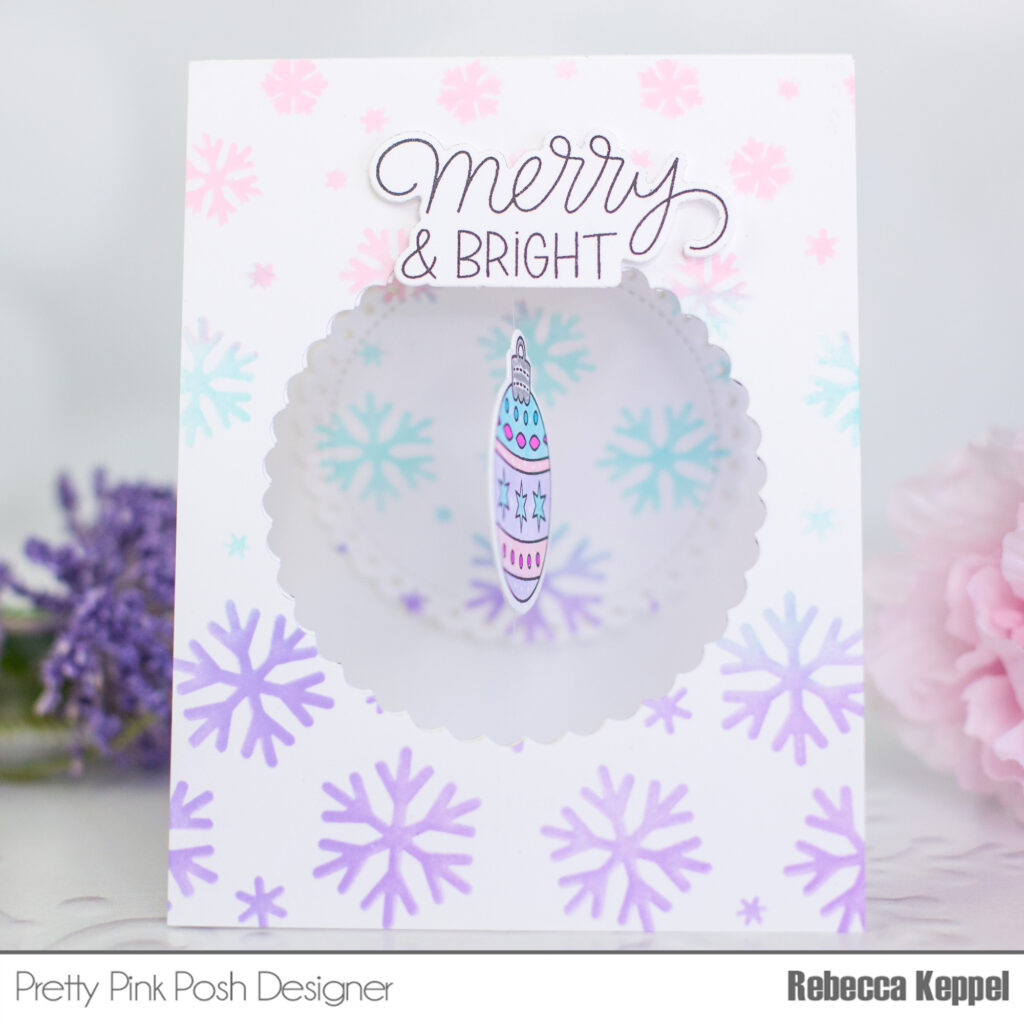
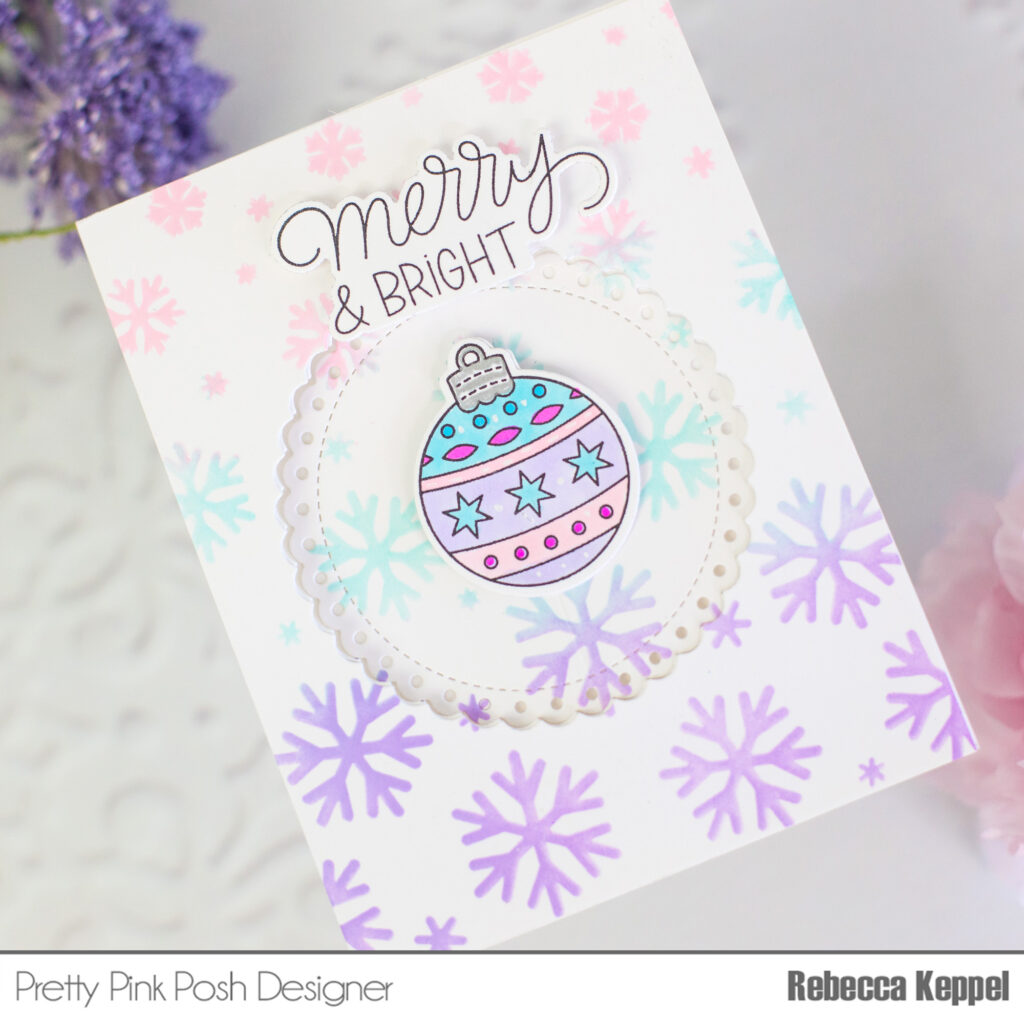
Christmas Ornament Spinner Card
Hi crafty friends, Rebecca here. It turns out that spinner cards are REALLY easy to make even though they have such a fun interactive element! All you need to do is stamp a Christmas Ornament from the Holiday Ornaments Stamp Set twice and color both in exactly the same way. Then use the Holiday Ornaments Coordinating Dies to cut both ornaments out.
Watch the video above I Watch the video in HD on YouTube
Now create a background panel with the Cascading Snowflakes Stencils. I love non traditional pinks, blues and purples for the holidays, but you can use any color combination you love! I tried to match the colors to those on my ornaments.

Next die cut a circle slightly larger than the ornament. I used the Eyelet Circles Dies to cut out my window, but you could use an oval shape if you chose a different ornament shape. Cut the same circle out of the front of a card base in the same spot as it is on the panel. Use pencil marks to create a guide of where to cut.

Grab some clear string (or any color you like!) and make sure the string is longer than the card panel from top to bottom. Flip over one of the ornaments and tape the center of the string on the back of the ornament. Then add liquid adhesive and place the other ornament on top. Next tape the top of the string to the card base and the bottom of the string to the bottom of the card base and fortify with more adhesive.

Now all you have to do is adhere the stenciled panel on top and add a sentiment from the Winter Greetings Stamps and Dies. Then wind up your ornament by turning it in one direction over and over and close the card. When you open the card, the ornament will spin!
Thanks so much for stopping by!
Rebecca

Lovely card idea! Watched the video and it was so well done!