
Elegant Tea Card + Video
Hi, friends! Lauren Taylor here and get ready to steep yourself in creativity because I’ve brewed up a delightful handmade card featuring the new and absolutely charming products from Pretty Pink Posh! If you’re anything like me, you adore adding a touch of elegance to your creations, and the latest release from Pretty Pink Posh is overflowing with just that. Today, I’m sharing a card I crafted using the Tea Time Stamp Set and Coordinating Dies, the Layered Teacups Stencils, and the versatile Notched Squares Dies. Trust me, these products are a game-changer for anyone who loves crafting heartwarming cards.
Watch the video above I Watch the video in HD on YouTube
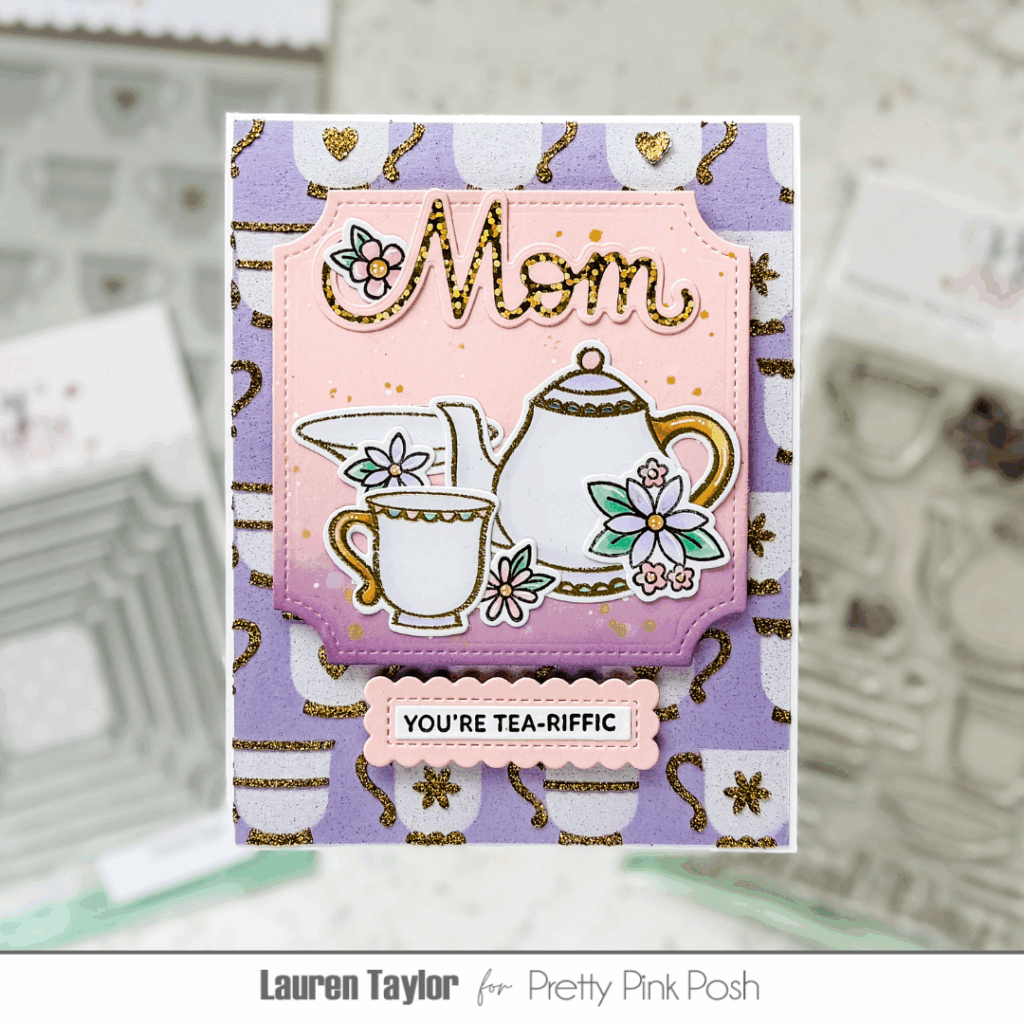
To begin this tea-riffic creation, I first stamped several images from the Tea Time stamp set using a mix of black and fadeout ink, perfect for no-line coloring. Inspired by the beloved Mrs. Potts and Chip from Beauty and the Beast, I colored my teapot and teacup with alcohol markers, envisioning their iconic charm. To add a touch of luxury, I re-stamped their outlines with clear embossing ink and heat-embossed them with gorgeous gold powder. Once cooled, I die-cut all the images using the Tea Time coordinating dies. For the background, I took a piece of lavender cardstock and, using the first layer of the Layered Teacups Stencils, applied white pigment ink through it. To give it a subtle shimmer, I spritzed it with a glitter dust spray – the effect is simply magical!
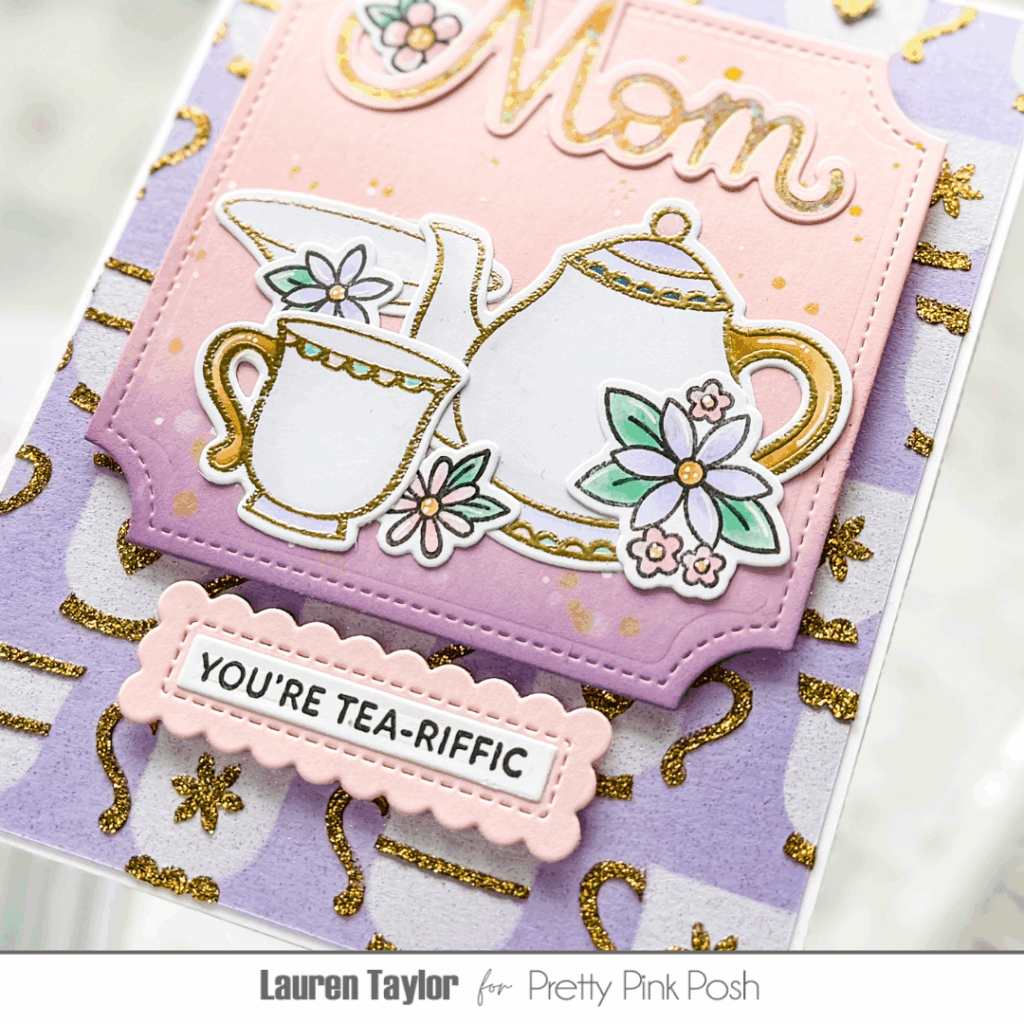
Next came the intricate details using the second layer of the Layered Teacups Stencils and a beautiful gold glitter paste. This adds a wonderful texture and shine without the mess of loose glitter. While that dried, I die-cut a notched square from pastel pink cardstock and created a soft ombre effect using Distress Oxide inks in Milled Lavender, Sponge Sugar, and a touch of Dust Concord. To enhance the visual interest, I splattered the inked square with water, gold mica spray, and white acrylic paint, creating lovely textures and dimension.
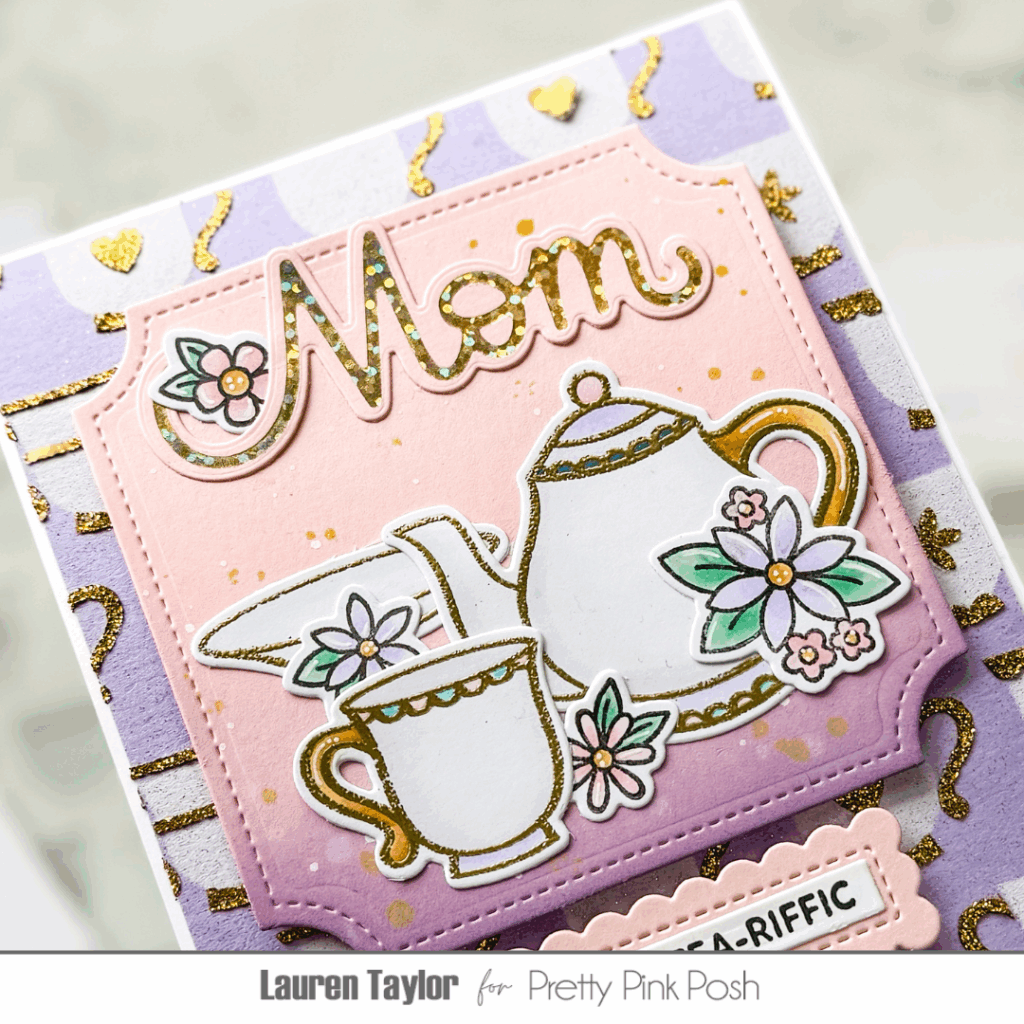
Finally, the assembly! I adhered the stenciled background to an A2 card base, leaving a thin white border. Then, I arranged my die-cut teapot, teacup, and floral elements onto the notched square, using liquid adhesive. I even added a sweet Large Mom Hot Foil Plate sentiment, hot-foiled in a shimmering gold and cut with the Mom/ Mother Shadow Die, and a die-cut Sentiment Strip that reads “You’re Tea-rrific.” This card is a celebration of all things lovely, perfect for Mother’s Day or just to your Mom you care. For a more in-depth look at the stenciling techniques and step-by-step directions, be sure to watch my video! You won’t want to miss all the sparkly details and helpful tips. Happy crafting!
Just watched the video today! Loved it! And love all the sparkle and shine on the card 🤩