
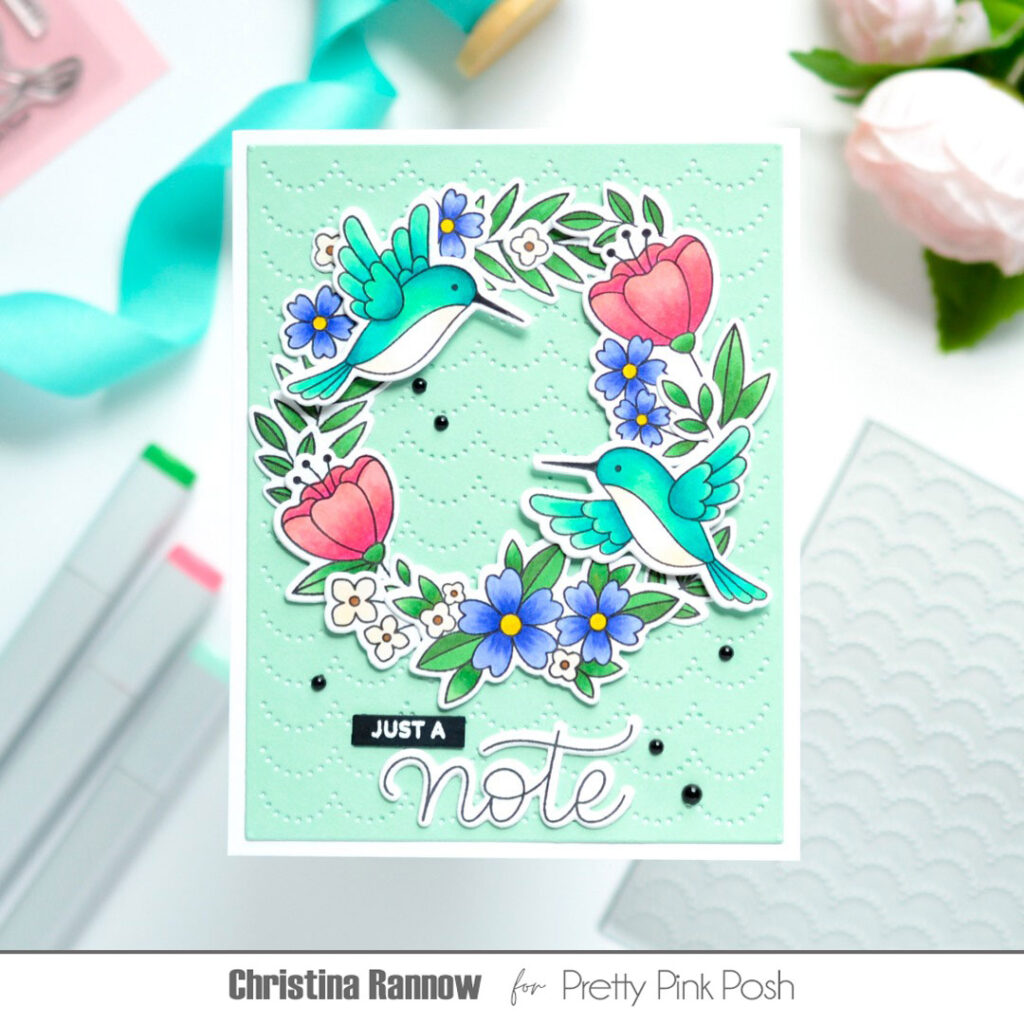
Floral Hummingbird Wreath
Hello friends! It’s Christina again, and I’m back to share another card featuring some of the lovely things from the May release. For this card I used the new Hummingbird Floral stamp set to create a pretty floral wreath on a background made with the Scallops Pierced Plate. I loved coloring these beautiful images, and after they’re colored, this card design is quick and easy to put together. Follow along as I give you all the details!
Hummingbird Floral Stamp Set
Hummingbird Floral Coordinating Dies
Simple Thanks Stamp Set
Simple Thanks Coordinating Dies
Scallops Pierced Plate
Sentiment Strips Dies
Onyx Pearls
My first step was to die cut the pierced scallops from sea glass cardstock and mount it on a white cardstock panel measuring approximately 4 ½ x 5 ¾. This card is slightly larger than the typical A2 size, but you can trim the pierced panel a bit and then mount it on an A2 card base if you prefer.
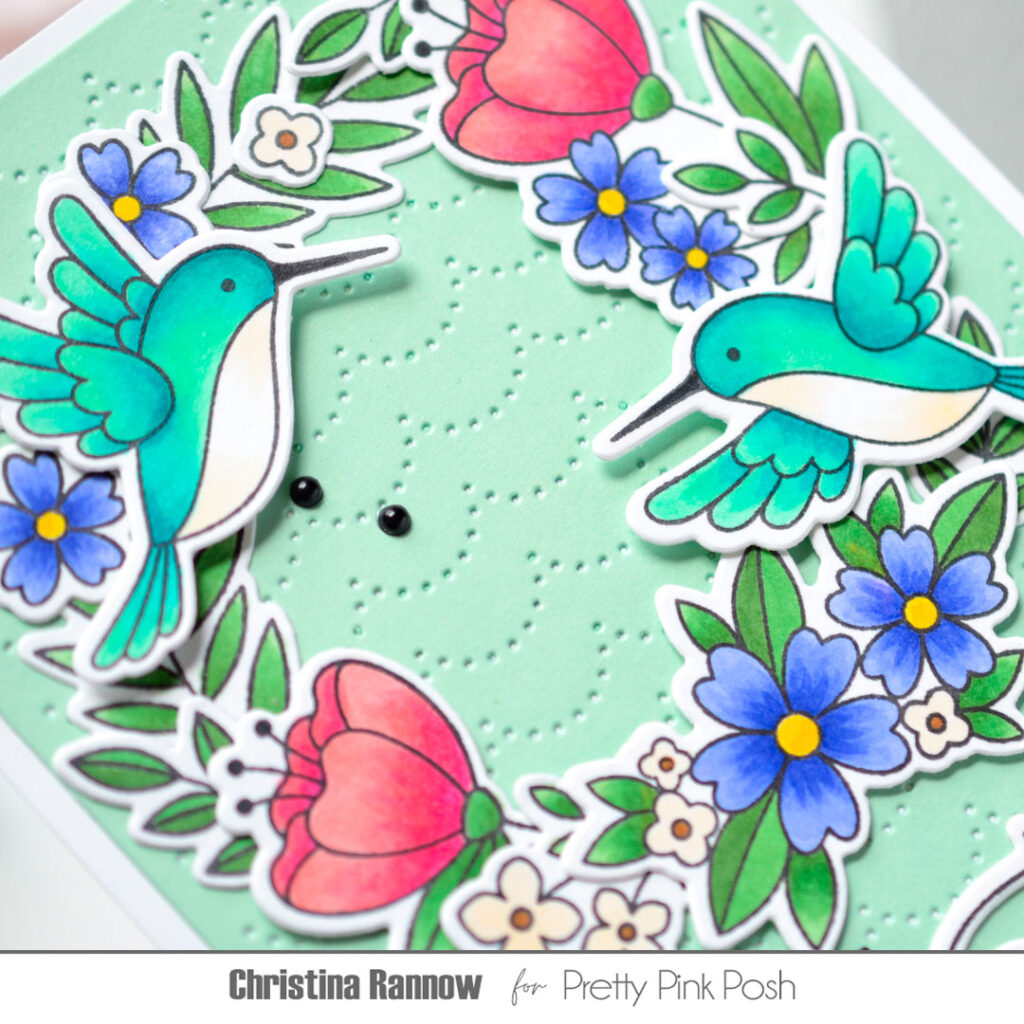
Next I stamped all of my images, including some greenery from the Simple Thanks stamp set, with a Copic-friendly black ink on white cardstock. I colored my images using the following Copic colors before die cutting them with the coordinating dies:
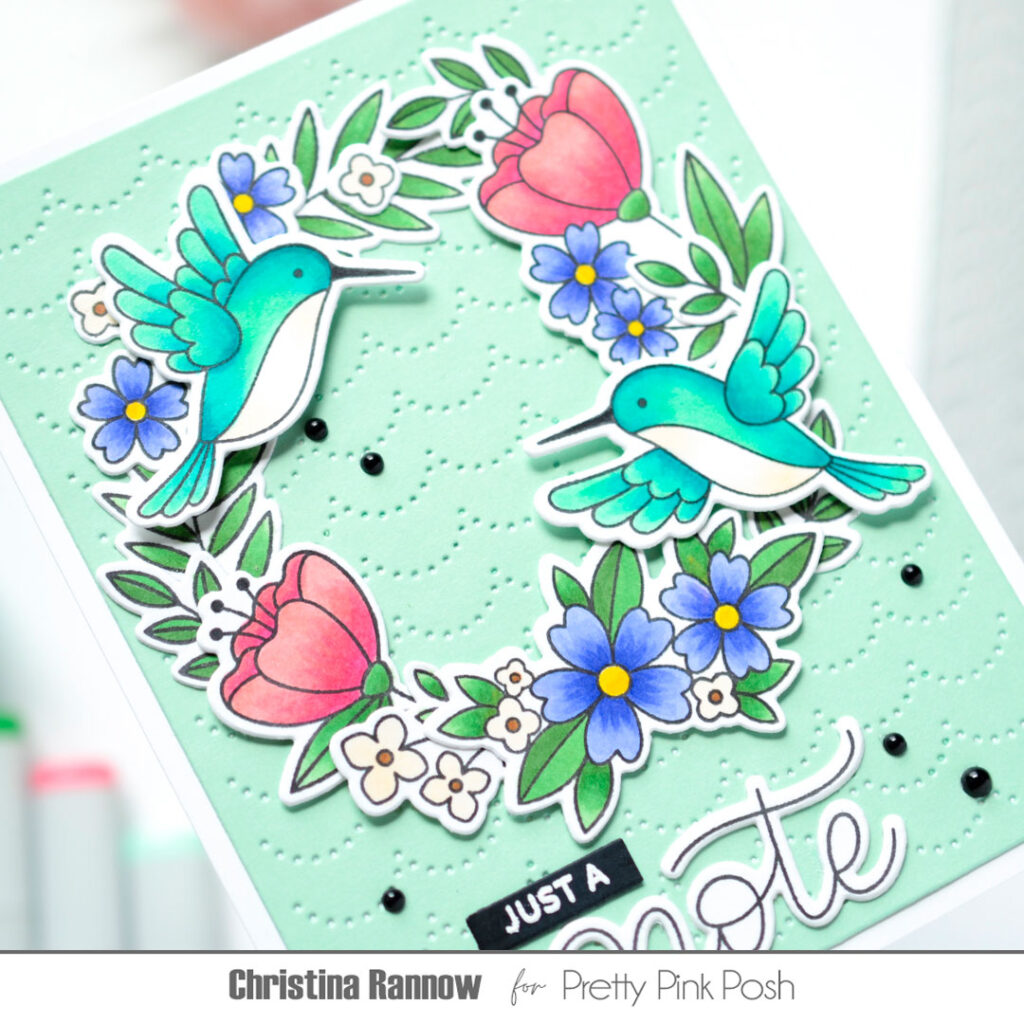
B63, BV13, BV04, Y15 for the purple flowers
G00, G12, BG23, BG13, BG49, E50, N9 for the hummingbirds
R32, R43 for the pink flowers
YG45, G46 for the greenery
E50, E57 for the small flowers
To assemble my card front, I arranged the images into a wreath and secured them to the pierced background with glue and foam squares. Then I created a sentiment using stamps from the Hummingbird Floral set, heat embossing part of it on a sentiment strip and stamping and die cutting the other part of the sentiment. I attached these under the wreath and finished things up by adding a few Onyx Pearls for embellishment.
Thanks so much for taking time to read about my card featuring the Hummingbird Floral stamp set. See you again soon!
This is GORGEOUS! I love it, Christina!!
OOOO I LOVE the teal and gorgeous coloring on the hummingbirds!
Wow 🤩 love how you used the floral images to create the wreath 😍😍