
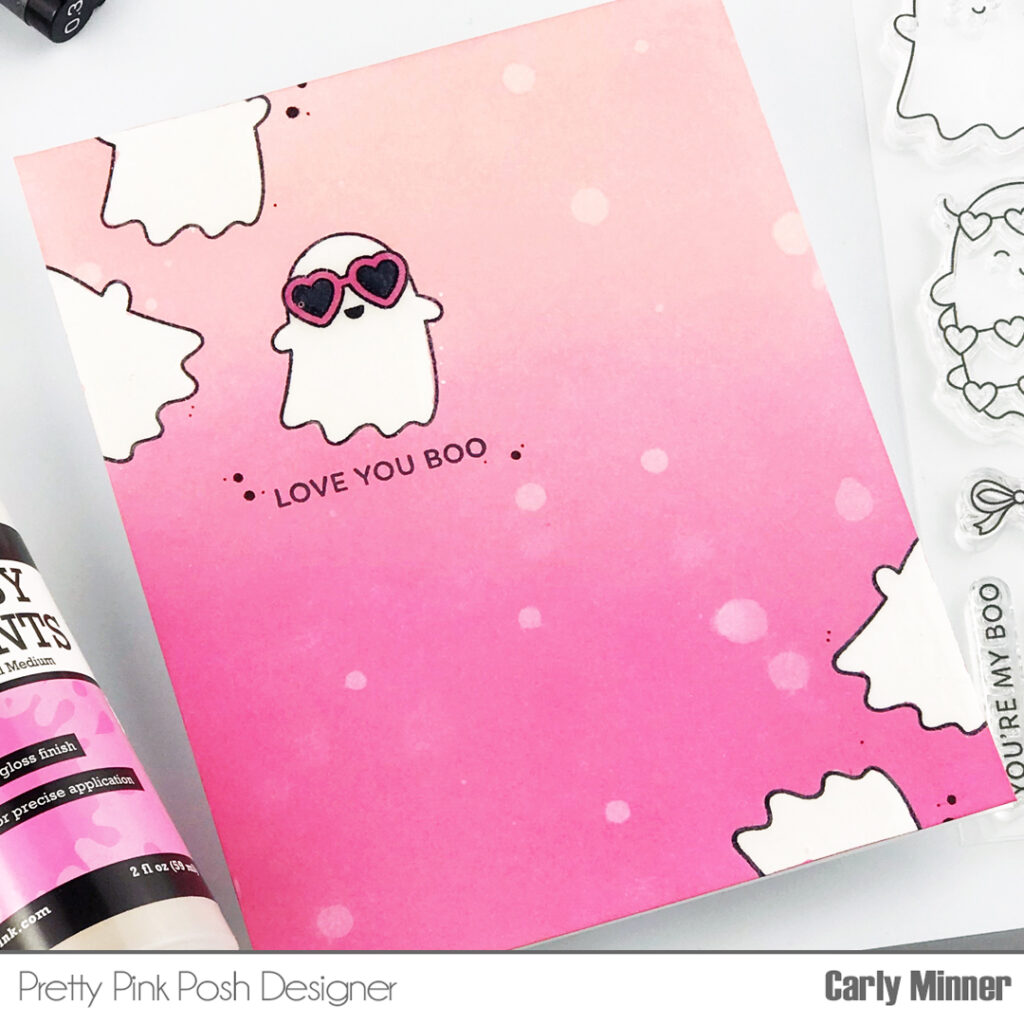
How To Mask With Glossy Accents
Hi Crafty Friends! Carly here and I’ve got a question for you…have you tried masking with Glossy Accents?
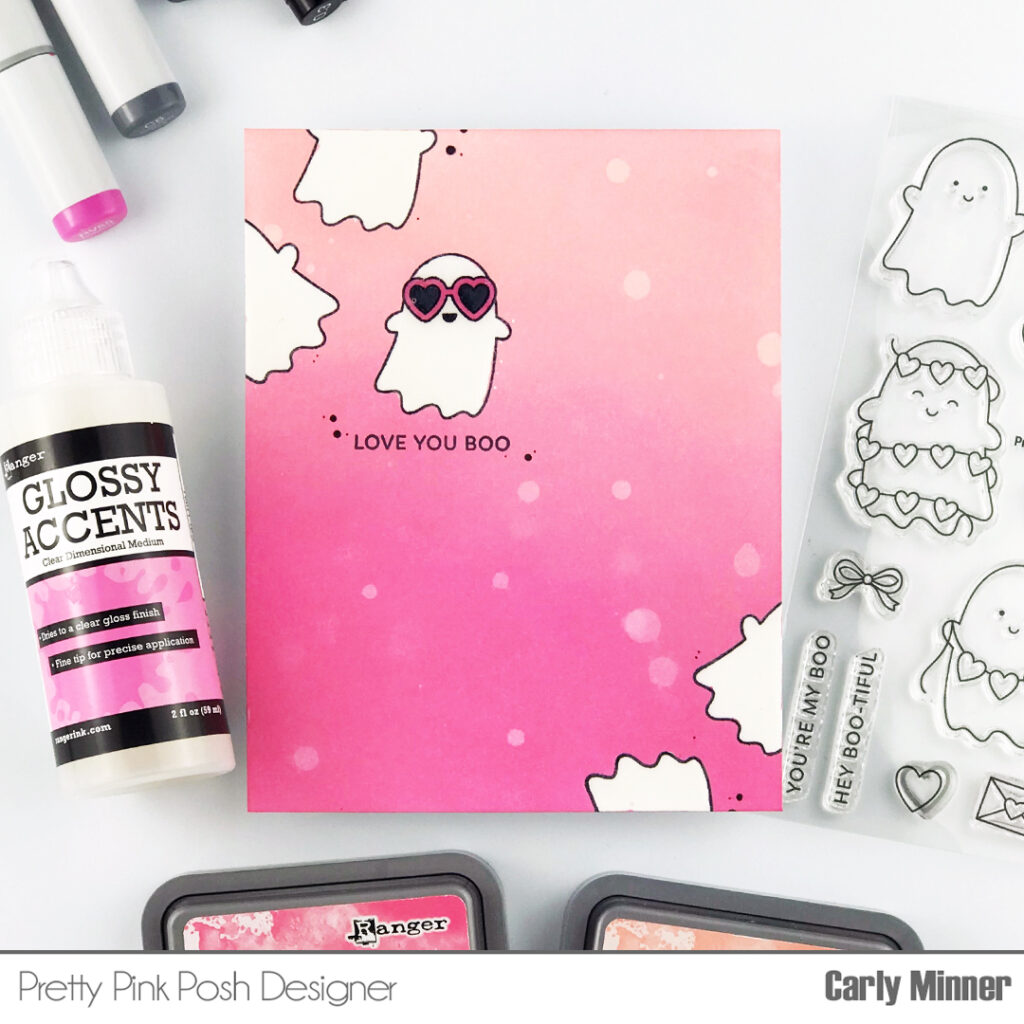
I love the look of the Glossy Accents and I’m thrilled that it does double duty as a permanent mask! Plus it’s the perfect way to combine white ghosts (from the new Valentine Ghost Friends) and colorful backgrounds!
Watch the video above I Watch the video in HD on YouTube
Here are some tips for success…
- use heavyweight cardstock to avoid warping from the layer of Glossy Accents
- emboss your stamped design to help keep Glossy Accents inside the lines
- apply Glossy Accents as close to the edge of the stamped image as possible
- use a craft pick to remove bubbles from wet Glossy Accents, pull into small spaces of the stamped image and “erase” any that does go outside the lines
- let Glossy Accents air dry completely before adding ink blending or watercolor
Thanks so much for stopping by!
Adrorable….love this technique. Nicely done
One of the best techniques!