
Butterfly Shaker + Free Stamp Set
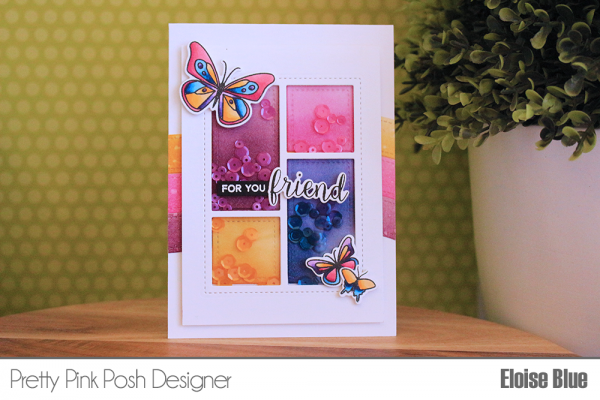
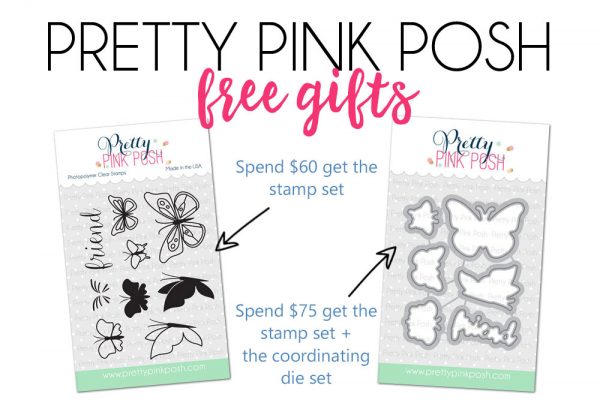
Hi everyone, Eloise here and today I have a card to share with you using some items from the new release and included in this release is a special offer to get a un-released stamp and die set with qualifying purchases. This set is Butterfly Friends and it’s so super cute. It comes with different designs of butterflies, both solid and outline along with a sentiment. You can get the stamp set with a $60 purchase and you also have the opportunity to get the coordinating die set too with a $75 purchase, while supplies last. For my card, I’ll be using the new Party Time Mix as my colour scheme and I’ll also be creating a multi shaker card.

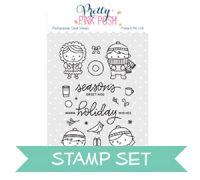
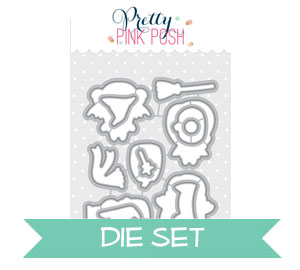
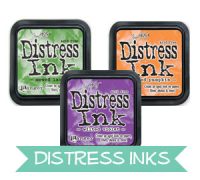
To begin my card today I first went ahead and pulled out the sequin mix called Party Time. It comes with Marigold, Pink Peonies, Navy and Orchid coloured sequins. So I’m basing my entire card colour scheme on this mix. So I then coloured three bits of watercolour cardstock with Picked Raspberry, Wild Honey and Seedless Preserves Distress Ink, then I used the Stacked Edges 1 dies to cut the wavy border out of the coloured cardstock. Next up, I coloured my images. I used the Butterfly Friends stamp set and stamped down three of the outline butterflies onto some white cardstock and also the ‘friend’ sentiment from the set also. I then used coordinating colours from the sequin mix to colour my butterflies in. Once they were coloured, I used the coordinating to cut out the images along with the sentiment.
Copic Markers Used: RV13, RV25, RV09, B32, B34, B39, Y32, Y35, Y38, V12, V17, V09
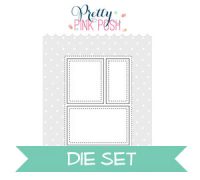
Next up, I used another piece of white cardstock, cut it down to 3 ½” wide by 4 7/8” tall and used the new Storybook 6 die to cut out the middle of my panel. I used this one in particular since it had four sections and my sequin mix had four different colours in there. Once I cut it out, I turned it over, adhered a piece of acetate and then went around the entire piece with foam tape to divide all the sections for the different wells for my sequins. I then used the positive pieces of the die cut so the two rectangles and two squares and coloured them up using the same colours of Distress Ink I did before, but adding in Chipped Sapphire to complete the four colours of the mix. Now that all my elements for my card were done, I scored a card base that measures 4” wide by 5 ½” tall and adhered down my Stacked Edges 1 pieces into the middle of my card base. Next, I adhered down my inner pieces from the Storybook 6 dies flat onto my card base as well.
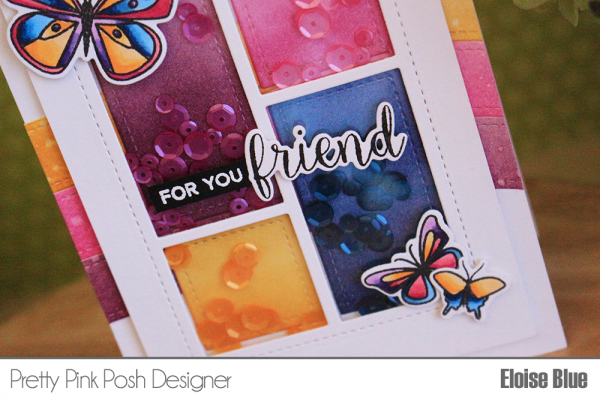
Next up, I pulled the individual colours of sequins out of the mix and laid them overtop with their corresponding colour. I then removed the backers off my foam tape on my panel and adhered it over top. I then added foam tape onto the back of my butterflies and adhered them around my card also. To finish off my card, I used the Bear Hugs stamp set and white heat embossed the ‘For You’ sentiment onto a strip of black cardstock. Then I added more foam tape on the back and adhered it to the centre of my card.
So that finishes up my card today, I love using the sequin mixes as inspiration for colour schemes because most of the time, at least for me they’re colour combos I would have never thought of and it’s always nice to use different colours that I maybe normally wouldn’t use. Thanks so much for stopping by today!


 As I was stamping I made notes in my head which flowers and leaves were going to be in the front and which would be in the back. If you struggle with this – you can either mask your images so that you don’t have confusing stamped lines on your panel or test stamp your cluster onto a piece of scrap paper and label everything – then when you go to color your image you can use that as a cheat sheet.


 Hello Pretty Pink Posh fans! This is


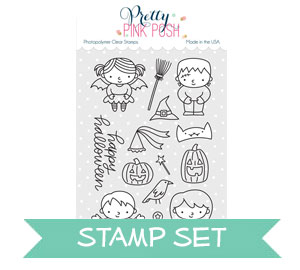
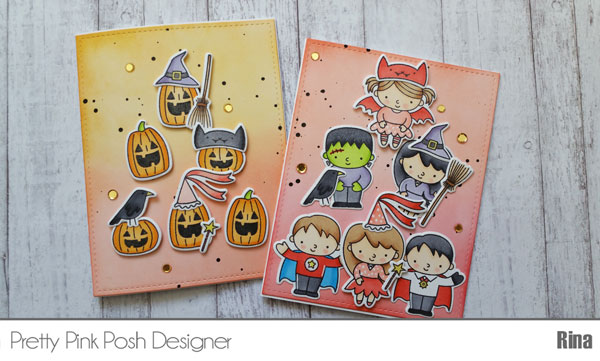 Hi everyone! Rina here with a two Halloween cards using the
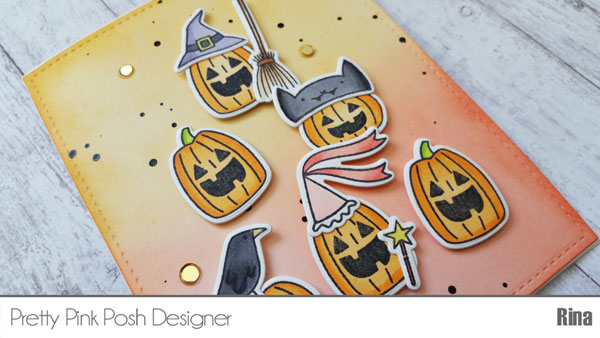 These two cards are very image heavy so I opted for quick coloring with copic markers. I used two blending colors for the images and three colors for the hair. I also made sure to use one set of colors consistent for all images of that color. For example, I used the same green combination YGO1 and YG25 for both the pumpkin stems and Frankenstein’s face.
 I wanted to keep the background simple since the card would be filled with images. I opted for a light distressed ink background with Distress Ink and made two panels. One panel used
 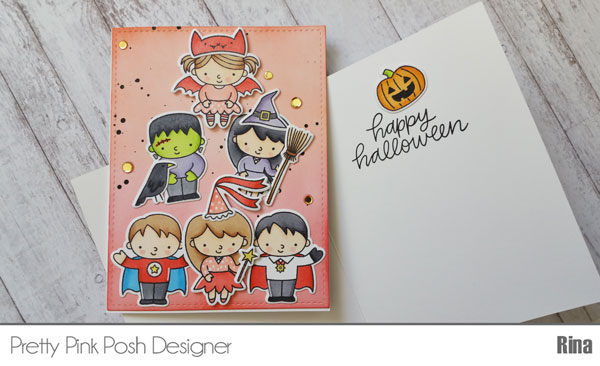 To assemble the card I adhered the accessory images to the main stamps first with Scotch Quick Dry Adhesive. When this was done, I then adhered the images to the distressed ink panels in a triangle formation. To add more sparkle, I added a scattering of Pretty Pink Posh


