
Tutorial: Stretching Your Dies
Hello everyone, Joni here sharing another tip of looking at your dies on a different way.

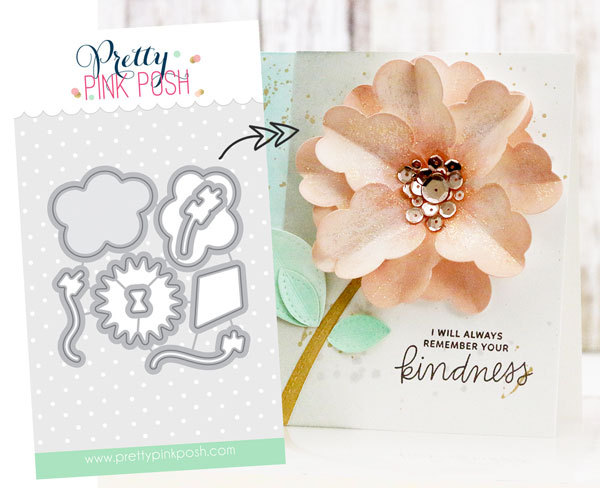
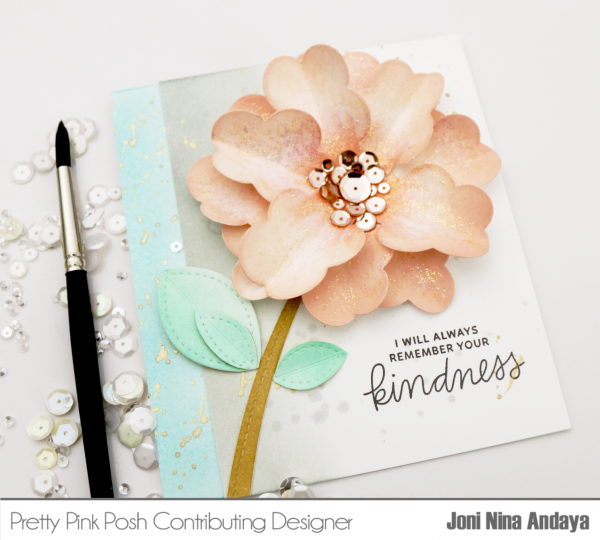
For the main focal of this project are the clouds from the new July released Fly a Kite Coordinating dies.
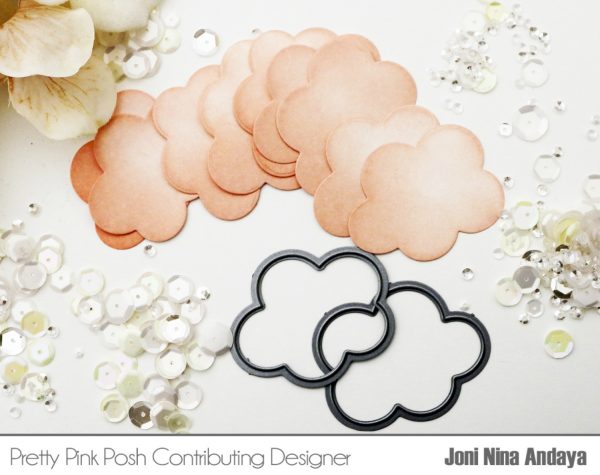
To begin, I first die-cut the clouds on a white cardstock using the Neenah white 80lb. Then distressed each one, using Tim Holtz Tattered Rose Distress Ink pad. I also scored each cloud for dimension.
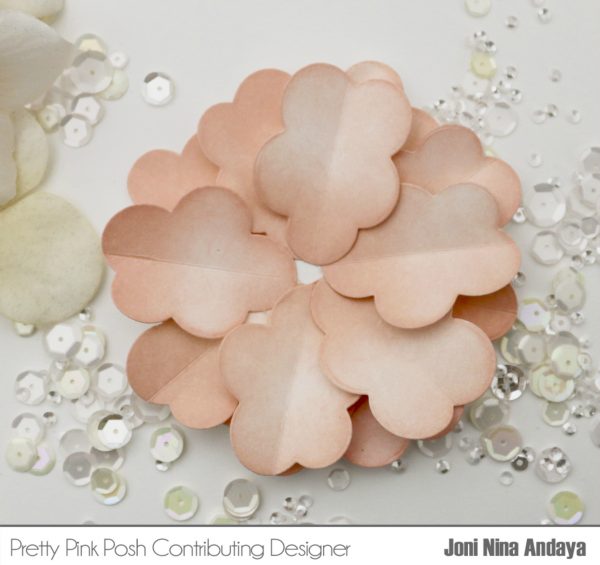
Next, I cut a 1 ½ circle for the center where I adhered the petals on top. For the first layer, I did 9 clouds and for the top I adhered 5. To adhered each petals, I used Multi Medium Matte.
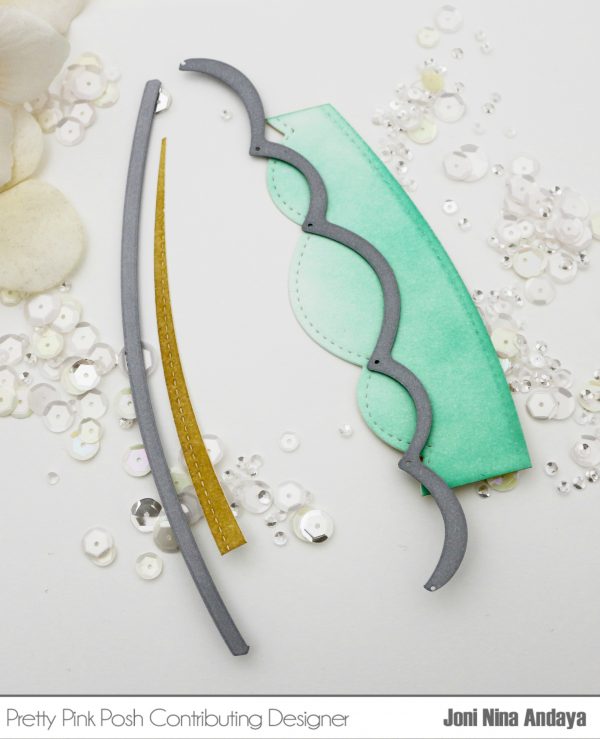
Next, I needed a stem and leaves for my flower. The scallop die from Stitched Borders 2 Dies is perfect for making the leaves, the leaves were also scored. For the stem, the stitched curved die from Stitched Borders 1 Dies worked perfectly.
For the card base the measurement I used 121/2 X 14 centimeters, almost a square card. But, for the top panel is just regular A2 size. I also distressed splattered it with gold watercolor paint from Gansai Tambi Starry Colors. The sentiment I used was from Thoughtful Greetings stamp set.

For this project I adhered every piece of for the flower (petals, leaves, stem) using Multi Medium Matte. For the sequins I used the Metallic Rose Gold in all 3 sizes.
I hope I have inspired you. Until next time. Have a wonderful day!
Wow, just wow! I love, love, love this idea! I have those border dies and cloud dies from Rainy Days! I can’t wait to try this idea!! Beautiful card, and such an awesome, and creative use for these dies! Plus the color palette is just gorgeous! Thank you so much for sharing, Joni!
Beautiful card! The colors are so delicate. Love it.
Great idea!! Beautiful cloud flower!!
What a great way to look at your dies and see what you can create. This is so cute. Thanks
AWESOME!!
Absolutely stunning flower design! Agree I need to look at my dies with a more creative eye.
WOW.. such a gorgeous card!
Hi Joni & Paulina ~ This is GENIUS!!! Absolutely love it! Thanks for the inspiration!! ~HUGS~
#kindnessmatters
This is absolutely GORGEOUS. Way to stretch your supplies!
This is gorgeous Joni. I am totally inspired. Thanks for sharing!