Creating A Floral Arrangement + Video
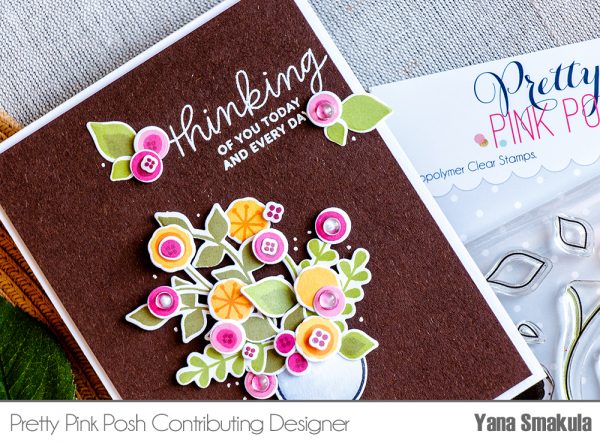
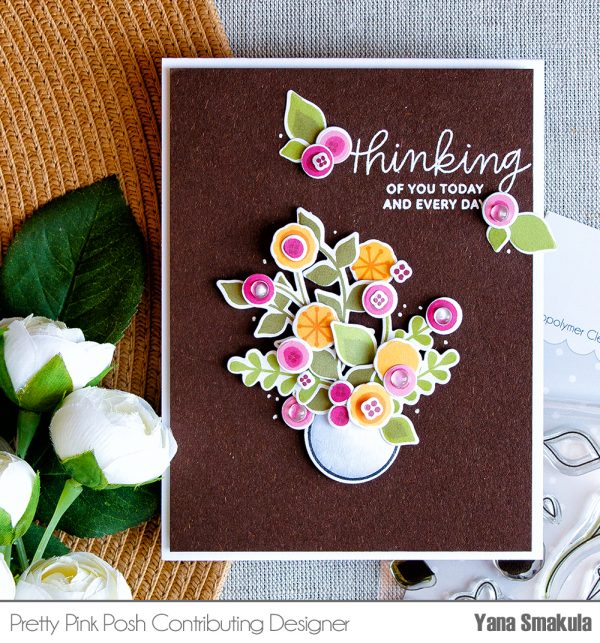
Hello, Pretty Pink Posh fans! This is Yana and today I want to share a floral card using the Build A Bloom stamp set.
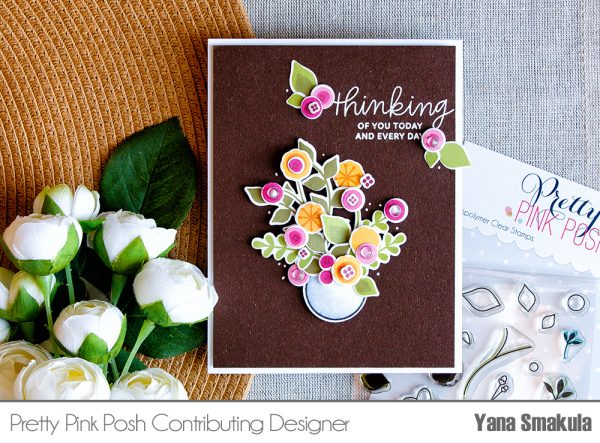
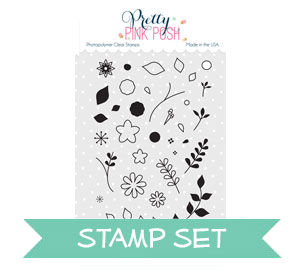
This set features a number of parts and pieces to create your own unique flowers, leaves and floral arrangements. There are outline and corresponding solid images and also just outline and just solid images that don’t necessarily go together. So with this set you can chose to stamp your flowers and leaves outlines and color them using your favorite coloring mediums or stamp solid images using colored ink and have instant flowers and leaves. You can also combine a lot of these to have an outline and solid stamped color.
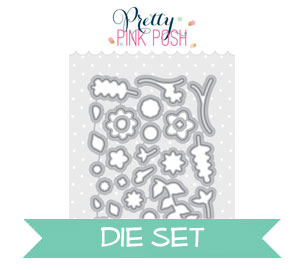
So quite a lot you can do and many different looks you can have. There is a set of coordinating dies available and these cut pretty much each and every shape out.
Watch my video tutorial below to learn how I made this card.
I started working on my card by die cutting the shapes out first. With tiny dies like these I prefer to keep them connected and cut them all at once first and do my stamping later. I feel this way I am saving a lot of time as for me it is easier to align a stamp over a small die cut shape versus align a die over a small stamped image.
I die cut a number of shapes out, I think I cut all of them 2 or 3 times and later had additional florals cut to have more flowers for my card.
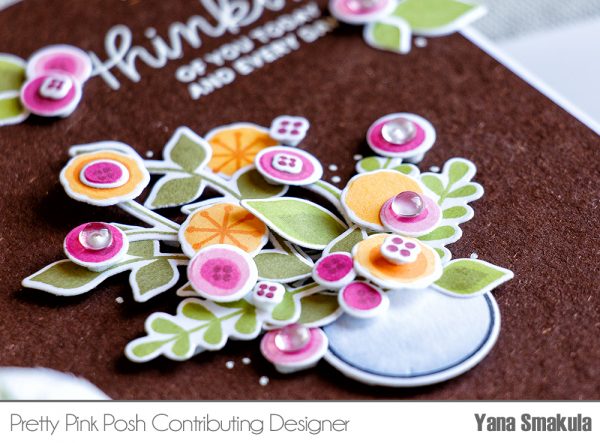
Next I used various colors of ink and stamped my images. I picked 2 shades of green, 2 shades of yellow and 3 shades of pink for my stamping. I first stamped layers using lighter color of ink and later came in added a detail layer onto some of my images using a darker shade. So in a way this stamp set can be used as a color layering one where you build your flower using individual layers and different colors of ink.
To create a vase for my floral arrangement I used a Christmas ornament from the Winter Friends stamp set. I turned it upside down and colored using C3, C1 and colorless blender Copic markers.
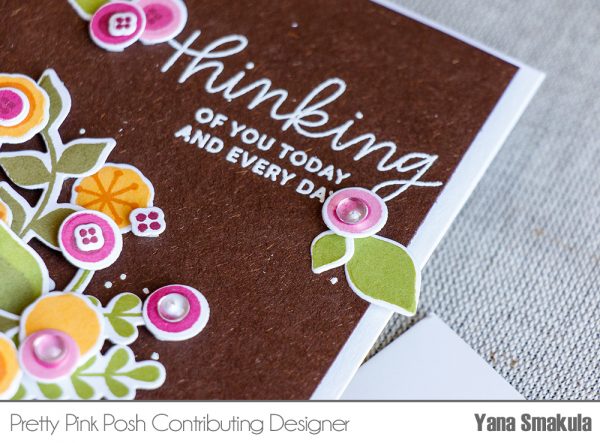
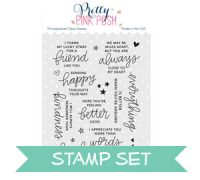
I made my floral arrangement heavy on one side as I wanted to add a sentiment to the other side. I went with “Thinking Of You Today and Every Day”from the Thoughtful Greetings stamp set, but of course you can go with any other message you like.
Happy cardmaking!

Hi Yana & Paulina ~ This card is absolutely scrumptious!!! I adore chocolate/dark brown paper and the layered flowers on top just stand out so beautifully. Simple perfection! Thanks so much for sharing and continuing to inspire me, not only with your creativity but with the fun stamps and dies you always release. I hope you both have a wonderful weekend! ~HUGS~
#kindnessmatters
Beautiful. Stunning colors and awesome beautiful stamps and dies.
Beautiful card and thanks for the lesson of leaving dies in tact and then stamping after pieces are cut.
Such a pretty card…love the wonderful dimension and how it looks on the darker base.
Beautiful card! Gorgeous layers!
What an adorable card! The flowers and colors are gorgeous together, and the greeting set is lovely! That tool you used to pick up the tiny die cuts looks very handy. Do you sell that here?