Autumn Leaf Wreath + Video
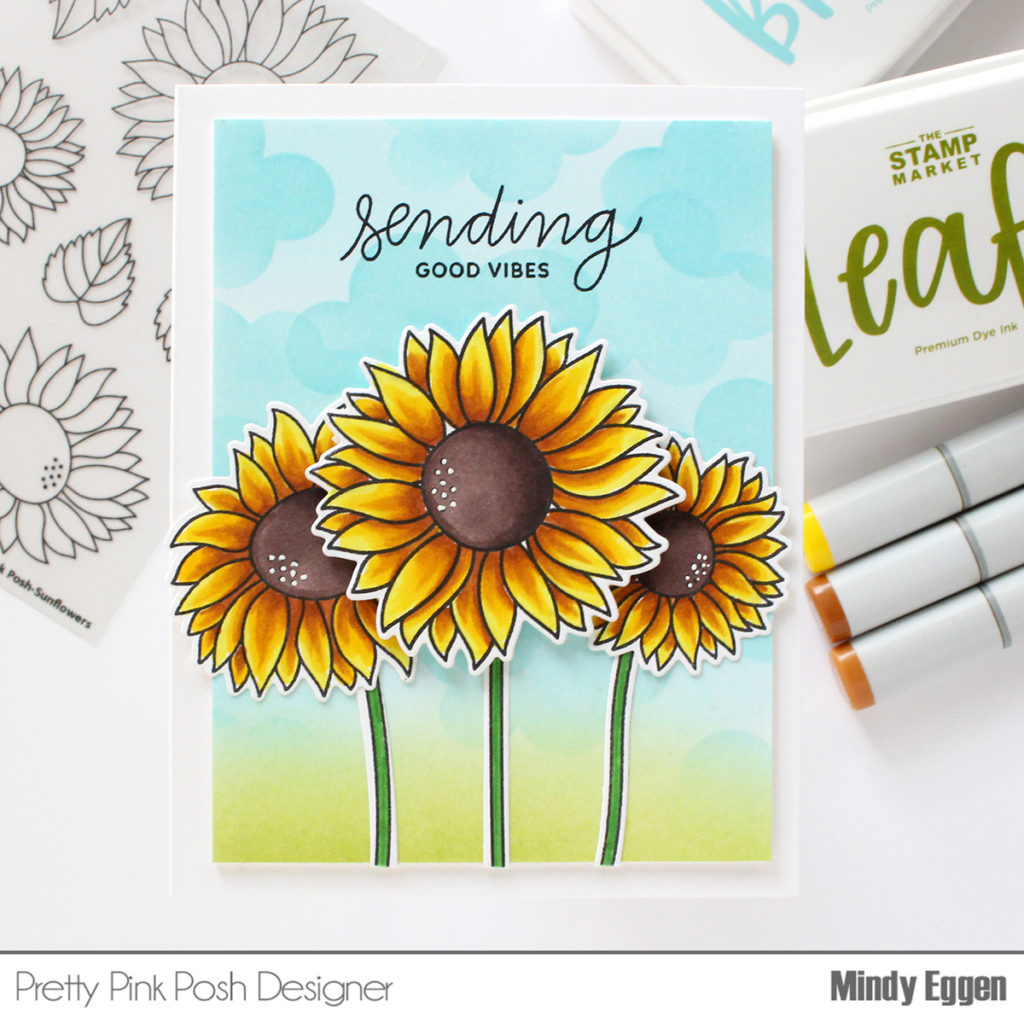
Hello crafty friends. It’s Lisa Mears here to share an autumn card using the new Autumn Leaf Wreath stamp set.
Watch the video above I Watch the video in HD on YouTube
One thing I love about the fall season is the changing colors of the leaves and so I wanted the leaves in my wreath to have several fall colors in them. It was so easy to get a beautiful blend of fall colors by using only four colors of the Zig Clean Color Real Brush pens (although I’m sure any watercolor pens would work). The pens I used were red, orange, yellow, and mid green. These colors blended seamlessly. If there were any parts that needed a little extra blend, I used the blender marker to do that. The blender marker is simply a marker with a blending solution in it to help move the colors on your paper, however, a paint brush and water would work too. Once my coloring was complete, I die cut the wreath with the coordinating dies.
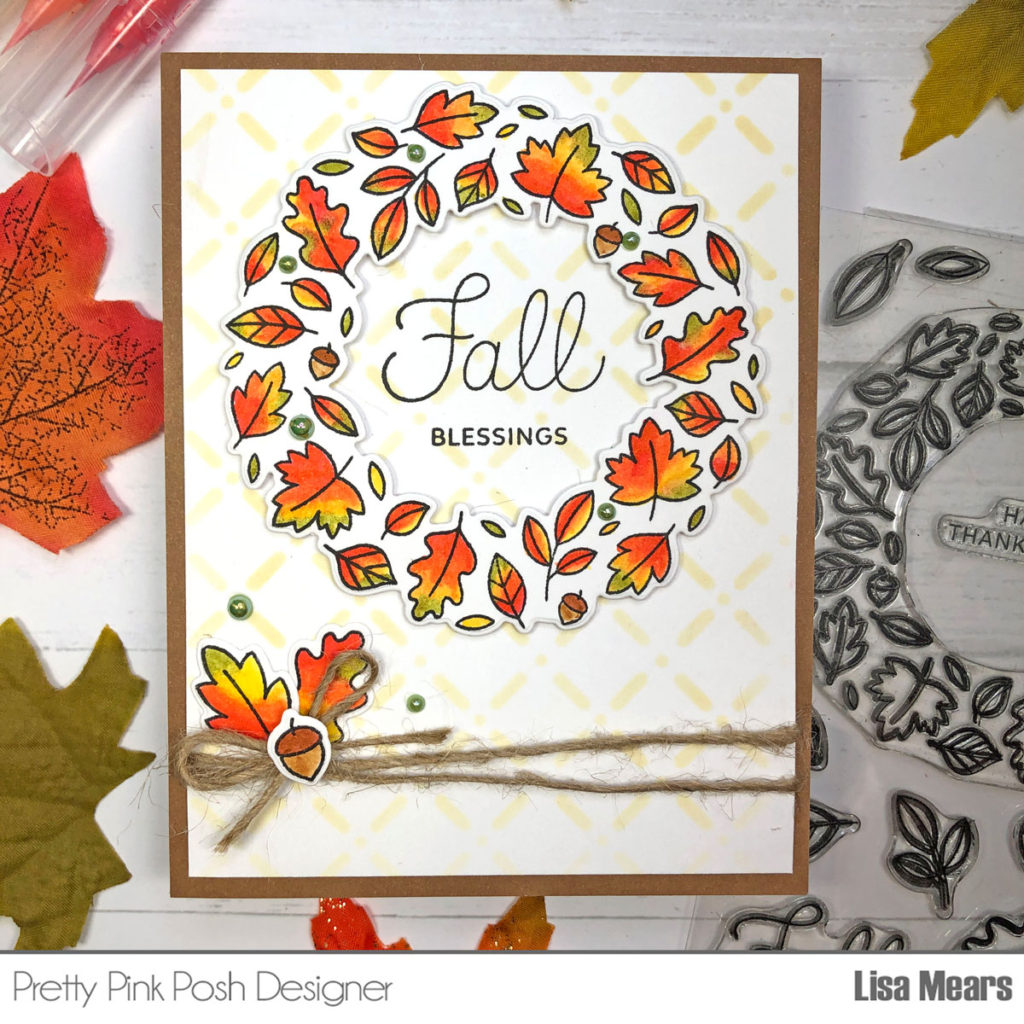
Next, I worked on my background. I cut a piece of cardstock to 4” x 5 1/4” and used the Trellis stencil along with Antique Linen Distress Oxide ink. I stamped the sentiment “Fall Blessings” and then I added the wreath to the top portion of the stenciled card panel, popping it up with foam.
I added some twine around the bottom portion of the card panel and tied it in a bow. I added two additional larger leaves from the stamp set and I added an acorn image to the top of the bow. Next, I added some Pistachio Pearls to the wreath and to the card front.

Finally, I added the stenciled panel to a piece of brown cardstock that measures 4 1/4” x 5 1/2” and then added it to an A2 size card base.
Thank you so much for stopping by today. Have a wonderful day!