Creating A Spring Box Card + Video
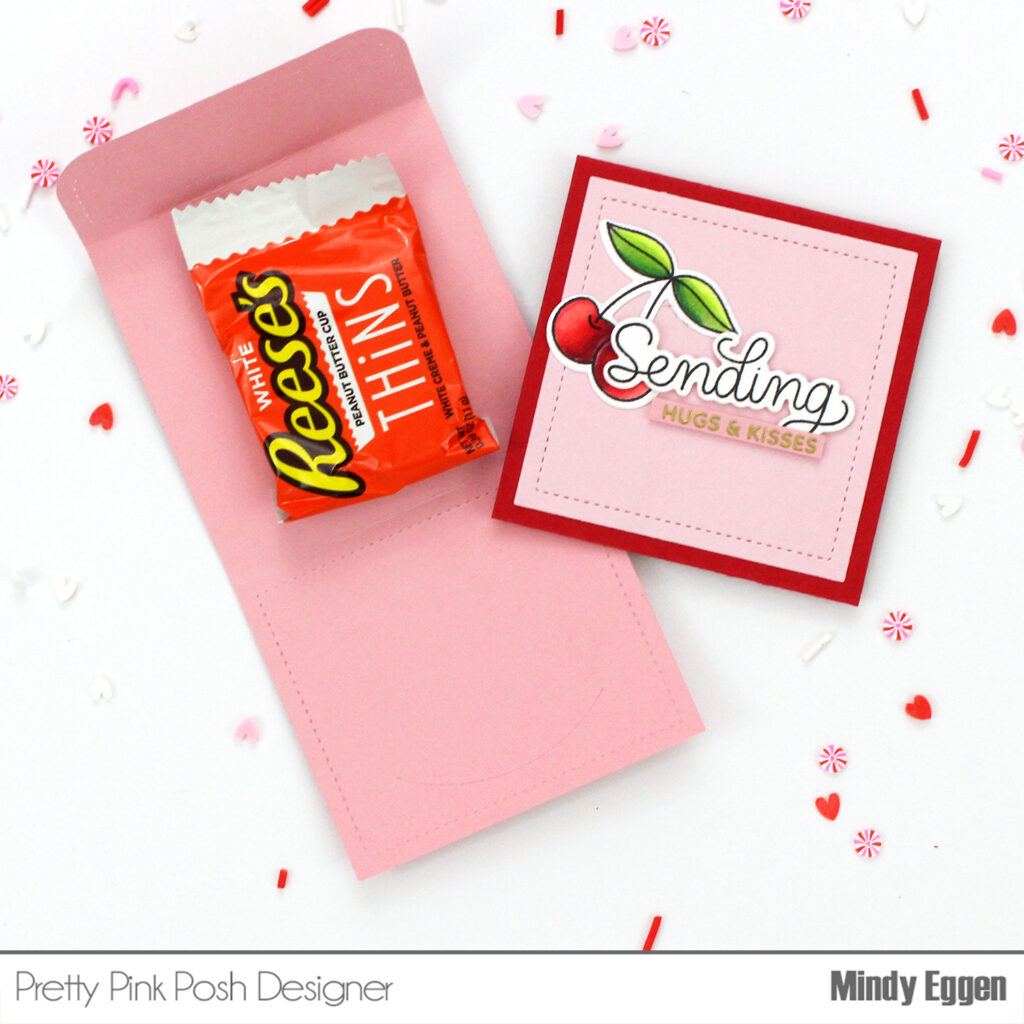
Hi, friends! It’s Lauren and I am so excited to be back on the Pretty Pink Posh YouTube channel! Were you patiently waiting like I was for the Scallop Box Card Dies to be released? It’s perfect timing with all of the adorable Spring products recently released and I wanted to use them to create a rainy day scene with the Spring Chicks Stamp Set.
Watch the video above I Watch the video in HD on YouTube
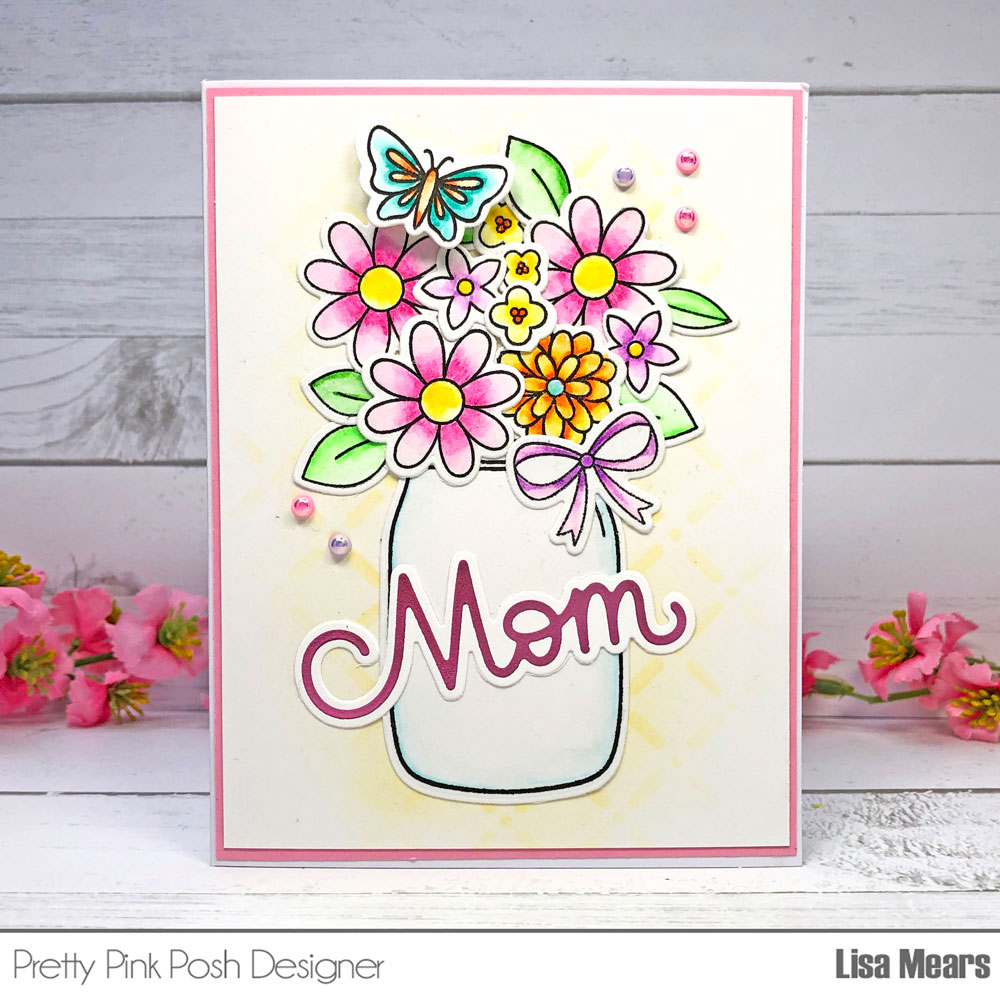
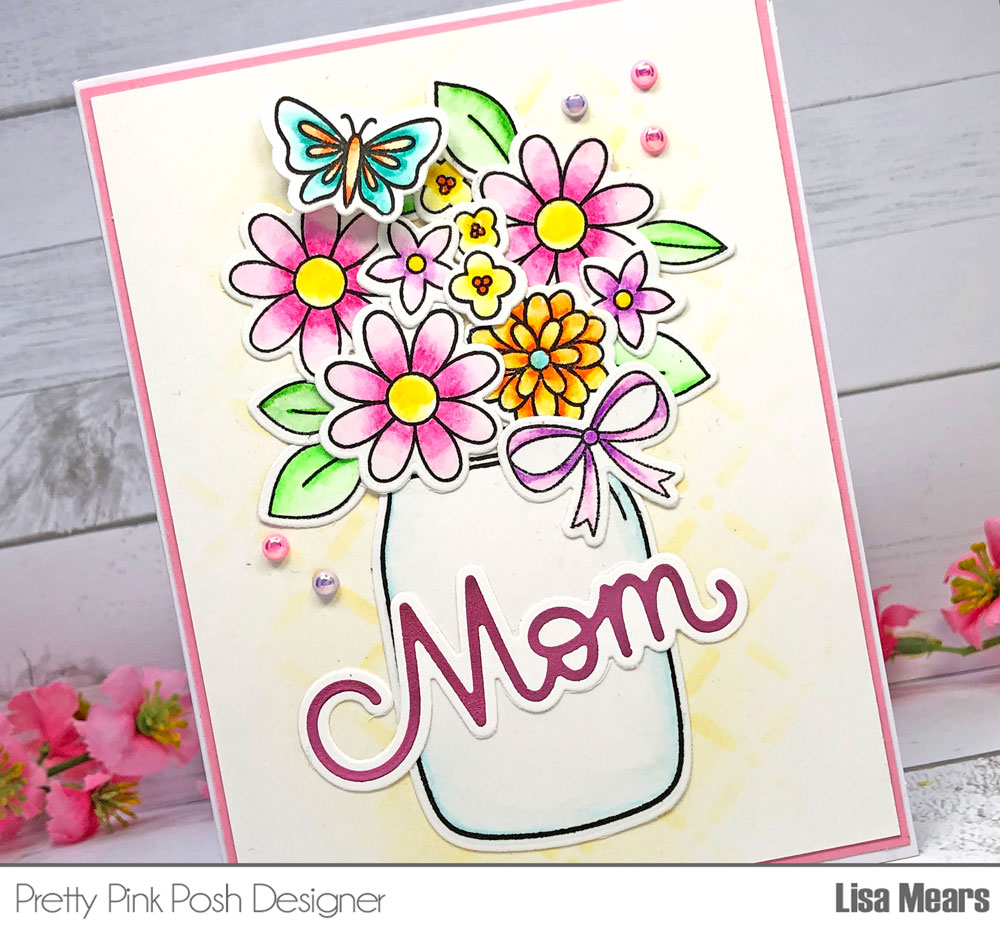
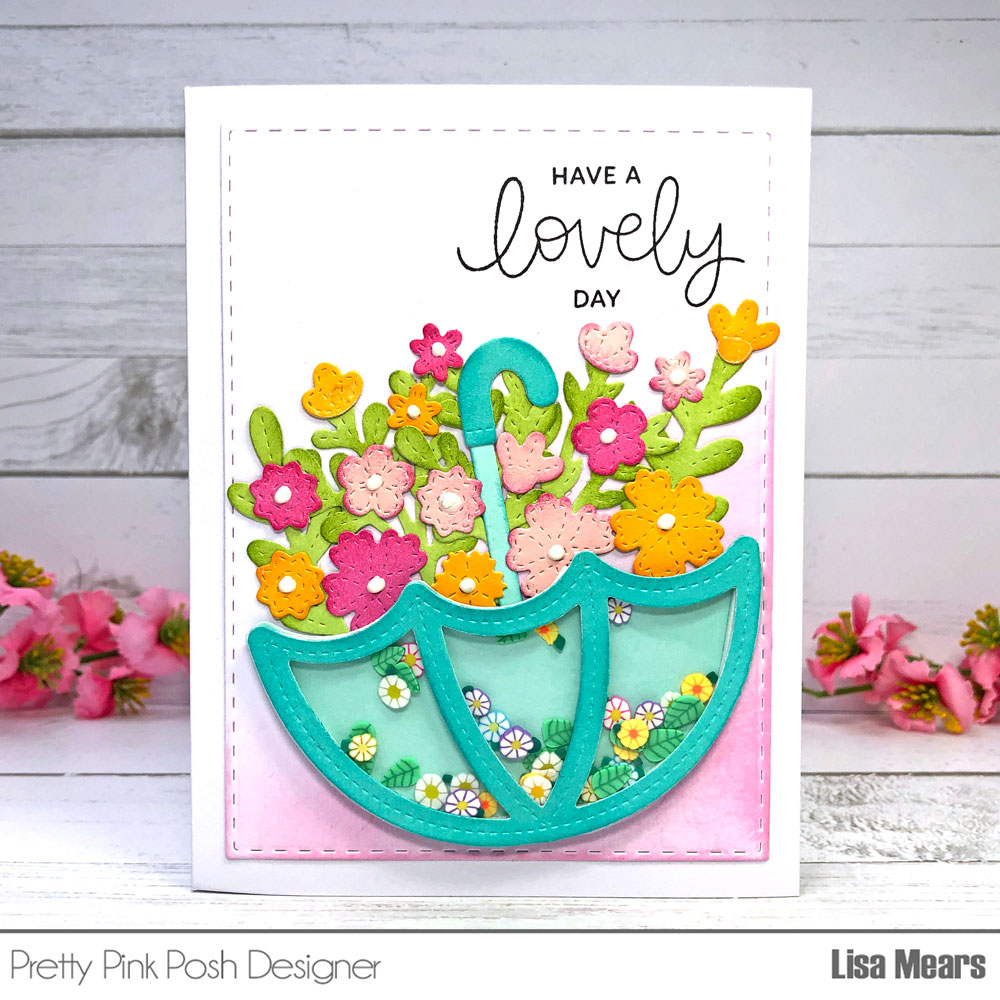
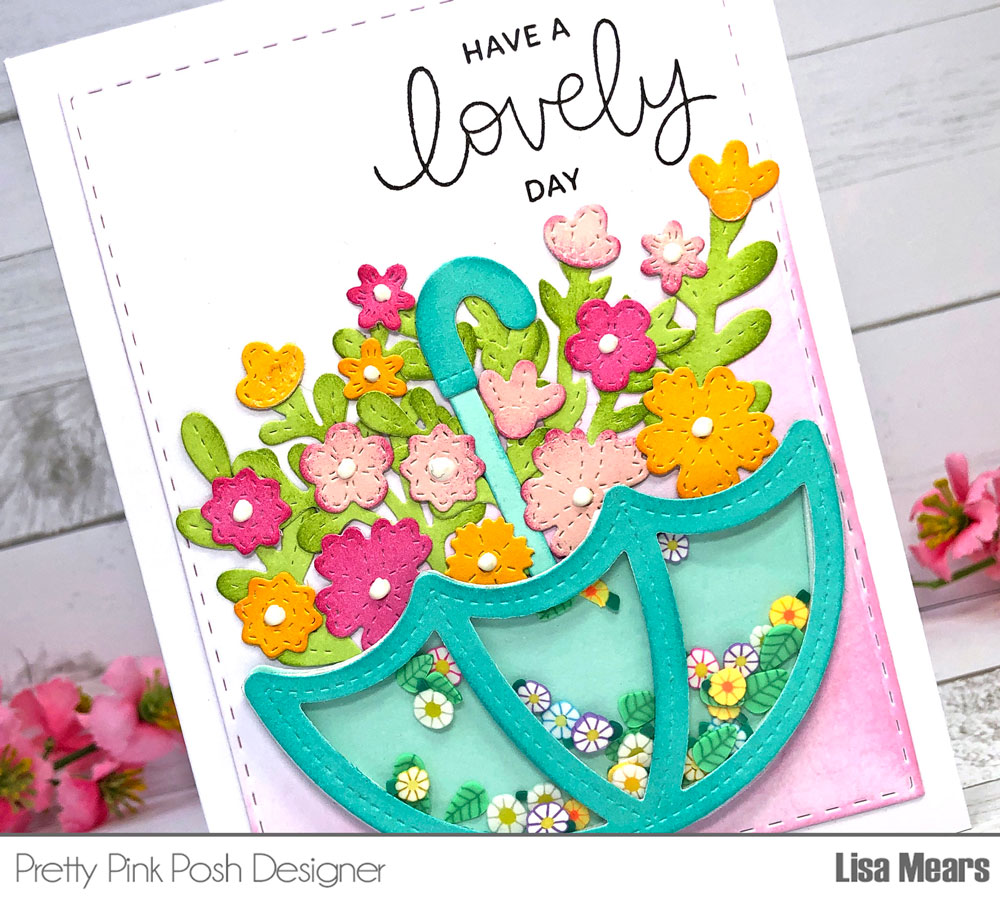
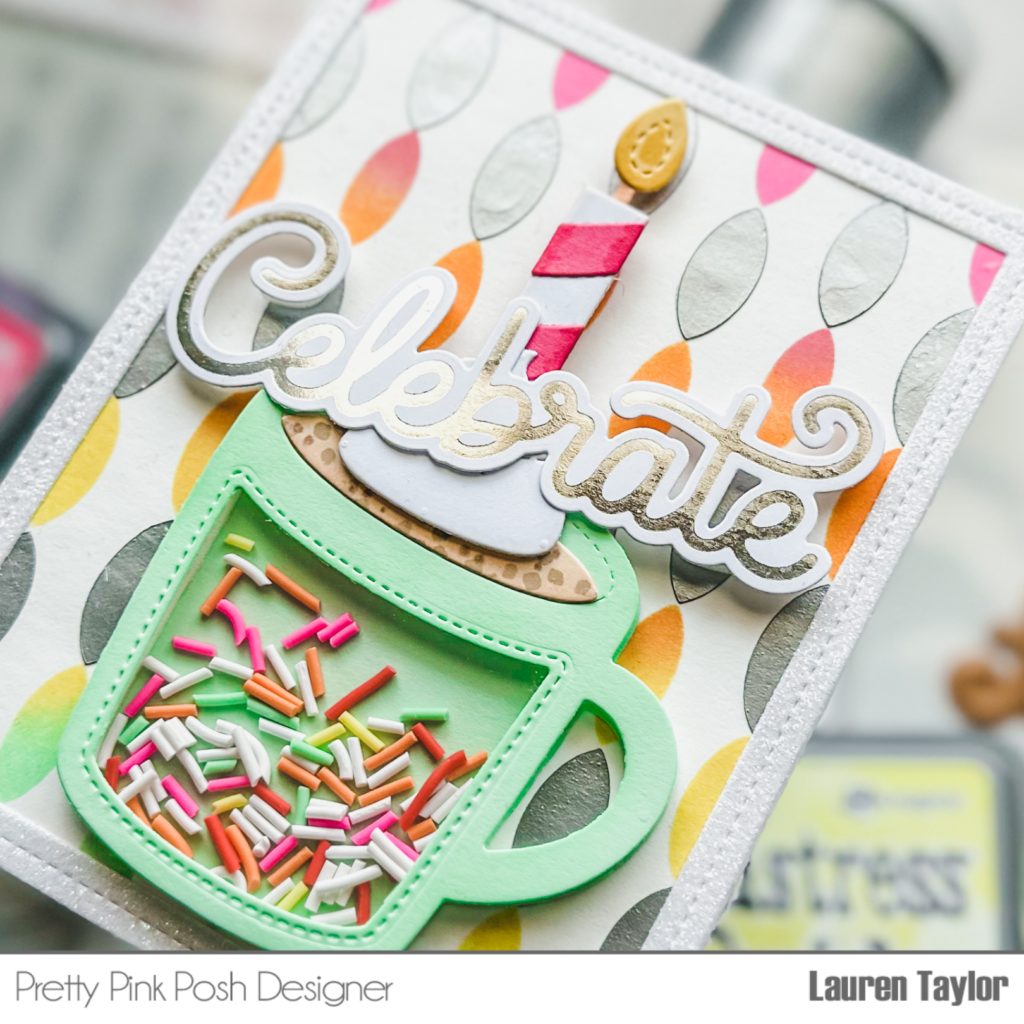
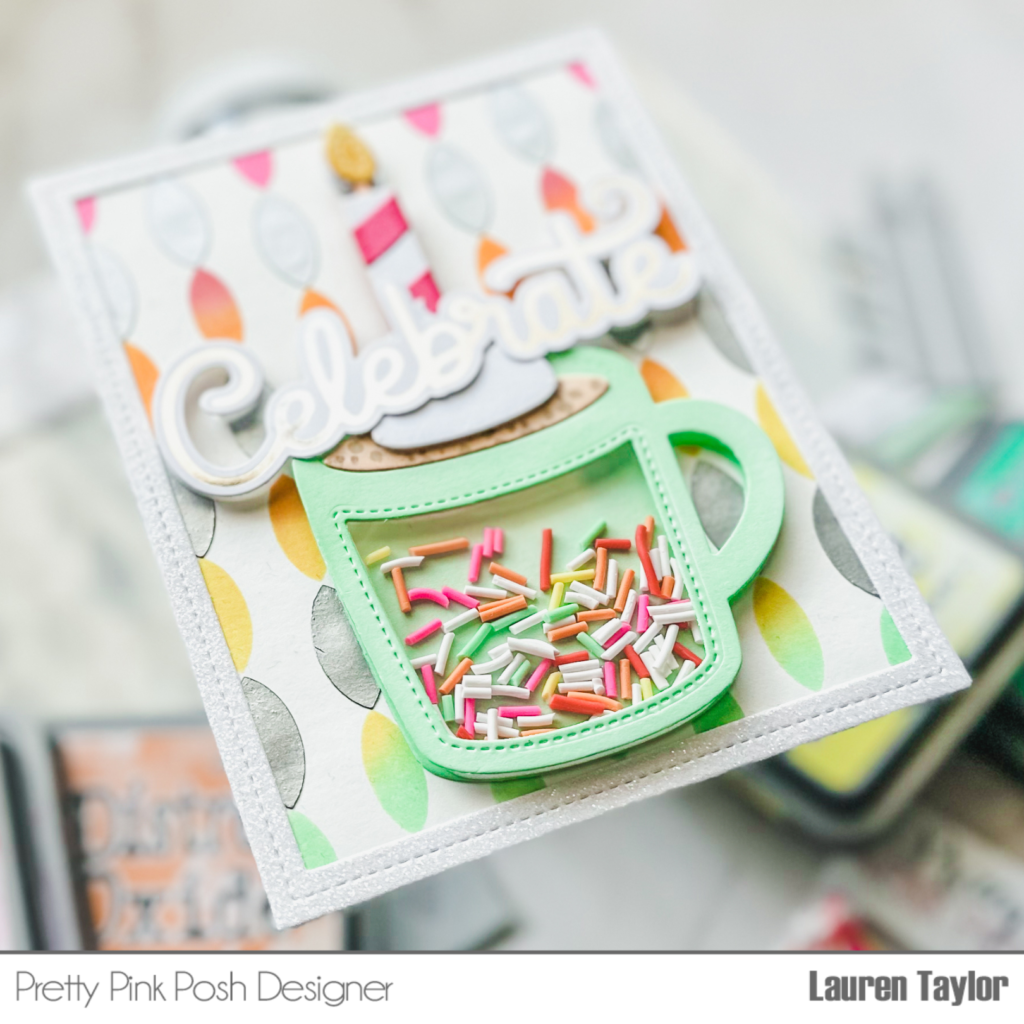
I started with die cutting all of the pieces I needed from the Scallop Box Card Dies, Umbrella Shaker Dies, and Nature Essentials Dies in colored and glitter cardstock. Next, I stamped and colored the images from the Spring Chicks Stamp Set and Spring Jar Stamp Set. I used the Spring Chicks Coordinating Dies and Spring Jar Coordinating Dies to cut the images out.
To add a little more fun to the card, I also stenciled some rain drops onto the scalloped arch using just the rain drops from Layered Umbrellas Stencils with some blue stencil paste. I set that aside to dry while I stamped my sentiment onto the scalloped rectangle that will be adhered to the front of the box card.
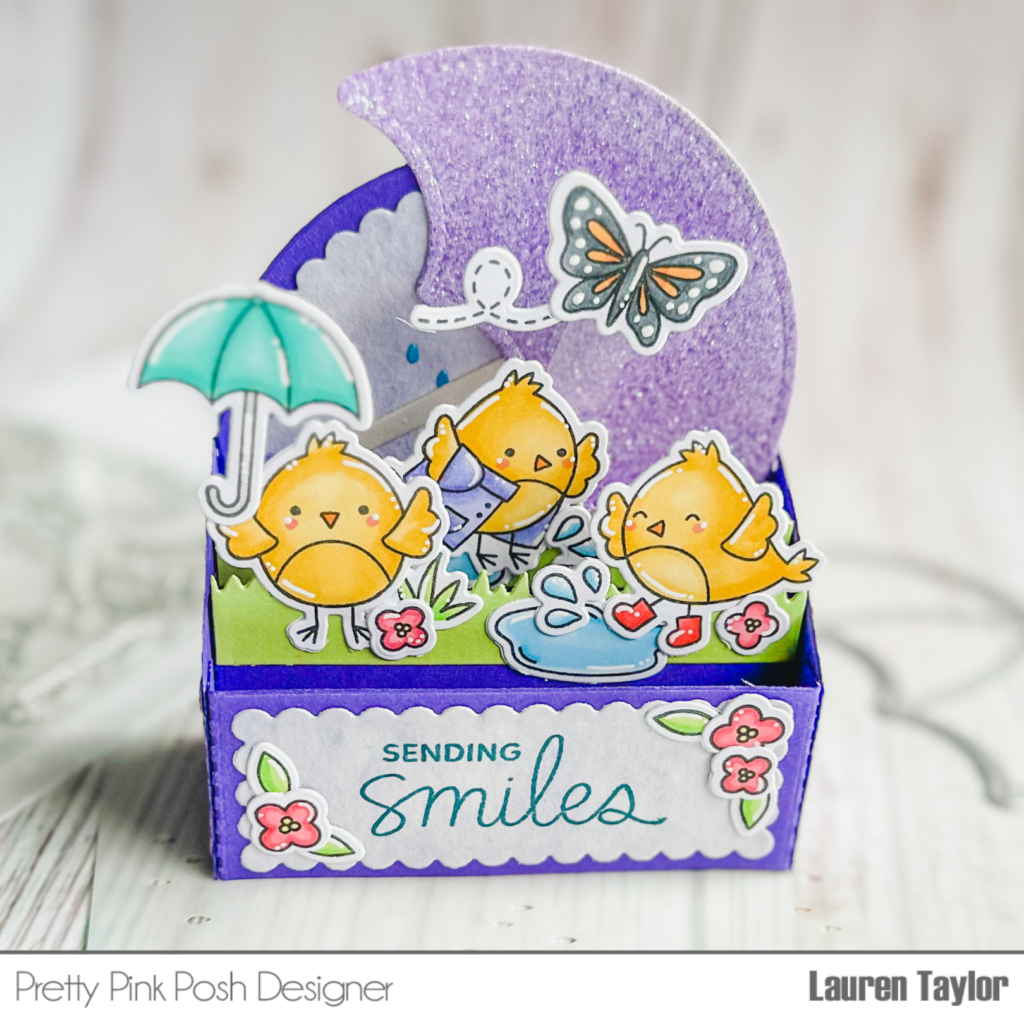
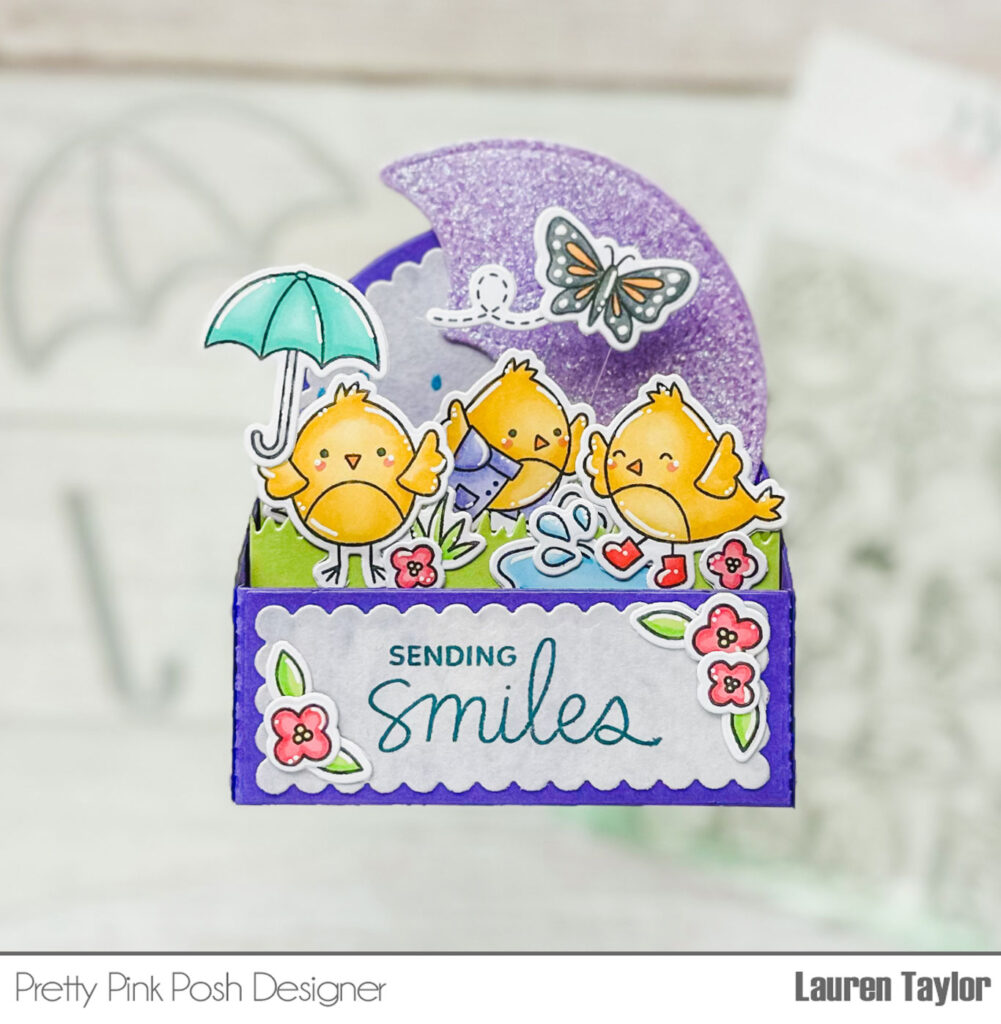
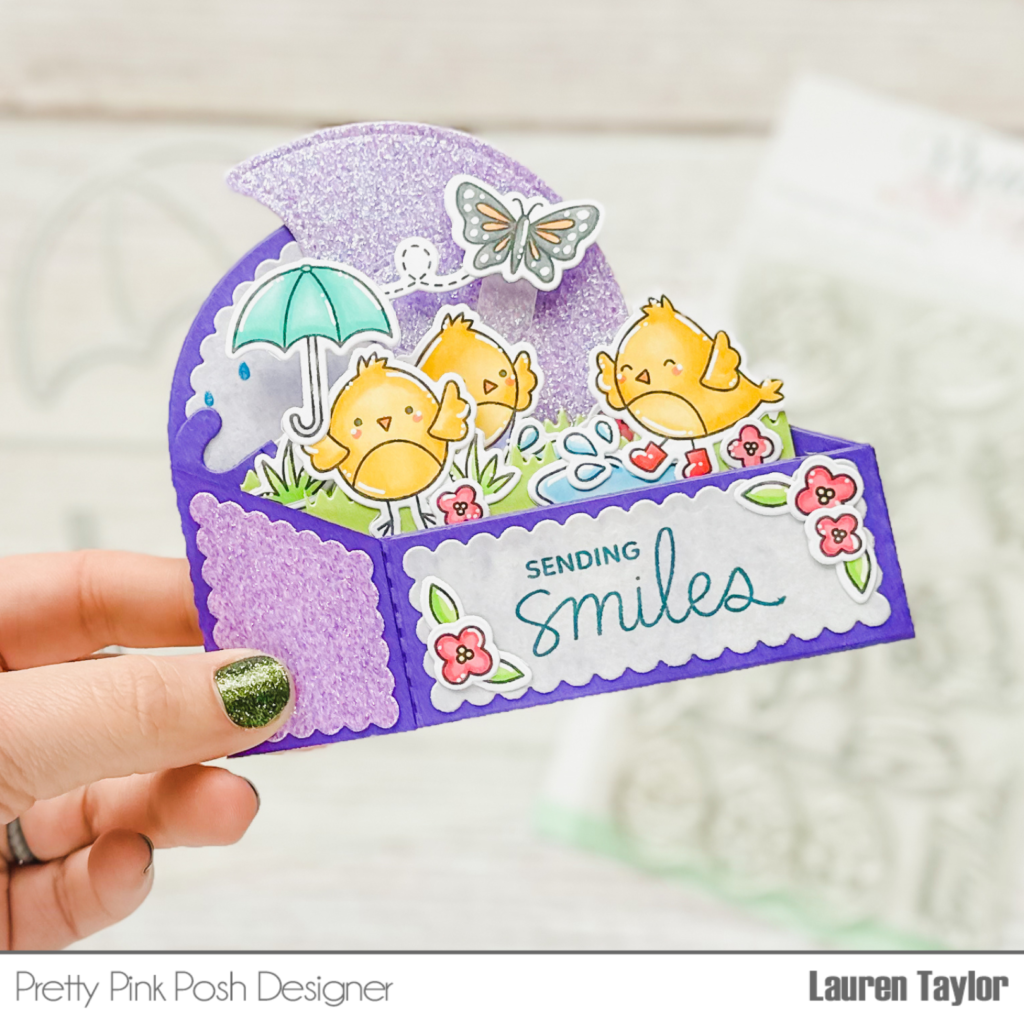
You can follow along in the video as I show how to assemble the Scallop Box Card Dies and any tips I have to help add in the “shelf” pieces and how to close the box card so that it folds flat nicely. Once the box is assembled, you can add in the grassy die cut pieces, stenciled scallop arch and sentiment to the box card. I also glued together my umbrella from the Umbrella Shaker Dies and added it to the back of my box card.
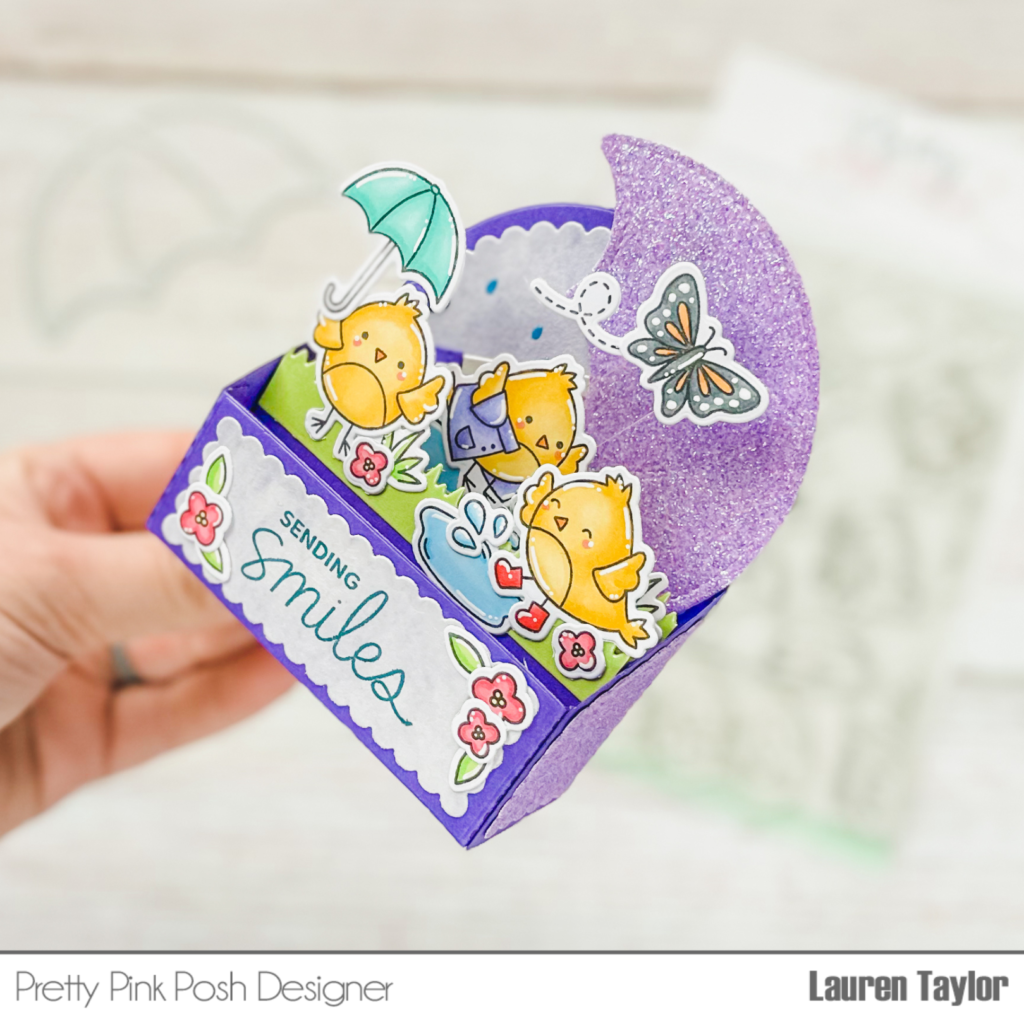
Using my reversible tweezers and a jewel picker tool, I adhered my stamped images to create a scene of Spring Chicks playing in the rain puddles. My butterfly is attached to the scene using acetate so it looks like it’s flying in the background above the playful chicks. I hope you enjoy today’s video and that it brings you inspiration for using your Scallop Box Card Dies to create fun scenes for Spring!
Thank you so much for stopping by today. Have a wonderful day!