Layered Letters + Video
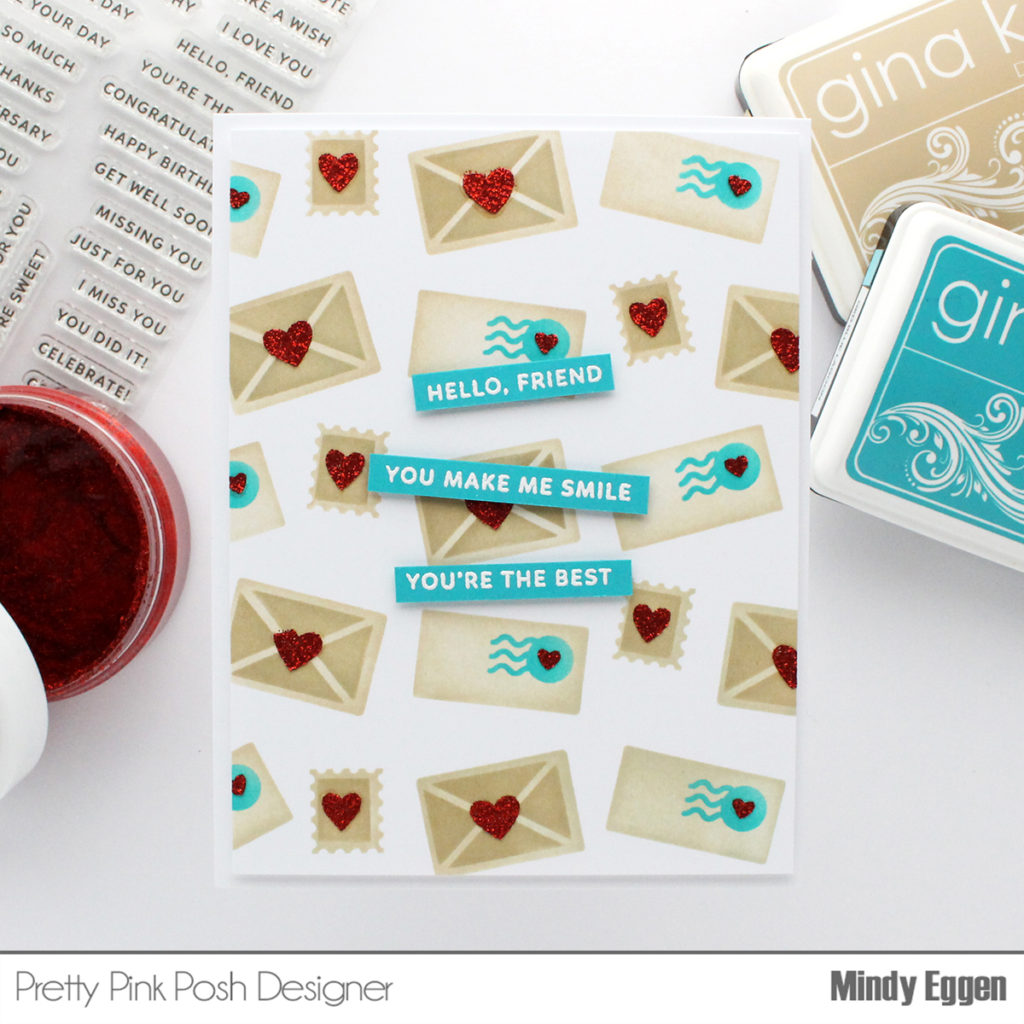
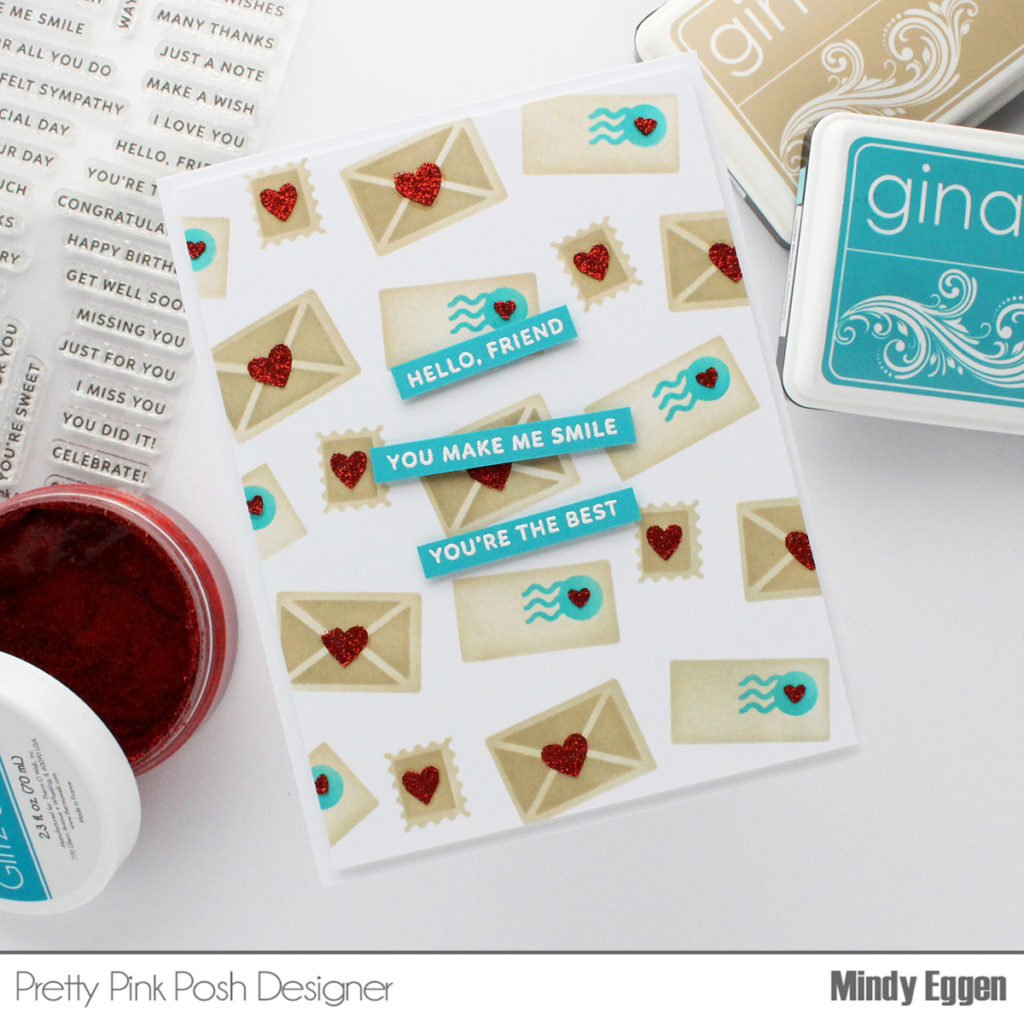
Hello friends! It’s Mindy with you today to share a card using the Layered Letters stencil.
Watch the video above I Watch the video in HD on YouTube

There are so many ways to color up this stencil. So many in fact, that it was overwhelming me so I googled clipart mail to narrow down a color combination I liked best. I often do this when I just can’t seem to get a start.
I liked the brown letter look as it reminded me of packages and getting packages in the mail is fun!

The Layered Letters stencil is a 3-piece stencil. I started with the most open area stencil and ink blended on a light brown which in my case is Sandy Beach from Gina K Designs.
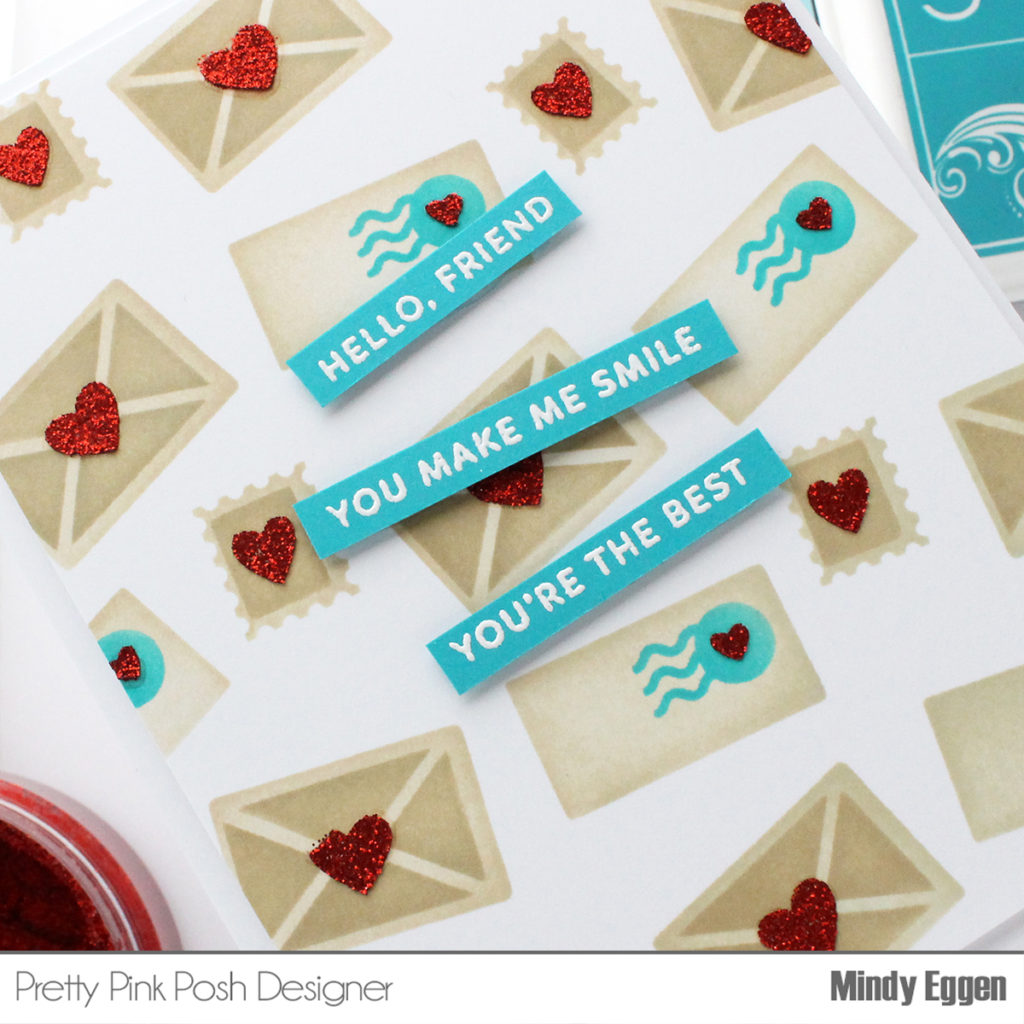
The next layer of the stencil that I’m going to use has the details of the letters and a little postage mark. I masked off the postage mark with post it tape and ink blended a darker shade of brown, Kraft ink, using a blending brush.
I’ll wipe off the excess ink, remove the post it tape and using a small blending brush, ink up the postage areas with Blue Lagoon ink. Those small blending brushes really help get in those small areas without having to mask everything else off.
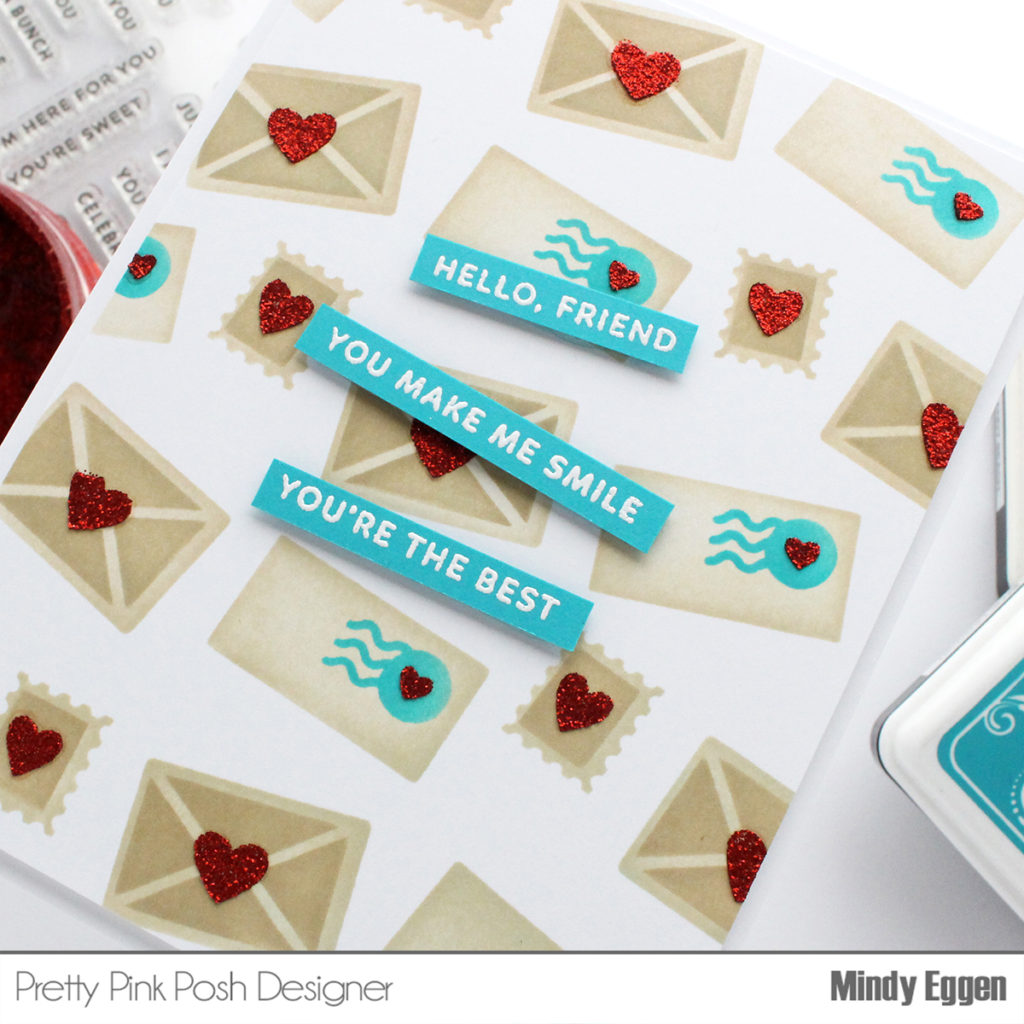
For the third layer of the stencil, I’m going to jazz it up a bit by using Red Velvet Glitz Glitter Gel.

Since this background is pretty much my focal point, I’m going to keep the sentiment small.
I’ll be using the Simple Sentiments stamp set. I picked three that I thought went together well and heat embossed them in white embossing powder onto Blue Lagoon cardstock.
After trimming the sentiments down to a thin strip, I can add them to the front of the card using liquid glue which holds up nicely against a textured background.

Hope you enjoyed today’s card and it has inspired you to create! Have a great day!
Mindy

This is gorgeous!