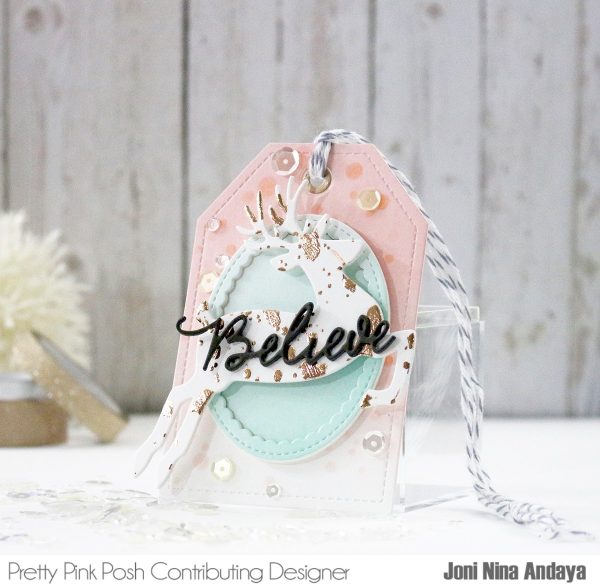
Thanksgiving Place Cards

Hello everyone, Rina here sharing a Thanksgiving Place Card project.
I am addicted to stamps and dies! First and foremost, I love card making and I love mixing and matching stamps and dies to create the perfect card for that special occasion. I also really like to stretch my creativity and use my stamps and dies for projects other than card making.

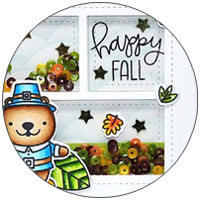
When I first saw the Happy Turkey stamp set I knew I wanted to create place cards for Thanksgiving dinner. These would also be a great keepsake as a message could be written to that special someone inside the fold.

When creating multiples of the same project I like to create “assembly” line style. I also like to save more time consuming tasks like coloring for “single” projects. I used pattern paper in this project to add that punch of color.

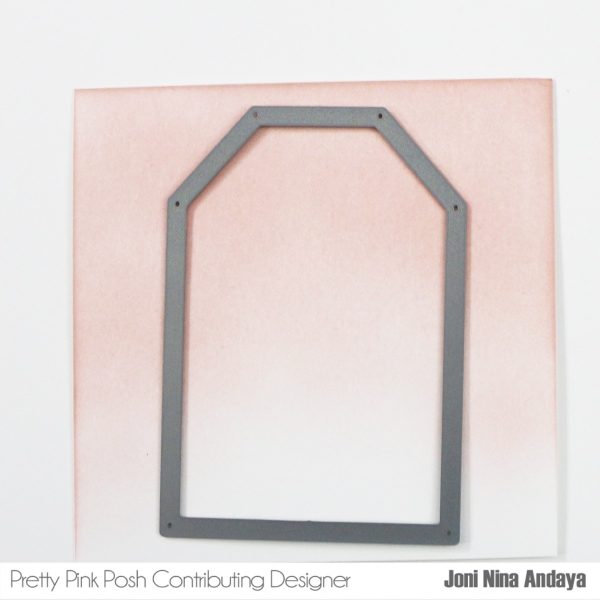
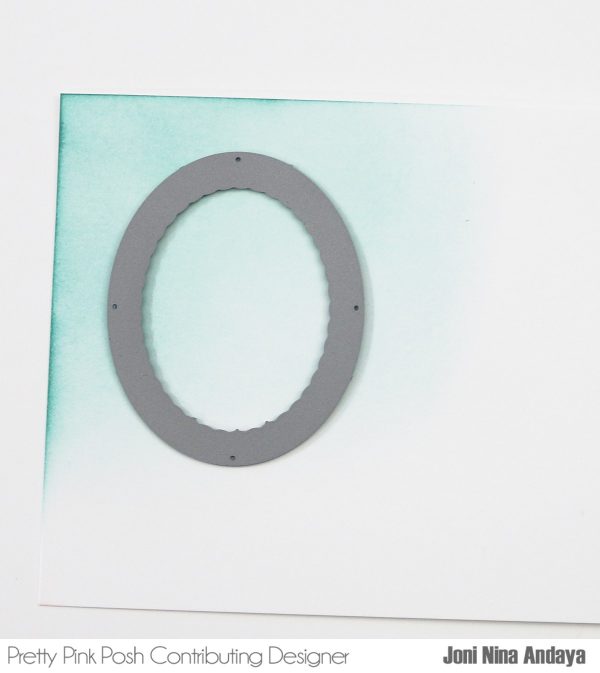
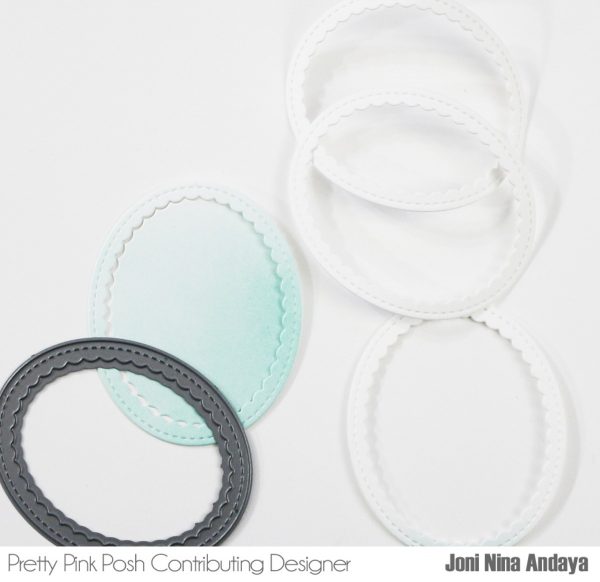
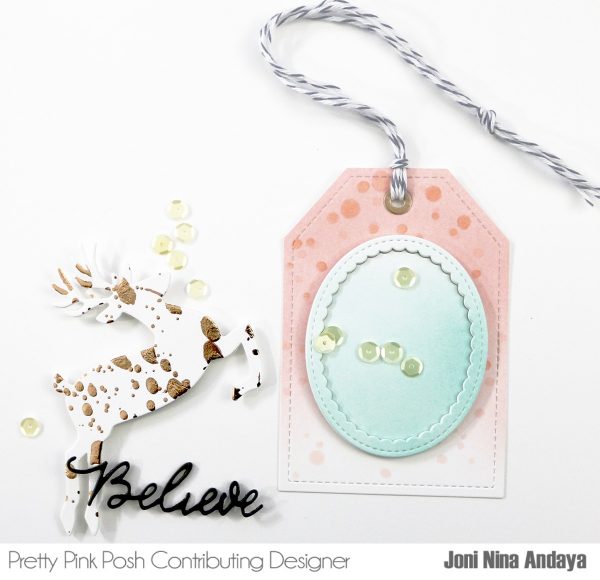
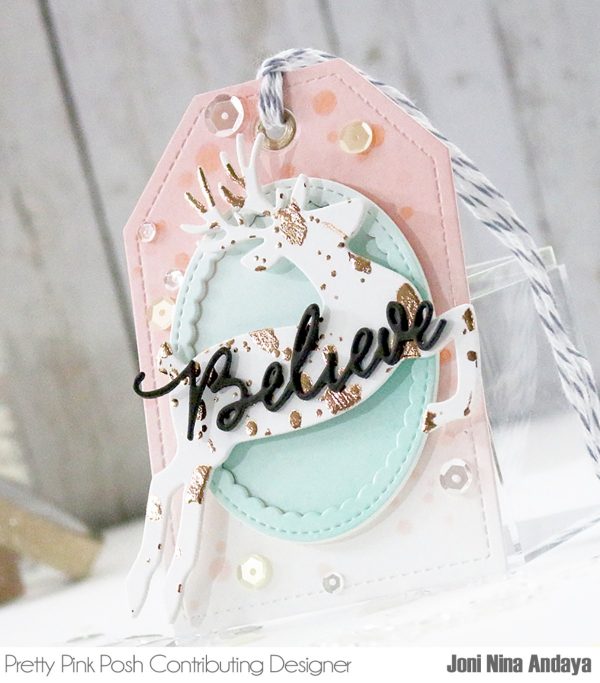
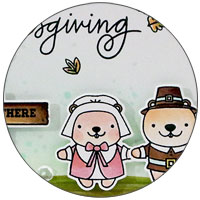
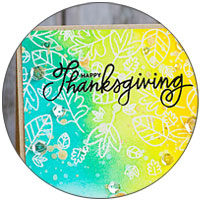
The base of the place card was created using the Stitched Notes frame. I scored the frame at 2 3/8 inches and then folded in half. For the fun design element in front to anchor the turkey and leaf images I die cut the largest Window Frames Dies. I adhered the window frame with foam tape only in the middle, so images could be easily adhered between these two pieces. This combination makes the perfect size place card. The width of the Stitched Notes frame and largest Window Frame are exactly the same width, which was a happy surprise!

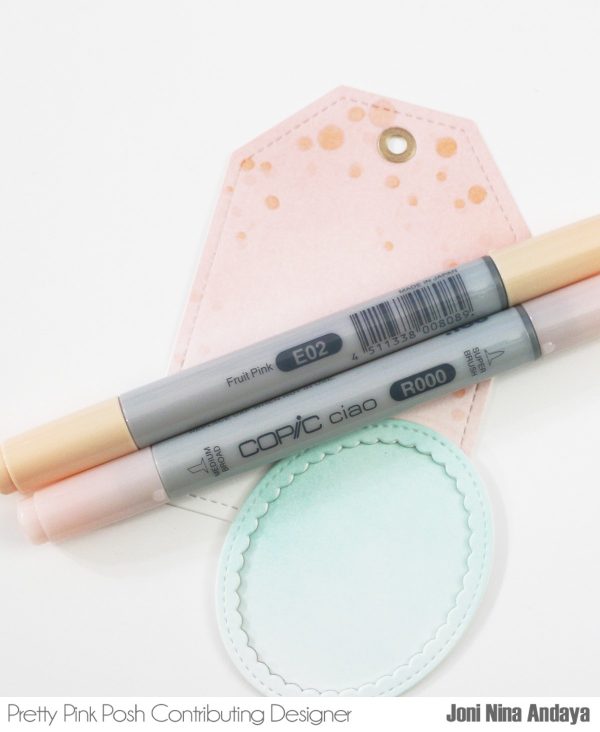
One of my favorite things to do is paper piecing. I wanted the turkey feathers to have the fun plaid print, but wanted the body of the turkey to be brown. I colored the turkey body with copic markers, cut it to the edge and adhered it to the die cut turkey. I then layered this piece to foam sheet die cut with the coordinating die. It makes the perfect centerpiece.

I adhered the Stitched Notes Dies largest note die cut (this is where the persons name is written) behind the Window Frames die cut along with the colorful leaves. I love how this mimics the shape of the turkey feathers! Finally, I stamped the “Happy Turkey Day” sentiment behind the place card as an added design element.
I hope you enjoy this fun, easy project. I think it will look perfect on any Thanksgiving dinner table. Thanks for stopping by!
Rina