Projects

| |

Valentine Theme Week- Day 1

valentinethemeweek

Hello everyone, Joni here!

Welcome to a whole week of Valentine inspiration here at Pretty Pink Posh. Every day this week we will have some tutorials and inspiration that you can use for the upcoming festivities.

Pretty Pink Posh

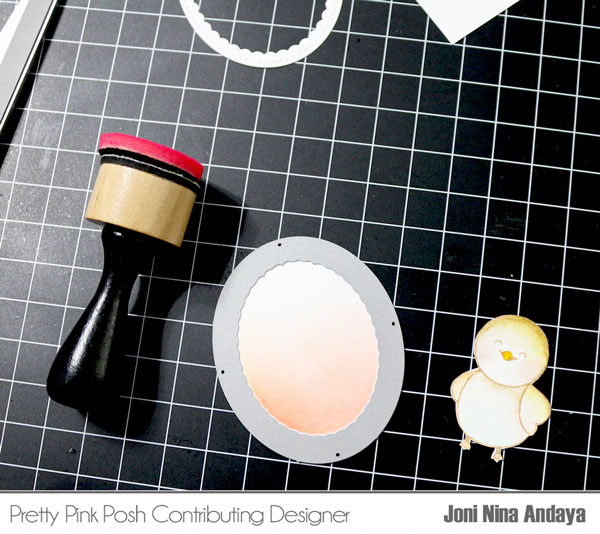
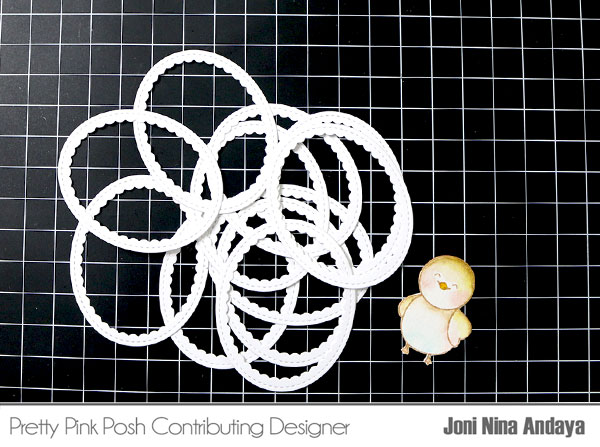
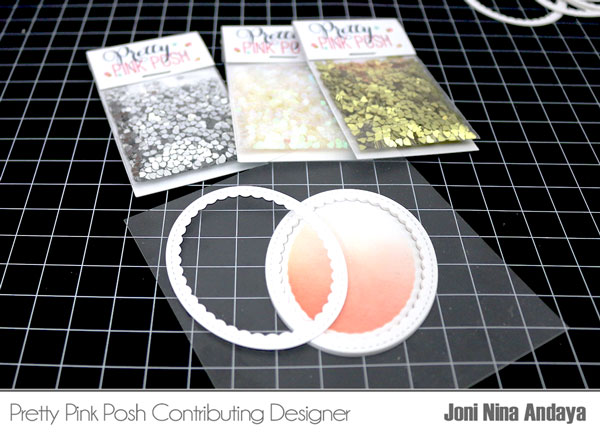
To begin, die-cut the oval scallop from Pretty Pink Posh  Decorative Tag 1 dies and while it’s still with the die I then distressed it with PTI Summer Sunrise ink pad to give the color for the background. Once its distressed I then taped the back of the scallop border with the inside of the scallop. This will help me make a small oval shaker that I can add to a tag or a card.

Pretty Pink Posh

For this project I die-cut lots of oval scallop border and I usually stack 3 (glued) and adhered on the top of the oval scallop. Because the border is thin, it’s easier this way for me to hold those awesome new Mini Hearts Confetti coming your way. But if you like to cut a thin foam tape, this will work too.

Pretty Pink Posh

Next, I glued another scallop border on top of the clear acrylic and filled the scallop shaker with this yummy new Mini Hearts Confetti along with other Pretty Pink Posh sequins. The Mini Hearts Confetti will be available this coming February 1st.

After filling the scallop shaker, I then glued the back of the acrylic following the lines on the scallop border and adhered on the top of the scallop shaker. I trimmed the excess acrylic from the scallop shaker with scissors.

Pretty Pink Posh

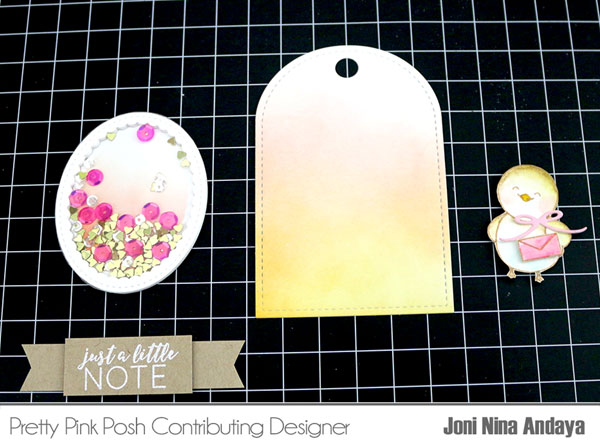
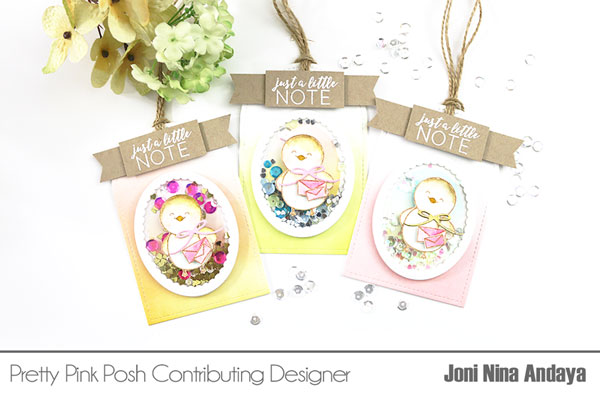
For this tag I used the Stitched Duo 3 dies and distressed. You can use other PPP tag dies for different looks too. The little cute chick is from the free stamp set Birdie Notes that was released from the recent PPP January Birthday Celebration, which I watercolored using the 60 Zig Clean Color Real Brush.

I stamped the sentiment on a strip of Kraft cardstock from the Birdie Notes with white embossing powder and heat set. I cut the sentiment into rectangle added a foam tape and adhered on top of the strip of Kraft cardstock that I snipped on both ends with scissors.

Pretty Pink Posh

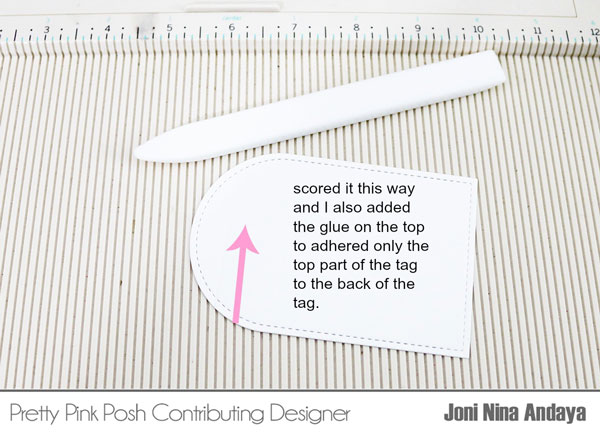
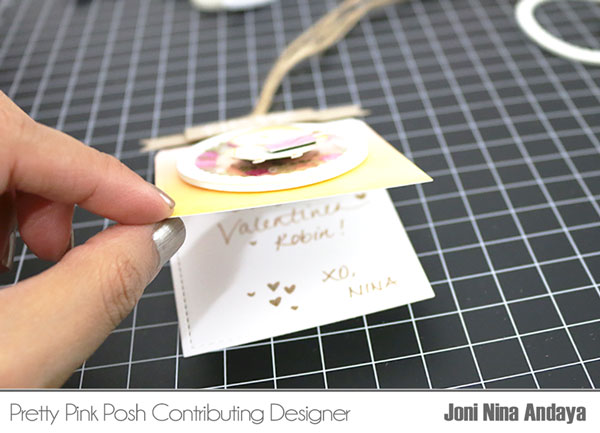
To create the note backing for the tag, I die-cut another white cardstock using the tag from  Stitched Duo 3 dies and scored the top of the tag. After, I added glue on top and adhered on the back of the decorative tag.

Pretty Pink Posh

Here’s to show you when the backing is ready for your written notes.

Pretty Pink Posh

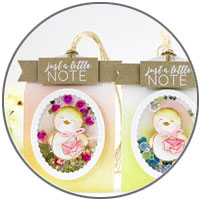
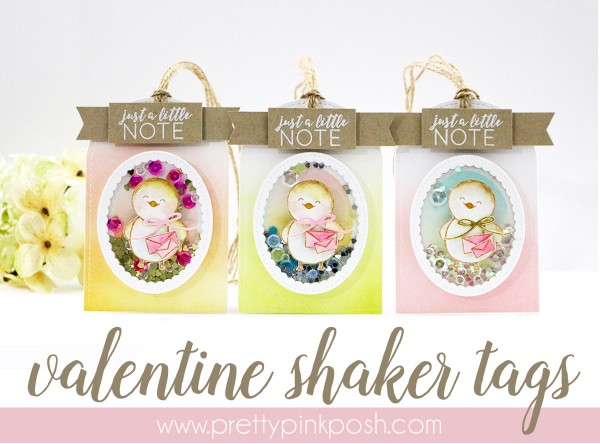
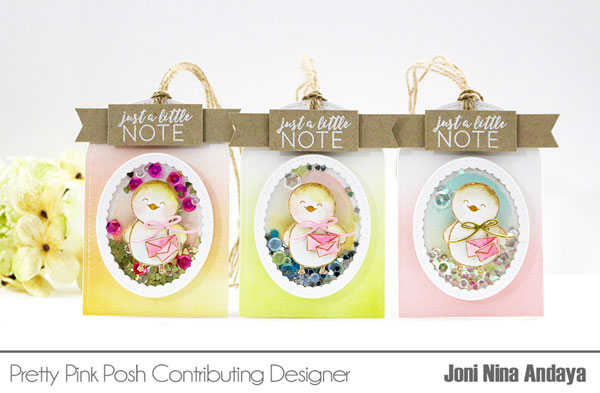
They are so fun to make and so cute. For the first tag on your left I used the new Gold Mini Confetti Heart with 6mm Fairytale Fuchsia Sequins and 4mm Sparkling Clear. On the second tag I used the new Silver Mini Confetti Heart and Share Kindness Sequin Mix. For the third tag I used the new Iridescent Mini Heart Confetti and Sparkling Clear sequins.

Pretty Pink Posh

Here they are in close-up using the new Mini Confetti Hearts.

Pretty Pink Posh

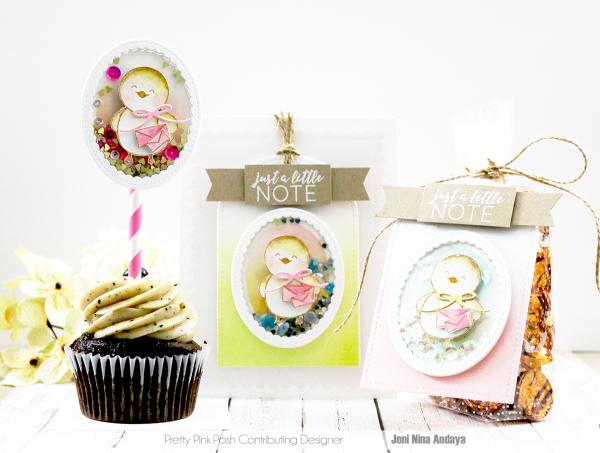
Here’s a snapshot of the little party scene I created. You can use the same concept and create darling cupcake or treat toppers. I hope you guys enjoyed and got inspired.

1 - jan25

If you create some fun Valentine’s Day projects with Pretty Pink Posh, be sure to hashtag #prettypinkposh. We cannot wait to see your projects for Valentine’s Day!

IG5

Remember to check back here tomorrow for more Valentine inspiration. Have an AWESOME week!

sig name

|

Springtime Party

Pretty Pink Posh  I  Springtime Party

I am so very excited to share today’s post with you. It’s a project that has been in the works for a little while and thanks to my amazing assistant, it finally is making it’s appearance here on the blog.

For those who visit my blog often, you know I’m a card maker. I love the fact that cards can be made in one session and each one can be unique and as detailed, or simple, as your creativity allows. However, every now and then, it’s fun to stretch yourself and create outside of a card.

Pretty Pink Posh  I  Springtime Party

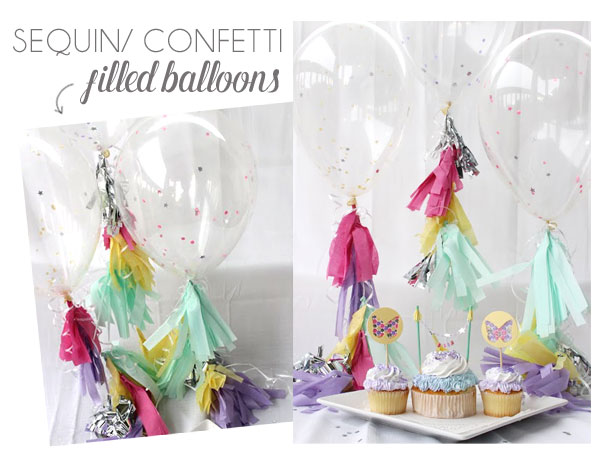
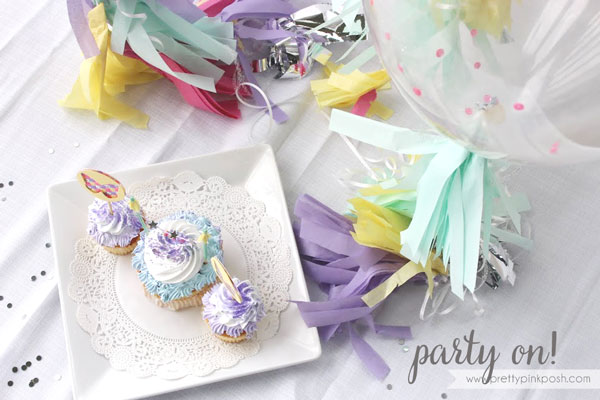
One of the things I really wanted to showcase in this post was the versatility of sequins and confetti. Not only do they look super cute on cards, but they also are perfect for parties! Whether you decorate your table with them, add them to the inside of your clear balloons, or use them on cupcake toppers, they will make every aspect of your party shine. Plus, with the wide array of colors I carry in the Pretty Pink Posh Shop, you can match them to whichever color palette you choose!

TIP: since this was the first time adding them to balloons, we learned that star confetti isn’t the best choice (due to the points). The circle or heart confetti with a mixture of sequins would be the ideal option.

Pretty Pink Posh  I  Springtime Party

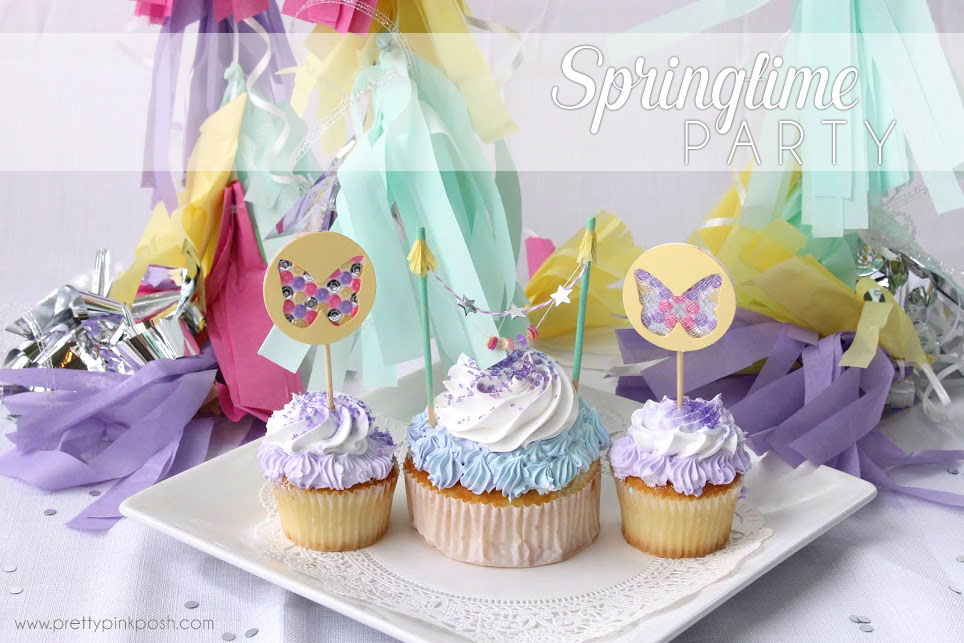
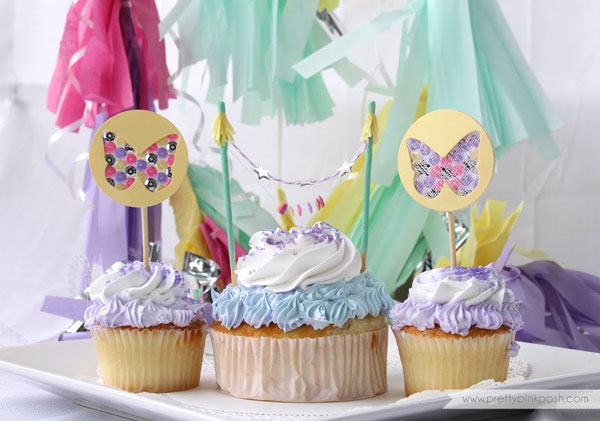
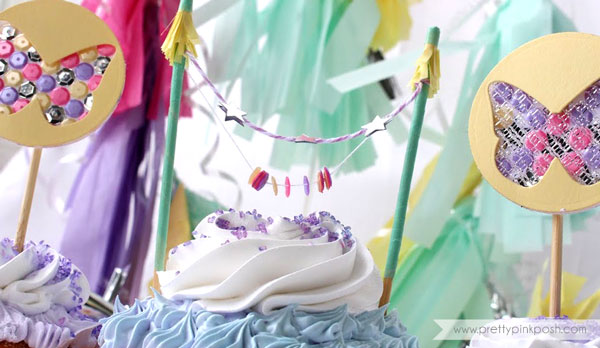
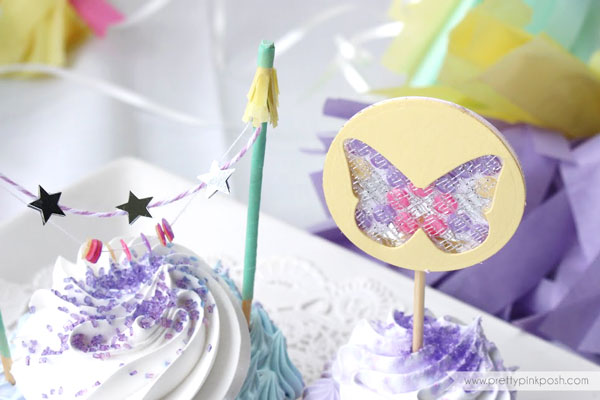
In the past, I’ve created cupcake toppers with stamps (see HERE, HERE and HERE) . Today, I set aside the stamps and brought out some die cuts, sequins and confetti for these cupcake toppers. Since we were going for a spring party, I used a butterfly die, but you can easily change it to match whichever theme you are throwing for your party.

Pretty Pink Posh  I  Springtime Party

I’m totally in love with the cupcake topper on the big cupcake. The little tissue tassels, plus the threading of sequins and confetti had me squealing with delight when it was finished. Oh and that aqua? We just wrapped washi tape around the wooden skewer!

Pretty Pink Posh  I  Springtime Party

Products used: 6mm Pink Peonies Sequins, 6mm Pansy Purple Sequins, 6mm Lemon Meringue Sequins, 6mm Metallic Silver Sequins, Silver Star Confetti and 6mm Silver Confetti

Pretty Pink Posh  I  Springtime Party

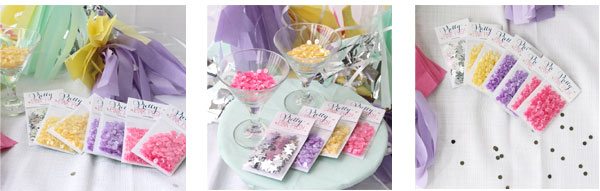
Since we had this fun set-up, I thought I’d snap a few product photos, too. I just love the way they turned out. My favorite part is the martini glasses filled with sequins!

Pretty Pink Posh  I  Springtime Party

We had so much fun creating this post. I hope you were inspired to add sequins and confetti to projects outside of paper crafts. All sequins and confetti found in this post can be found in my shop- Pretty Pink Posh.

Did you enjoy today’s post? Let me know if you want to see more party ideas in the future; we have lots of fun ideas if you’d like to see more!


| |

Quick, Easy & Cheap Christmas Gift + VIDEO

Pretty Pink Posh I Quick, Easy & Cheap Christmas Gift + VIDEOCountdown to Christmas: 11 days!
Despite the fact that I’m totally behind on everything Christmas, I really wanted to do something special for a few people that I see on a regular basis. You know, the people at the post office, UPS and USPS delivery drivers, my baristas- the ones that sometimes get overlooked during the holidays, but that make our lives easier and more pleasant.

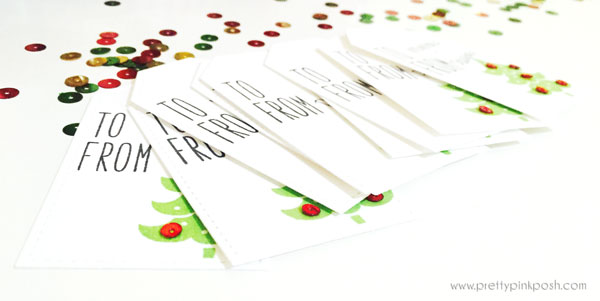
I was out and about and found a few items that I thought would be great little gifts for them. Well, leave it to this crafty girl to package it up, snap some photos and a video and create some stamped (but simple) gift tags. Nothing fussy about these, but I think it’ll bring a little Christmas cheer to each person.

Pretty Pink Posh I Quick, Easy & Cheap Christmas Gift + VIDEO

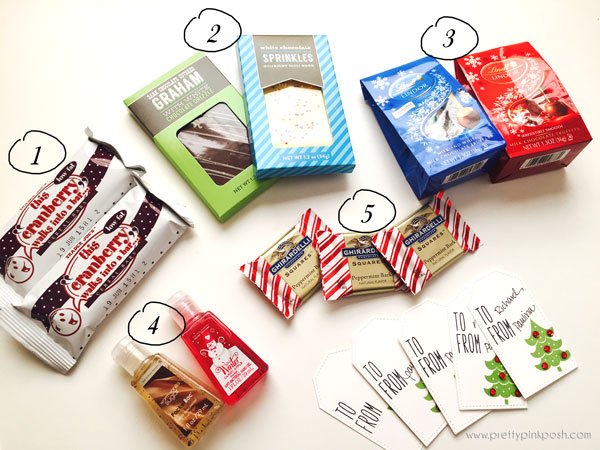
1) cranberry cereal bars from Trader Joes (granola bars would be good, too!) 2) chocolate bark from Target 3) Lindt Lindor mini chocolates 4) hand sanitizer from Bath & Body Works 5) Ghirardelli Peppermint Bark squares

Lately I haven’t been posting many videos, but I really am trying to change that when the weather permits. It was sunny yesterday, so I decided to take advantage of that and film a quick video showing you this quick and easy gift idea, along with the gift tags that I whipped up using the Snow Days and Milo’s ABCs sets from Lawn Fawn.

*Find Snow Days at Ellen Hutson here/ Simon Says Stamp here
*Find Milo’s ABCS at Ellen Hutson here/ Simon Says Stamp here

Watch the video above   I Watch the video on YouTube

border

Let me know if you were inspired by this video and post- your input really does help with the content I post. I want to continue posting things you enjoy and would love to hear what you would like to see more of in 2015!

Have a great rest of your Sunday. XO

Halloween Pillow Box

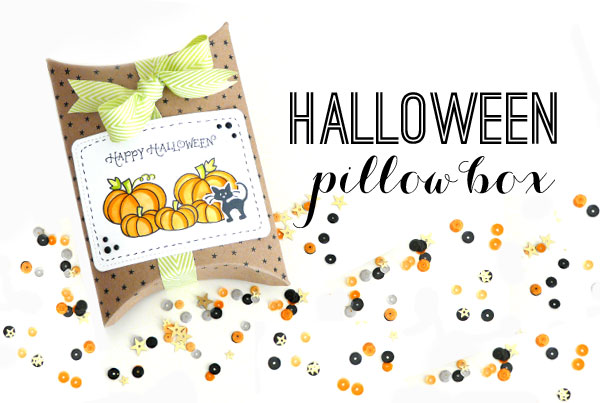
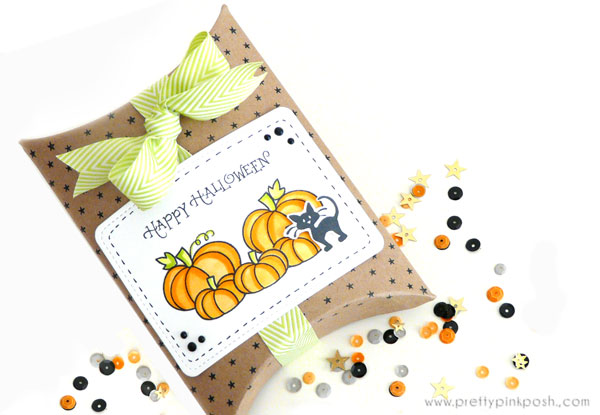
I know I’m cutting it close to Halloween with this post….however, it’s better than waiting until next year, right? I actually have attempted taking photos of this project three times, but with the gloomy weather here in Seattle, I just wasn’t having any luck. Thankfully, three times was the charm for this project! pillowbox1

If you watched my latest haul video, you’ll recognize these kraft pillow boxes. Lately I have been admiring pretty packaging and with the holidays coming up, I’ll definitely be highlighting some of my own packaging ideas here on the blog. I love the size of this particular pillow box- they’re big enough to fit cookies or candies, or you can put in travel size toiletries! Hello stocking stuffers! pillowbox3

If you follow me on my various social media sites (which I hope you do!), I mentioned briefly that I’ll be making some changes on the site. There are some ideas that I’ve been wanting to incorporate on my site to make it a little more user friendly, but it was a little outside of my scope of knowledge and my current server has been a nightmare. I’m hoping that some of these changes will slowly start rolling out within a week or two and there shouldn’t be too much downtime. Since blogging isn’t my full-time job and funding is minimal, I’m having to do things in stages. In the end, I hope to have this site be easy to maneuver, and hopefully a place that will continue to inspire you and your loved ones.

I’m curious, are there any changes you hope I’ll make to the site? Do you have requests for future tutorials or projects? I have all sorts of ideas, but I also want to make sure if there are certain aspects of my site you enjoy, I keep them! *wink*

|

Summer Splash Blog Hop

It’s time for the monthly DeNami Blog Hop and this month the theme is Summer Splash. If you started from the beginning, you should be coming from Dana Seymour’s blog {this girl has the greatest tropical cards EVER}!

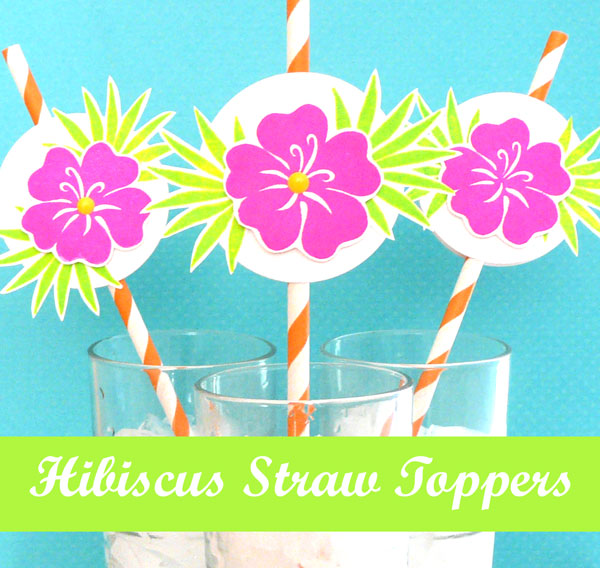
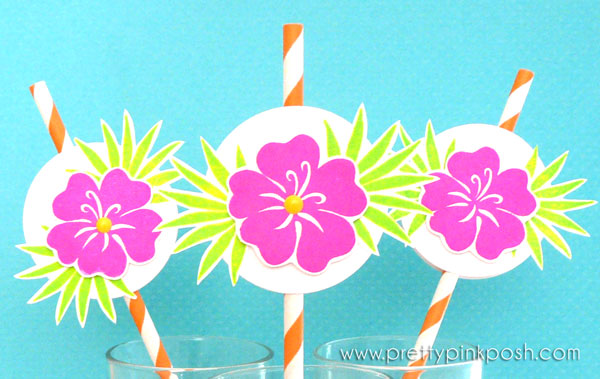
The name of this hop immediately prompted thoughts of drinks and I thought I’d go a little different route and create something other than a card. After playing with my options, I decided on summer straw toppers. They’re super quick and easy to whip up and they could make any BBQ or party a little more festive.

Be sure to leave comments on each blog stop. We’re giving away gift certificates to two random comments  and with the new release here, you’ll definitely have fun shopping!

summersplash1d

If you follow my blog, you know I’m a fan of these adorable striped paper straws by Little Free Radical. They could make any special occasion more festive and who doesn’t love sipping yummy drinks out of pretty straws? I pulled out my orange ones for this hop, but there are so many other colors in her store…. you really could have them match whichever color palette you’d like.

summersplash1b

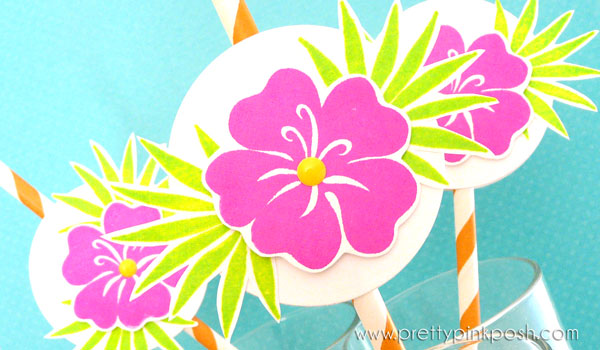
In case you’re wondering which stamps I featured today, I used the Medium Solid Hibiscus and the Large Solid Bamboo Leaf. These solid images worked so perfectly with my new neon inks {you’ll see which ones in my haul video tomorrow}.

summersplash1c

It’s time to head on over to the next stop of the hop: Ardyth’s blog! This gal has such creative ideas and the way she showcases DeNami stamps is astounding. I can’t wait to see what she created for this hop.

I hope you’ll join me tomorrow for a small haul video featuring some goodies I’ve been eying for a while. I still haven’t decided what else to include in the post, so you’ll have to stop by and check it out! *wink*

|

Ahoy Mate

While I can be quite girly, I have had a thing for nautical themed items for quite some time. In fact, back in my early high school years, my room was red/ white/ blue and had a semi nautical/ patriotic feel to it. {Don’t ask…I honestly couldn’t tell you why I chose that over a girly theme}

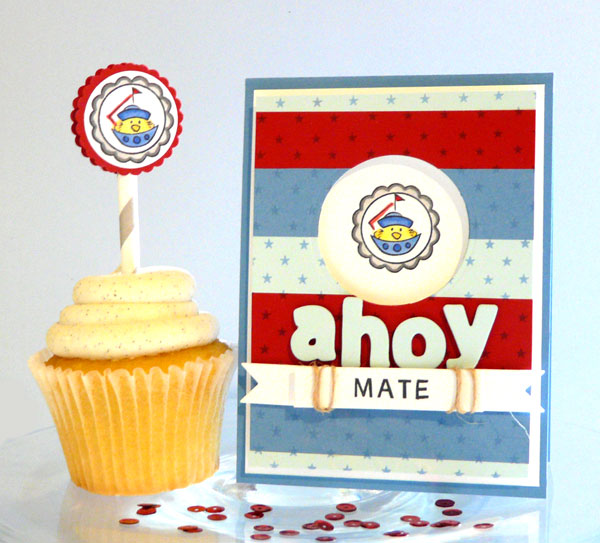
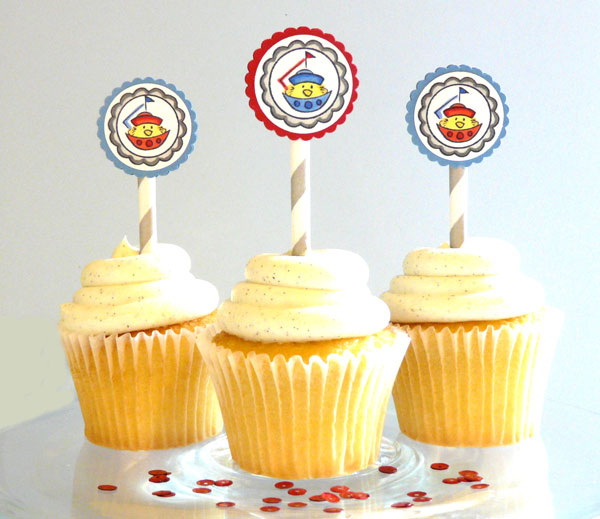
Recently, I was fulfilling an order at work and saw the Sailboat Chickie. How could I push this little guy aside for so long?! Over the weekend, I was at the store and saw these delicious looking cupcakes. Instantly I knew I wanted to create little cupcake toppers and a matching card featuring this little guy.

ahoy_1c

Did you spy my newly purchased Quinn’s ABC’s dies? These little letters are so much fun to use! If you haven’t seen it already, head on over to THIS POST to see the stamp set used, along with a video on the matching dies. {They are currently out of stock at Ellen Hutson, but they should be restocked soon!}

ahoy_1f

One of my March sponsors, Little Free Radical, carries a large variety of paper straws that are swoon worthy. Last month, I created a cupcake topper and card featuring a green straw {see here} and decided I wanted to use a grey straw today. I won’t lie, I literally am looking for any excuse to use one- they just make me so happy!

ahoy_1e

I hope that these little creations brought a smile to your face and inspired you. I’ll be back tomorrow- hope to see you then!

Valentine Treat Bag

With just a week until Valentine’s Day, I’m in a mad rush to scramble finishing up these last minute cards and gifts. Didn’t we just celebrate Christmas? Goodness gracious, the time is flying by quickly!

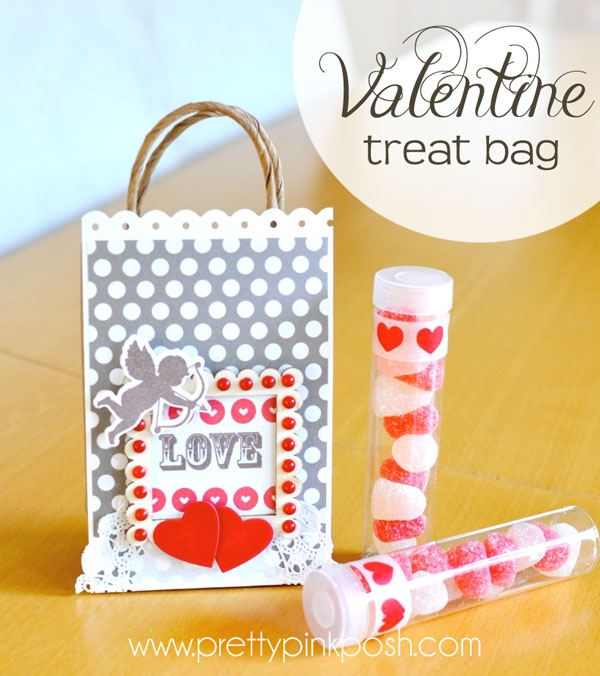
A while back I picked up lots of clear tubes and small bags with the intention to create decorated treat bags. Months have passed and I’ve only created a few….. I figured it was time to rectify this. With the help of some new products and Valentine candies, I was able to dress up these products in just a few minutes.

valentine_bag1a

Up until recently, I never really used to purchase patterned papers. Now, I’m a tad bit obsessed. My favorites are of course, polka dots. If a package has large or small polka dots, it’s very likely that I’ll purchase it.

I had fully intended to buy some sort of red or pink chocolate candies at the store but alas, they didn’t have ANY! I searched the aisles a few times over and came up with nothing. Maybe that’s a good thing…..I won’t be tempted to eat these gum drops!

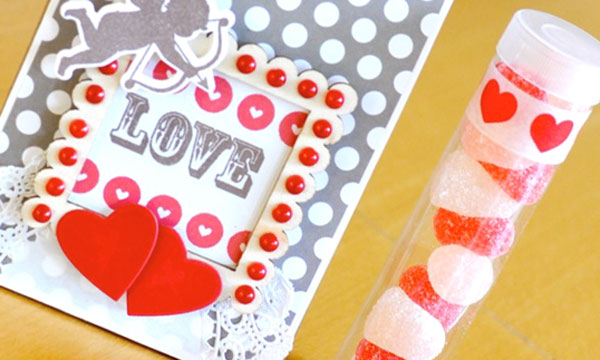
valentine_bag1b

Notice that fun scallop frame that I decorated with red pearls? That’s a wood veneer piece! I have succumbed to the hype and bought three packages. If you haven’t tried them, you’re missing out. Really.

That’s going to wrap up this post. Thanks for visiting me and checking out my little Valentine creation today. I’ll see you tomorrow about some fun news {yes, more!} and info on a giveaway I’ll be hosting soon.

NOT LISTED: Simple Stories paper pack, brown gift bag, clear tubes, doily , candy

Find Pretty Pink Posh on Facebook ~ Twitter ~ Pinterest


Valentine Heart Basket

I’m so excited that the day is finally here and I get to share this Valentine treat! If you follow the DeNami blog, you saw on Friday that Dana created a darling photo tutorial. I am utterly in love with Dana’s creative idea and am thrilled that she had the idea for us to do a downloadable PDF based off of her idea. {stay until the end of the post for the link}

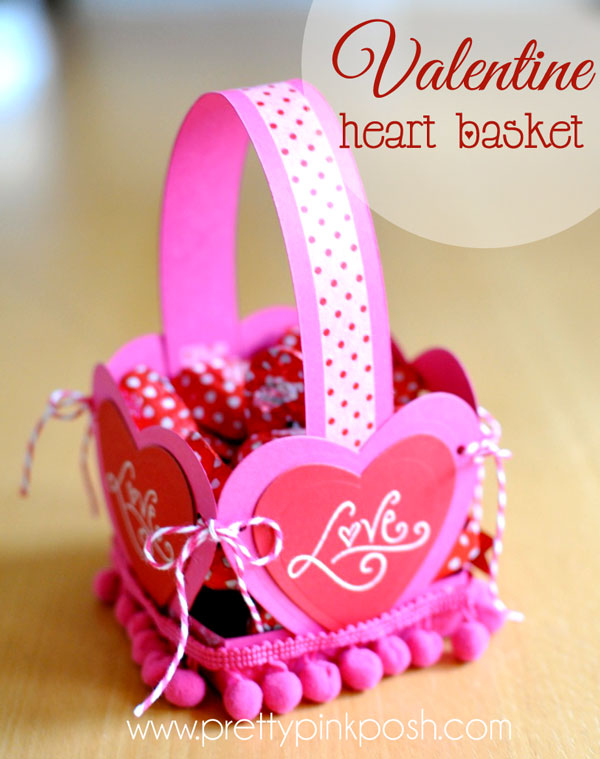
Since I’m such a fan of pink and red together, I decided to bring them together for today’s post. Add in some hearts, bling and candy and you have a sweet treat {literally} all wrapped in one.

heartbasket1a

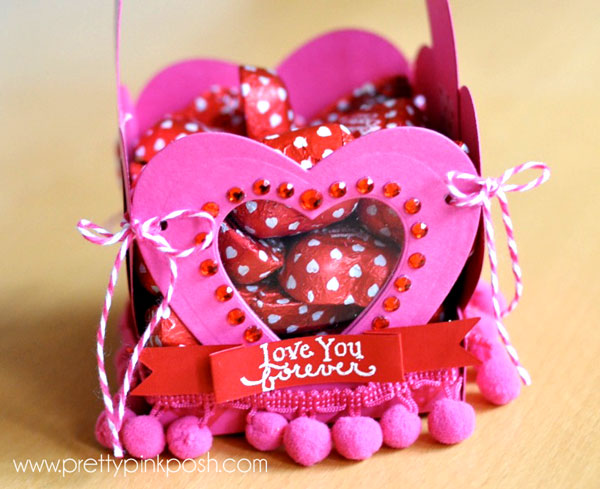
One of my favorite things about this project? I got to use some of the items I’ve been hoarding and they worked perfectly on this little beauty. A while back Wendy sent me a lot of pom poms, which I’ve been saving for special occasions. After playing with a few different options, I decided that the pink ones HAD to be used on this template. Don’t they look darling?

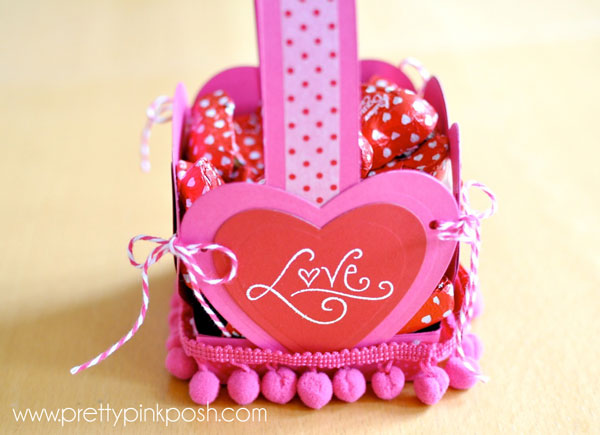
heartbasket1b

On the front, I put in some acetate so you could see the candies up close. After putting everything together, I realized I needed bling and added lots of red rhinestones to frame the heart. There just aren’t words about how much I love how this turned out– it’s going to be so hard to part with this basket!

heartbasket1c

Do you want to create your own adorable Valentine baskets? Click here to add the FREE PDF download to your DeNami shopping cart!

Thanks for stopping by, I hope you were inspired by this Valentine creation!

DIY Gumball Machine

My first post! I’m excited to be a contributing to Pretty Pink Posh! Thank you everyone for such nice comments and the warm welcome.

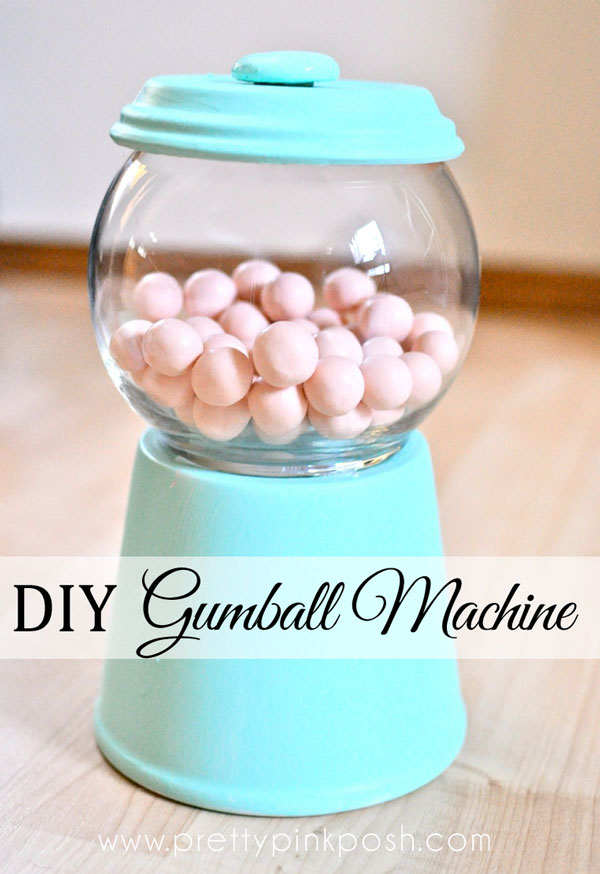
In this post I’ll be showing you a step by step tutorial on how to create your own gumball machine. Since Valentine’s Day is coming soon, there are many cute candies you could fill this with.

gumball_0

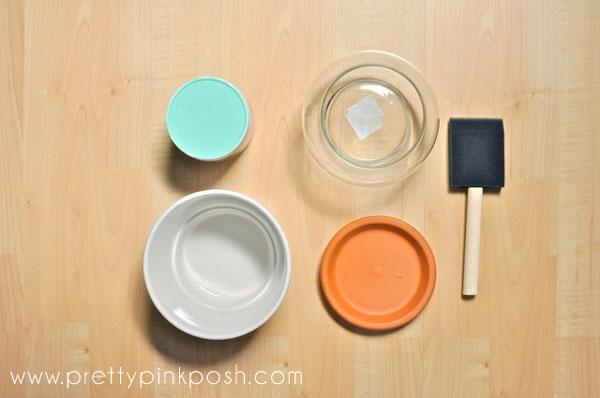
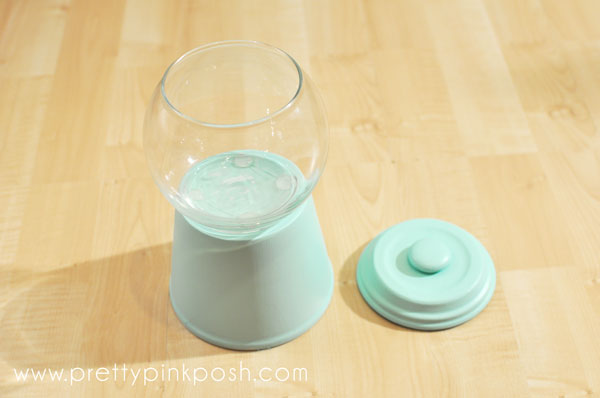
Supplies needed: Paint, round glass vase, flower pot, flower pot saucer, flat marble, foam brush, and a hot glue gun

gumball_1

 Step 1: Paint the flower pot, the flower pot saucer and the marble. Dry.

gumball_3

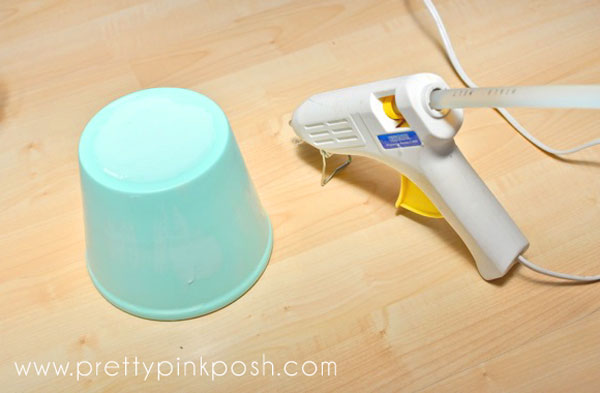
Step 2: Flip the flower pot upside down and (using the hot glue gun) place four dots on equal sides of the pot. Immediately place the vase on top of the hot glue and press down.

gumball_6

Step 3: Place the saucer on top of the vase to cover the opening. Use the hot glue gun to place a dot onto the center of the saucer and immediately put the marble on top. Dry.

gumball_7

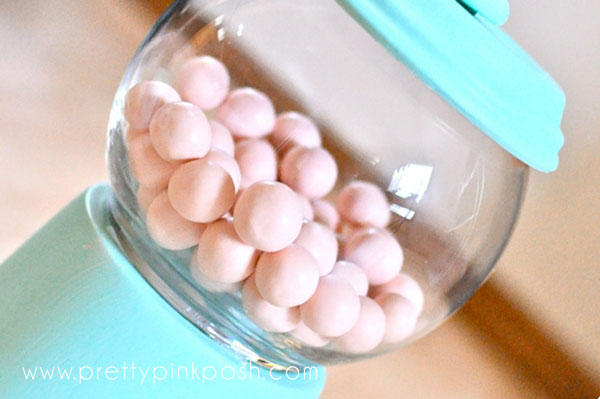
Step 4: Place candies or gumdrops inside and show it off to your friends. Then enjoy!border

I can’t wait to hear what you think of this idea and if you try it out! I have lots of ideas that I am looking forward to bringing to the blog, I hope you will continue to visit!

krista

Find Pretty Pink Posh on Facebook ~ Twitter ~ Pinterest


|

Pretty Packaging Blog Hop

I hope that you all have enjoyed the Pretty Packaging Blog Hop so far. If you’re just stopping in, I would encourage you to visit the DeNami blog for the list of participants. I have a feeling that there are LOTS of fabulous packaging ideas which will come in handy with Christmas sneaking up on us. For those who have hopped the whole way through, you should be coming from the super sweet Lisa Elton’s blog!
I’ll be honest with you, I struggled terribly on knowing what to create for today. Since all of my “good” ideas were used on the DeNami blog this week, I feel like my creativity has been zapped. After creating {and tossing} a few projects, I finally decided on this one. Quick and simple, but still super festive. Also, since I’m obsessed with washi tape, I love how it looks on the boxes.

Around the holidays, my mom always makes caramel corn. Oh goodness, if I could give you some through the computer screen, I would. This stuff is so yummy and addicting- I will admit I was snacking on it while I was creating. While I decided on filling the boxes with popcorn, you could put in candy, cookies or other small treats. 

Don’t forget to leave comments on each of the stops- there’s a chance you could win one of the $20 DeNami gift certificates! With the newest addition of washi tape and the new release coming next month, that will definitely come in handy! 
Before I close, I want to mention this also fits in into the 10 Minute Craft Dash Challenge this week. Each box took about 5 minutes to make, which is perfect if you need to make a lot as party favors! All of the supplies will be listed below. 
Thank you for stopping by today. I will see you back here tomorrow!
 
 NOT LISTED: popcorn