Projects

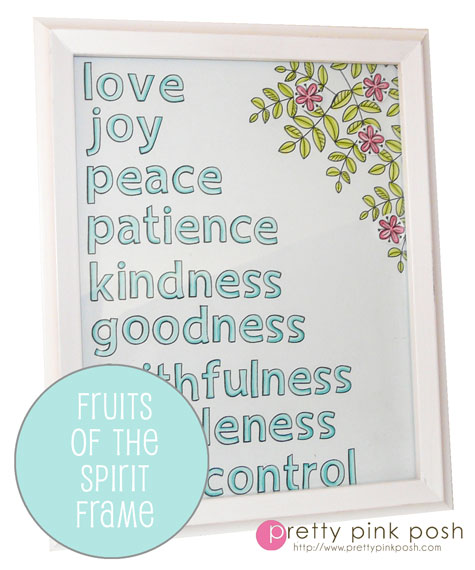
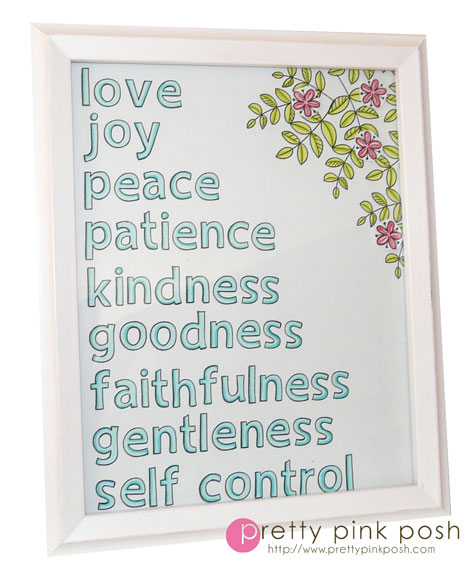
DIY Fruits of the Spirit Frame

 
It’s not a secret that stamping crafting projects intimidates me. There’s something about creating something larger than an A2 size card that makes my heart beat faster and well, I do everything I can to avoid it. 
Right after my accident, all I wanted to do was craft. Since I wasn’t able to move my neck, that wasn’t something I could do and it made me want to do it all the more! Believe me, as soon as I was able to, I got back into my craft studio. Being around my stamps/ ribbons/ buttons/ etc., again was like you and your best friend being reunited. Even though sometimes I get stressed with deadlines and such, crafting does also bring me tons of joy and helps relieve some stress. 
Believe it or not, one of the first things I wanted to do when I was able to craft: create a project. A while back, I got some frames at a garage sale and they were laying unused on my desk. After pondering my options of what to create, I decided on doing a piece showcasing the Fruits of the Spirit.
 
This project was SUPER inexpensive and easy to create. I had fun lining up the words and then coloring in all of the different elements. Since my new craft studio features mostly white with hints of aqua, I decided to incorporate that into my piece.
Supply list:
Thick cardstock
Markers
Frame {garage sales/ thrift stores have them for cheap!}
Alphabet stamps- I used Quinn’s ABC’s by Lawn Fawn
Decorative stamps- I used Blissful Botanicals by Lawn Fawn

I’m so happy with how this turned out- I’m already starting to think of other things I can create with my alphabet stamps! Now that I’ve tackled this project, I can tell I’m slowly starting to warm up to doing more projects…who knows, you might see some more on the blog soon. :) 
Thanks for visiting my blog today- I hope that this project inspired you. See you tomorrow for my Thankful Thursday post!

Counting 1,2,3

Hello! 
As promised, I have a crafty project to share with you today. Many of you know that the word “project” terrifies me. I get so intimidated by this little word. I can handle creating cards, no problem, but anything bigger than that makes my heart skip a beat. Scrapbook pages, favors, banners…. However, seeing as I’m trying to go outside my comfort zone, I decided to just go for it. Less thinking, more doing!
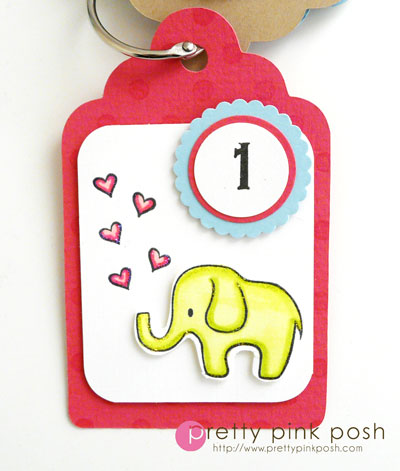
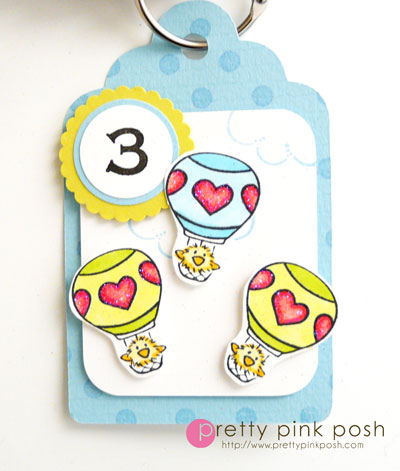
I’ll be the first to admit that this took a little bit of time to create, but I just love how it turned out. One day I randomly had this idea (which appeared out of thin air) where I wanted to create a counting flip book. Granted, it’s not a gigantic project, but I’m all for taking baby steps. :)
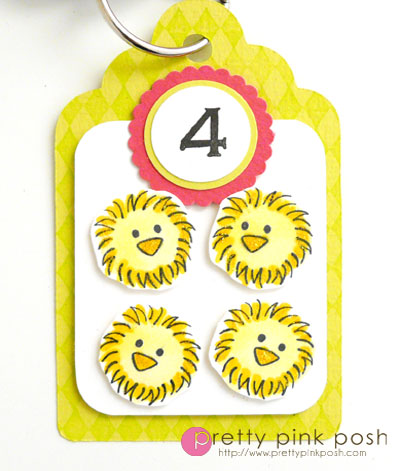
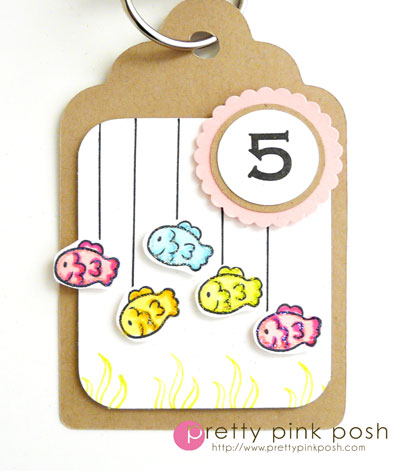
We have so many fun little critters on the DeNami website it was easy to find stamps. After finally narrowing down which images I wanted to use,  I started with number 1 and went from there.
 
{Seeing all of them together just makes me happy. Now I want to create more!}

I had wanted to go all the way through the number 10, but I got a little tired and had to take a break. Maybe one of these days I’ll finish it up. :) That’s the great thing about the ring- I can always add more super easily!
Lil\'Luna
ADDED: I’m linking this up with the Lil’ Luna Link Party #91! SO much fun over there! 
 
I hope you enjoyed this project and it inspired you to create something outside your comfort zone. Thanks for stopping by!

Decorated Gift Bag

Hello there! 
Today I have a crafty project to share AND it’s not a card! Can you believe it?  I sometimes even surprise myself. :) 
As many of you know, I have two sisters. One of them is more sporty, while the other can be sporty and girly all wrapped in one. Honestly, she’s a complete mix of her older sisters- that may be why she gets along with us so well. Anyhow….Krista* (the youngest) is a fabulous chef and travels a lot. On one of her trips, I decided to surprise her with a little bag of treats for her plane ride. I couldn’t just give her a boring gift bag, so I decorated it up before putting in the treats.
* I’m planning on doing a post about my sis in the future
I was pleasantly surprised how easily this came together! I guess hoarding things comes in handy when you want to add a lot of fun elements!
 
I started out with a plain white gift bag. I learned quickly that it doesn’t work well to stamp directly on the bag, so I added a piece of pink cardstock and that became my “base”.  I pulled out doilies, rhinetones, die cuts, scallops….pretty much anything girly I had, I added.
Here’s a closer glimpse at some of the details:

On the inside, I added some of her favorite treats and a note. It’s a small gesture, but imagine how fun if someone gave you one of these before a long trip. 
I hope you enjoyed this post. Thanks so much for stopping by and leaving some blog love! 

 *NOT LISTED: doily, butterfly and oval die cuts, rhienstones, letter stamps, light pink ink/ cardstock

DeNami Featured Product

Hello there!
It’s time for the last DeNami Design Featured Product for 2010. When I typed up the list in June, I knew that I had to sneak the Winter Evergreen Tree in somewhere. It’s so perfect for cards and projects alike! Today I went the route of a project….
My sweet friend, Sarah, is having a milestone birthday soon, so I wanted to create a special card/ gift. I started with the Winter Evergreen Tree, then moved on from there. To add a little extra color and fullness to the tree, I added some springs- used from the Elegant Floral stamp set. I then created a frame, along with her name, then added faux stitches with my handy brown pen.
Here you can see the springs a little better. I truly love these stamps together- they are a match made in heaven! The great thing about this spring, you can use it in all sorts of colors, and it still looks delicate and sweet.
Here is the inside of the tin. I plan on adding a gift card, then a note on the bottom portion of the tin. I honestly had SO much fun decorating this- I have already started to do more for Christmas presents! :) 
In a previous comment someone had asked where I got these tins- I bought them from Stampin’ Up a little while ago. However, I’ve seen them at some scrapbook stores before, so be sure to check one that is close to you. (Gotta support the local stores!) 
That’s all for this post. Be sure to head over to the DeNami blog for links to all of the other creations the DT did- they are so beautiful! So many different colors and seasons used with the same stamp; it just goes to show how truly versatile this design is!
Thanks for stopping by my blog, and leaving me some love! I always love hearing from you all! :)
Paper: White, Magenta, Fine Linen, Dark Chocolate, Aqua Mist (PTI)
Ink: Vintage Sepia, Cherry Pink, Antique Linen (Tim Holtz), Aqua Mist
Other: Spellbinder dies, tin, brown pen, Aqua Mist ribbon, SU! scallop border punch

Hot Air Balloon Love

Hello there!
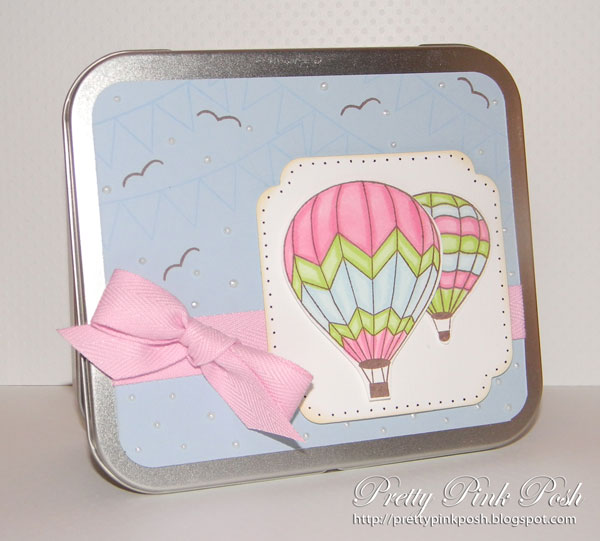
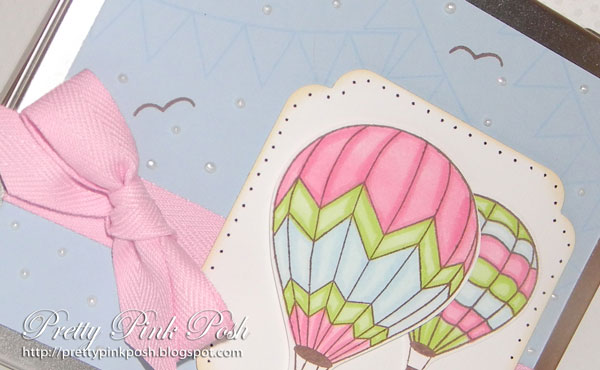
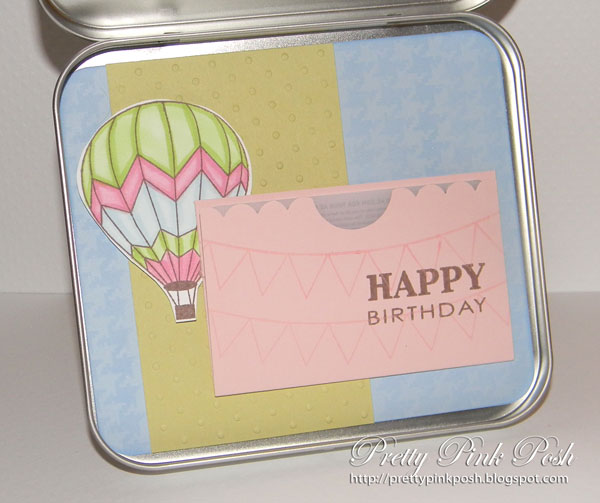
Today I have a fun project to share featuring Look Up and Look Up Additions. I recently bought a lot of these tins and thought it’d be fun to decorate them. On the front, I used the new hot air balloons and paired them up with the banner and birds from Look Up. To add some dimension, I used some liquid pearls (thanks to my friend Wendy) on the background. Then, I added a bow using this yummy Pink Twill.
Don’t you just love the designs on the hot air balloons? I made 5 projects in one night- I just couldn’t stop using them! Pulled out my beloved Copics and went to town…..
On the inside, I created a little envelope and decorated it with the banner image and the “Happy” and “Birthday” from You’re the Man. You know me, I can’t have a plain background, so I once again pulled out the houndstooth from Retro Christmas Backgrounds.
I plan on making lots of these tins for Christmas presents this year. I can customize them for each person + who doesn’t love getting a gift card to their favorite place? For me, those are the best kinds of gifts!
Hope you enjoyed this post! Be sure to visit Courtney’s blog for samples from the other DT!

Thanksgiving Banner

I had been meaning to post this earlier, but I just got around to taking pictures of my Thanksgiving banner. I made this about a month ago, when I was going through a creative slump. This was the perfect way to get my creativity going, plus I was able to use a lot of my scraps! Add the fact that this can be used as a decoration, and we have a win-win-win! 
 
Here is what the banner looks like on our mantel. Aren’t these colors scrumptious?  Since I didn’t have a specific banner die, I decided to use one of my Spellbinders- I LOVE the way this turned out! I have so many of these dies- I could literally create a banner for each holiday and still be using a different die.
 (Click picture to enlarge)
For the letters, I used my Cricut Expression. To add glitter, I used a Quickie Glue Pen and several DeNami Design glitters. I know there are some adhesive machines and such, but I just go the “old fashioned” way. :)
I’m going to wrap up this post. I hope you had a very blessed Thanksgiving with your family and friends. We had a nice, quiet evening with our family. Tomorrow will be the day where the extended family comes over and we will have lots of little ones running about. Oh how I love times with family! 

Happy Christmas

**This is my second post today. Scroll down for my OTWC post.**
It’s the final day of the Practicing Creativity sneak peeks. Are you excited about the sets releasing tonight? I’m sure you are overflowing with ideas; the DT has brought so many beautiful creations!
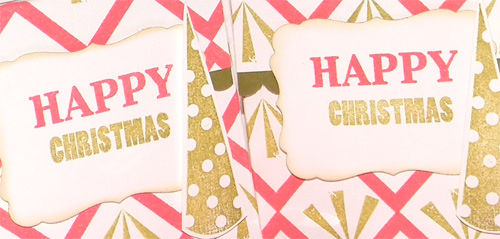
Today Courtney challenged us to create something other than a card. Oh, such a hard thing for me to do. I am such a cardmaker; it takes so much brain power to think of creating other things. I decided to make some fun favor boxes- perfect for handing out at Christmas parties and such. These boxes have a bunch of sets, as you can see below. :)
Background: Retro Christmas Backgrounds & Everyday Prints
Polka Dot Tree: Retro Christmas
“Happy” sentiment: You’re the Man
“Christmas” sentiment: Everyday Prints
If you’ve been following my posts with PCD each month, I almost make it my mission to see how many sets I can get onto one card/ project. It’s so fun! That’s the beauty of the sets; they can intermix so easily!
In closing, I want to mention that today Courtney is giving away a ribbon prize- how fun is that?There are so many new ribbons she is releasing- so beautiful! I can’t wait to pull out my little stash and play. :)
Well, I hope you’ve had fun these past few days with the sneak peeks! Thanks so much for stopping by and leaving me some love, sweet blog friends. I’ll see you tomorrow with my card for the new DeNami challenge!
Stamps: Retro Christmas Backgrounds, Retro Christmas, You’re the Man, Everyday Prints (releases 11/5)
Paper: White,Ripe Avocado (PTI)
Ink: Vintage Sepia, Satin Red, Ripe Avocado, Tea Dye Duo (PTI)
Other:Small Gift Box templates
|

DeNami Christmas Challenge

It’s time for a brand new DeNami Design challenge. This time it’s a theme, can you guess what it is? Yes, it’s time to create something for Christmas. The possibilities are endless….you can create a tag, wrapping paper, card, scrapbook page…. just be sure you use at least ONE DeNami stamp.
Since I usually create cards, I thought it’d be fun to do a little project. I pulled out the Small Gift Bag templates and went to town. I started by stamping the Mini Star all over the top portion of the template, then I stamped the Christmas Tweety Birds. I just think these little guys are the cutest thing- I couldn’t stop stamping. (Hence the THREE bags)
For the gift tags, I stamped the Merry Christmas Circle then added the Christmas Tweety Bird. To add a bit of variation, I changed the ribbon colors and the colored cardstocks.
You can fill these bags with lots of different things- cookies, candy, gift cards, chapstick, etc… these are great for party favors, or even mini gifts for co-workers or relatives! Remember, you can stamp whatever designs you want on the bag, so these are also great for birthdays and baby showers! 
Lastly, here is a closer view of the bags. I was originally going to stick with traditional Christmas colors, but I just had to throw in some light blue. It adds just a tad bit of extra color. :) 
I hope that you’ll be able to join us for this challenge. Also, just a reminder, we are taking sign-ups for the DeNami Christmas Blog Hop, so if you are able to do this challenge, you’ll be able to do the blog hop! Click here for the details.
Hope you stuck with me through the whole post- I know there were more pictures than usual. Thanks for stopping by, you know I always love it when my blog friends stop by! *hugs*
Paper: White, Leaf Green, Red, Harvest Gold (PTI)
Ink: Jet Black
Other: Small Gift Bag Template, Red grosgrain, Emerald grosgrain, yellow grosgrain, circle punches, twine, Copics

Halloween Treat Bags

Hi there, sweet blog friends!
I have a confession to make….I am a scatter brained crafter. One day I am creating Christmas cards, the next I’m doing an Autumn project and now today I have a Halloween project. Goodness, I really am all over the place. Does this bother you? Would you rather me stick to just one holiday/ season at a time? 
Today’s project is a super easy one, but I must say, I think it’s pretty darn cute. I always love seeing the adorable spider from the Halloween stamp set. I paired him up with the Mini Star, then added some Orange and Black grosgrain ribbon and some buttons from the Halloween Boutique Buttons set. I used some of my newly purchase bakers twine and I was done! This would be perfect for favors at a Halloween party, or even something just to give to co-workers or friends!
If you follow my blog, you know that I rarely take pictures of my projects. It started out because I didn’t have a camera. Then, I got one but wasn’t able to achieve decent looking pictures. Now that I kind of (using that loosely) have the hang of my camera, I’m debating on whether to take pictures of my cards/ projects. 
Blog friends, now is the time to let me know your thoughts! Pics or scans? The choice really is up to you. :) 
Thanks for your input! Can’t wait to hear what you all say…..
 

Retro Christmas Boxes

Happy Monday to you all!

It’s Day #4 of Practicing Creativity sneak peeks- tonight you all will be able to purchase these sets! Hasn’t it been fun to see the design teams cards and also those of the guest designers? I’m sure you all are drumming up ideas of how to use these fun sets. :)

Today we are all creating Christmas projects with Retro Christmas and Retro Christmas Backgrounds. I chose to create some boxes filled with yummy candy! I used the fabulous Square Gift Box Template and then on the inside I used the 2 1/4″ Boutique Boxes. I had such a great time creating these little boxes; they were so easy and I couldn’t help but smile when I stamped all those reindeer. To make it a little more fun, I had to add a Red rhinestone for the nose and added some extra touches on the box.

Just wanted to send a quick remind that Courtney is giving away both of these sets. She’ll be picking a lucky winner from one of the DT blogs, so be sure to leave comments on all of our blogs for the highest chance of winning! 

Christina’s blog (guest designer)
Jackie’s blog (guest designer)
Heather’s blog (guest designer)

Thanks for stopping by my blog and leaving some love. I hope that you’ve enjoyed all of the sneak peeks these past few days. Again, the sets go live tonight so be sure to orders yours. (Don’t forget, there is free shipping for purchase over $50!)
 
Stamps: Retro Christmas Backgrounds, Retro Christmas (releases 10/5)
Other: Square Gift Box Template, Clear Boutique Boxes, Red rhinestones, Prima flower, Spellbinder scallop squares die