Tutorial: Watercolor Galaxy Night Sky
 Hello Pretty Pink Posh fans! This is Yana and today I am sharing a video tutorial showing how to create a watercolor night sky/galaxy background for a Halloween card. Plus, we’re kicking off our Halloween theme week here on the blog.
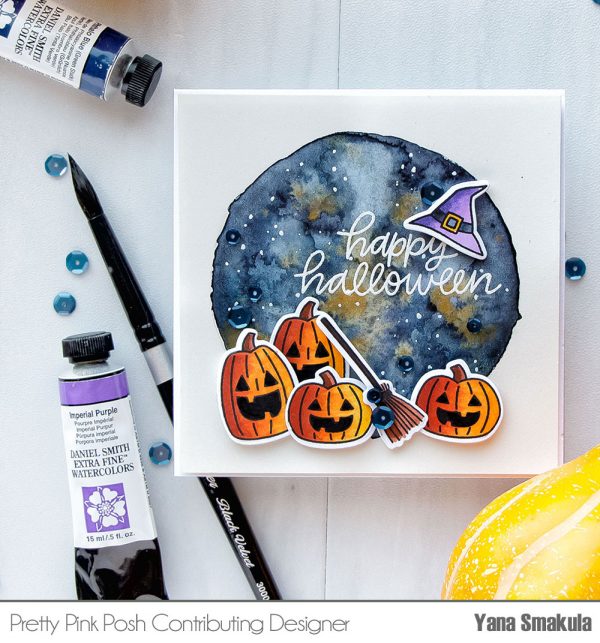
I started working on my project by painting the galaxy first as it needed time to dry before I could heat emboss my sentiment. I used Arches Hot Pressed watercolor paper and wet on wet technique. I would suggest using Cold Pressed watercolor paper or even Rough as it is best suited for this technique; I only had Hot Pressed paper on hand, so I used that.
Watch my video tutorial below to learn how I made this card.
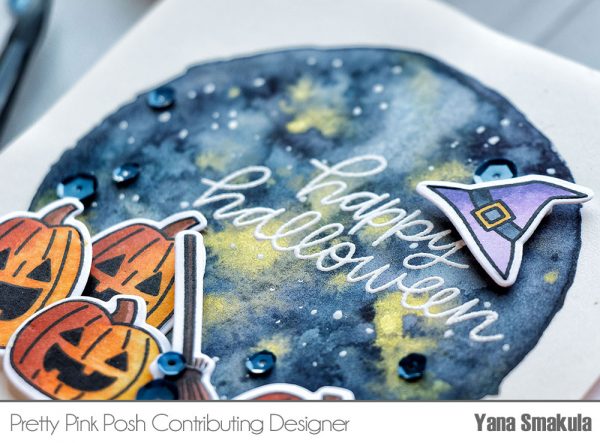
Once I was happy with my watercolor (be sure to watch the video above for detailed instructions using the Daniel Smith Watercolors) I set it aside to dry. I don’t like using my heat tool for these kind of paintings and much rather prefer them to air dry.
Daniel Smith Watercolors used: Indigo Blue, Lunar Blue, Gold, Imperial Purple, Serpentine Green
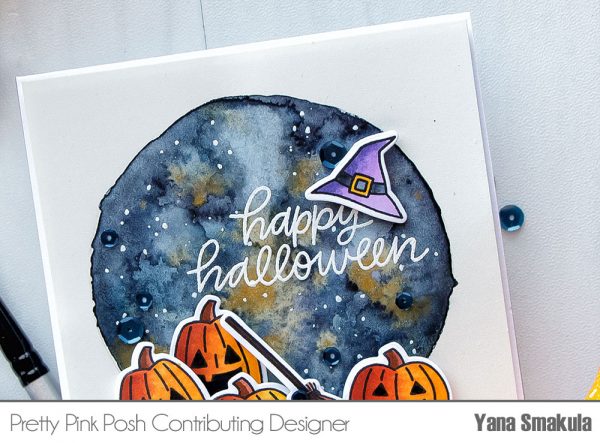
To create a scene for this card I stamped several images from the Trick or Treat Friends stamp set in alcohol marker friendly ink. I cut my images out using coordinating dies and colored them using Copic markers.
 Copics used:
pumpkins// YR18, YR04, E15, Y17
broom// E37, E15, E79
hat// V17, V15, V12, C9 C7, C5
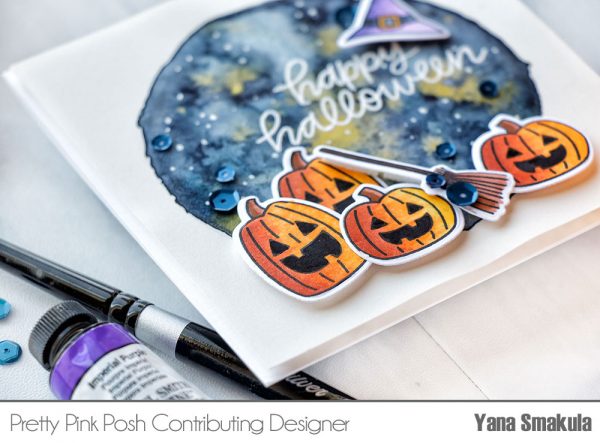
Once my painting was dry I heat embossed “Happy Halloween” sentiment in white embossing powder and foam mounted my stamped and die cut images on top. To finish it off, I added 4mm Navy and 6mm Navy sequins around the card front.
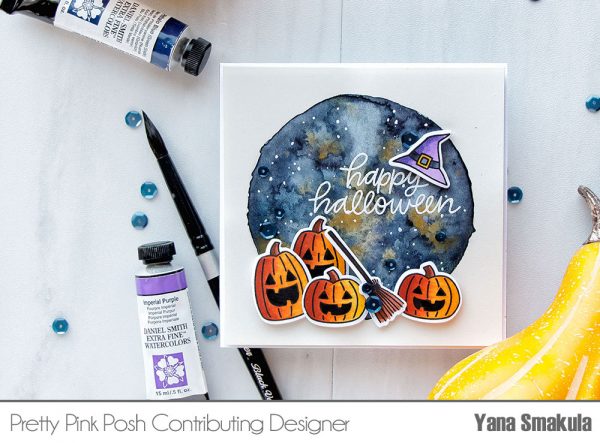
I originally planned to create an A2 card, but as I was working I trimmed my watercolor piece to a 4×4” and ended up making a 4 ¼” square project.

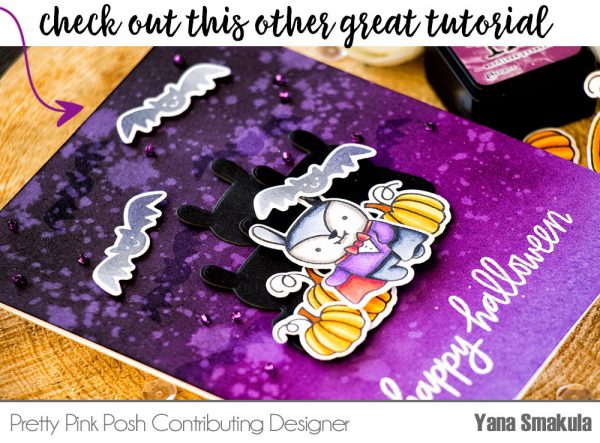
This is a gorgeous card, the background is awesome !!
LOVE it, thanks for the copics numbers.
Love this background Yana.The Drops of gold are perfect.
Very cute, love the night galaxy sky
I never get tired of seeing galaxy backgrounds being created :) Mine never seem to work as well though… I love the colours you used.