
Tutorial: Stretching Your Dies
 Hello everyone, Joni here sharing a card on how to stretch your die-cuts.

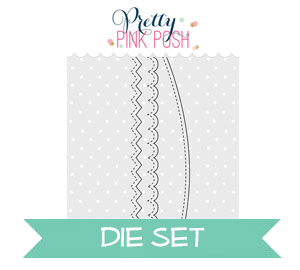
To begin first die-cut a white cardstock using Stitched Duo 3 Dies. Then die-cut the bottom using the Stitched Borders 1 Dies. Next, I added some blush on the die-cut using a round dauber.

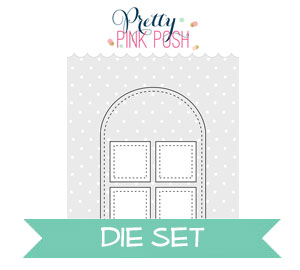
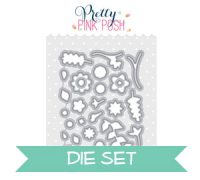
Next, I used the center oval die for the mouth of the ghost from Stitched Essentials 1 Dies. For the eyes I used the small round dies from the Build A Bloom Coordinating Dies.

For the background I added gold splatters using Gansai Tambi Starry Colors on a dark cardstock.

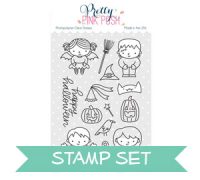
I also added some Metallic Gold Confetti Mix for the background. The sentiment “happy halloween” was embossed with orange embossing powder and is from the Trick or Treat Friends stamp set as well as the witches’ hat. The ghost die-cut is adhered with foam tape for dimensions.


Very cool creation ! Thanks for sharing !
Lovely use of the dies! Creative! :)
Join this is just too adorable. What a clever way to stretch your dies. Thanks for sharing this.
Awesome idea and darling card.
So creative!!
EEP! Now how cute is that?! genius!
What a cute idea. Thanks.
This is spooktacular!!!!
Love this idea, Joni! Especially since I have the dies to make the ghost. Thanks so much. I love getting double duty from my dies. Happy Fall!