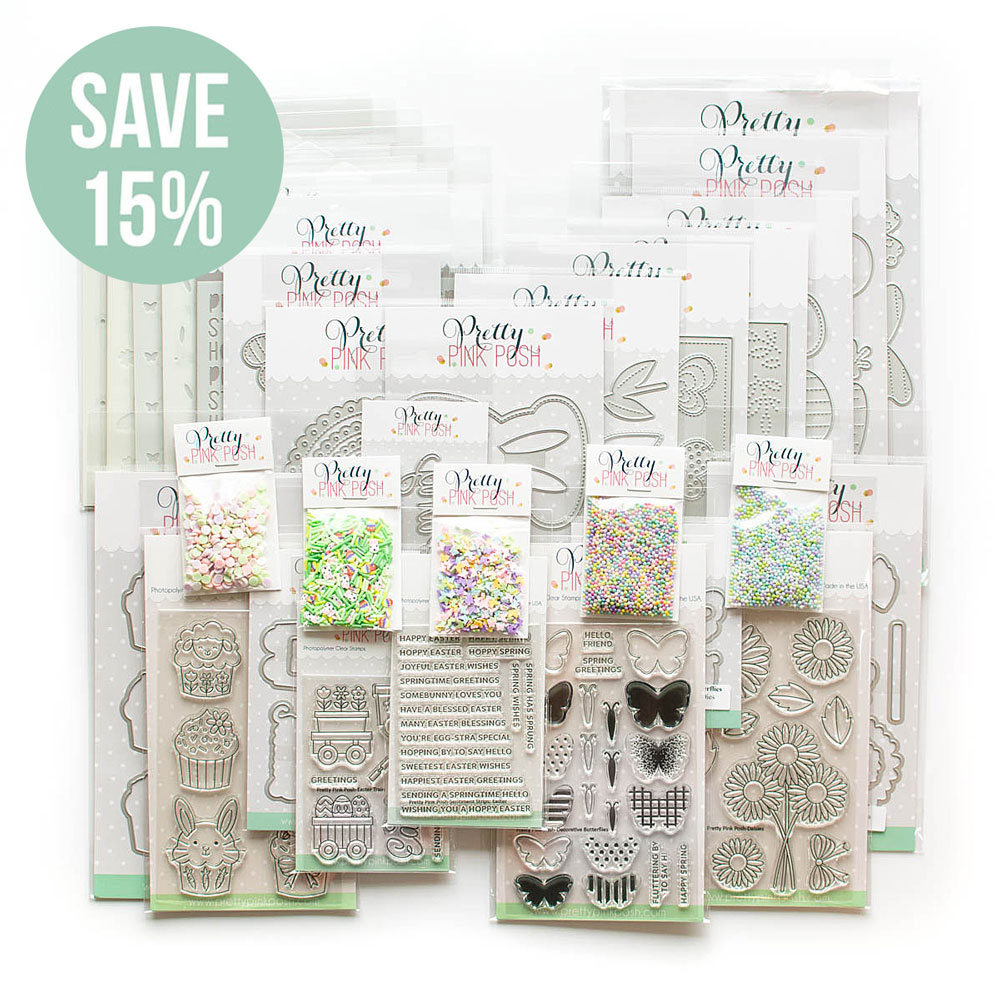
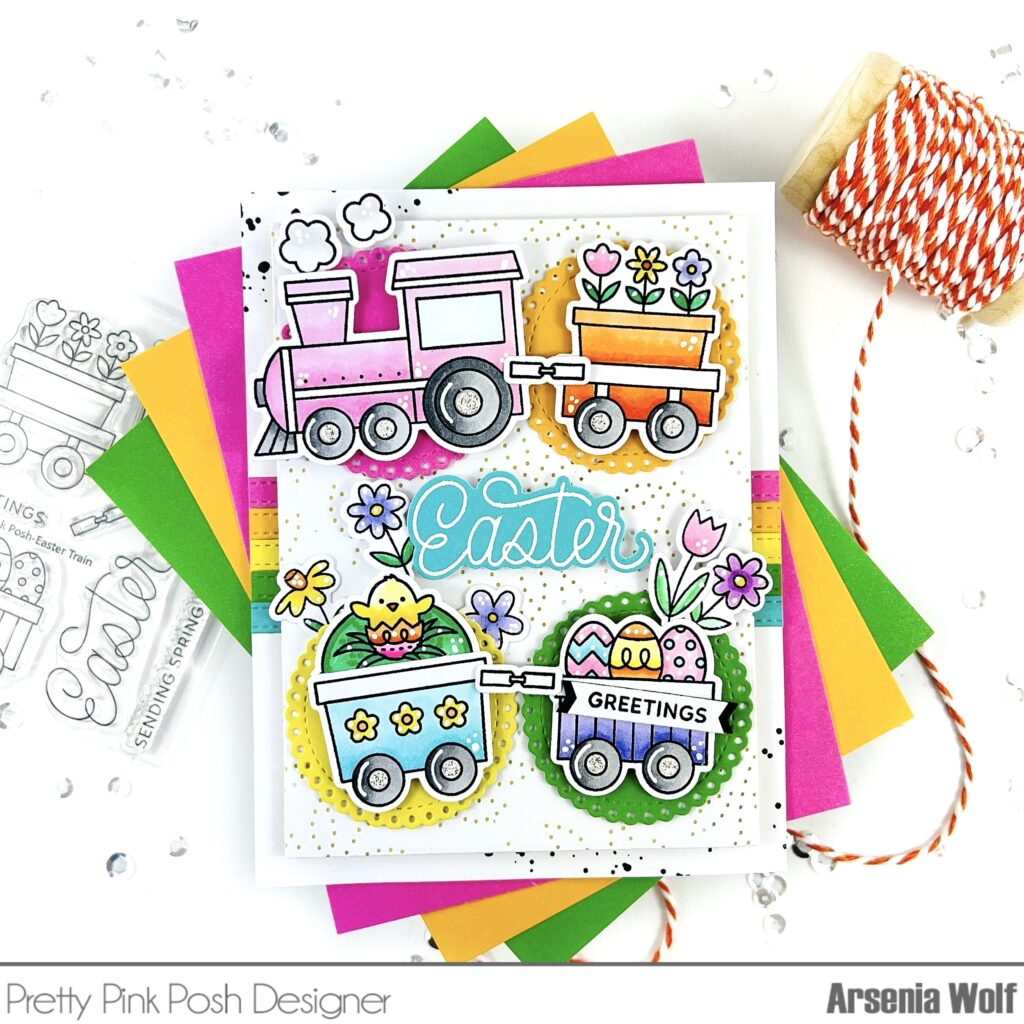
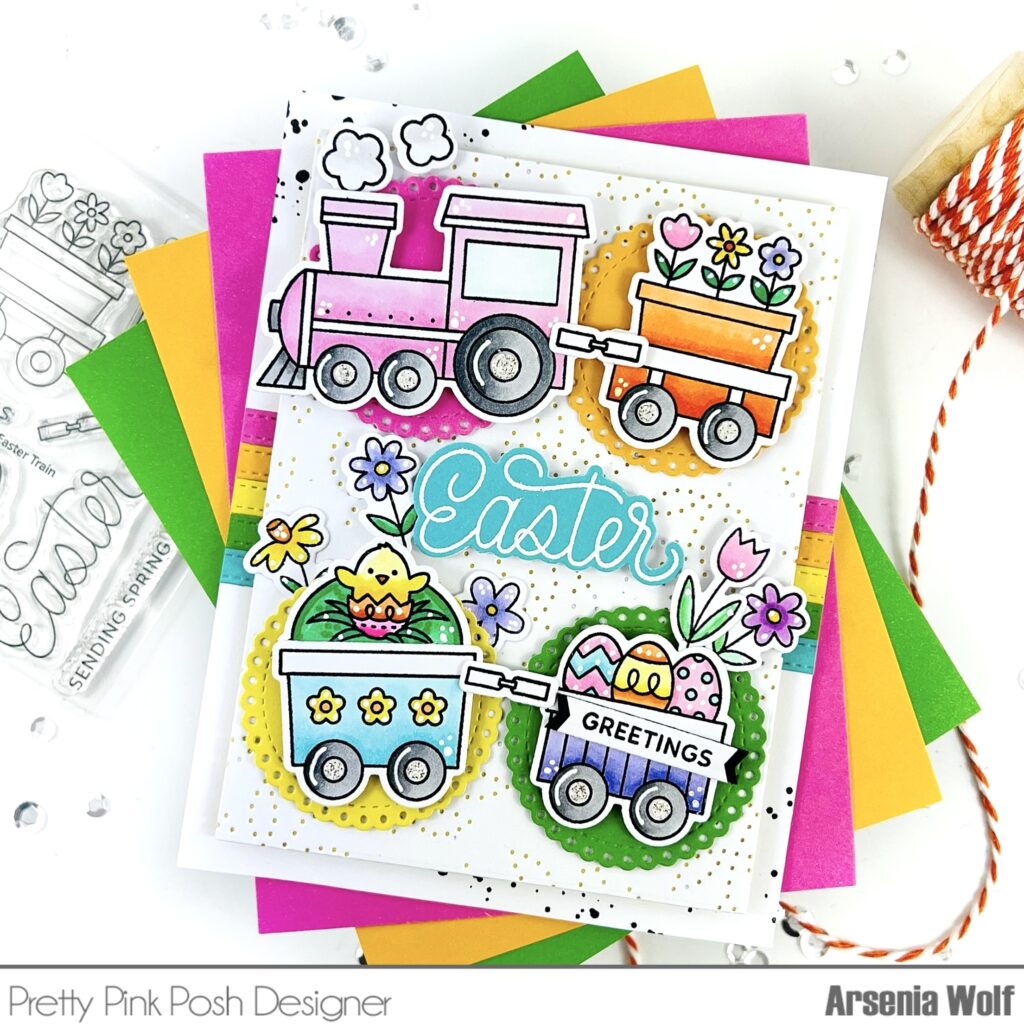
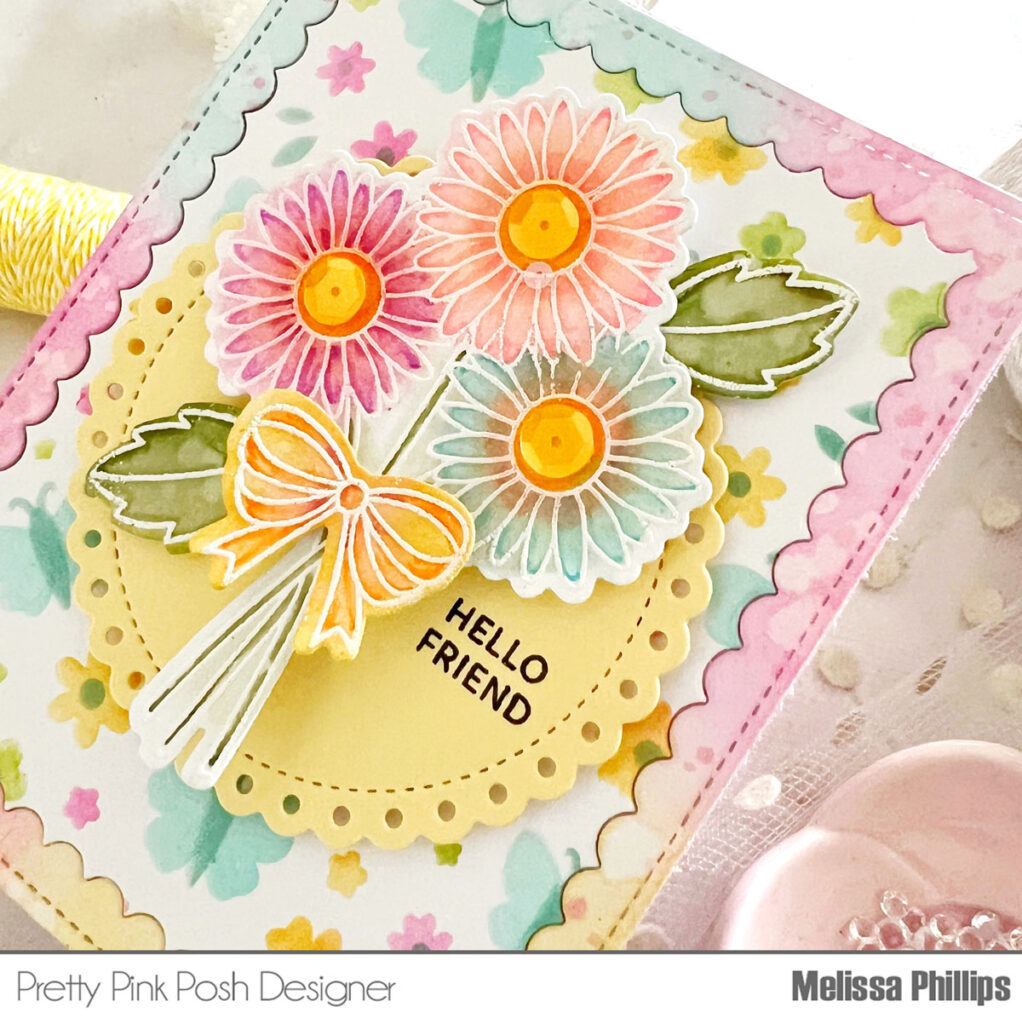
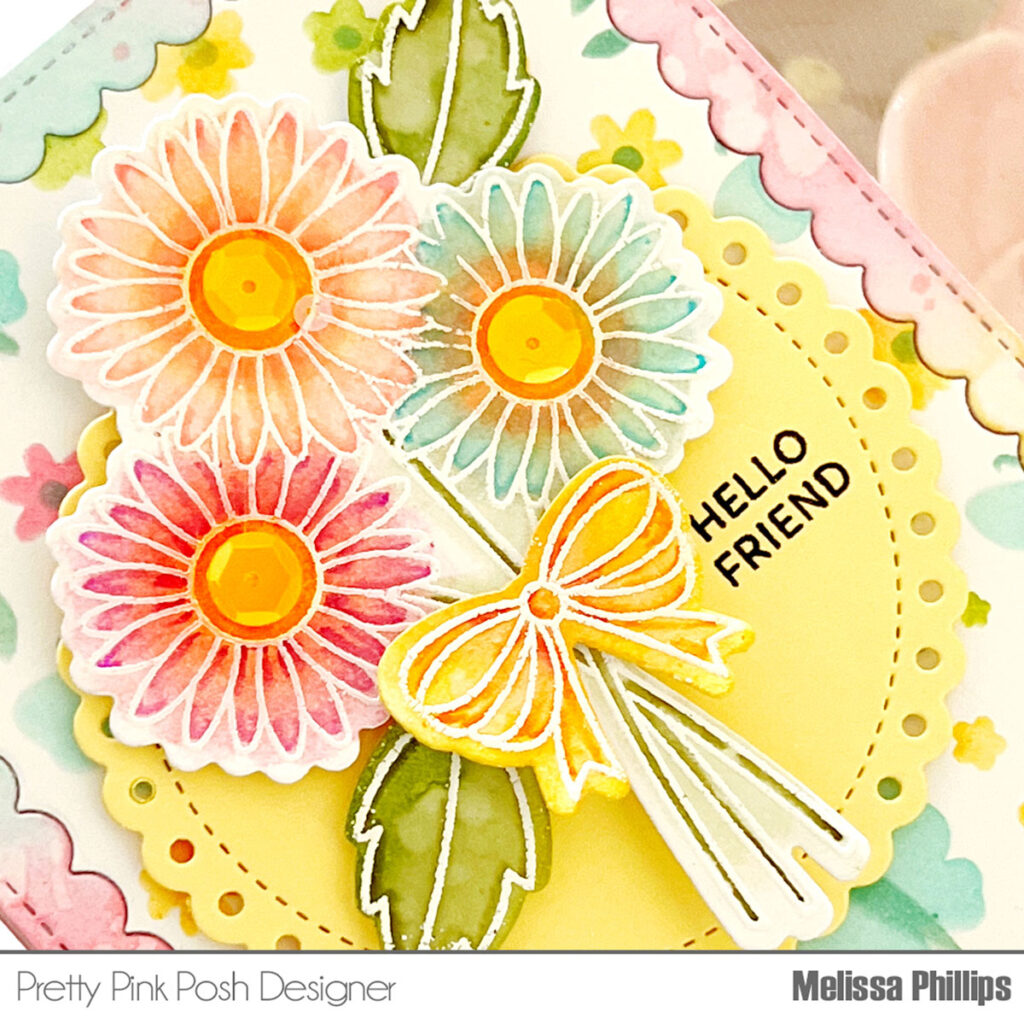
Day 3: March Blog Hop + New Release Now Available
If you missed Day 1 CLICK HERE // If you missed Day 2 CLICK HERE
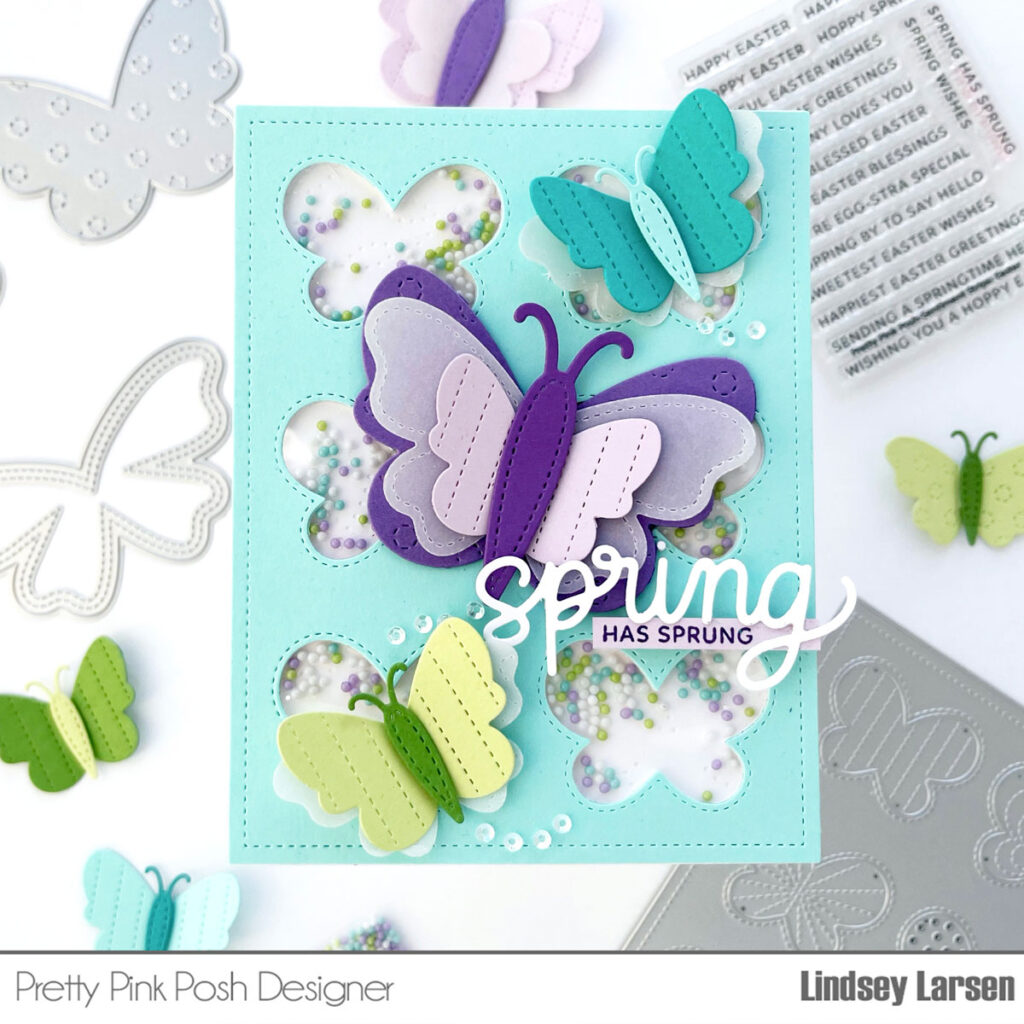
Hello, friends. Barbara here on the Pretty Pink Posh blog and I am so happy to share a project I made using some of the brand new products.
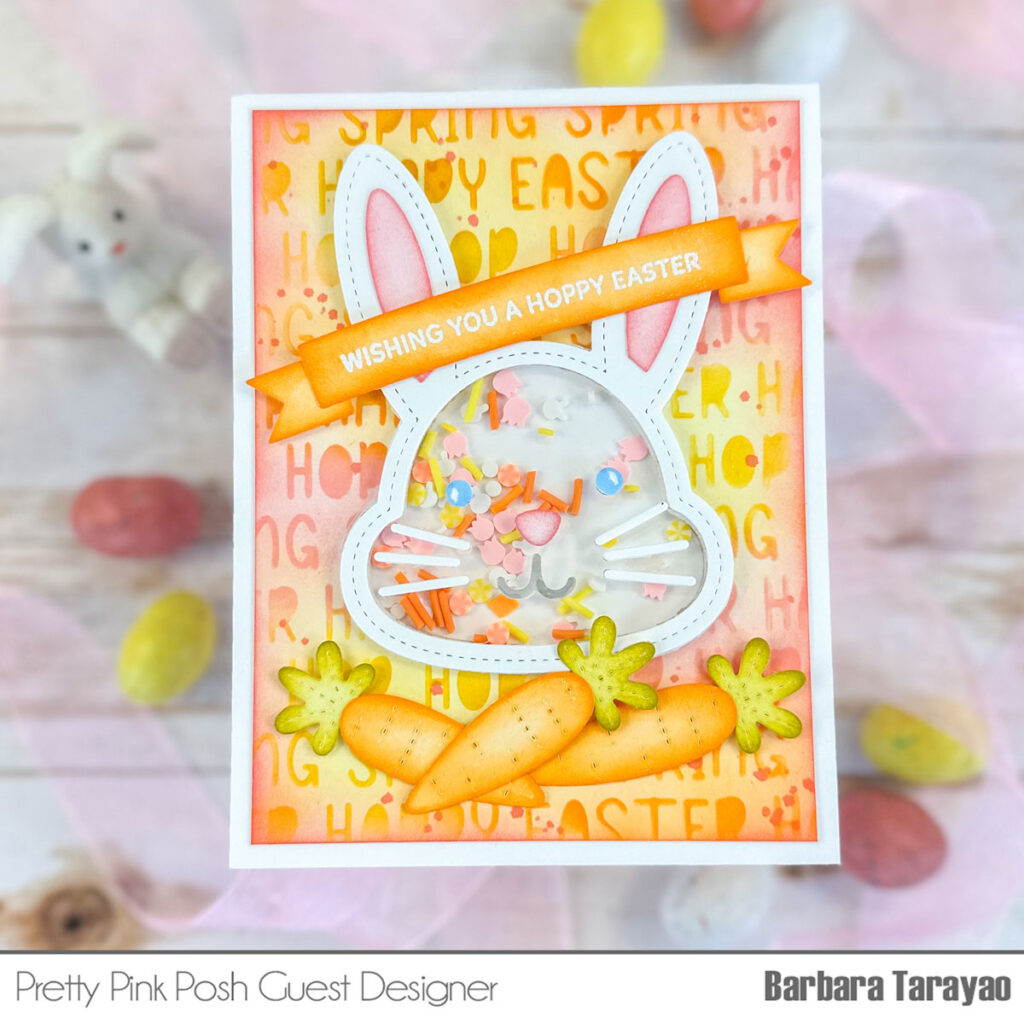
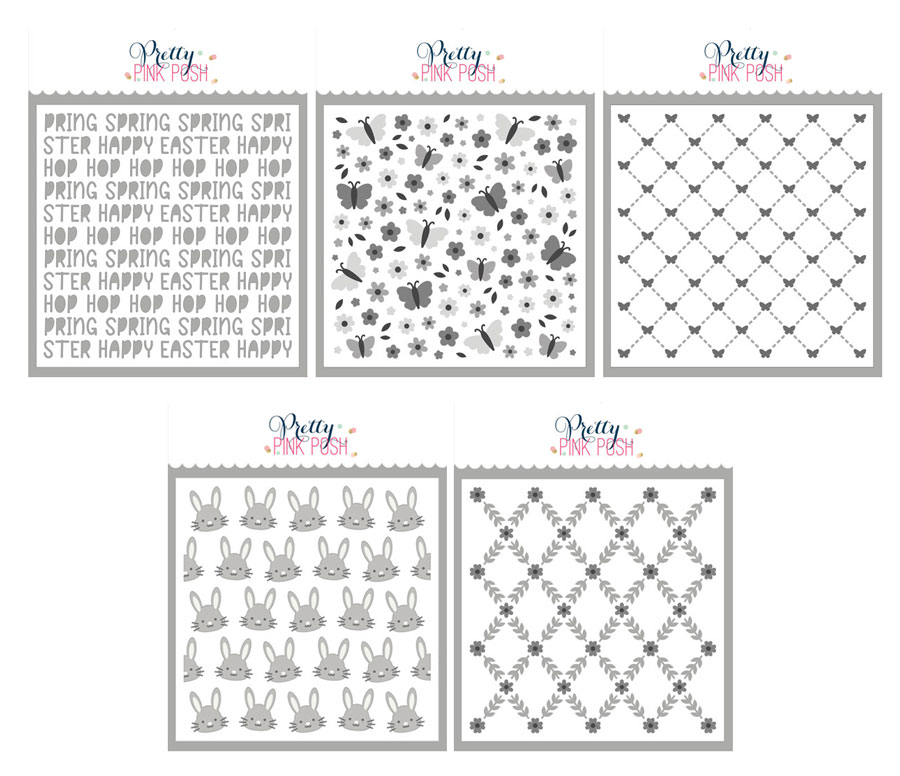
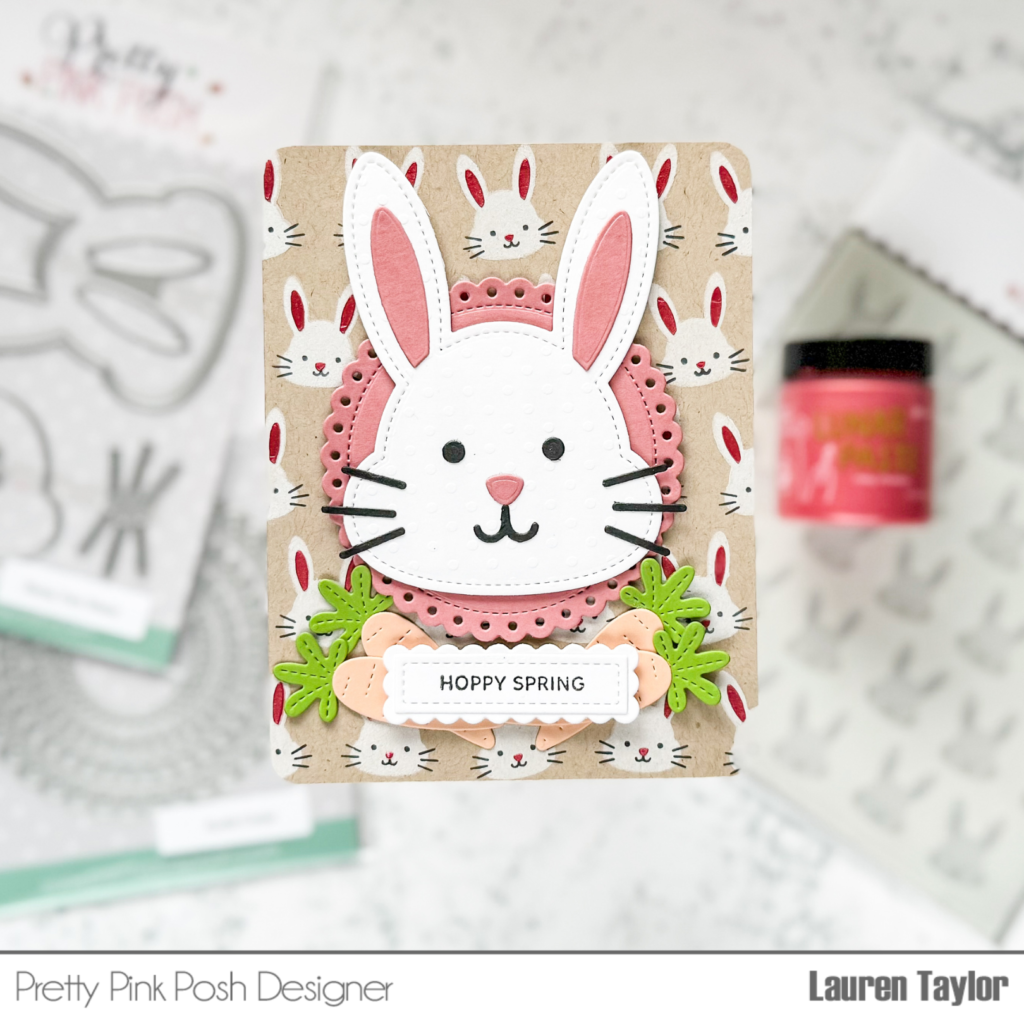
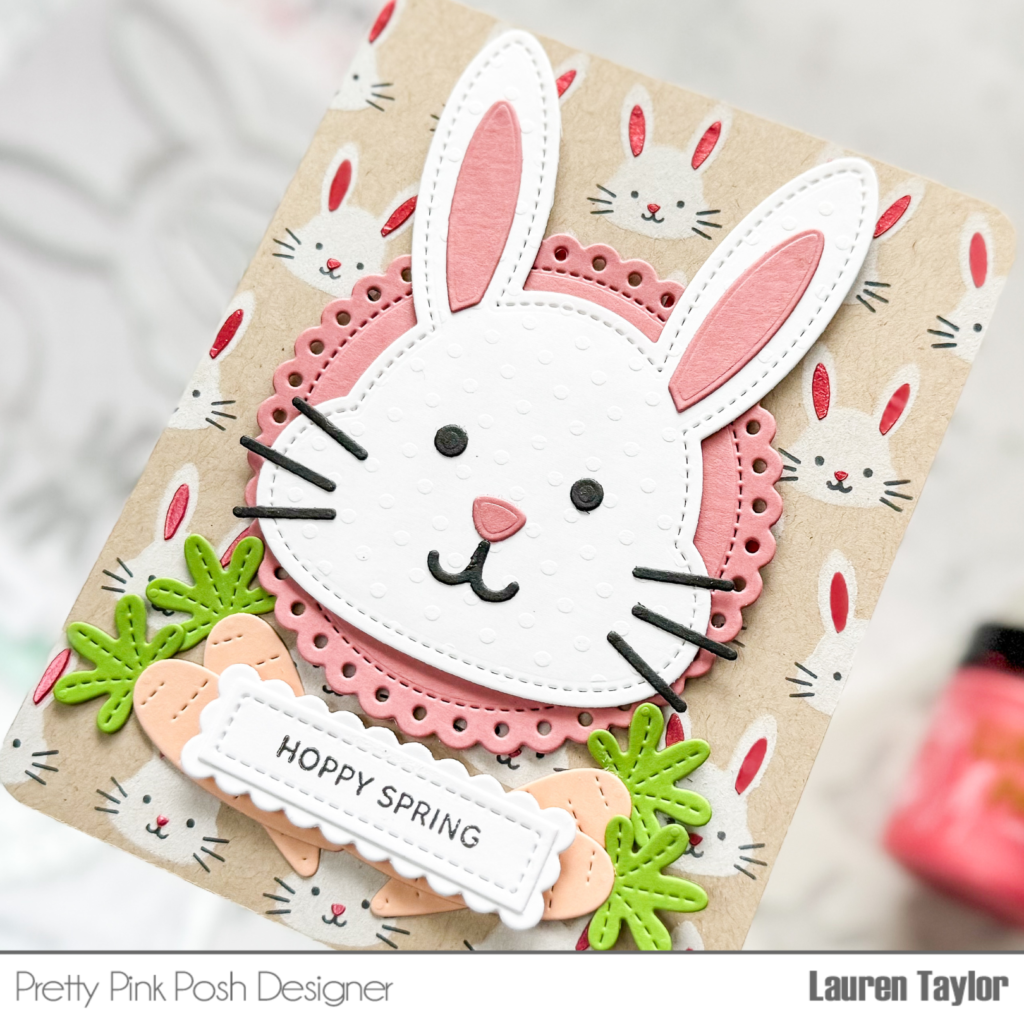
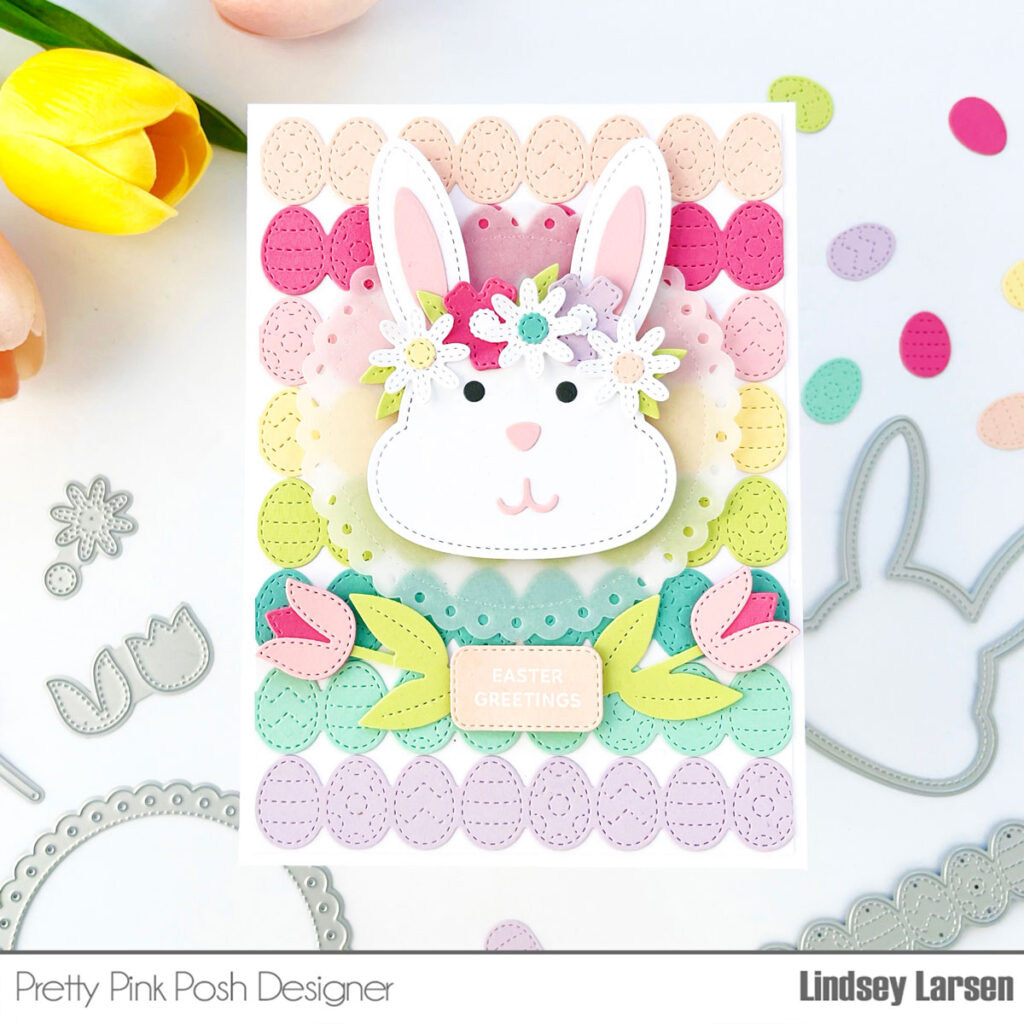
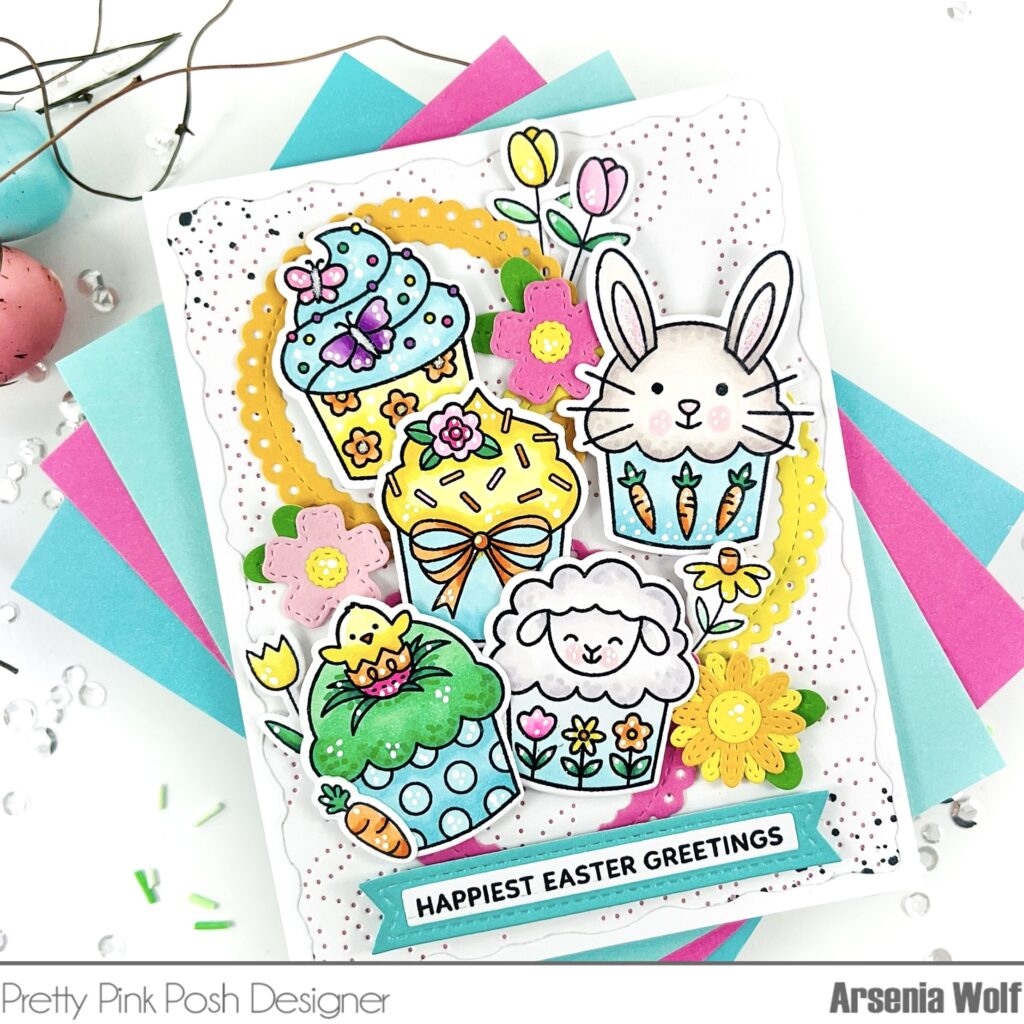
I have made a fun shaker card using the new Bunny Face Shaker die. I made this card using an A2 size card base cut from smooth white cardstock. I then trimmed down another piece of white cardstock to leave a bit of a white border. I then placed the new Easter Words stencil over the white panel and added distress ink over the stencil. I then removed the stencil and ink blended a bit lighter using the same distress inks.
Using a paintbrush, I flicked some distress ink over the stenciled background for some interest. I then die cut the Bunny Face Shaker from white cardstock and added a piece of acetate to the back of the bunny face. I flipped over the bunny face and added the shaker elements to the inside of the bunny and also some foam tape to adhere the piece of white cardstock behind the bunny face to enclose the shaker bits. I trimmed it down and adhered it to the center of the stenciled panel. I then die cut and ink blended the carrots from the new Big Easter Cupcake die set and added them to the bottom of the card.
Last, I die cut a banner from the Love From Afar die set and stamped and heat embossed a sentiment from the Sentiment Strips: Easter stamps.
PRIZES: be sure to leave comments on each stop. We are giving away 3 $30 gift certificates to three random comments (1 winner each day) left before March 13, 2024 at 11:59 PM PST. I’ll be announcing the winners next week, so be sure to return and see if you are one of the winners.
Pretty Pink Posh blog << you are here
Amanda Wilcox
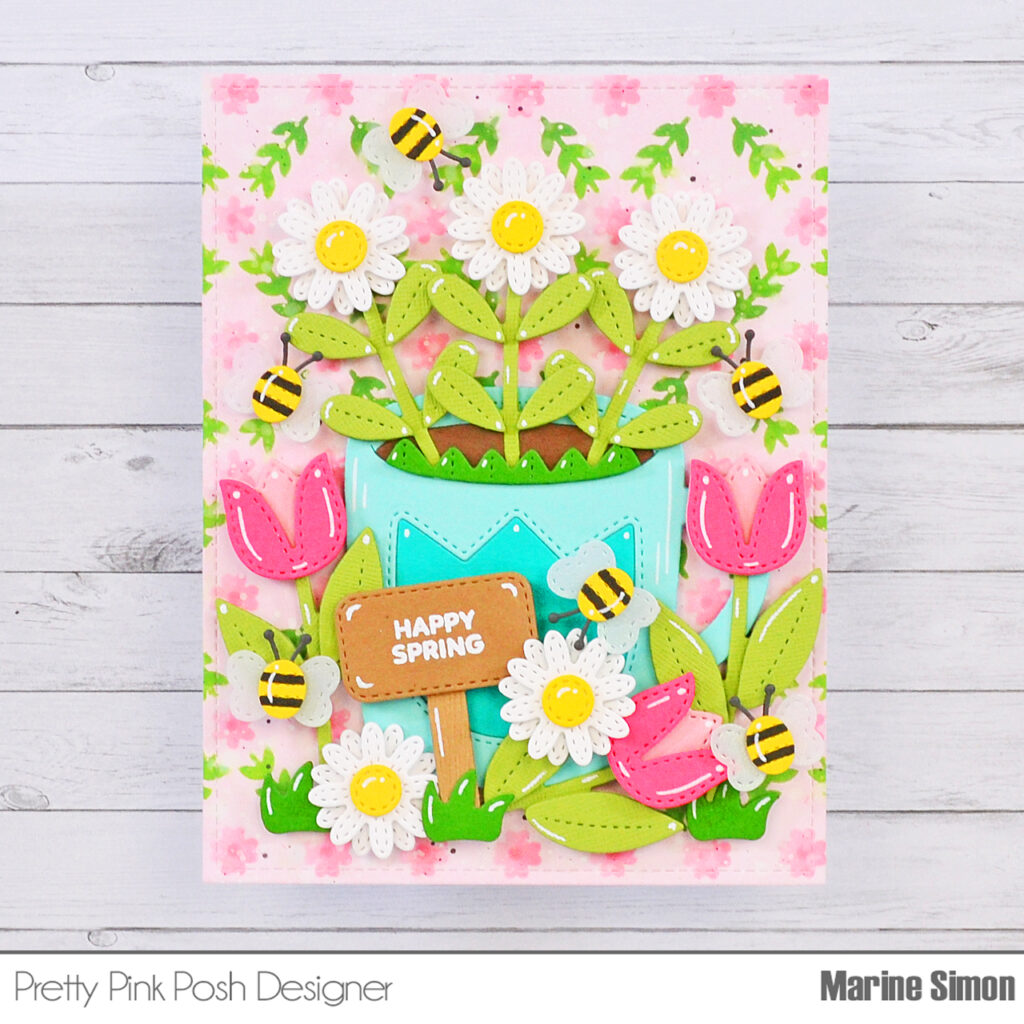
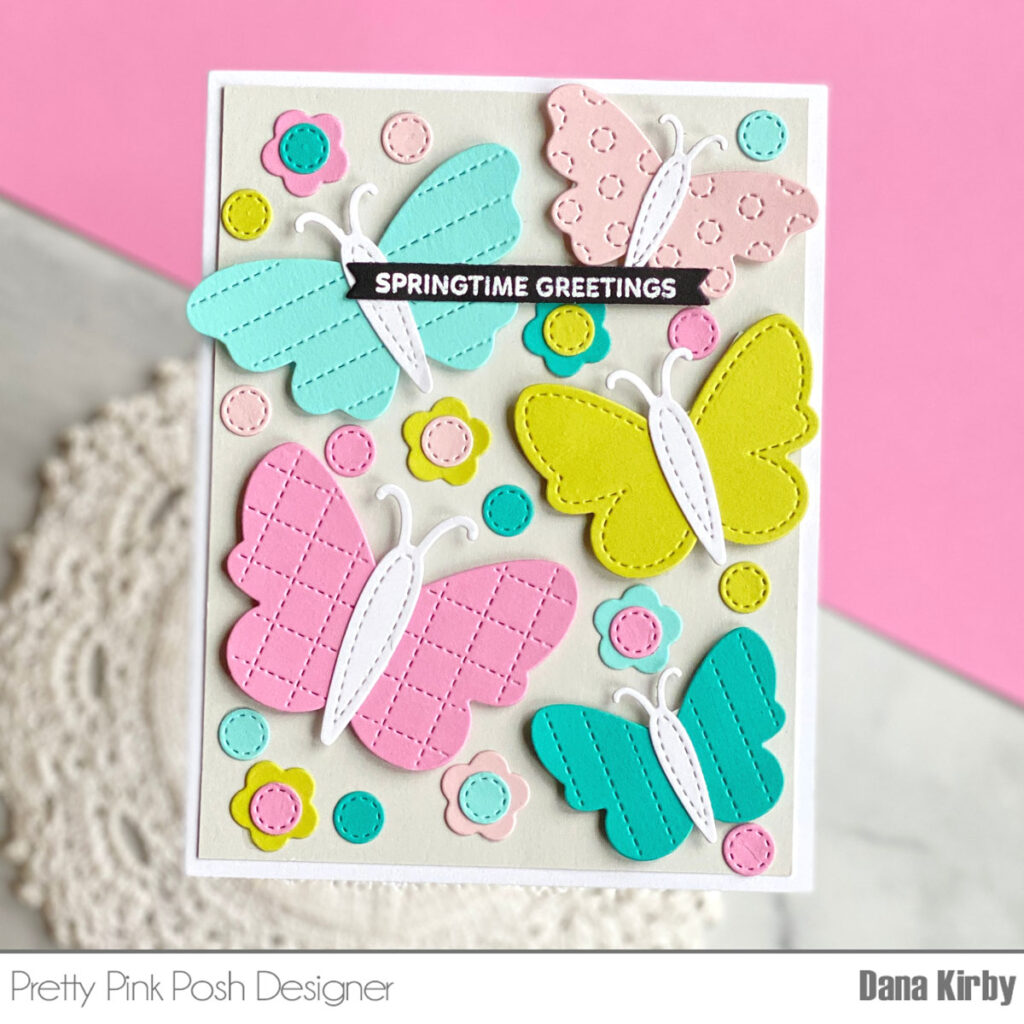
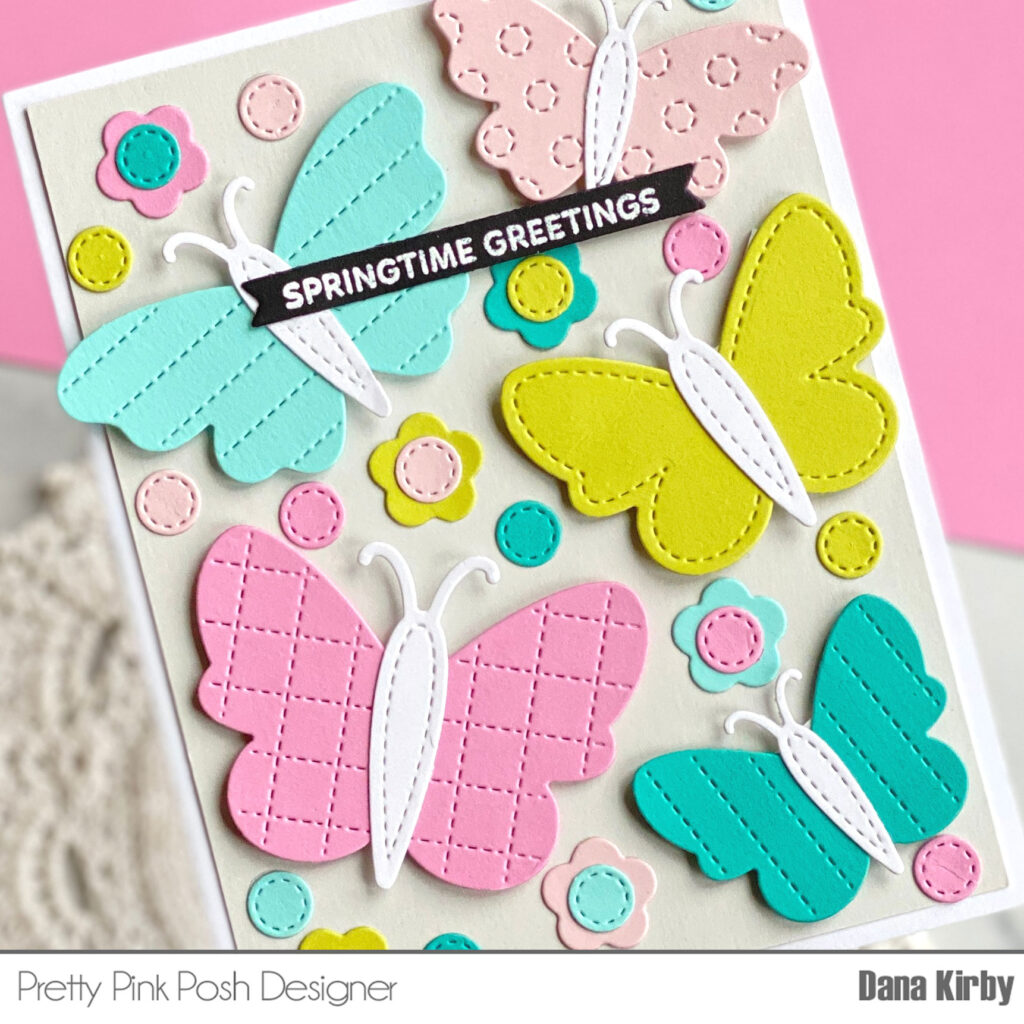
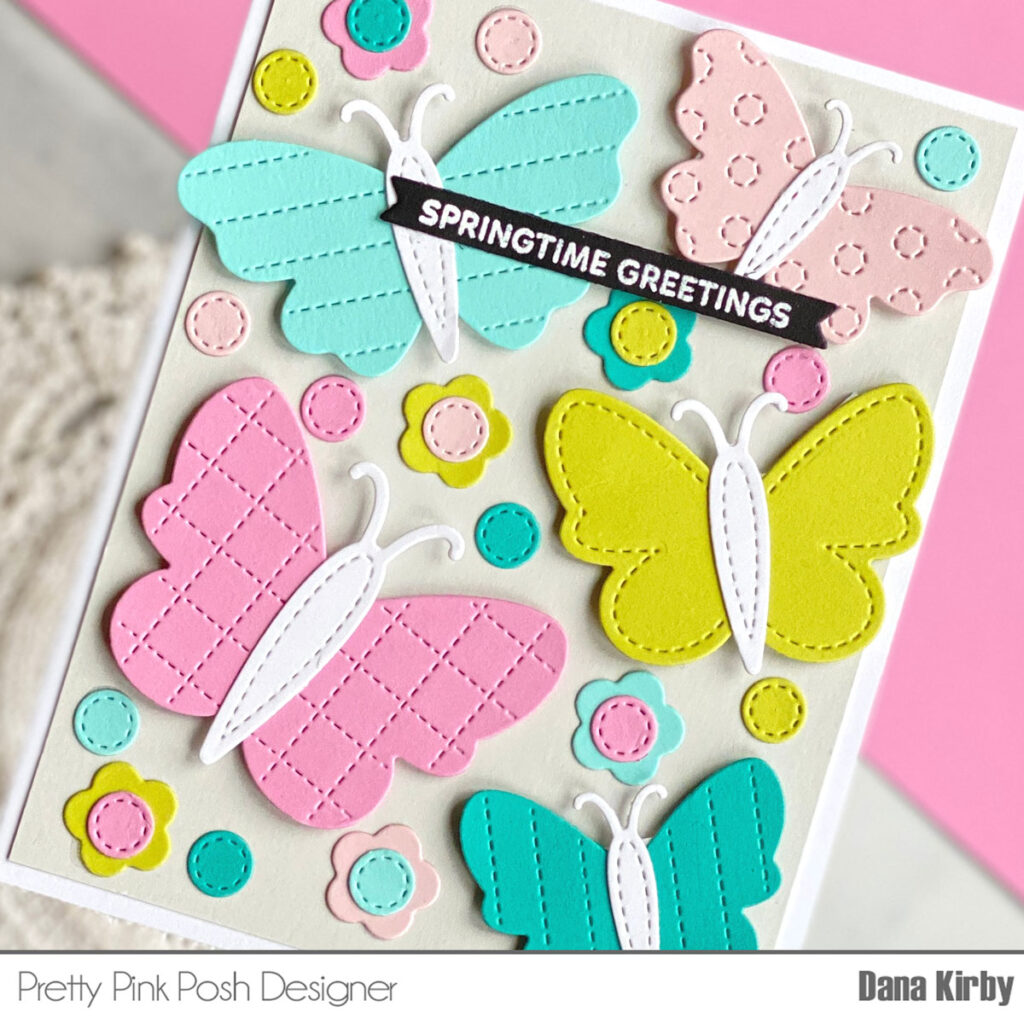
Dana Kirby
Annette Allen
Zsofia Molnar
Jeanne Jachna
Heather Hoffman
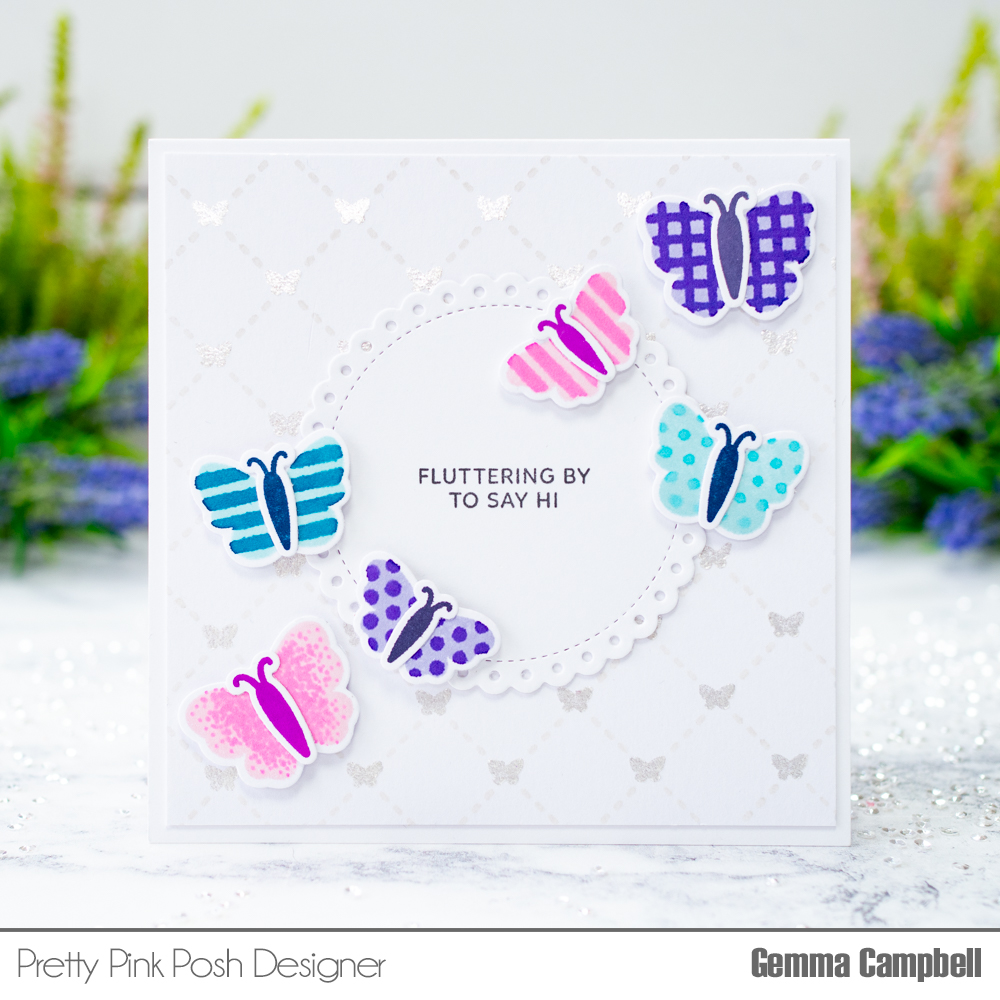
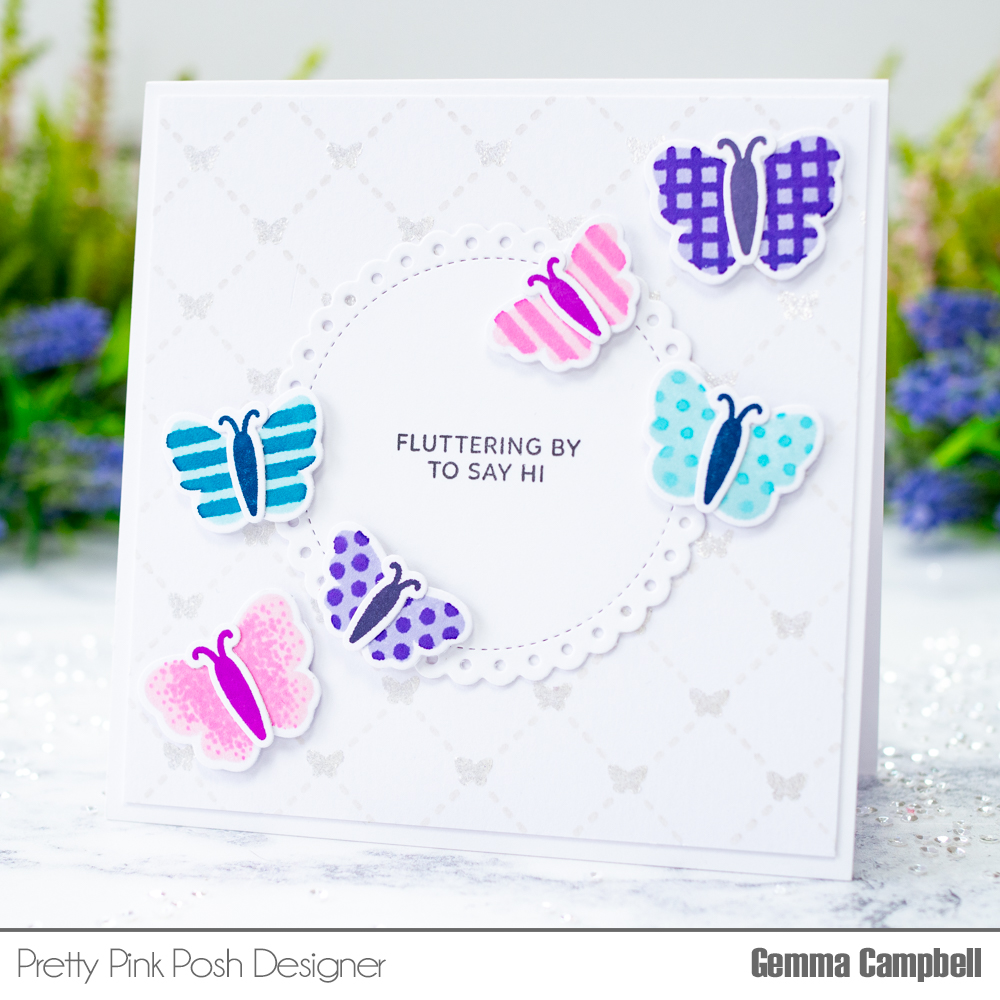
Gemma Campbell
We hope you were inspired by the three days of blog hop! Join us next week for more inspiration and we’ll be having FOUR days of Instagram hops!