Friends Forever
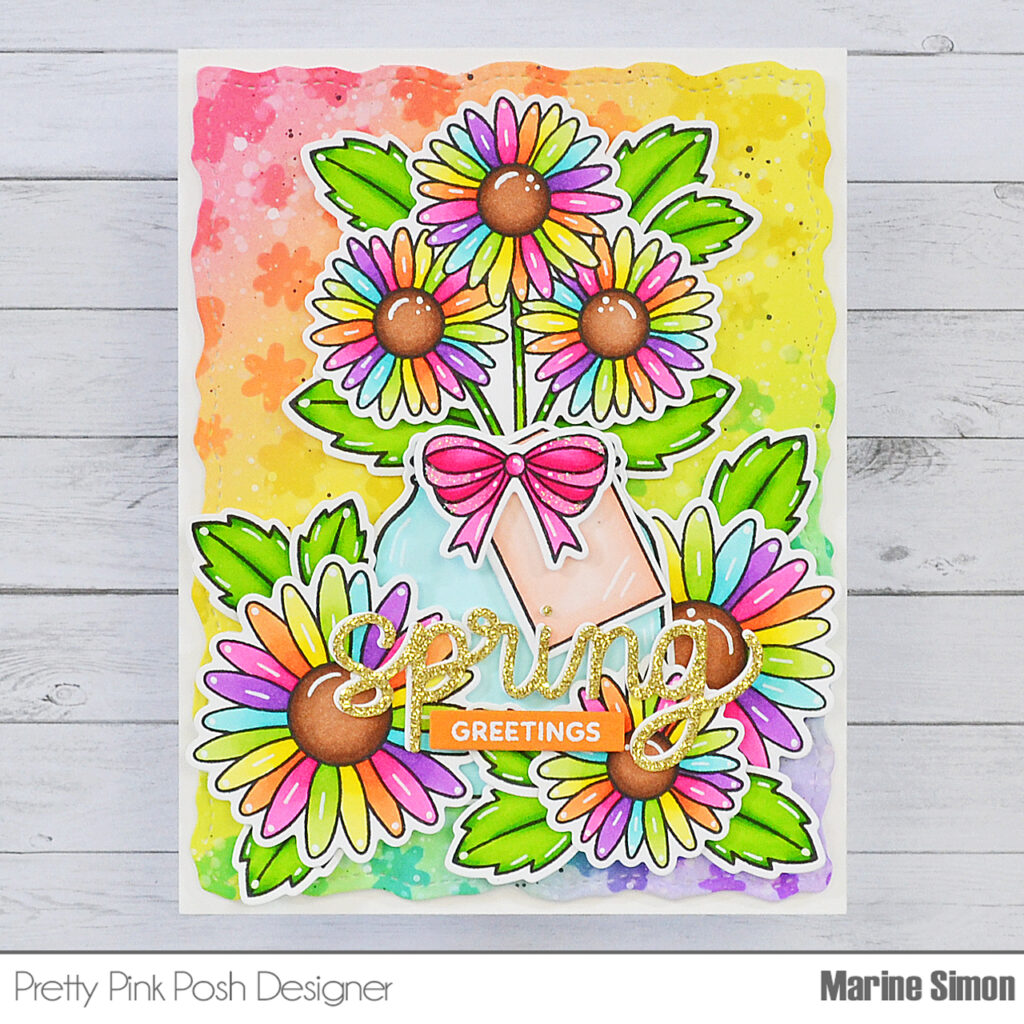
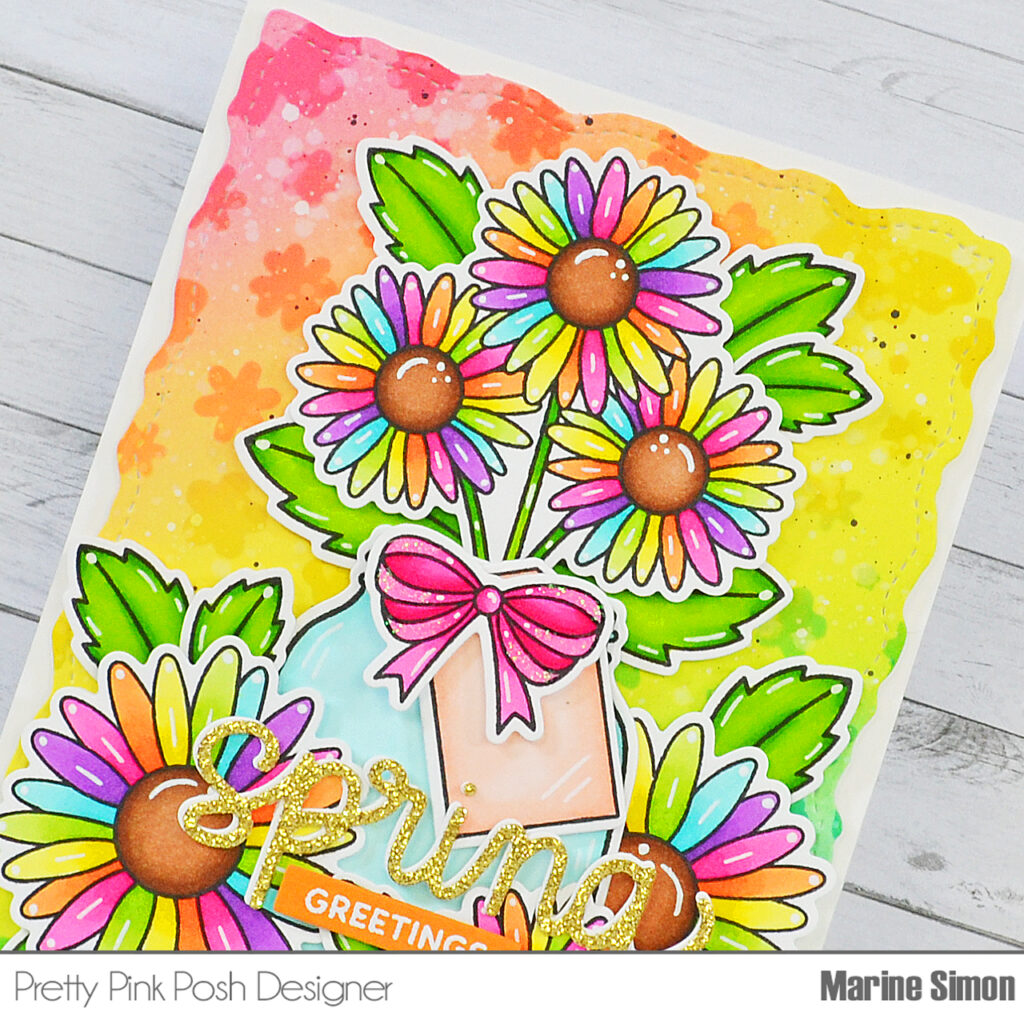
Hello crafty friends, Marine here, I’m so happy to be back on the blog with this lovely spring card showcasing multiple items from my Pretty Pink Posh stash. Mixing and matching stamps is one of my absolute favorite things to do, as well as coloring on kraft cardstock, so I combined both of these on today’s card.
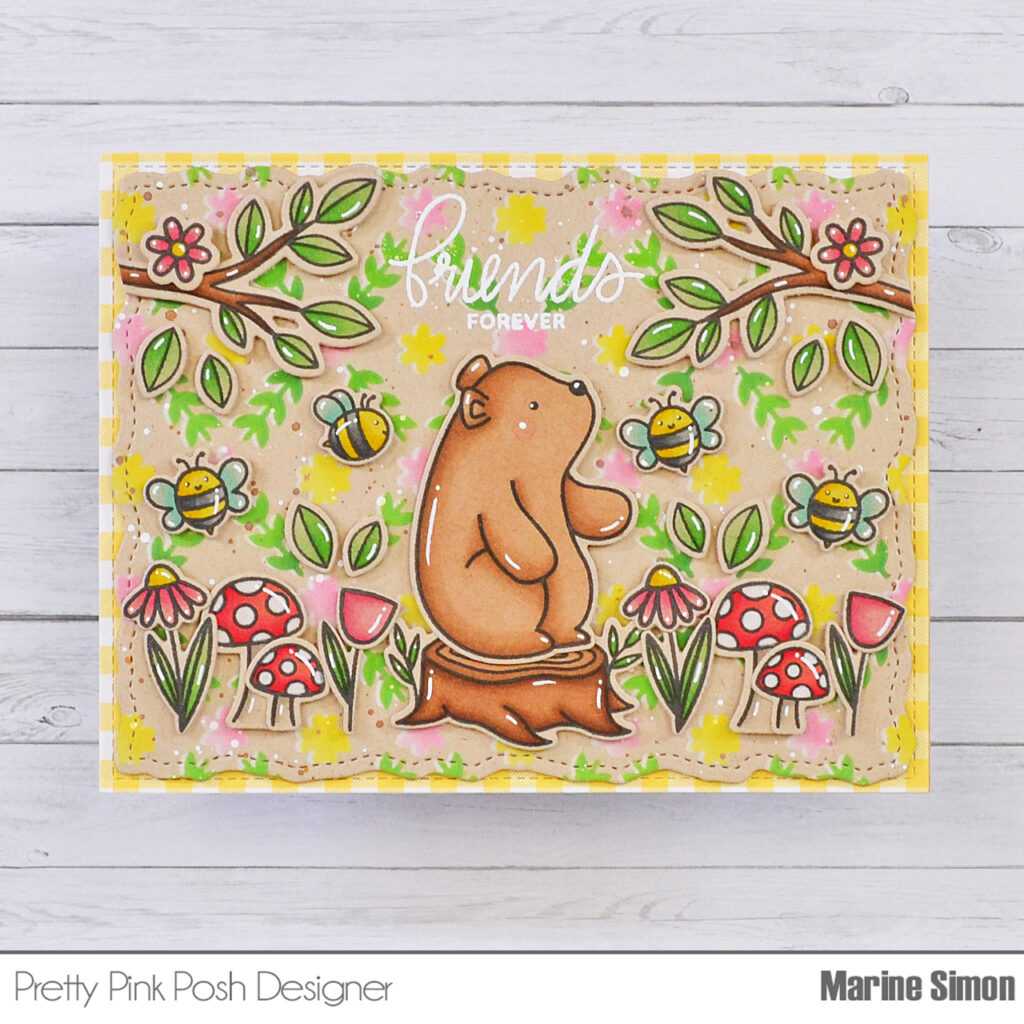
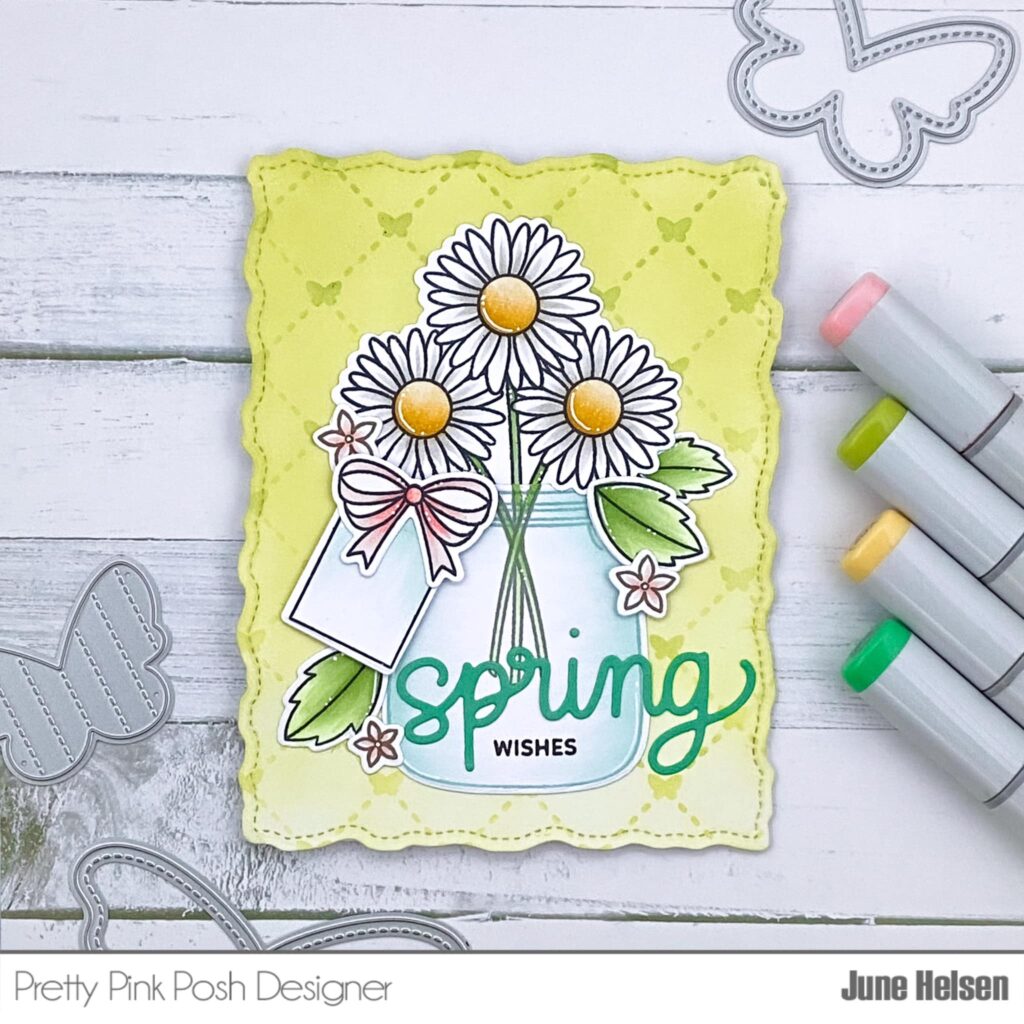
I started off by stamping my images on kraft cardstock from Lawn Fawn using an alcohol marker friendly black ink, I used the matching dies to cut them all, and colored everything using my Spectrum Noir Illustrator markers and Graph’it brush markers. And I used a white pencil for the spots on the mushrooms.Here is a detailed list of the stamp sets I used: • Woodland Critters for the bear and mushrooms • Bee Friends for the bees, tulips and daisies • Spring Robins for the branches • Jungle Friends for the leaves • Easter Wreath for the flowers on the branches.
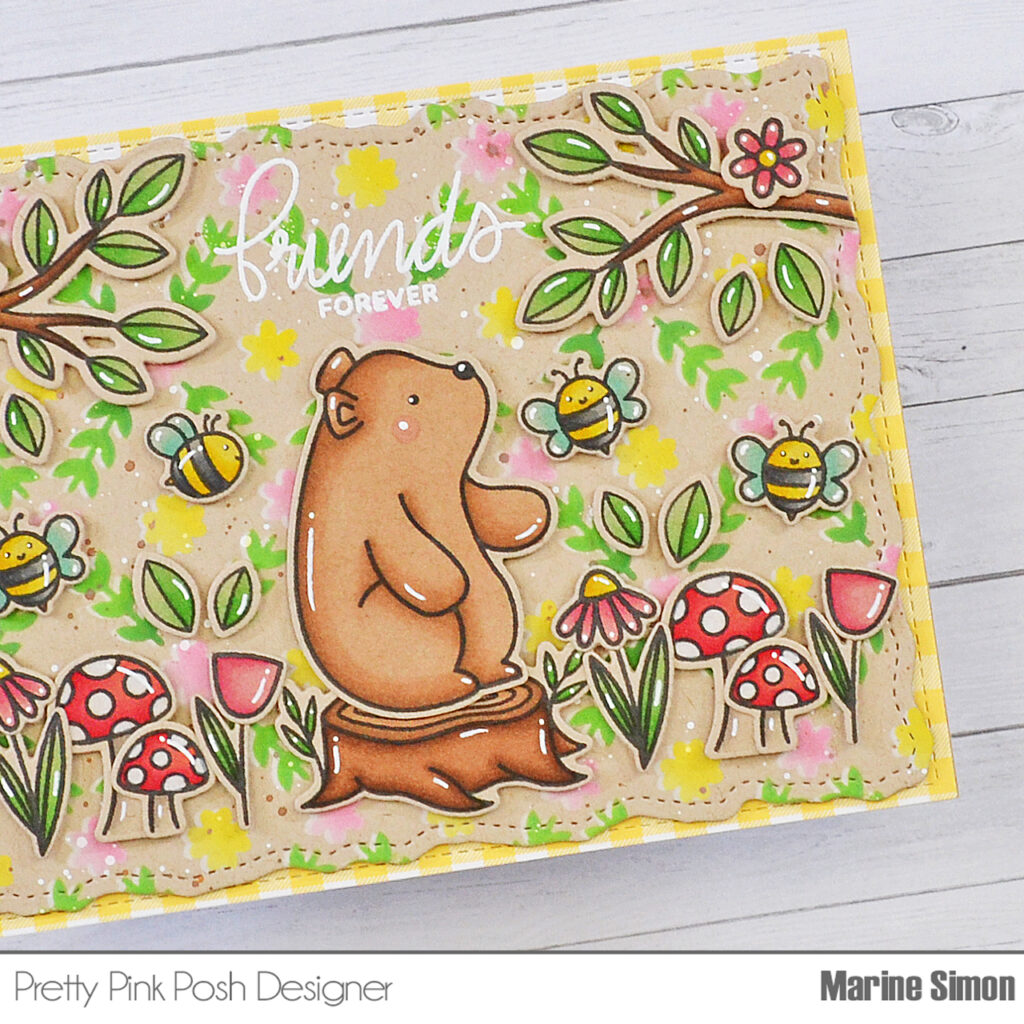
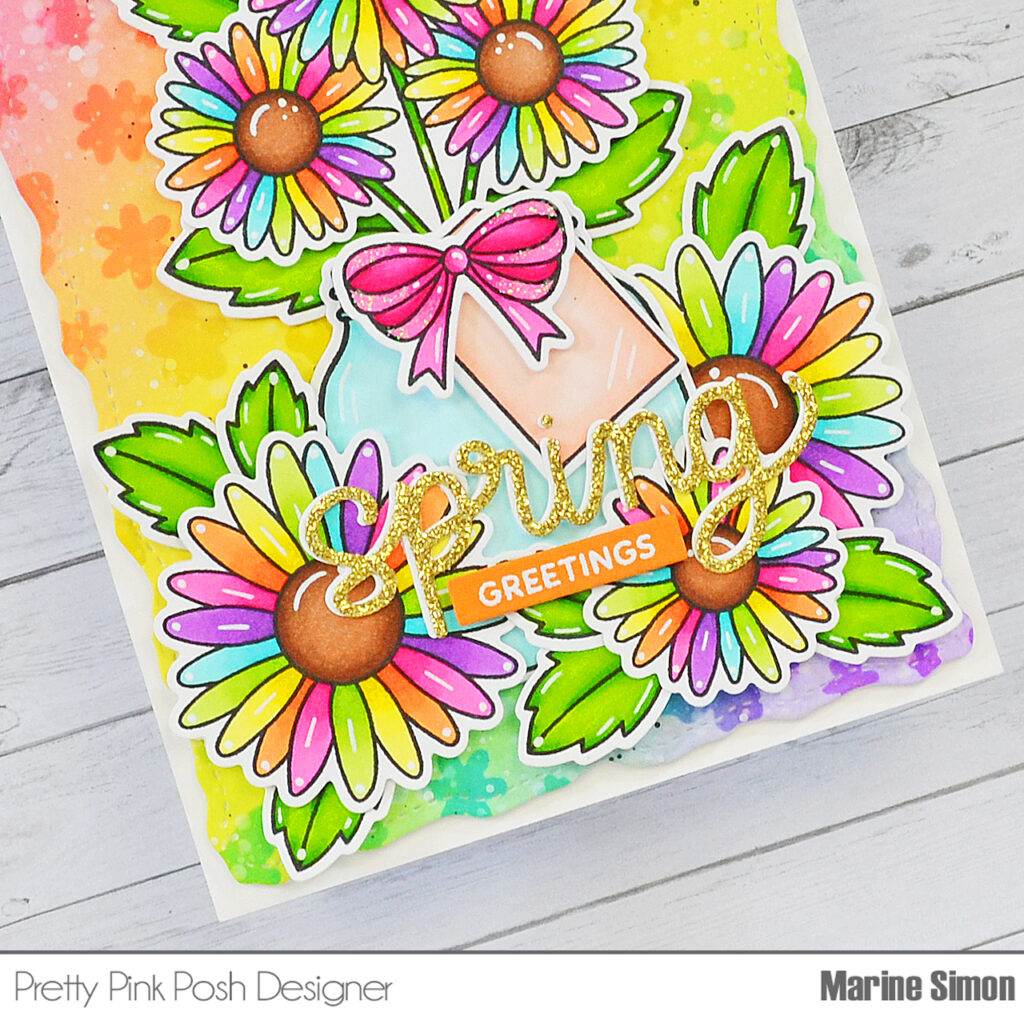
Next I cut a Stitched Torn Rectangle panel out of the same kraft cardstock as the images, and created a beautiful background using the Layered Floral Vines stencils. I first did a white base using white pigment ink, and then used the stencils again along with distress oxide inks: for the greenery I applied mowed lawn and rustic wilderness, for the pink flowers I applied spun sugar and worn lipstick, and for the yellow flowers I applied squeezed lemonade and mustard seed. I mixed some vintage photo oxide ink with water and used a small brush to make splatters on the panel, and did the same with copic opaque white ink.
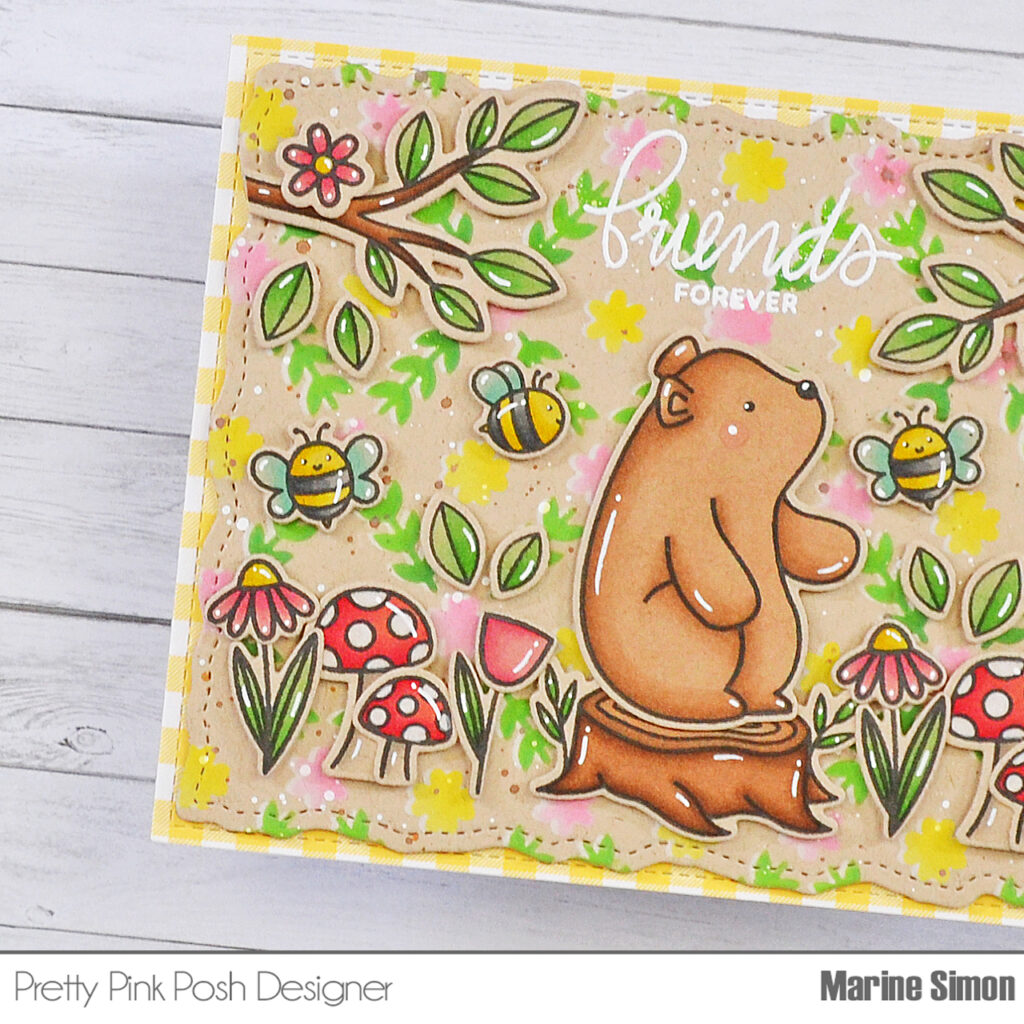
Once my panel was dry, I white heat embossed my “Friends Forever” greeting from Woodland Critters in the top middle part of the panel, attached all my images using 1mm and 2mm foam squares, stuck my panel on a 5,5 x 4,25 inches yellow gingham panel using foam tape, and finished my card by adding highlights and details to the images using a white gel pen.
And that’s it. I hope my card inspired you to try to color on kraft cardstock. It’s super fun, and it gives a toned down, almost vintage, look to a card. I absolutely love that!
Thanks so much for stopping by, and see you next time!