Day 4: Valentine Theme Week + Daily Giveaways

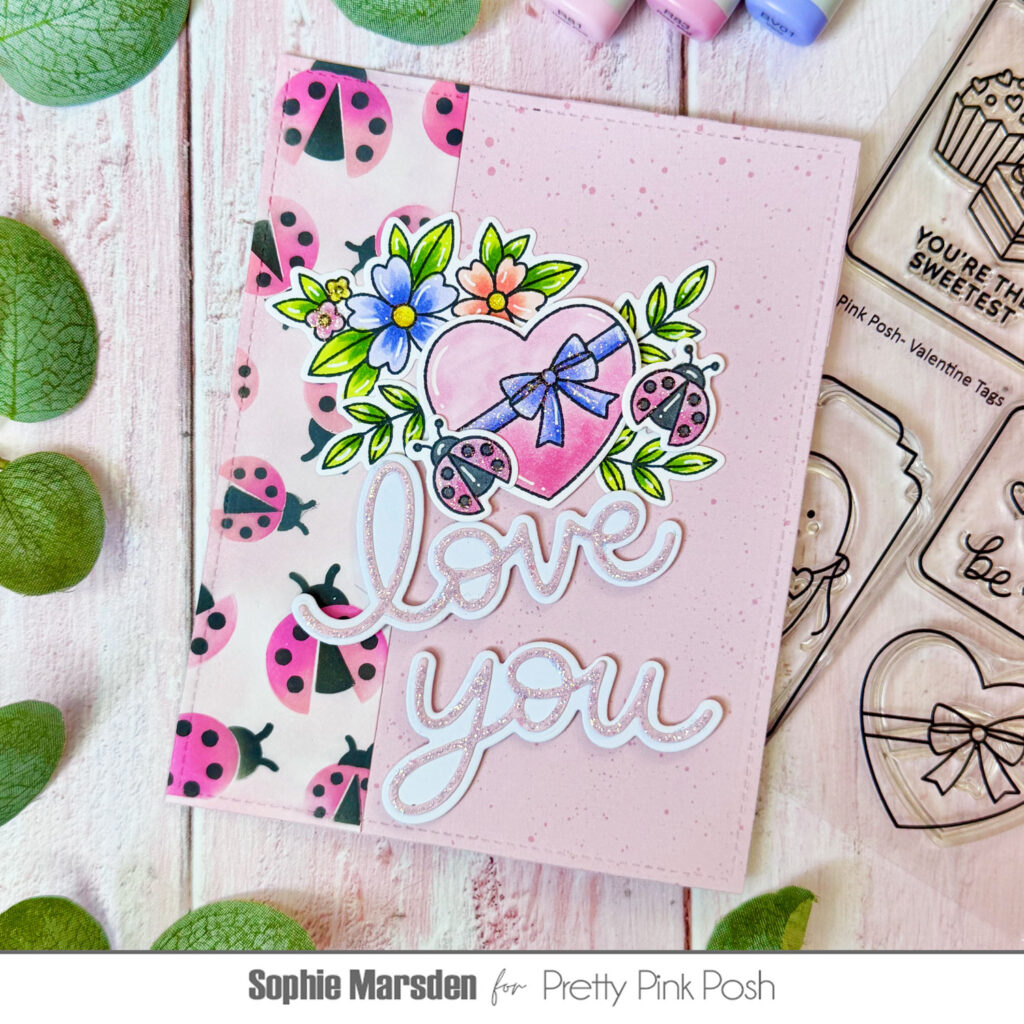
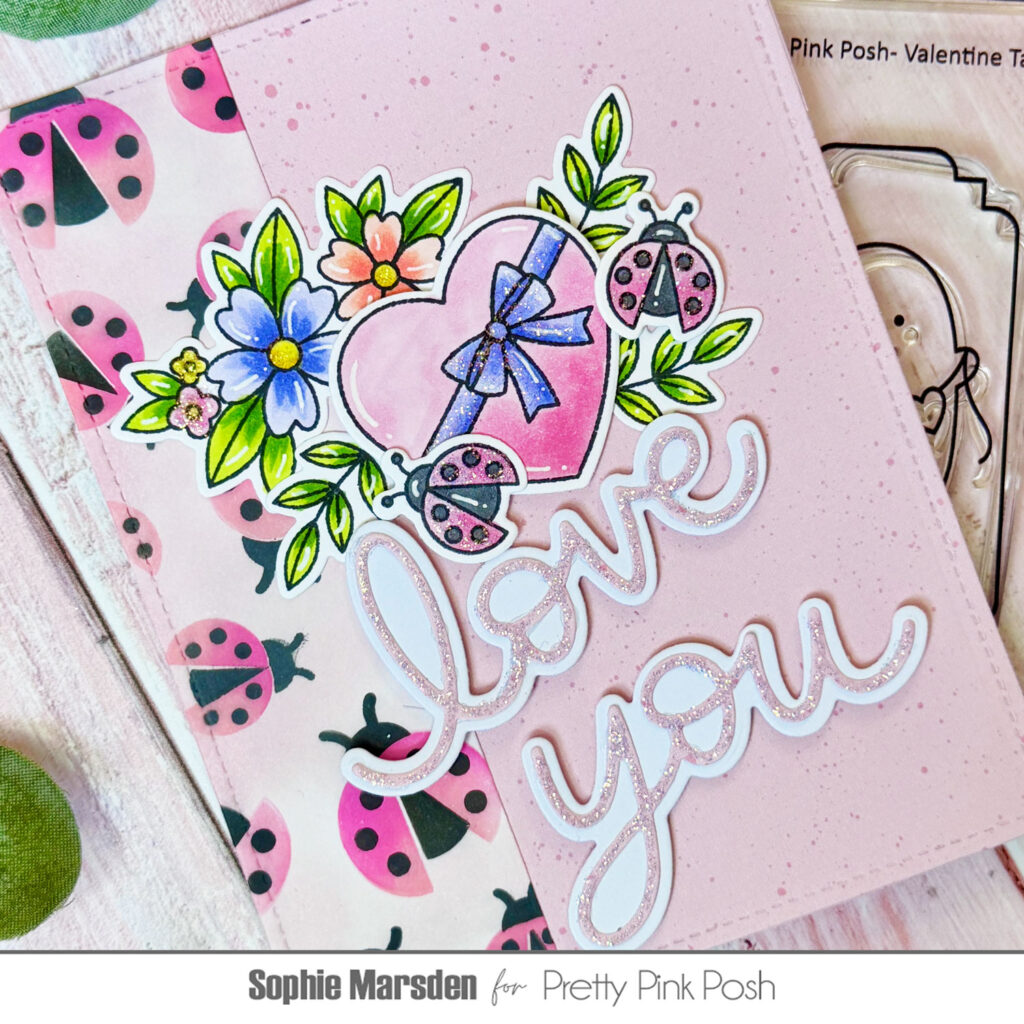
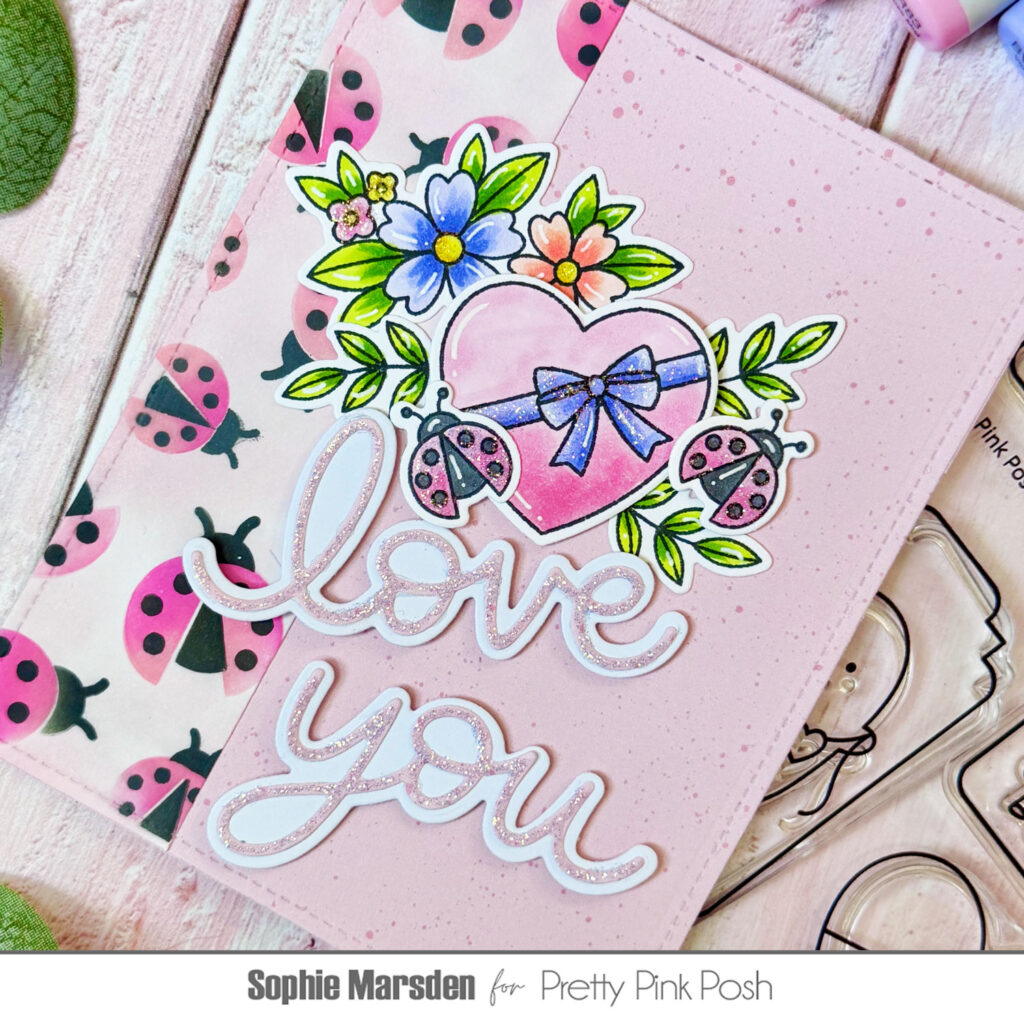
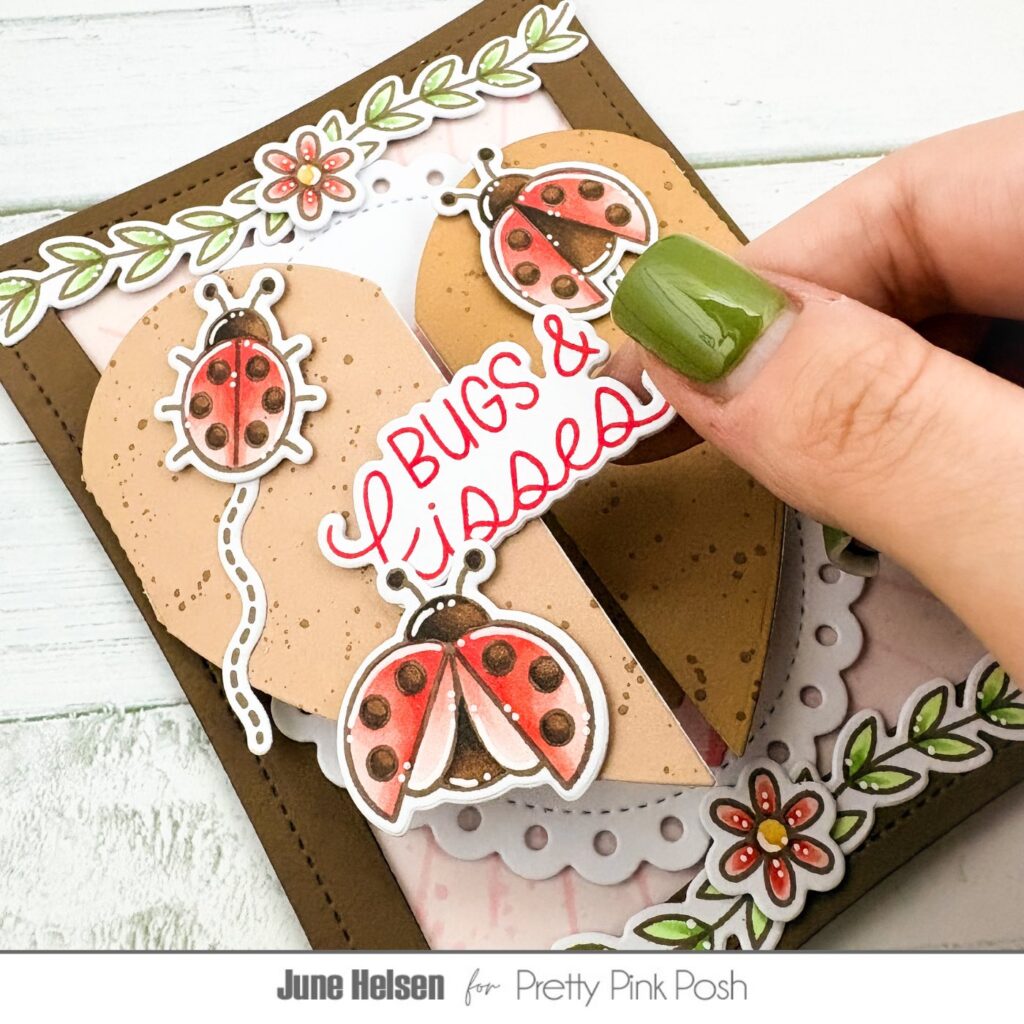
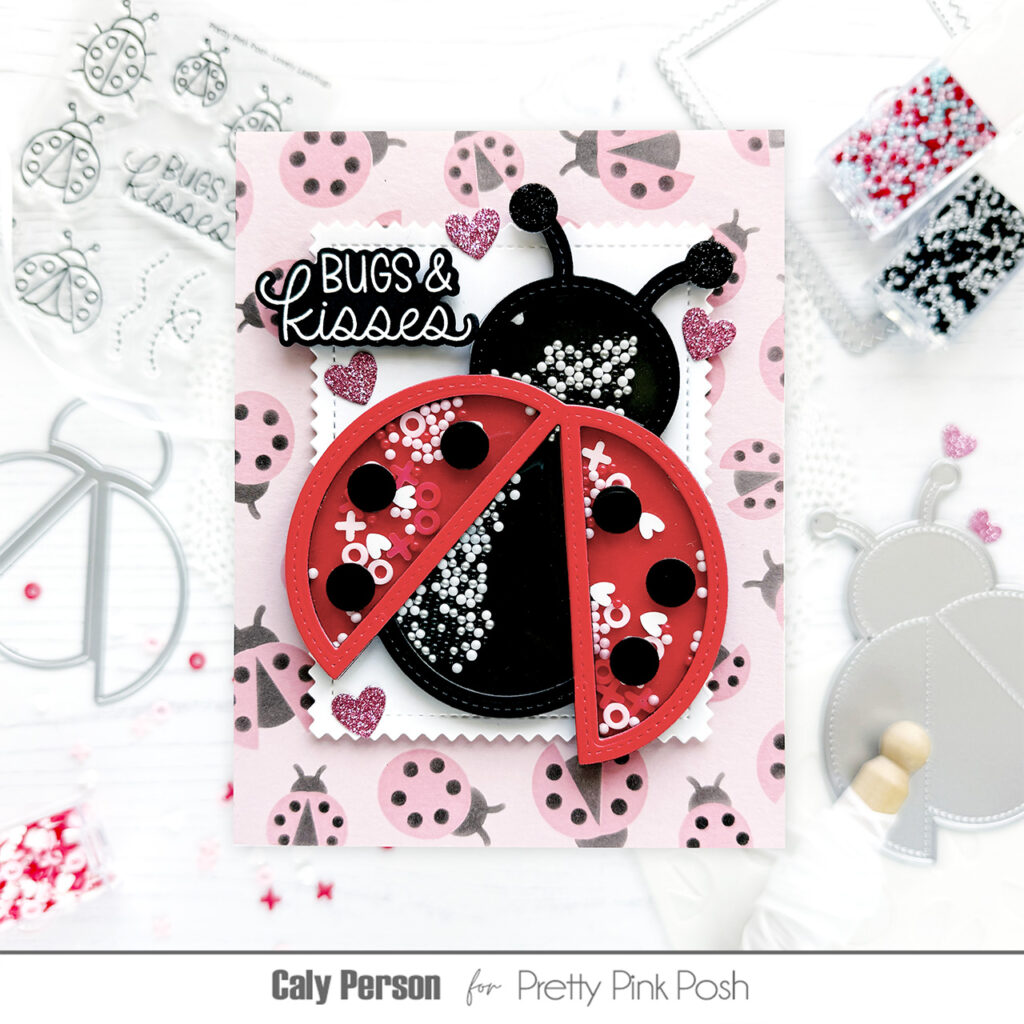
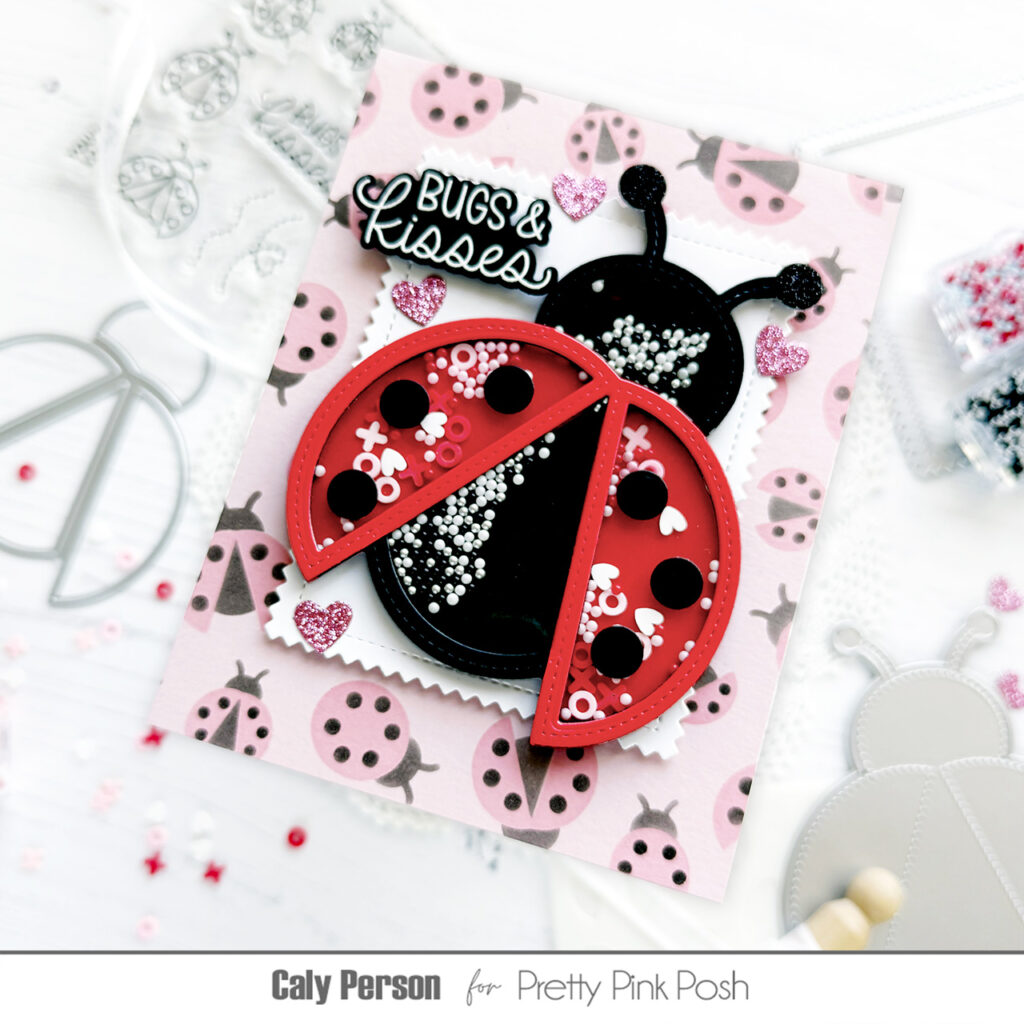
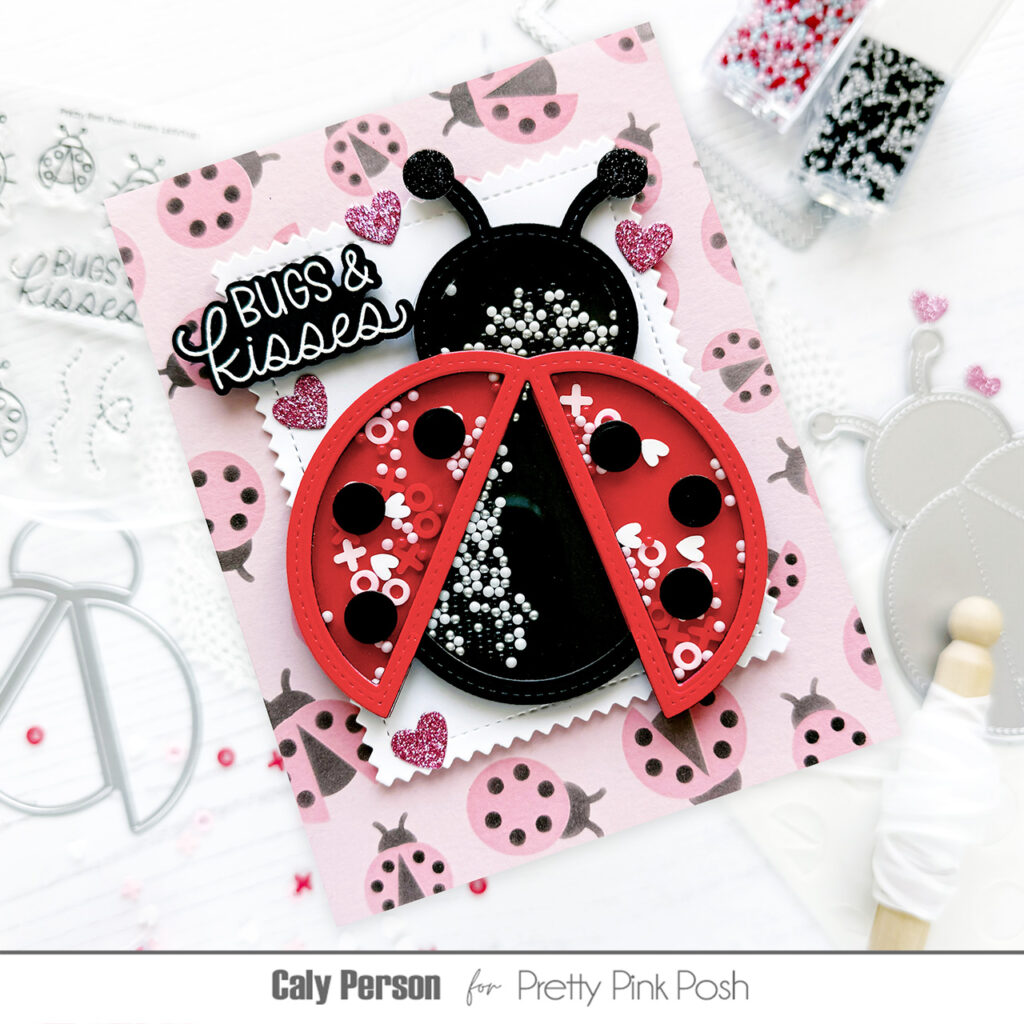
Hello Crafty Friends! Catherine here, a sweet ladybug-themed Valentine using the new Ladybug Shaker from the latest release. I’ll admit, I’m not a bug person but this little bug is so adorable and completely won me over!
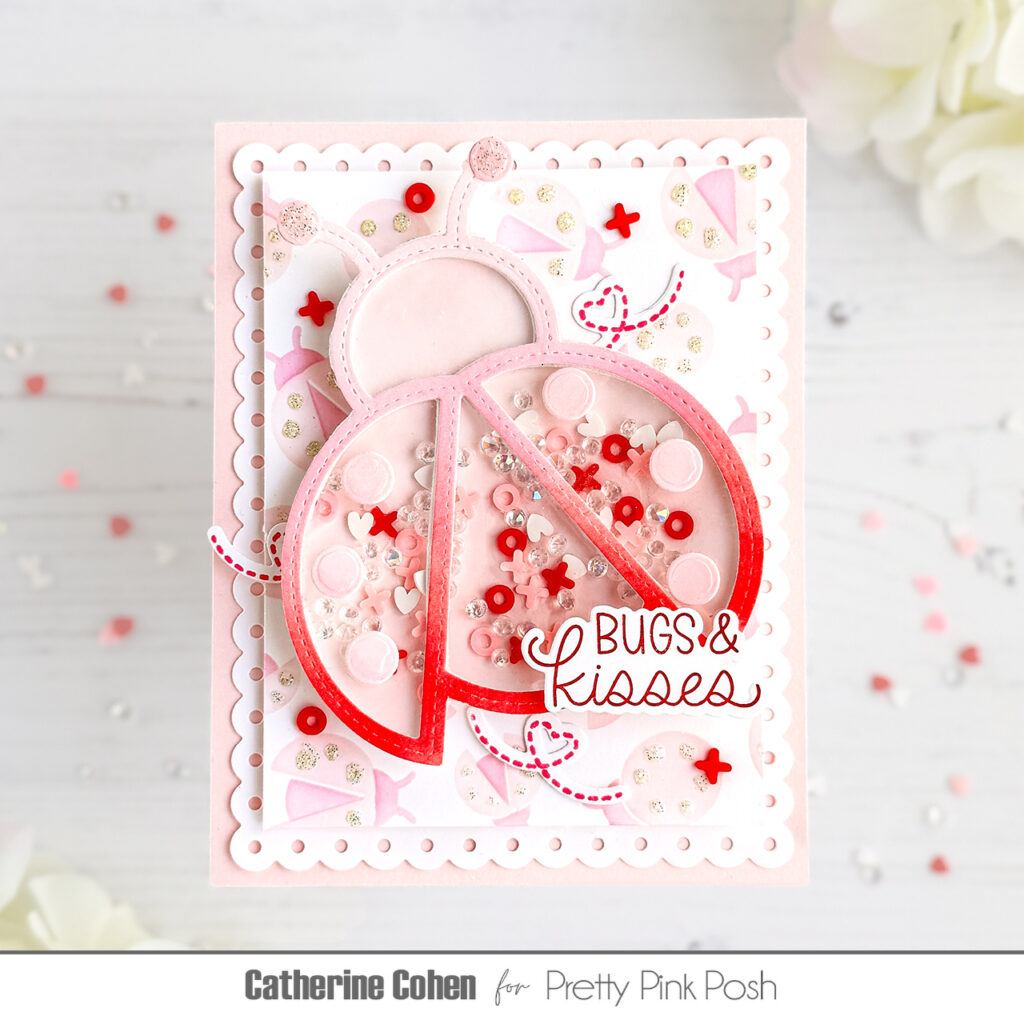
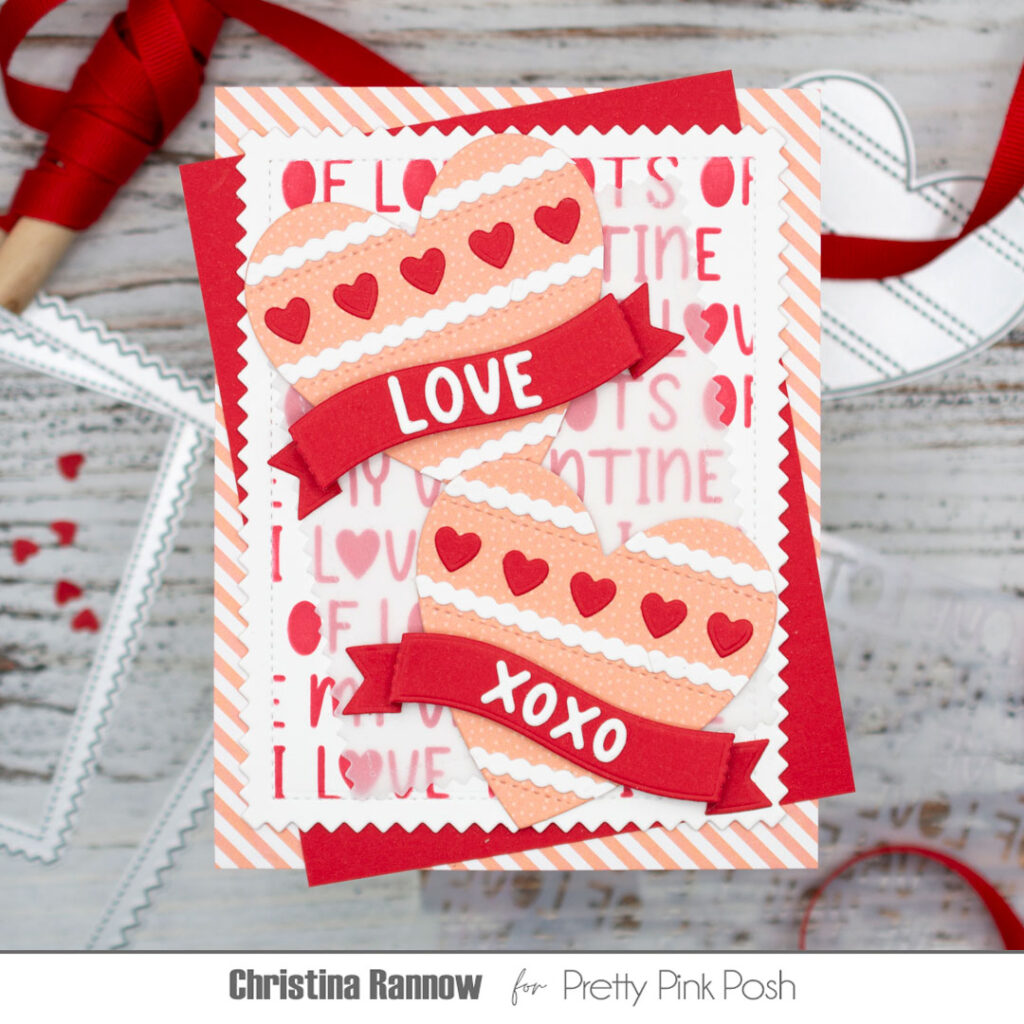
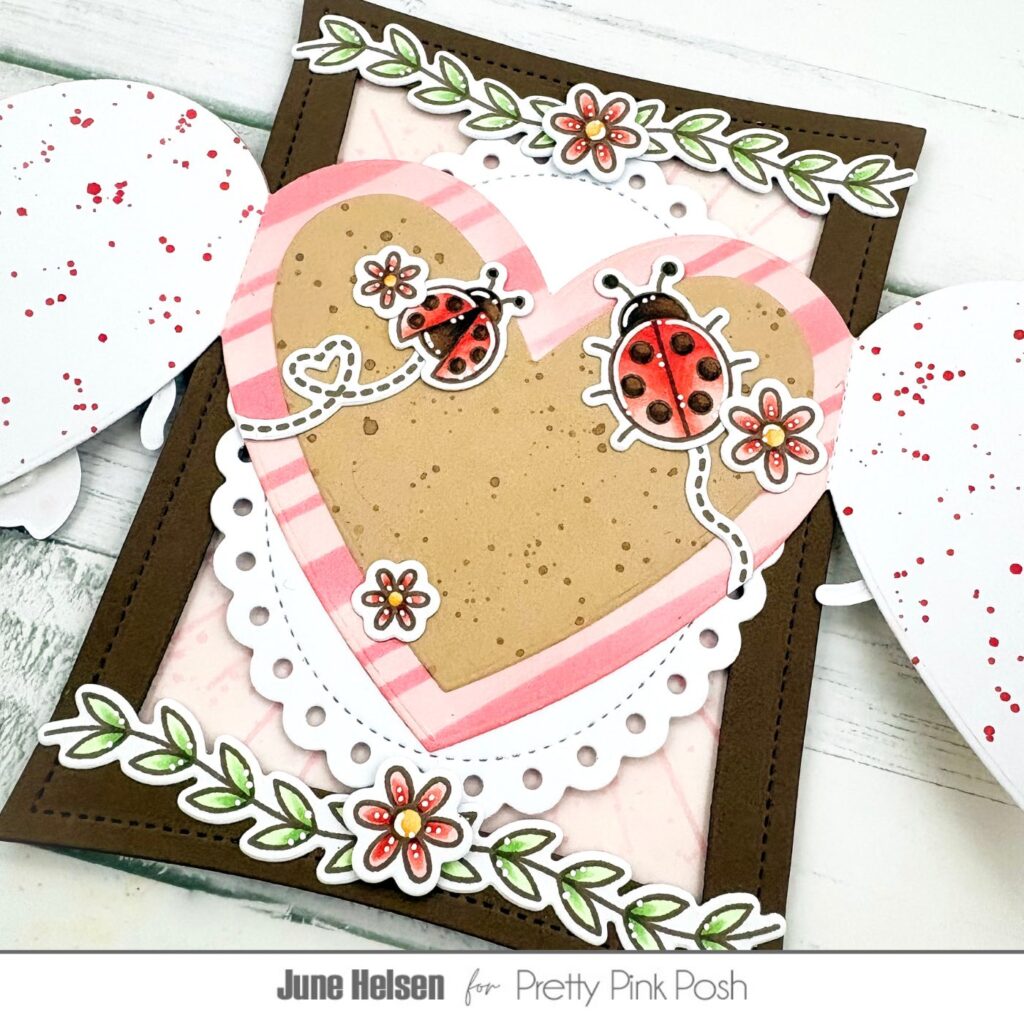
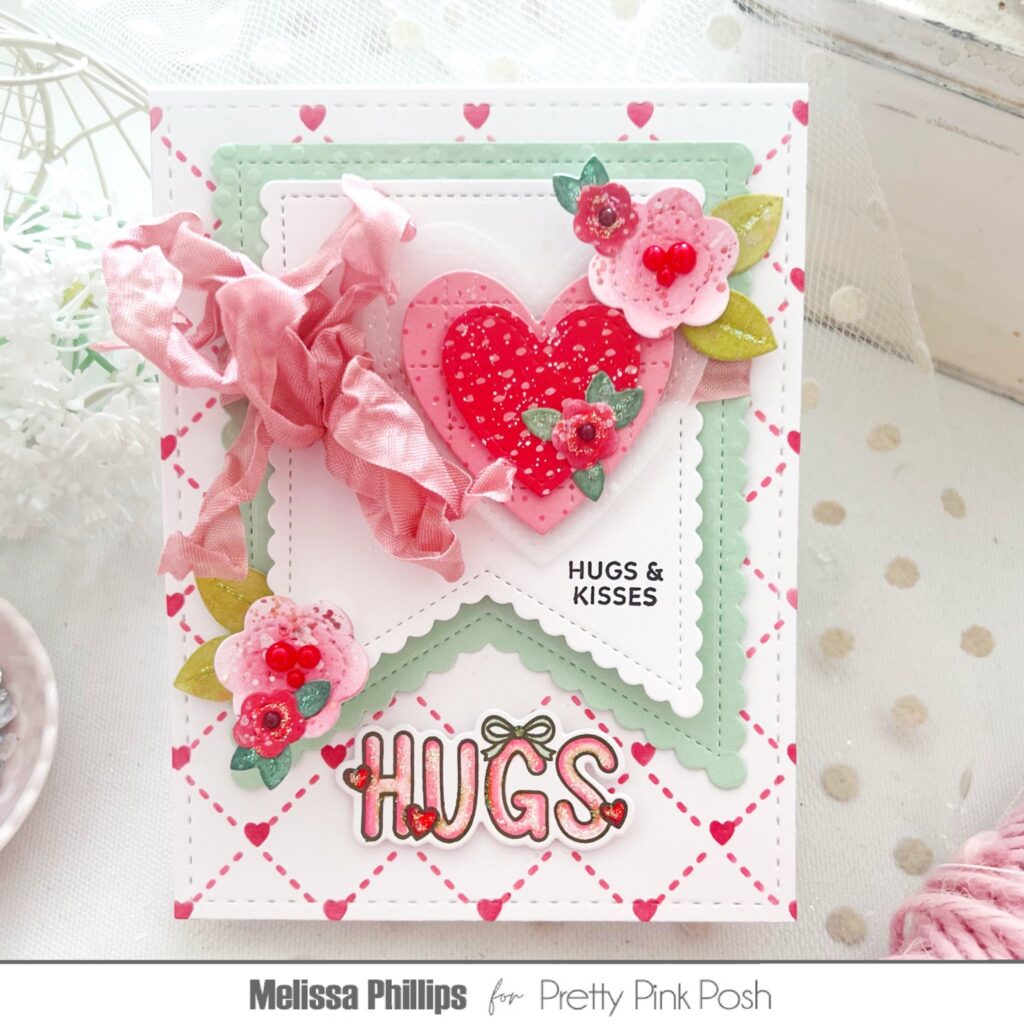
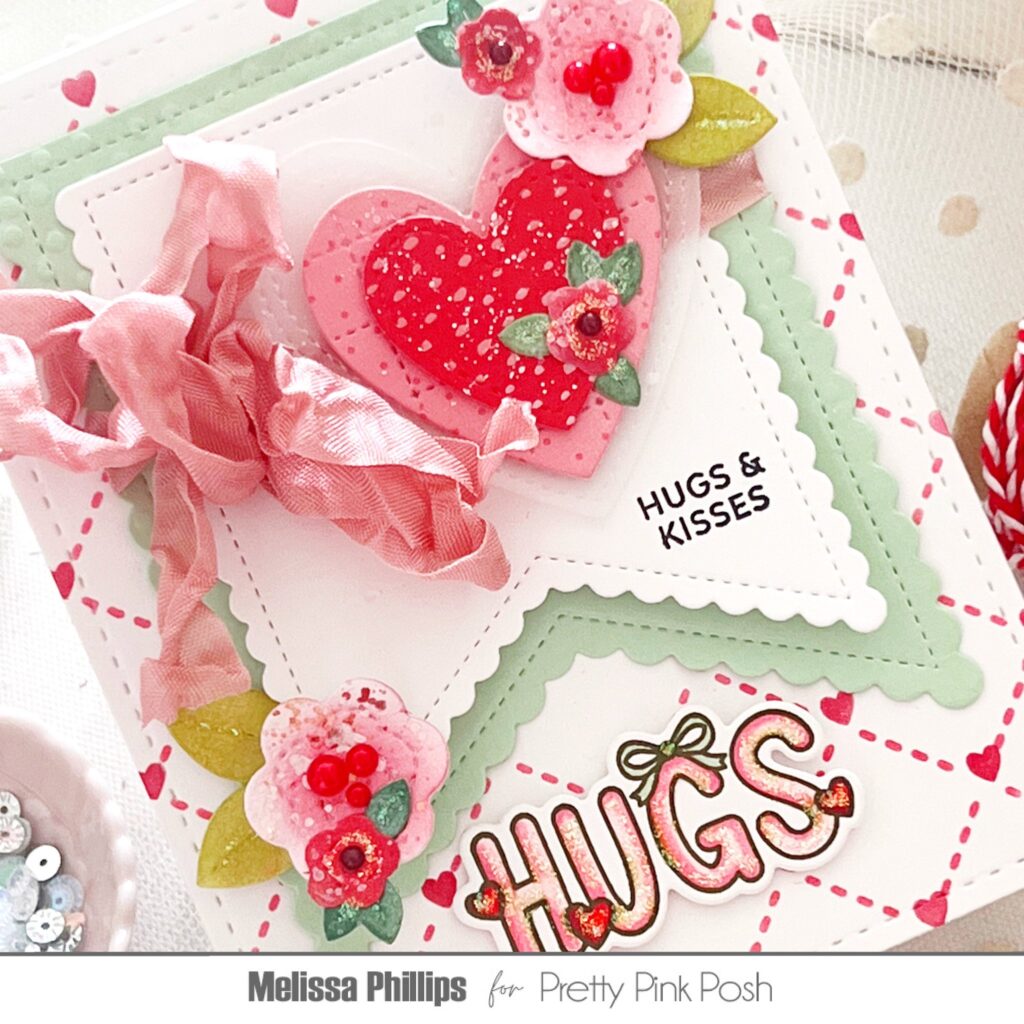
I started by die cutting an eyelet background using the largest die from Eyelet Rectangles out of white cardstock. Next, I created a soft ladybug background with the Layered Ladybugs Stencil blending Kitsch Flamingo and Spun Sugar Distress Oxides. For a little extra sparkle, I added glitter to the lady bugs. I trimmed the panel to fit inside the Eyelet Rectangle and adhered it with foam tape for dimension.
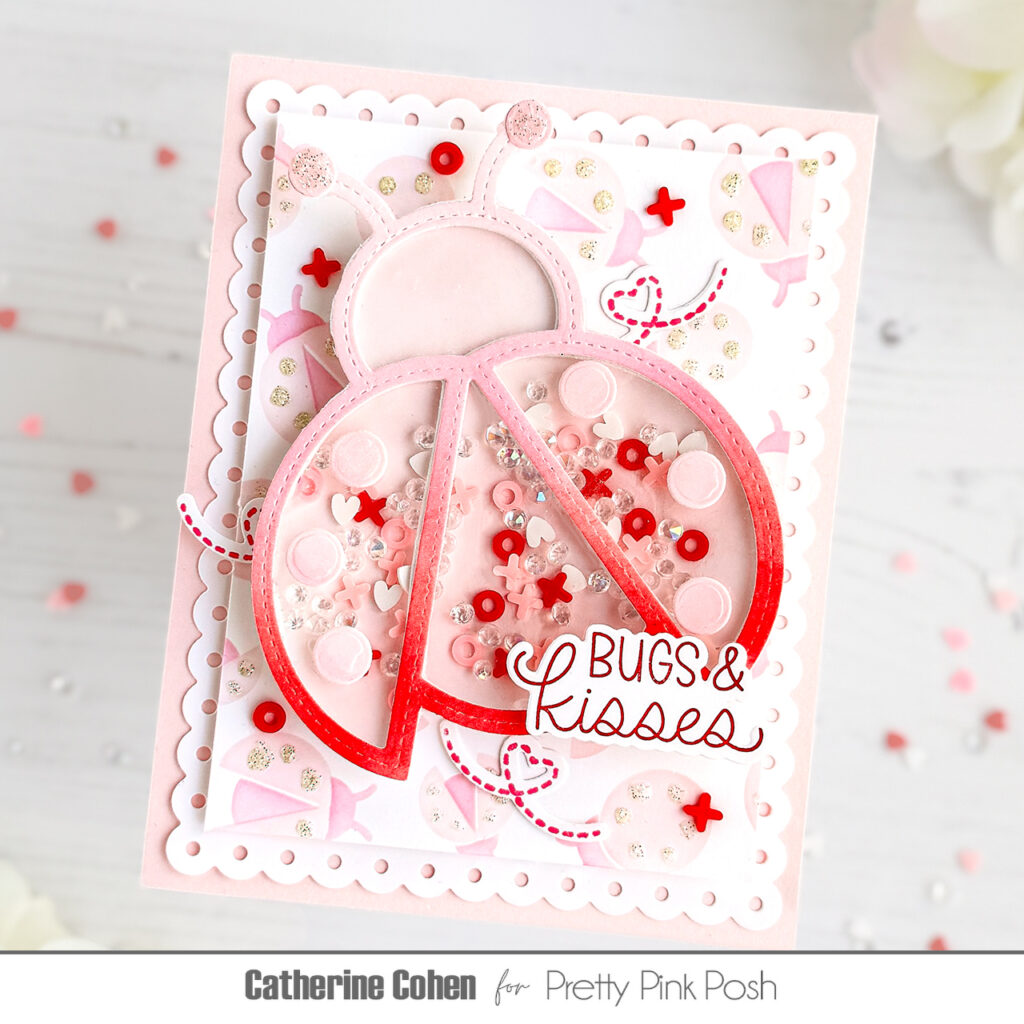
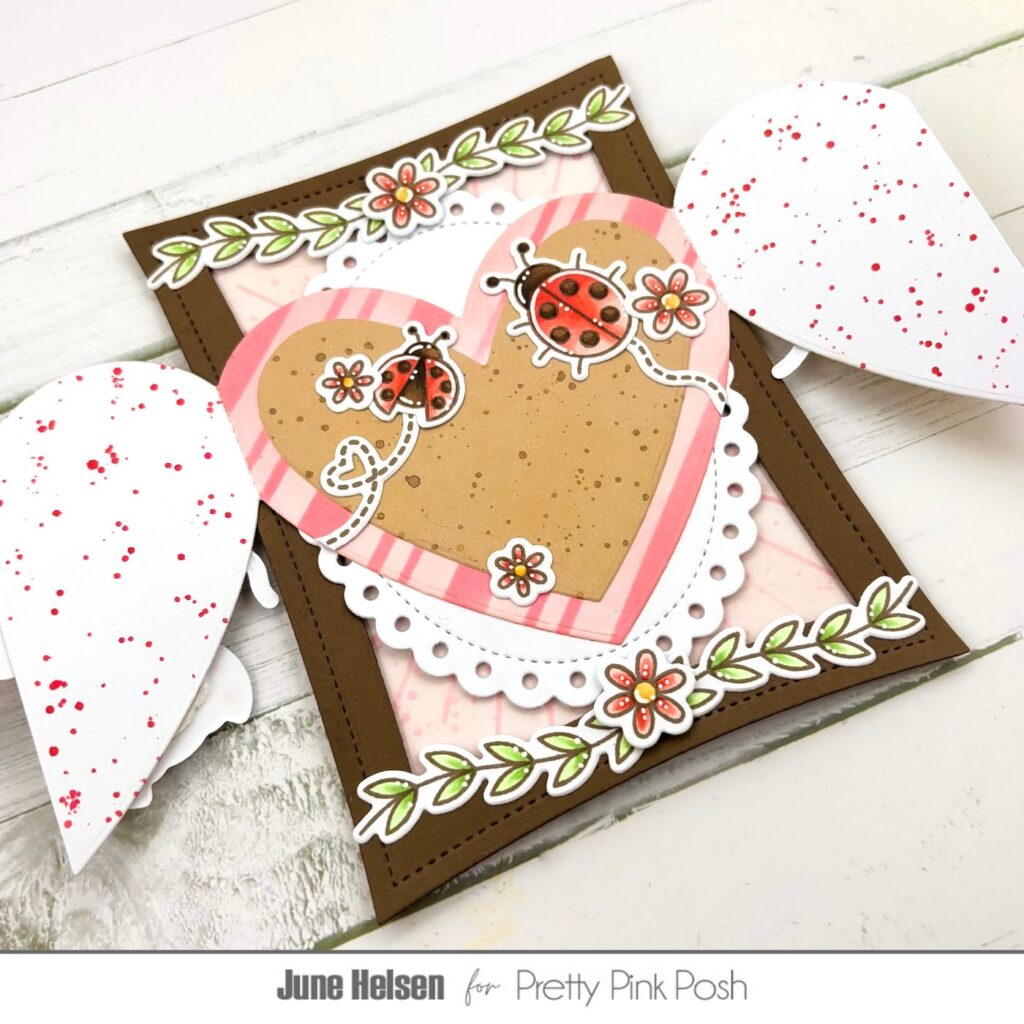
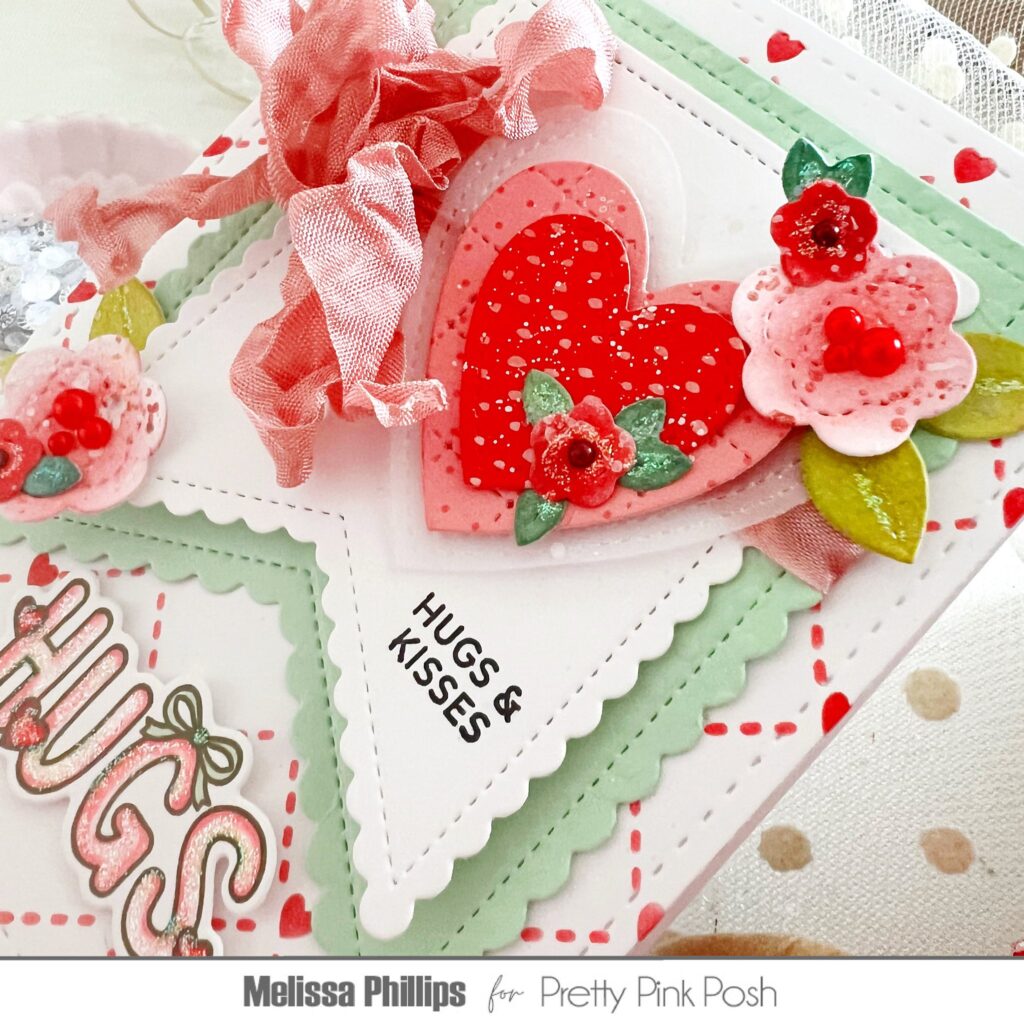
To create the shaker, I ink blended Festive Berries, Kitsch Flamingo, and Spun Sugar onto white cardstock for an ombré effect, then die cut the Ladybug Shaker frame. I die cut a second frame from double-sided foam sheet.
I die cut two labybug bases, one from acetate and the other from white cardstock. I lightly inked the white cardstock with Spun Sugar. I assembled the shaker by adhering the acetate to the back of the frame, adding foam layer, sprinkling in shaker elements, and sealing it with the ladybug shaker frame over top.
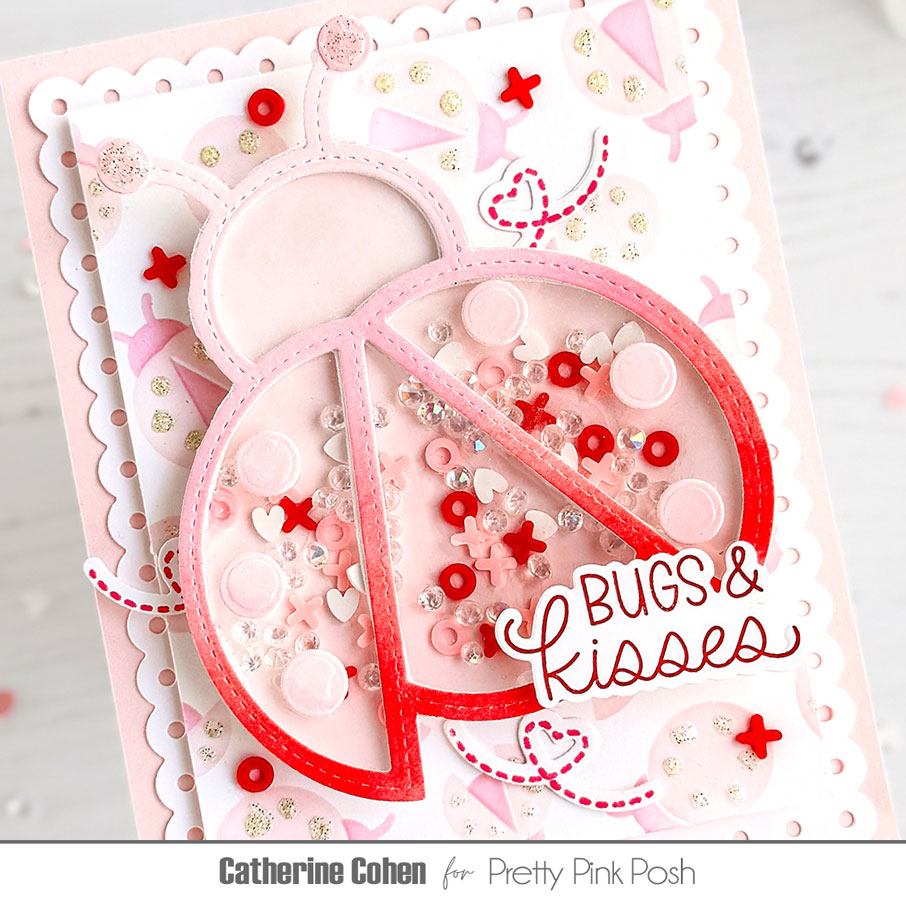
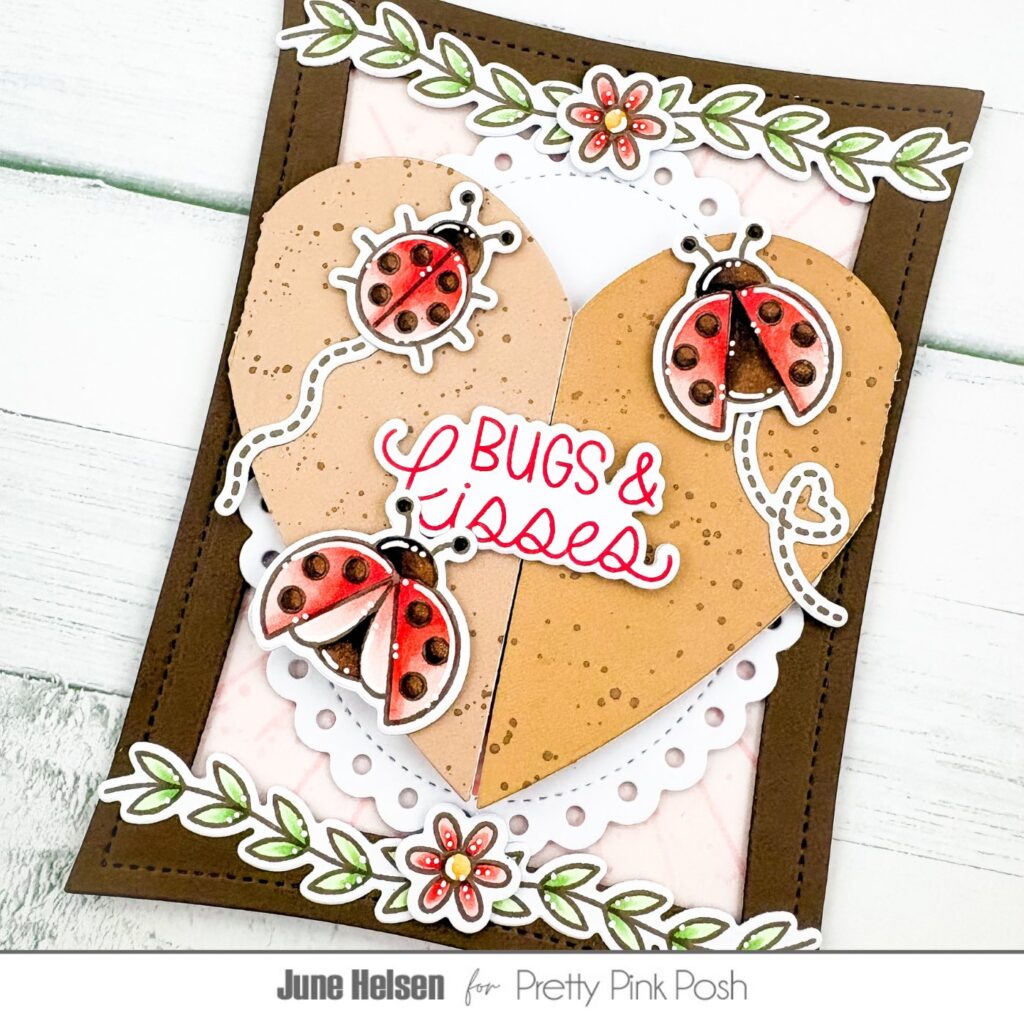
Once assembled, I adhered the shaker to the card front. I stamped the sentiment in red ink and die cut it with the coordinating die, added pink heart trails, and finished the card with a pink border.
GIVEAWAY
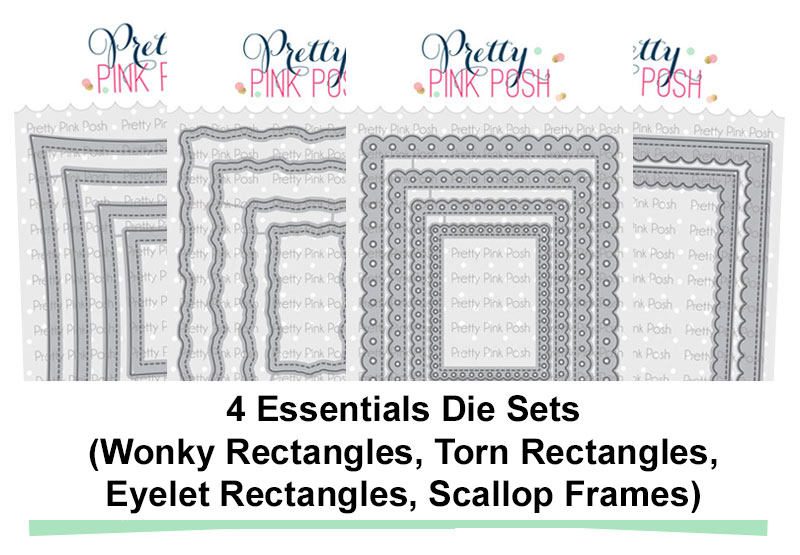
For today’s giveaway, we are giving away a set of FOUR die sets that we think are essential in your craft stash (Wonky Rectangles, Stitched Torn Rectangles, Eyelet Rectangles, and the Scallop Frames). Leave a comment on this post sharing your favorite holiday to create cards for.
All giveaways for Valentine Theme Week will end on February 3rd. We’ll share a post with all the winners on the PPP blog.
Thank you so much for joining me today! I hope you love this ladybug Valentine as much as I do!