Baby Onesie Card
Hi friends, Debbie here with a Baby Onesie Shaker Card! I haven’t needed a baby card in some time, maybe it’s wishful hoping one day!
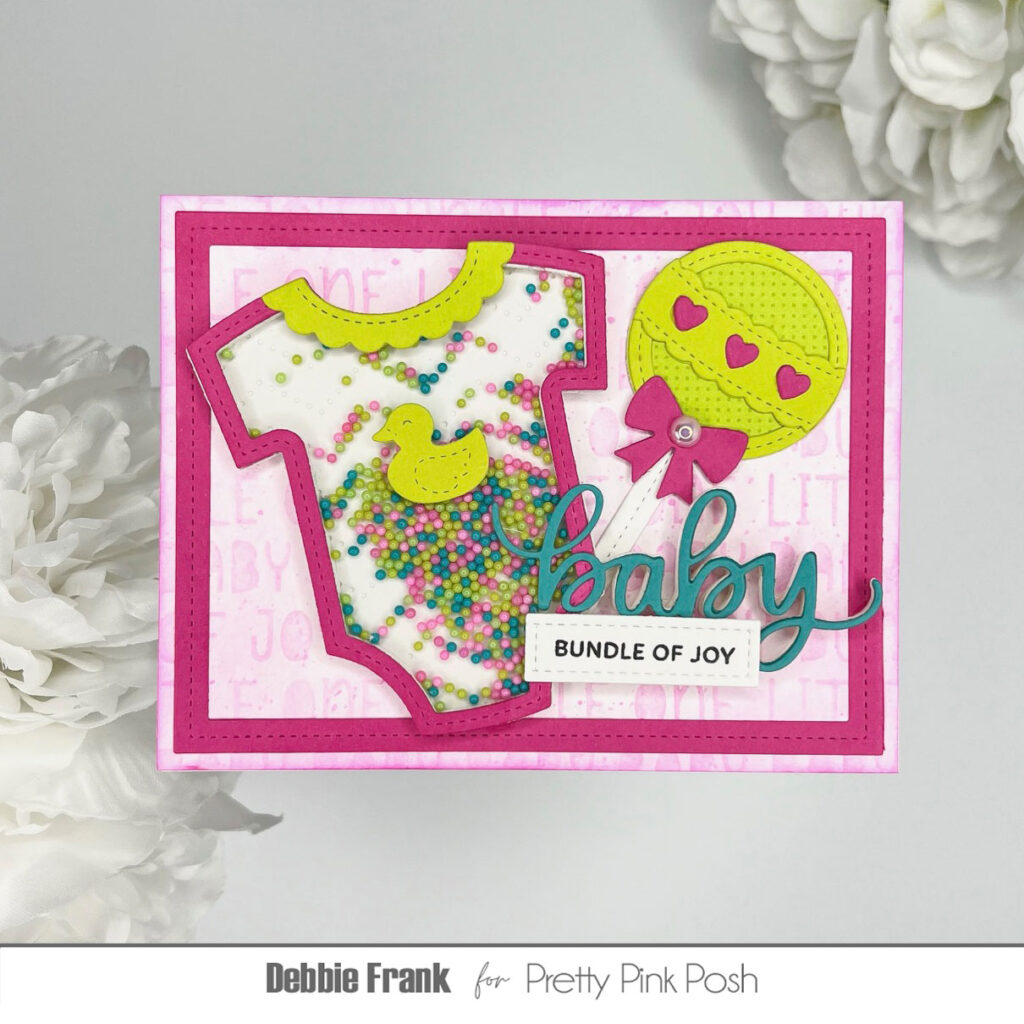
Using the Summer Fun Shaker Beads as my color inspiration. So I started off with a panel measuring a standard A2 size. Placing it on a grip mat and the Baby Words Stencil ink blended on pink ink. Then with the remaining ink on the brush I went over the top of the panel lightly and splattered on the pink ink watered down.
Next, I die cut out the Onesie Shaker Die, using both of the inner and outer dies to make a pink frame. Then five more times from white to stack up for the well. With the outer die to create the whole Onesie, I die cut it out of acetate for the window. And one from a white cardstock. Then with the whole Onesie I ran it through the die cutting machine with the Chevron Pierced Plate. Attaching the acetate in between the pink frame and the stack of white frames. Next, filling up the well with the Summer Fun Shaker Beads and then attaching the Chevron Onesie to the back to close it up.
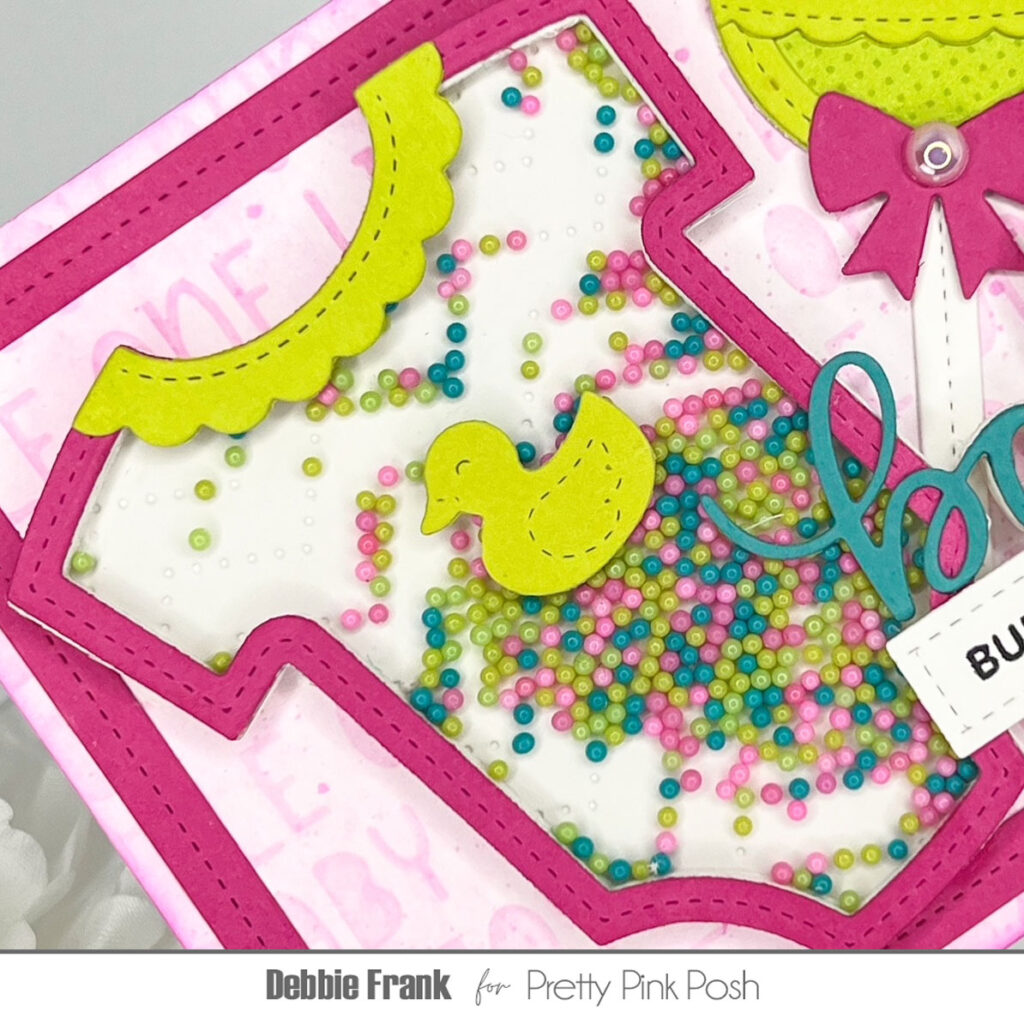
I then made the Baby Rattle Shaker using pattern paper in my stash, that also matched the shaker beads.
For the sentiment I die cut out the Baby Script Die, from teal and extras for stacking up for dimension and to have it even with the Onesie. I did cut off the extra from under the Capital B, since it overlapped the Onesie.
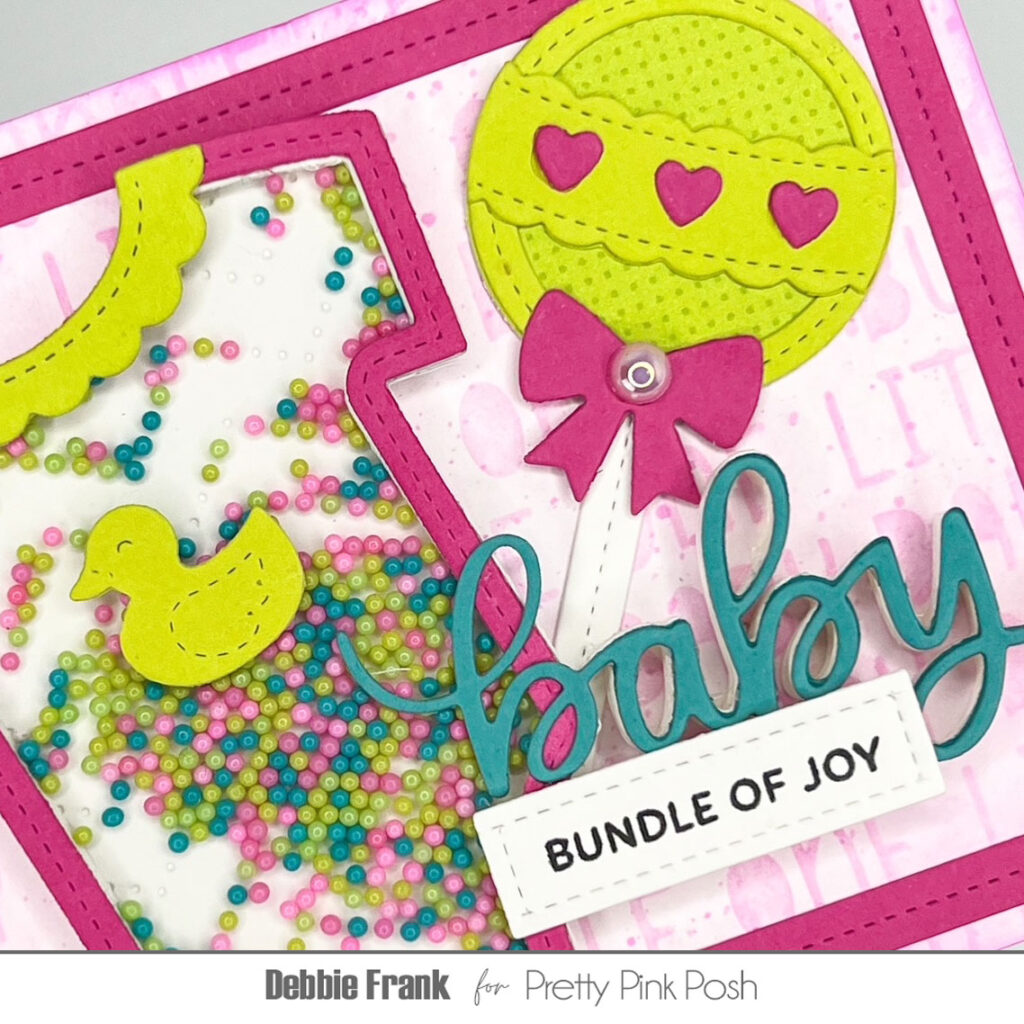
For the rest of the sentiment I stamped out from the Sentiment Stripes: Occasions, and die cut it out with the Sentiment Stripes Dies.
I started to lay out my design and decided to frame it up. So I pulled out the Nature Essential Dies and die cut out the same pink. Once it was attached to the panel, I then added the Onesie and Rattle at angles. The last little touch was adding a Pink Blush Pearl to the center of the bow on the Baby Rattle.
Thanks for stopping by my friends and stay crafty my friends!

