Emboss Resist Technique + Video
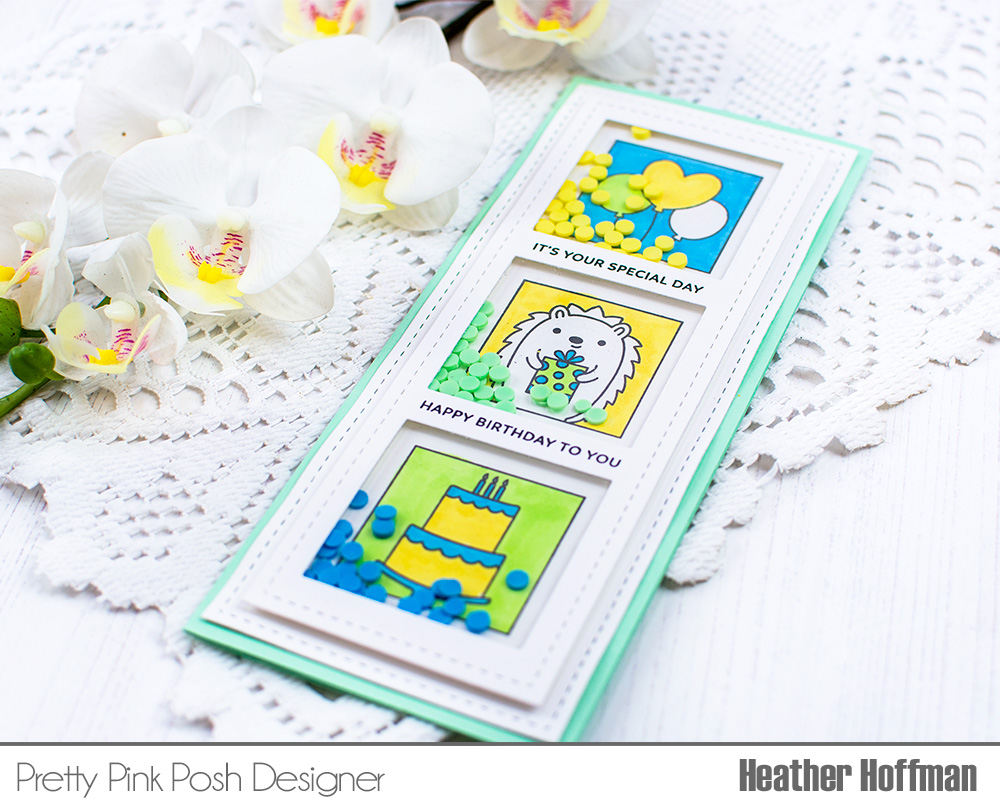
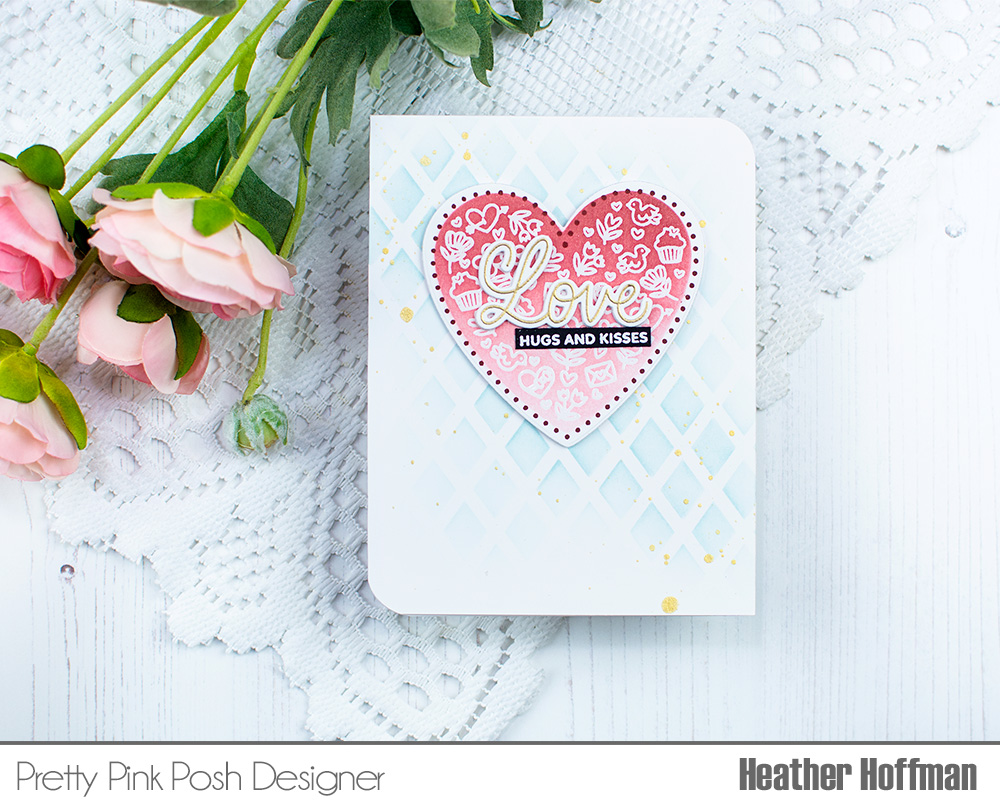
Good morning Pretty Pink Posh friends! Heather here today with a clean and simple Valentine’s or love theme card using some of the newest Pretty Pink Posh release! I also have a video to share showing how this card came together!
Here is a video for this card, so you can see how it all came together.
Watch the video above I Watch the video in HD on YouTube
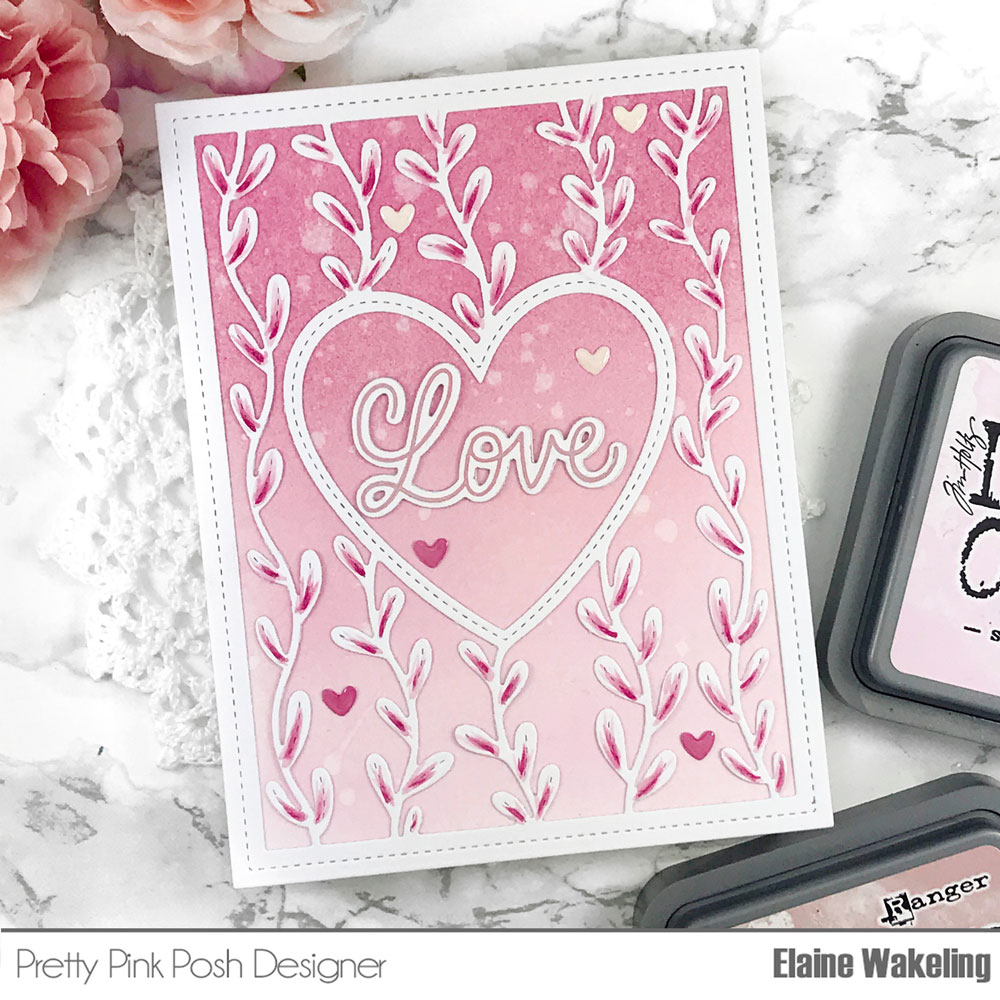
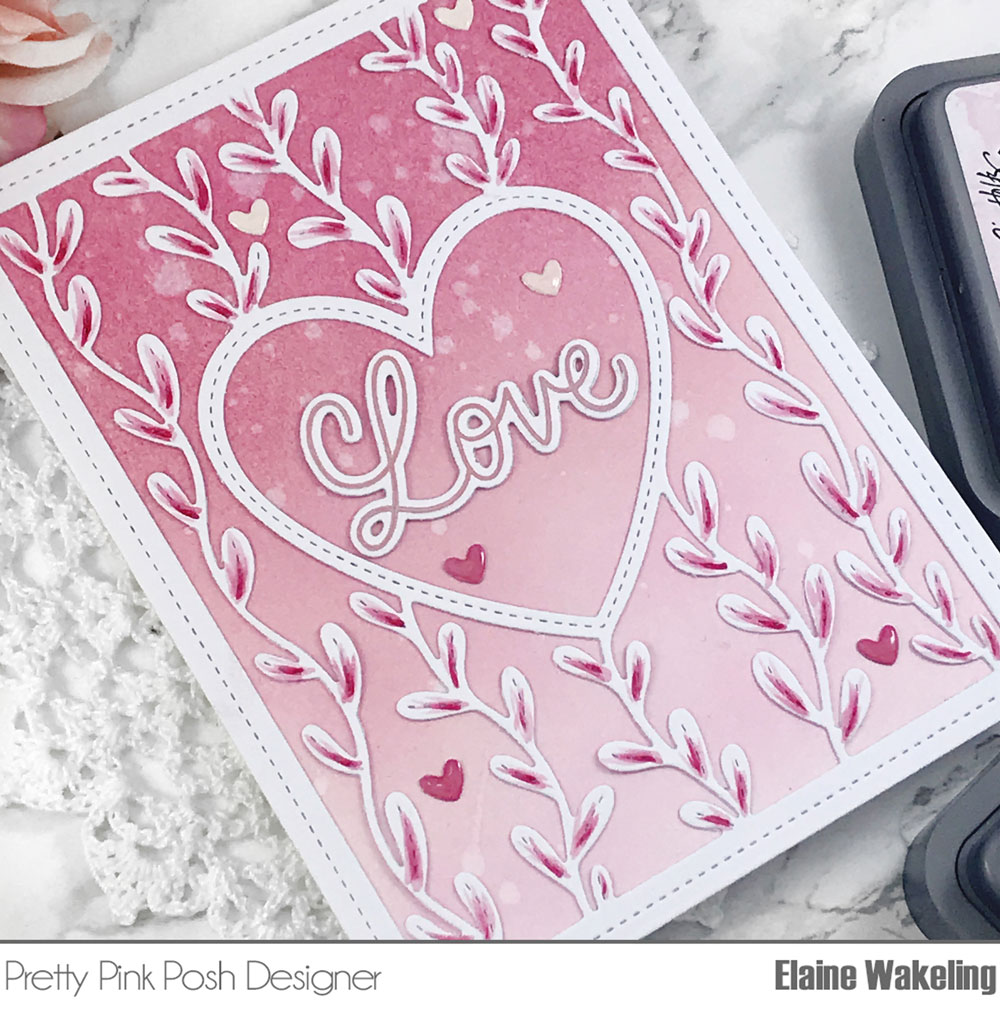
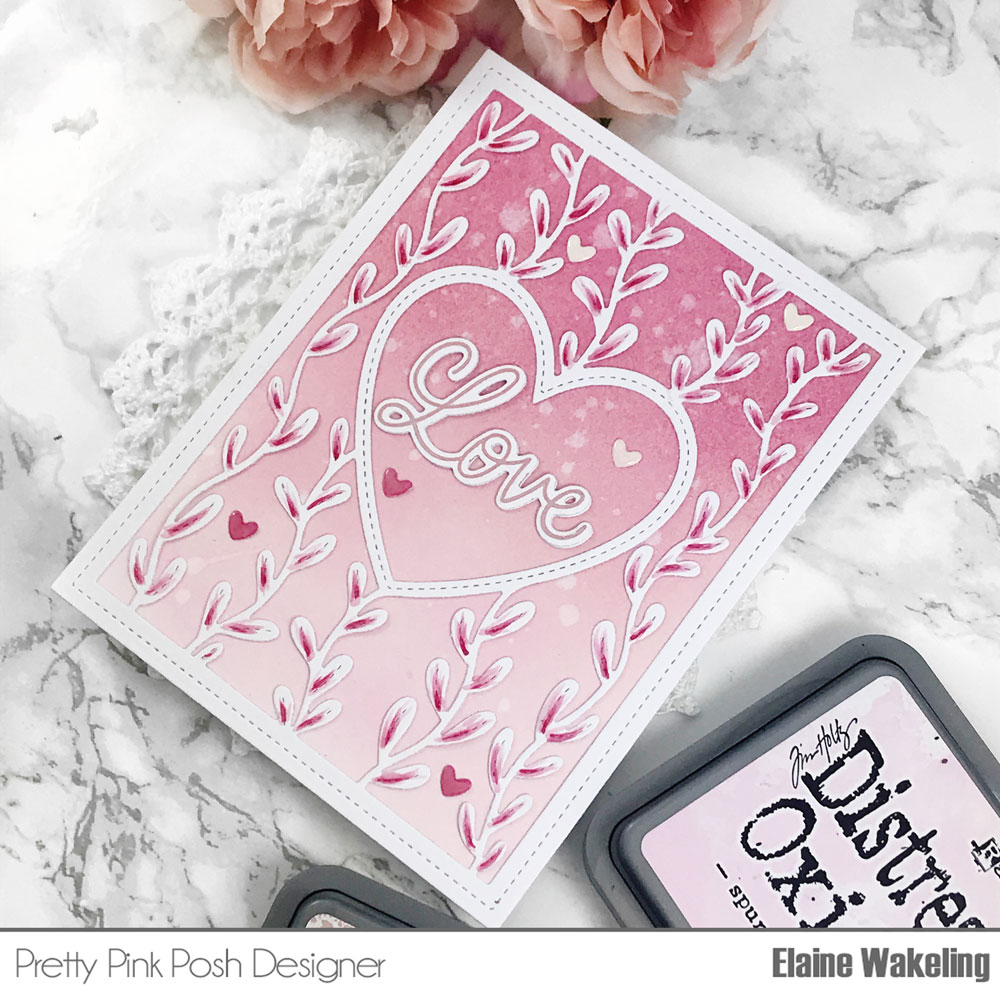
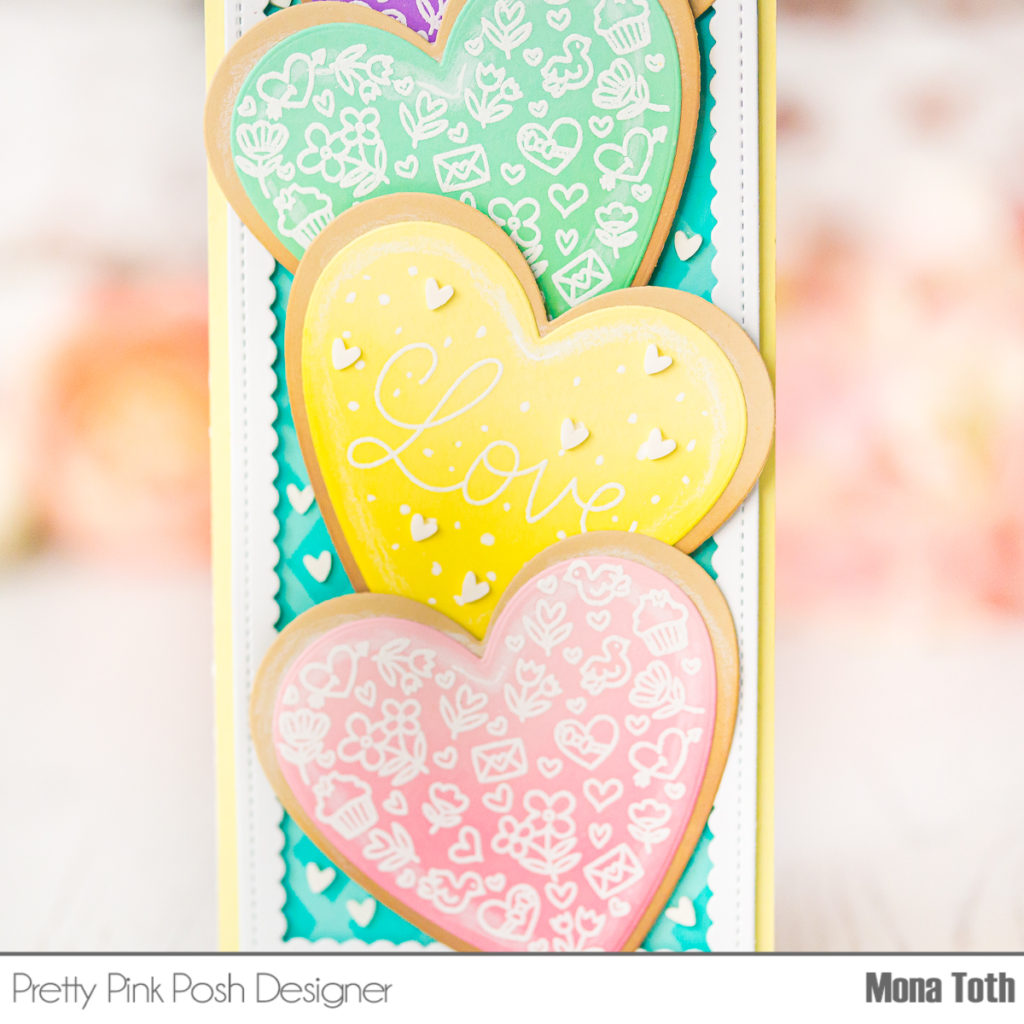
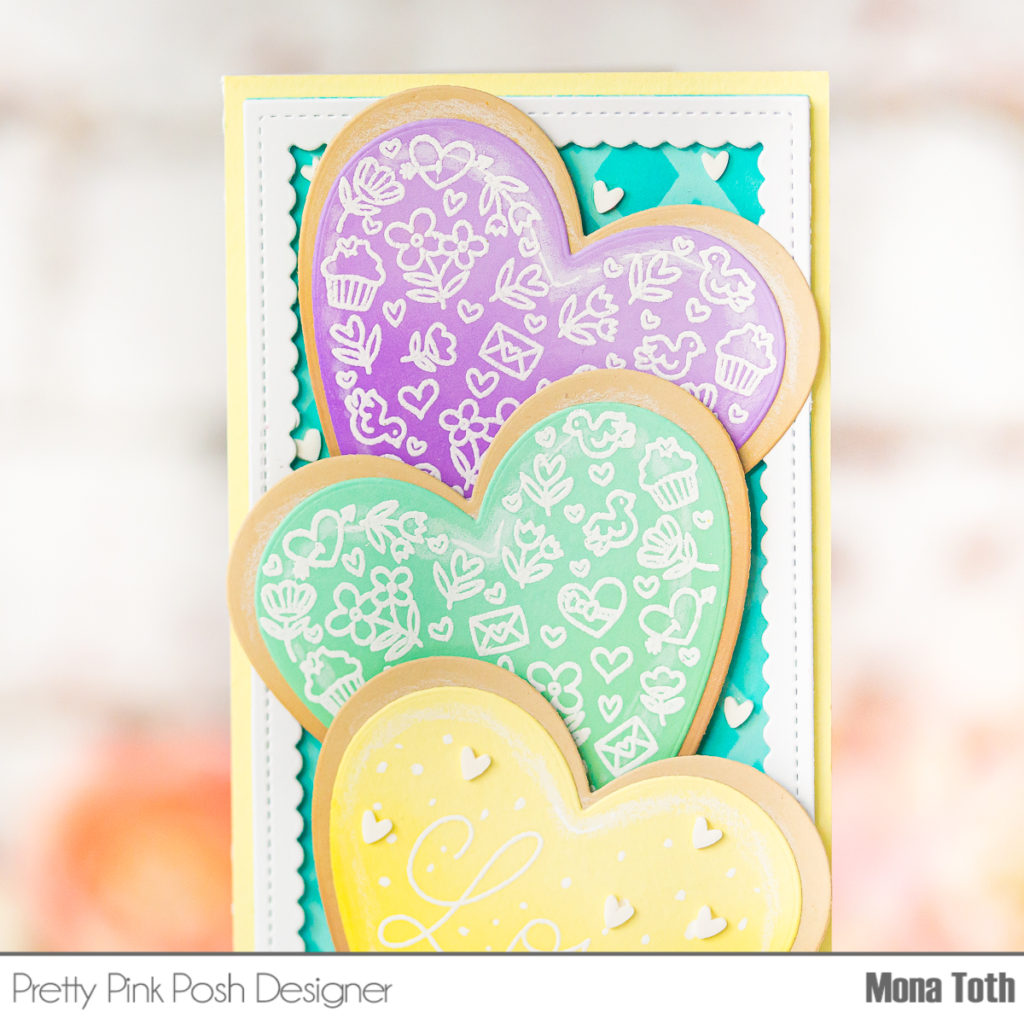
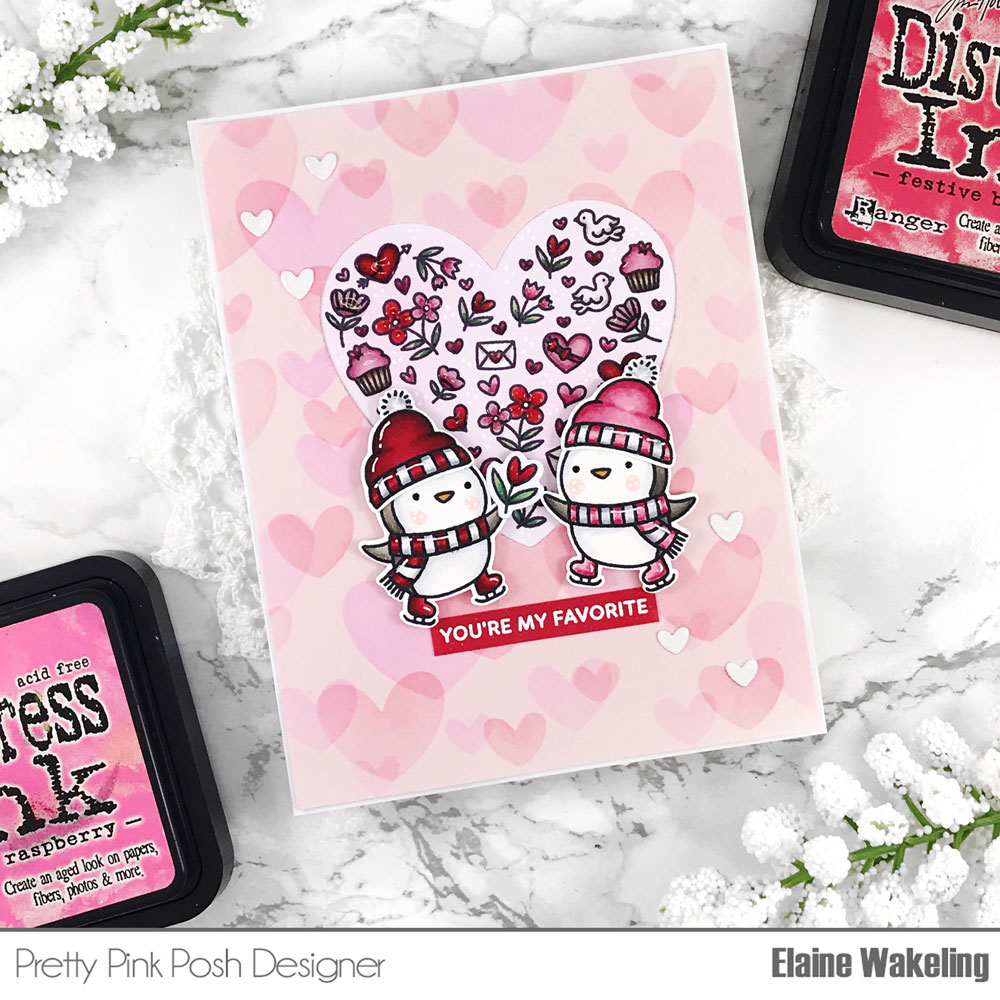
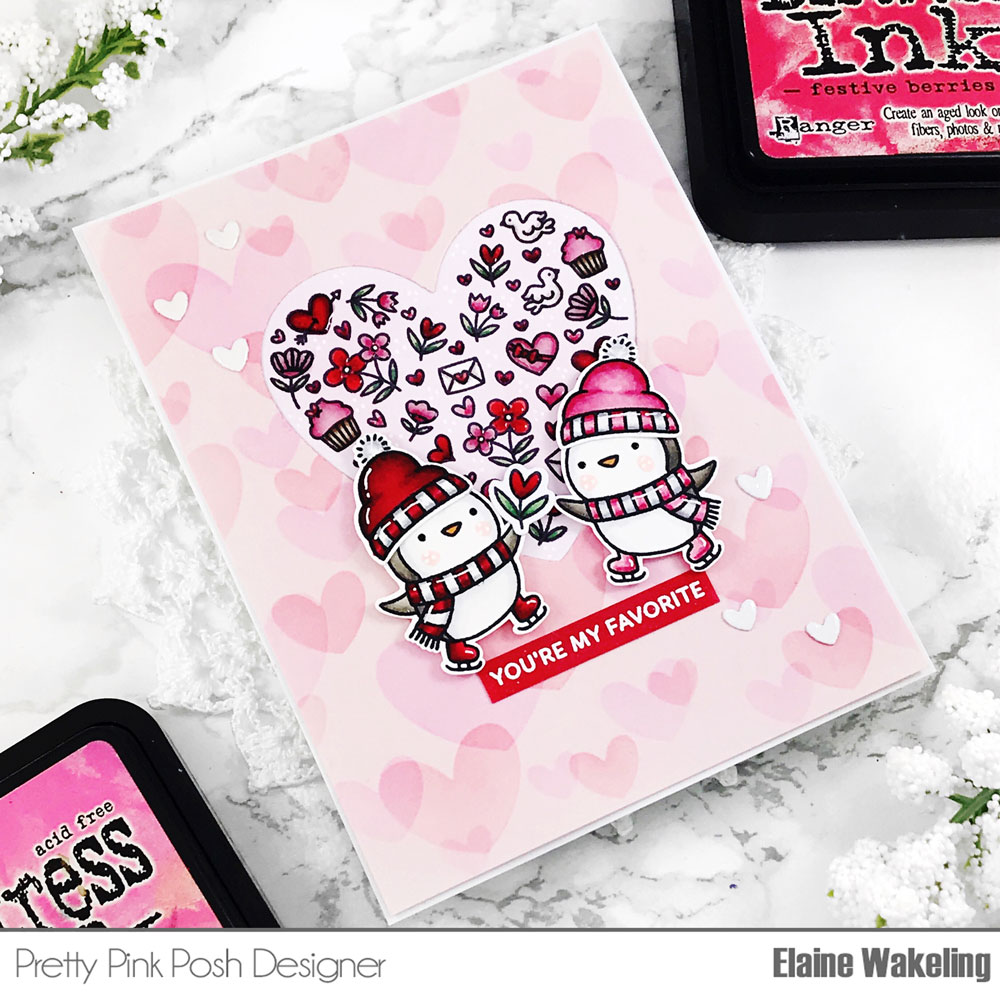
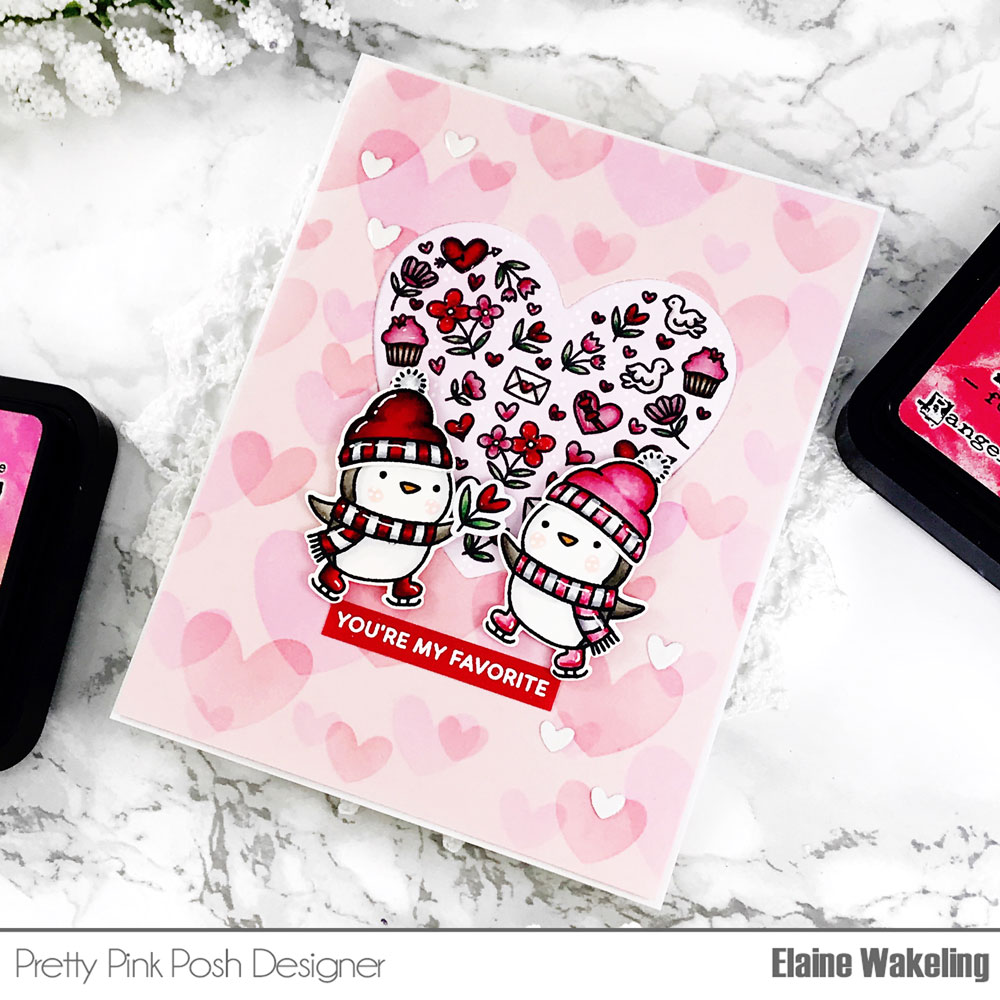
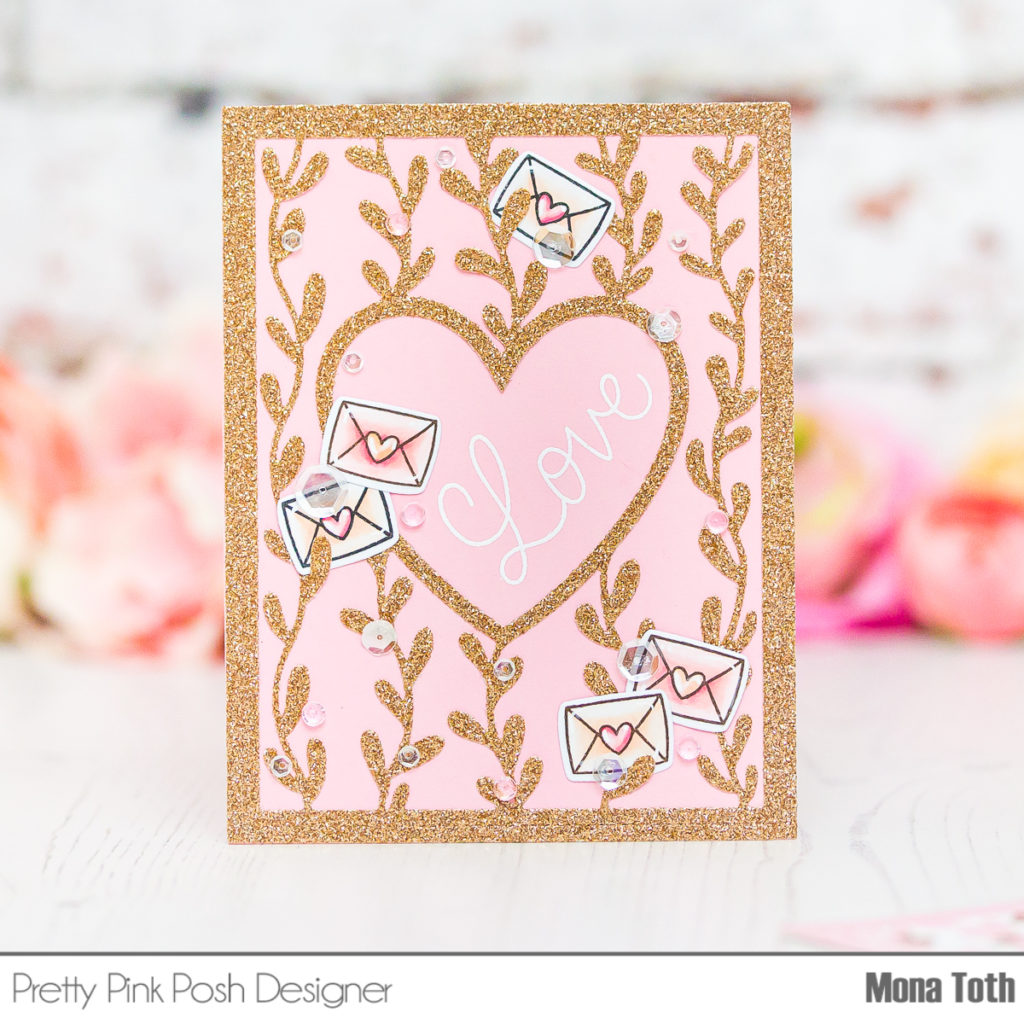
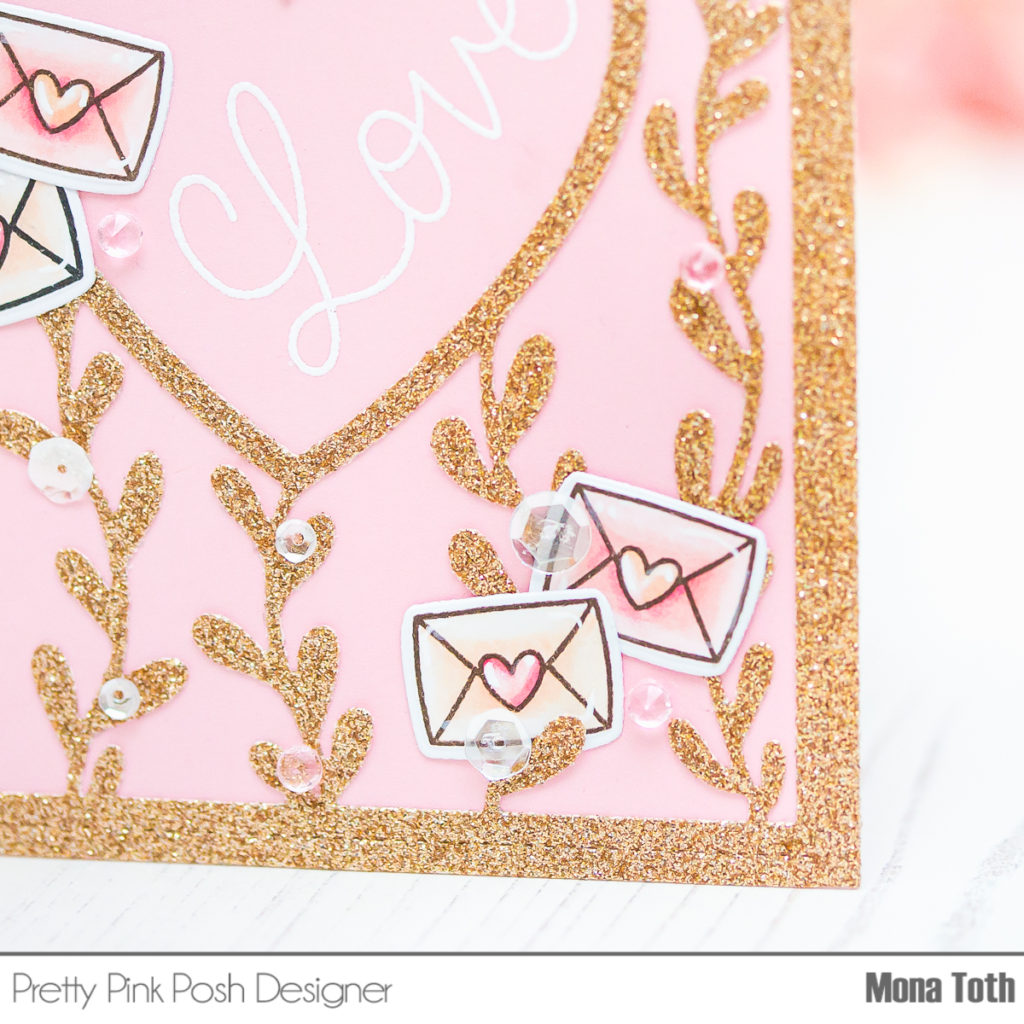
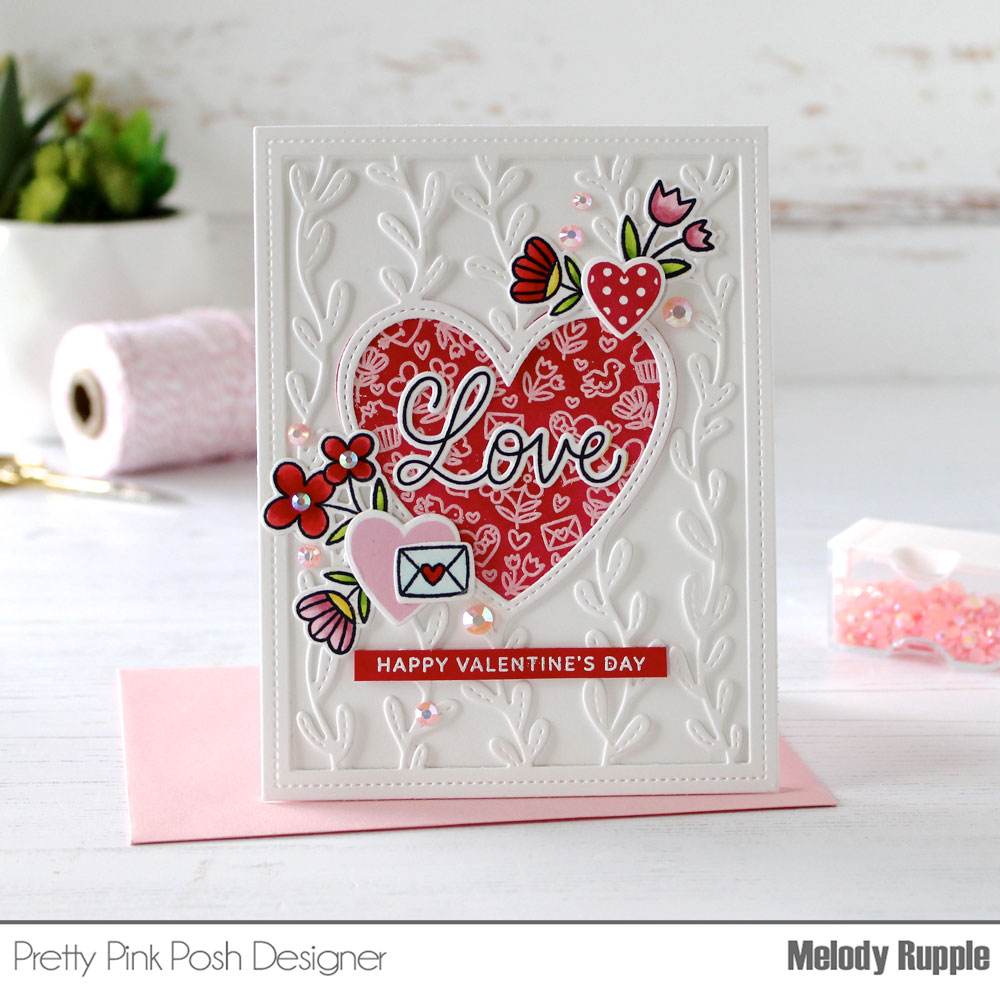
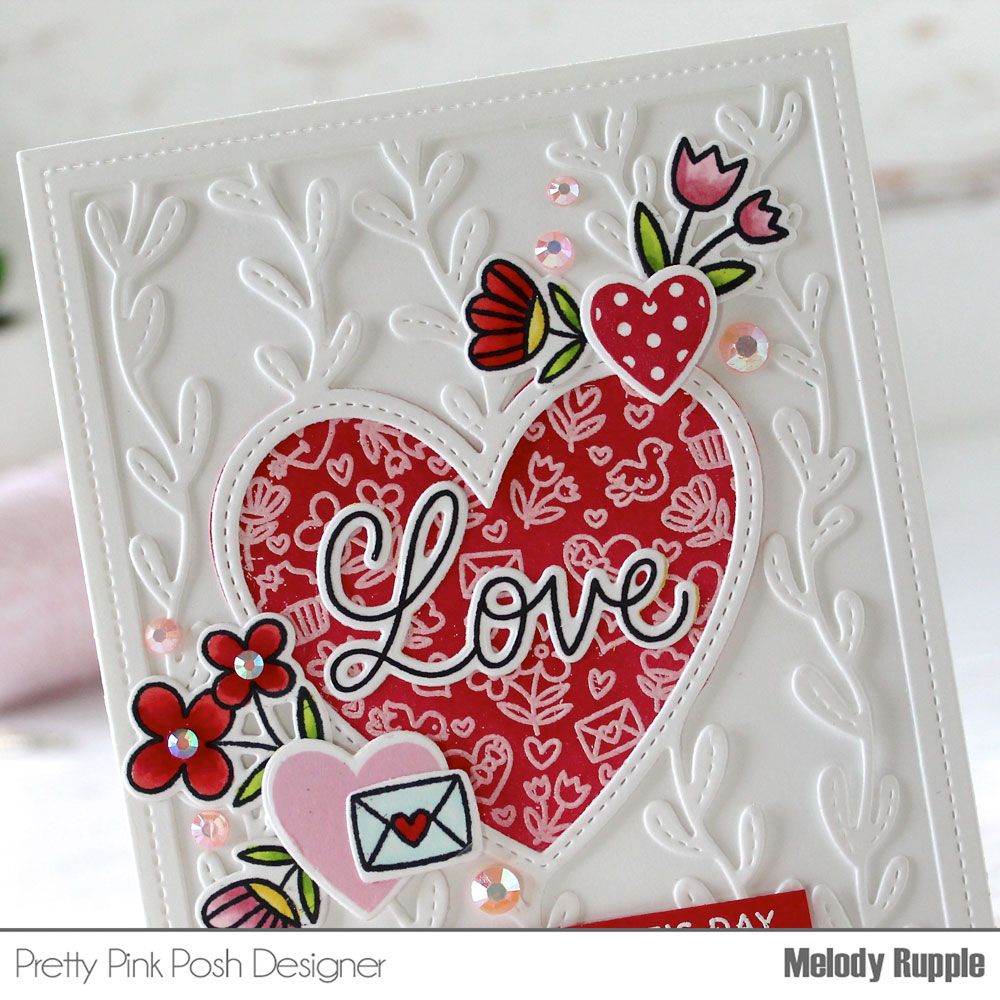
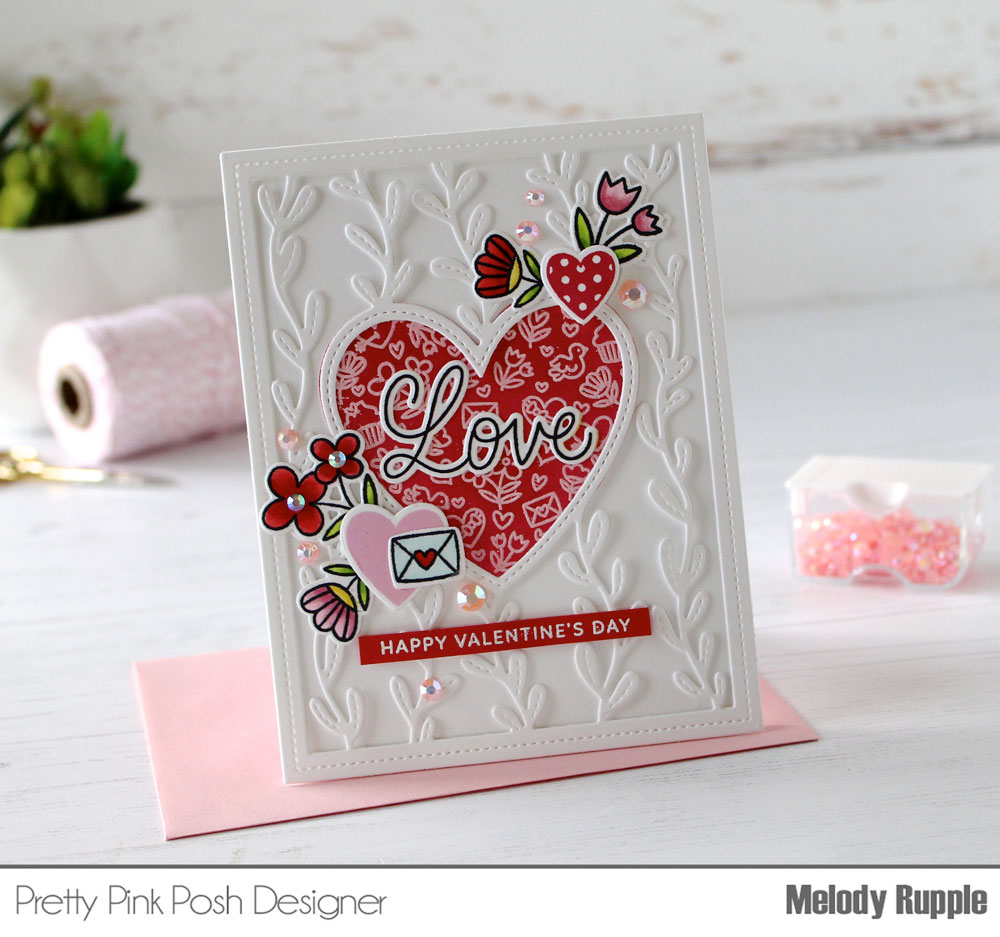
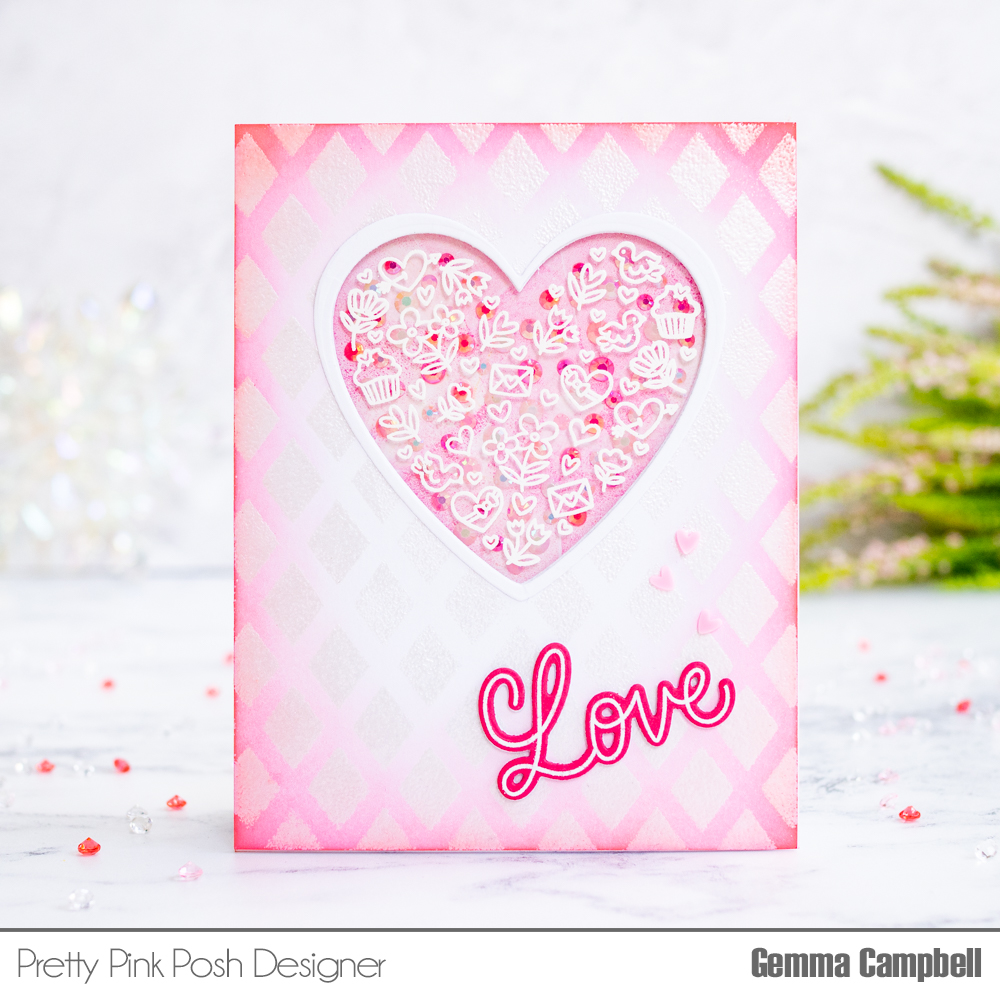
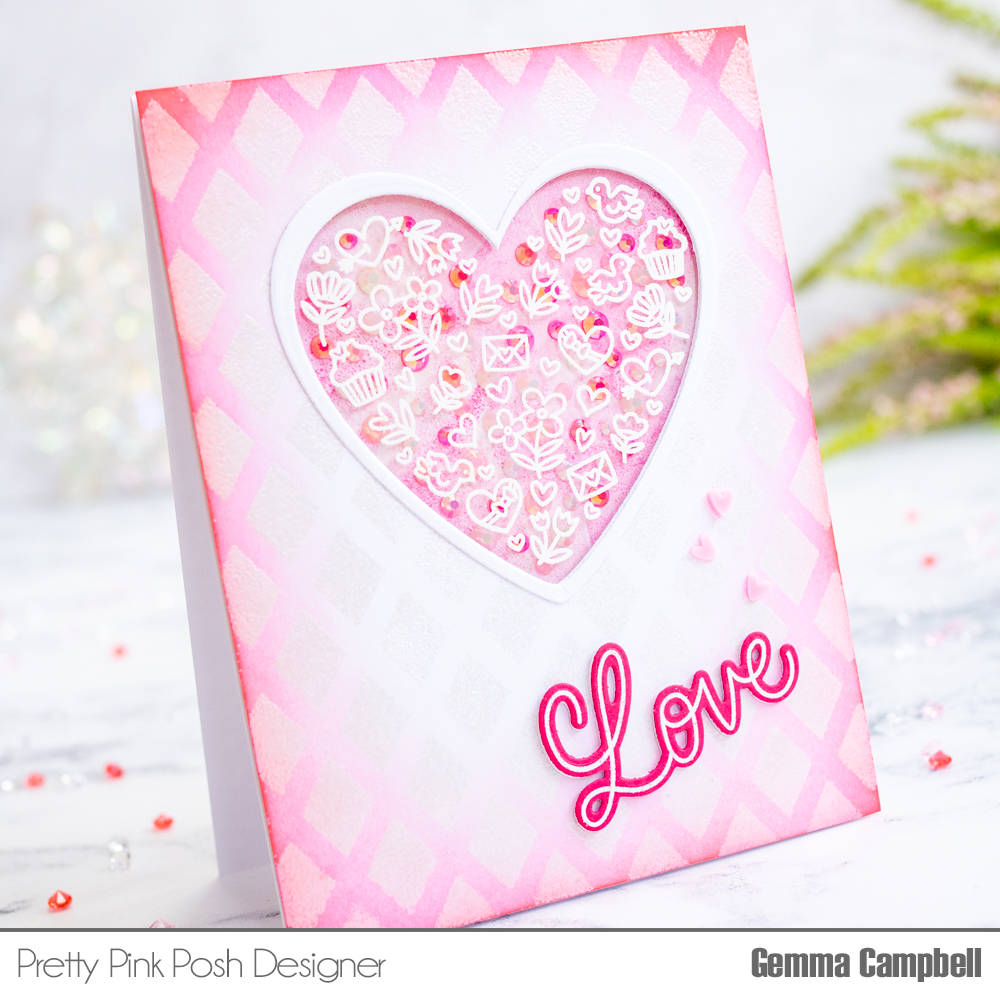
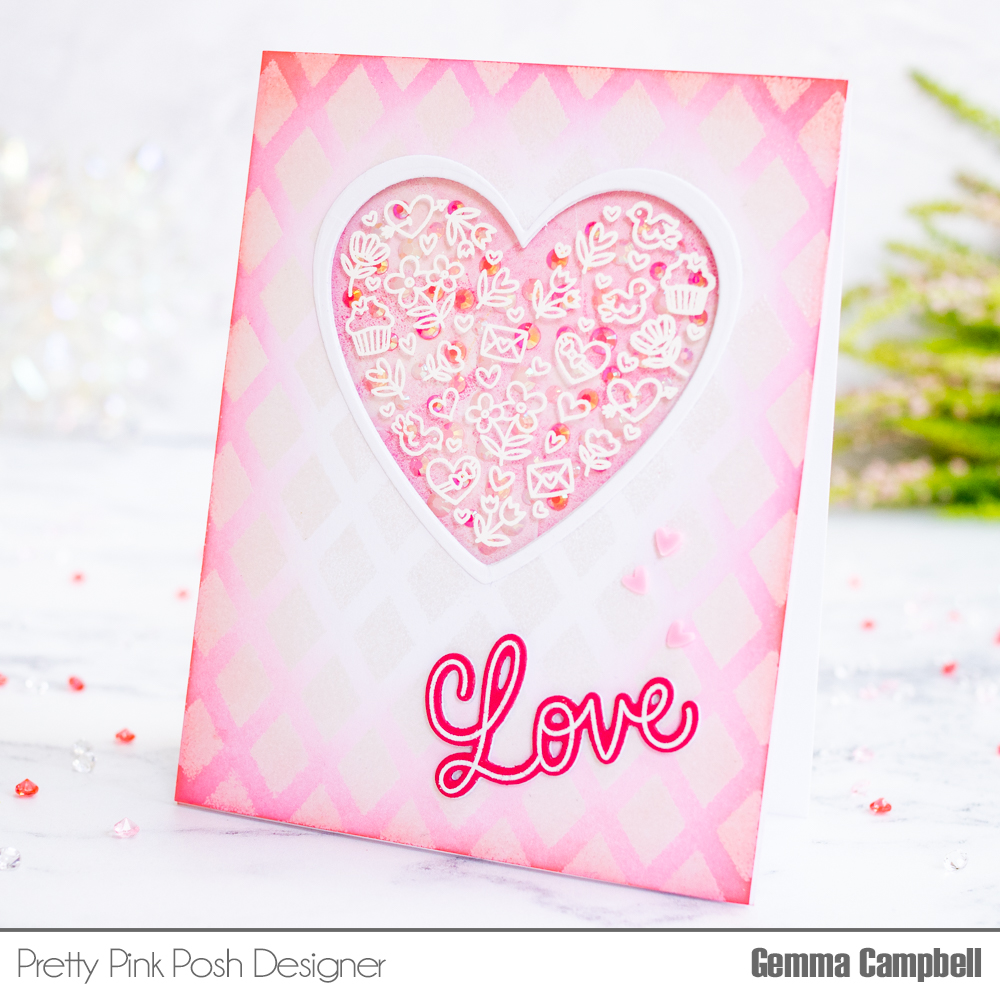
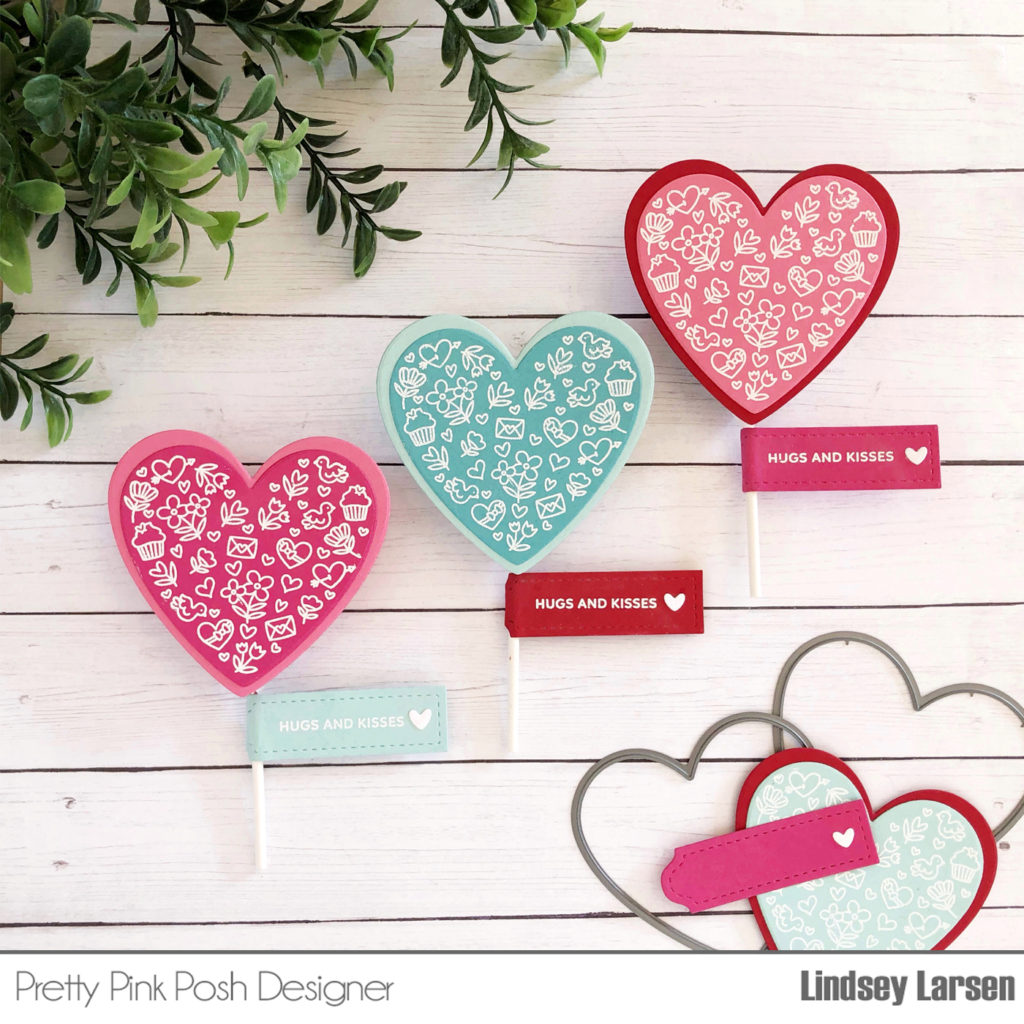
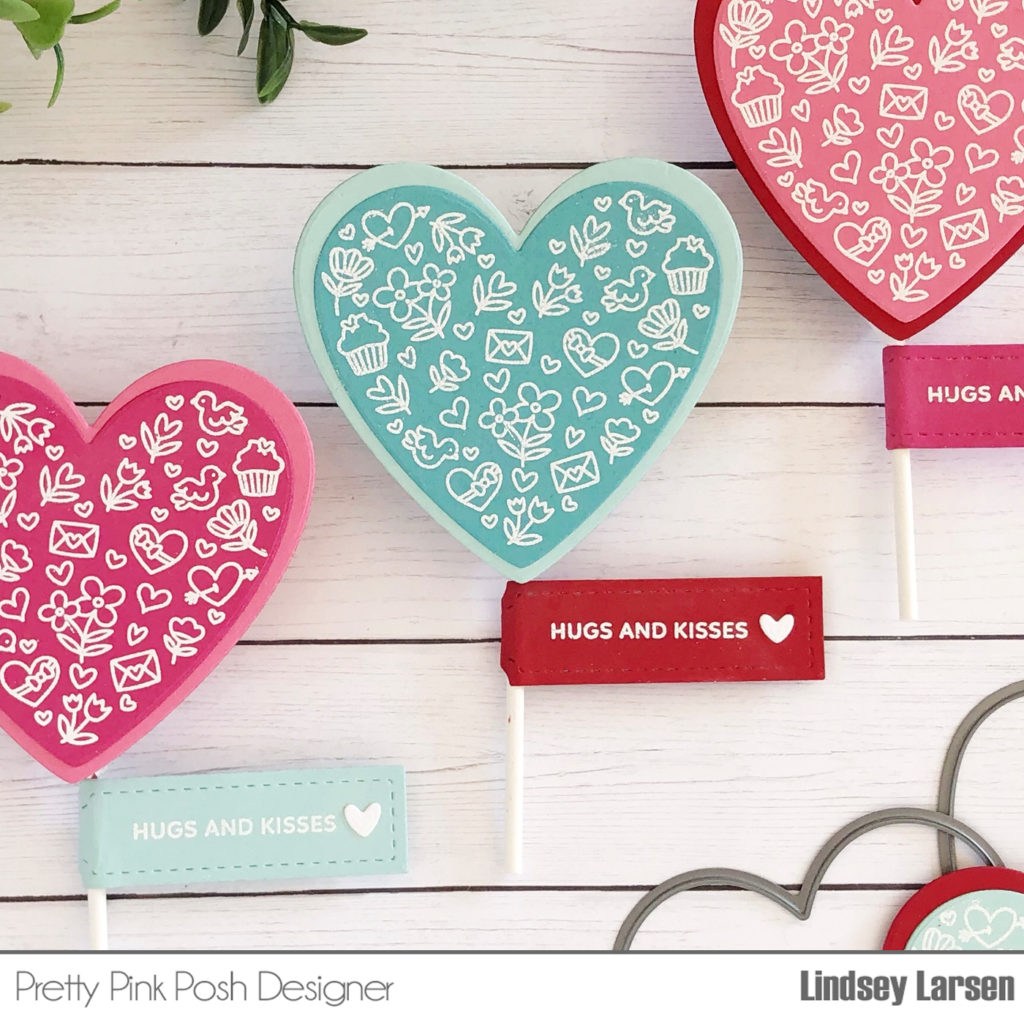
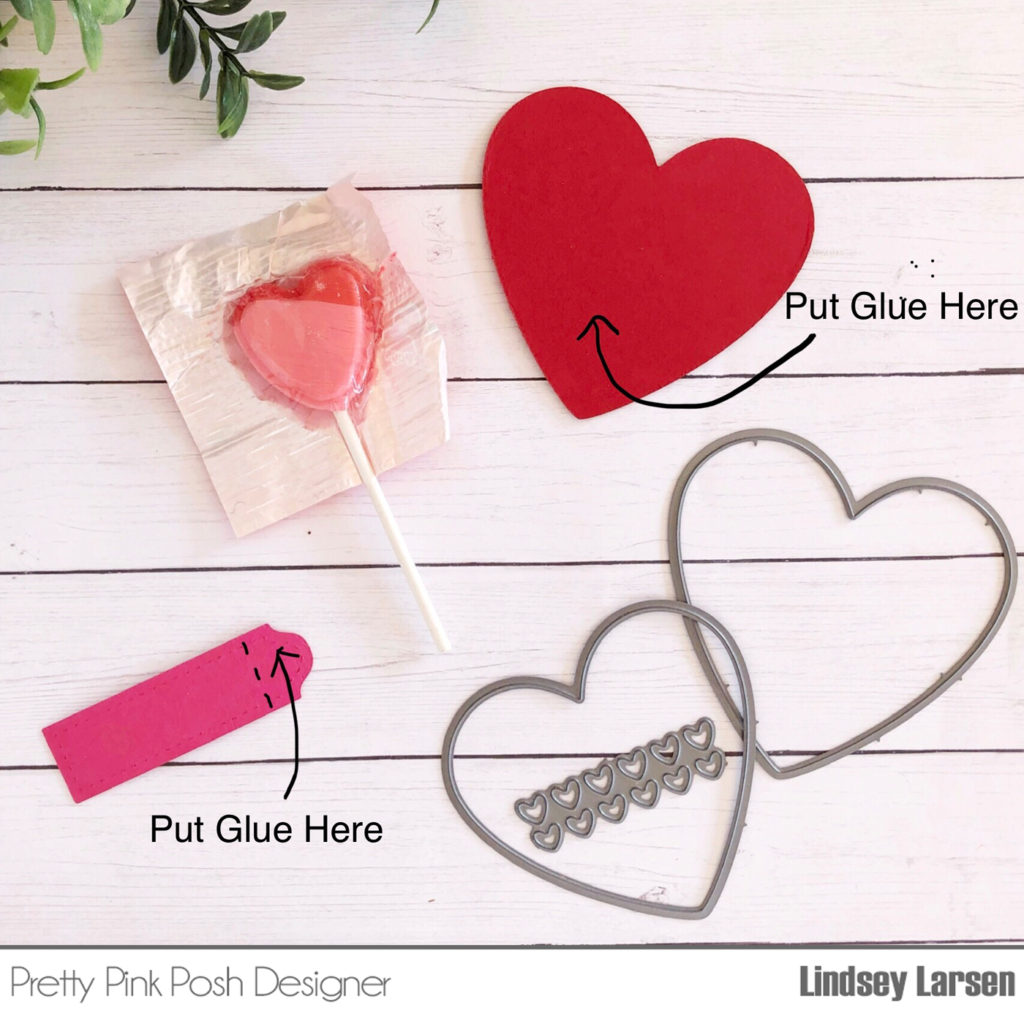
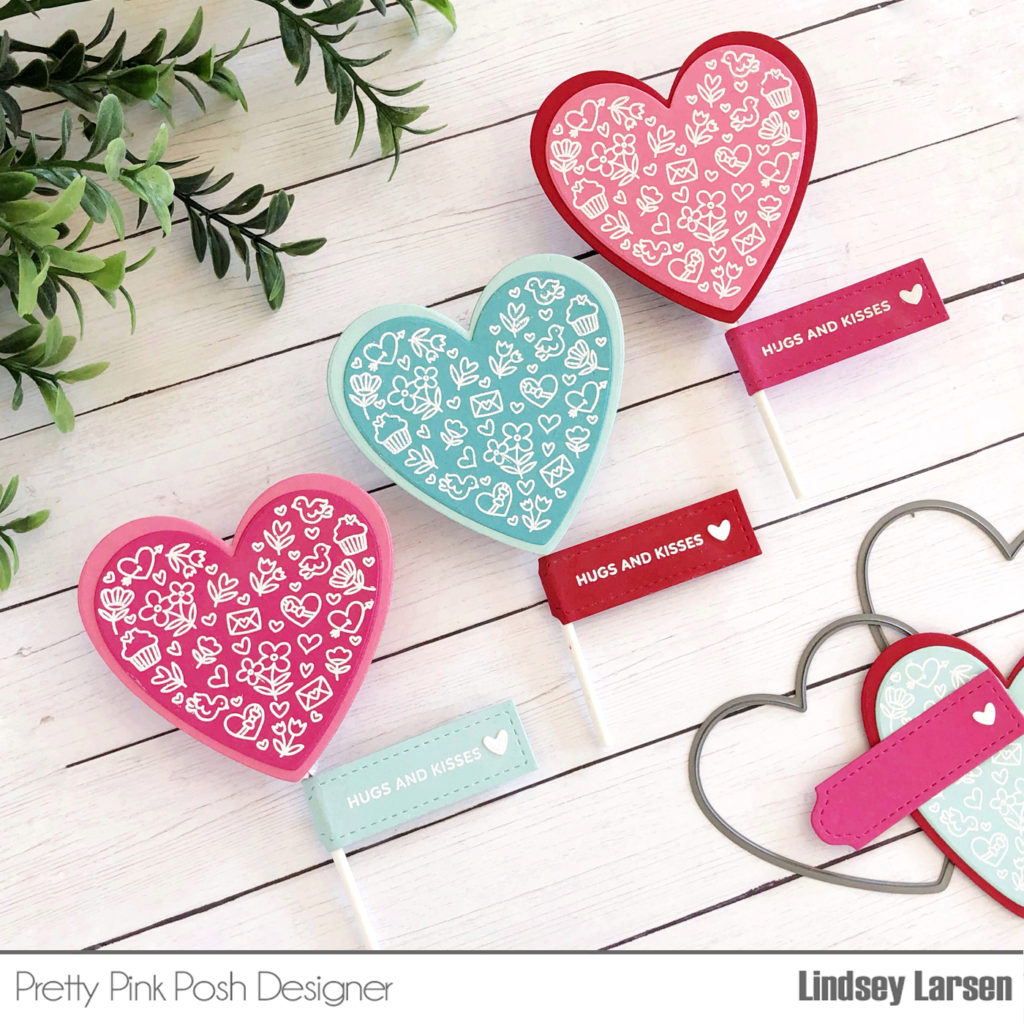
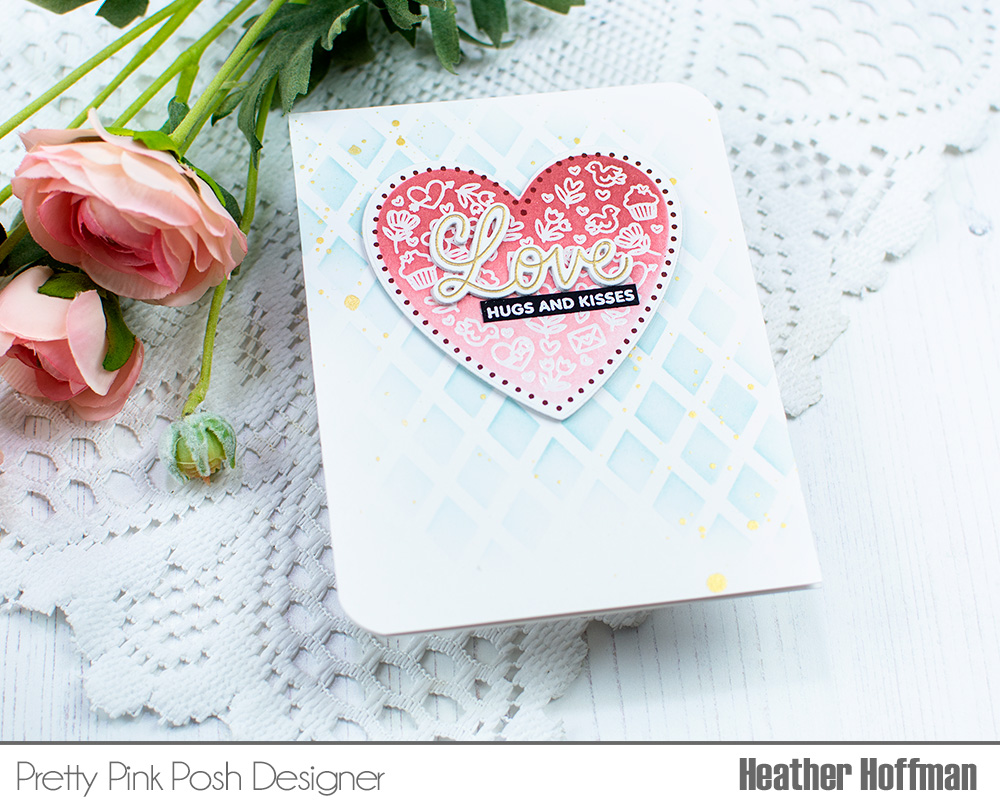
I used the All My Love stamp set, along with the coordinating dies in a bit of a unique way for this card. I started off by stamping the center portion of the heart from All My Love on white cardstock, and heat embossing with clear embossing powder. I then created a stencil with the smaller size heart die from the coordinating Die set, and blended Tattered Rose and Aged Mahogany distress inks over the heart. Next, I stamped the dotted hearts around that image, and die cut the entire thing out with the larger heart die in the set.
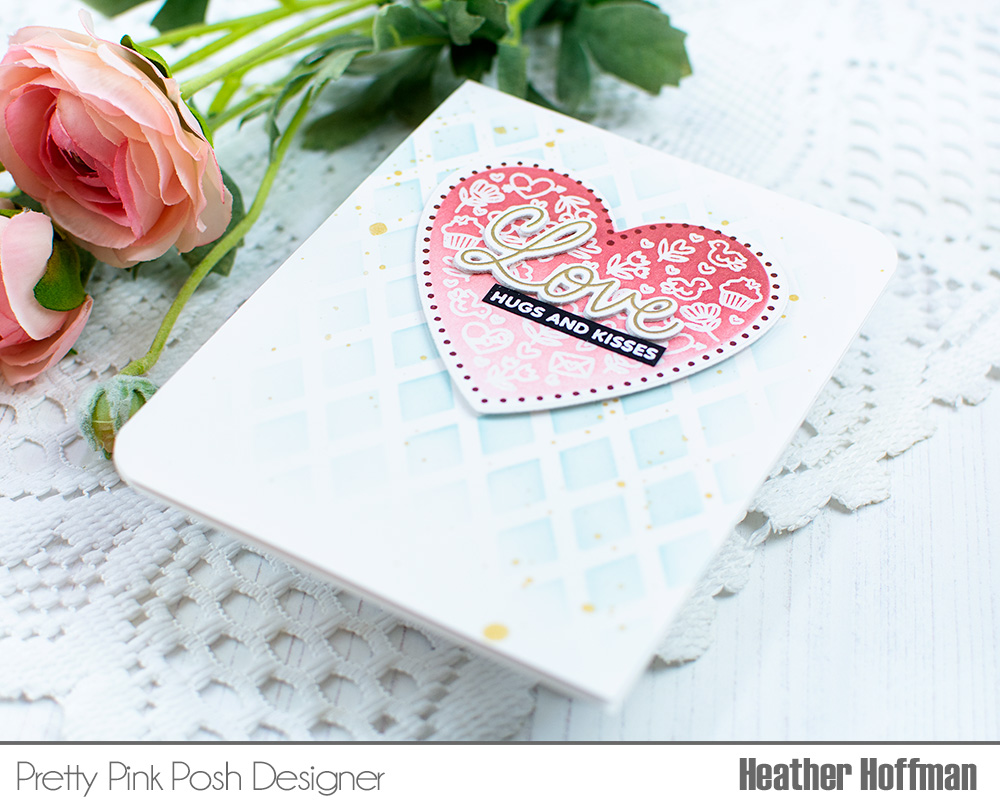
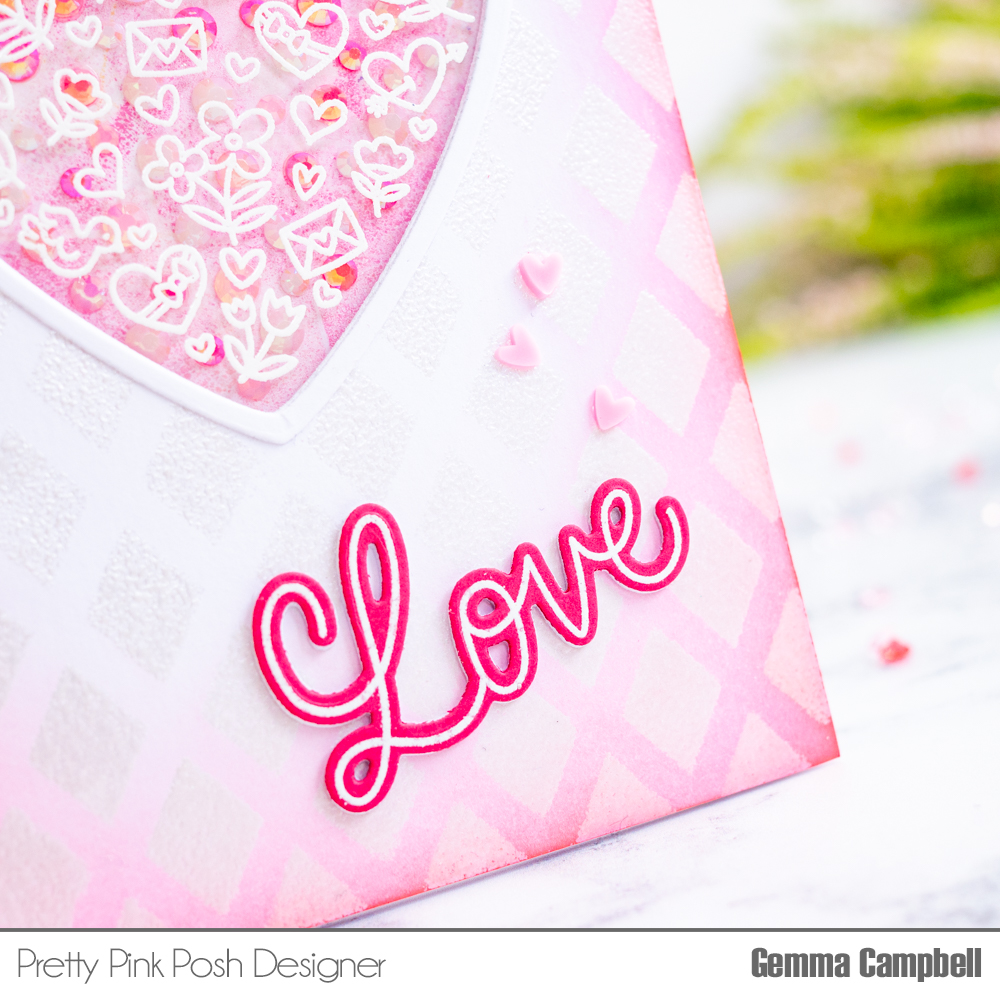
The sentiment was created using both the All My Love stamp set (for the smaller supporting sentiment), and Valentine Hearts stamp set. I love that the word “Love” has a coordinating die! I stamped and heat embossed it in gold on white cardstock, die cut it out, and then die cut two more times to layer together for a bit of dimension.
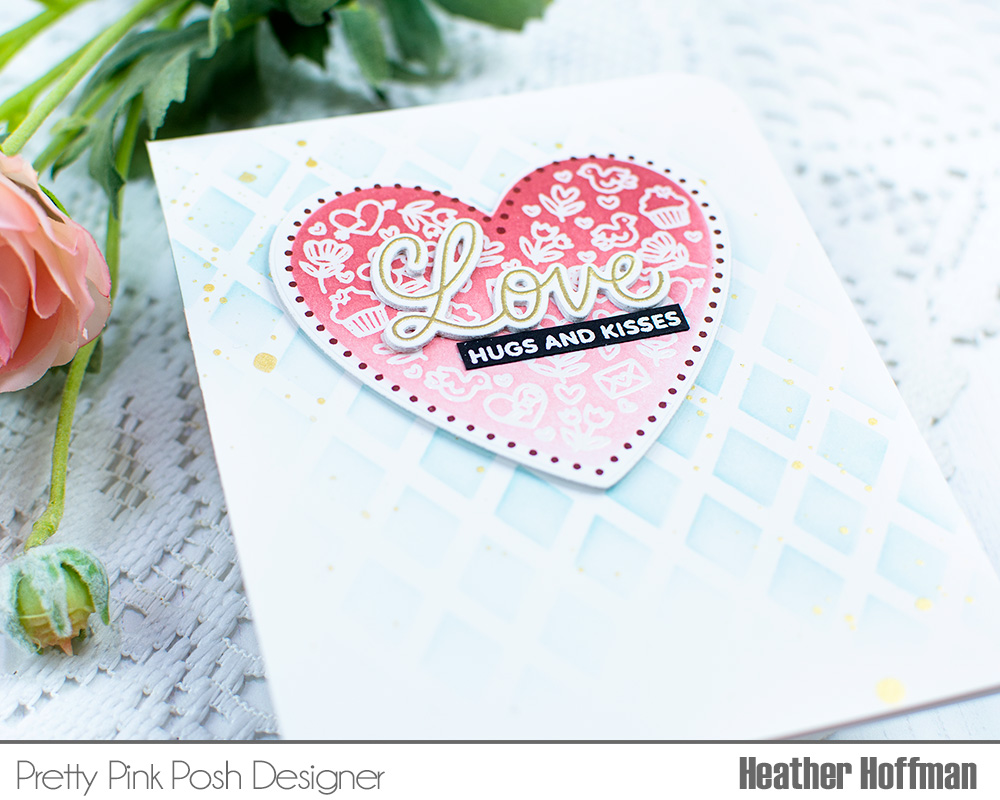
Finally, the background was created using the Lattice Stencil and Speckled Egg distress ink. I blended the pattern softly over my white cardbase. I added some gold splatters with my Gansai Tambai Starry Colors palette to pull coordinate with the gold embossing on the word “Love”, then adhered everything down, using foam adhesive for the heart. Finishing touch was to round the top right and lower left corner.
Thanks so much for stopping by today – have an absolutely wonderful day!