Day 2: Blog Hop+ September Release Now Available
If you missed Day 1 CLICK HERE
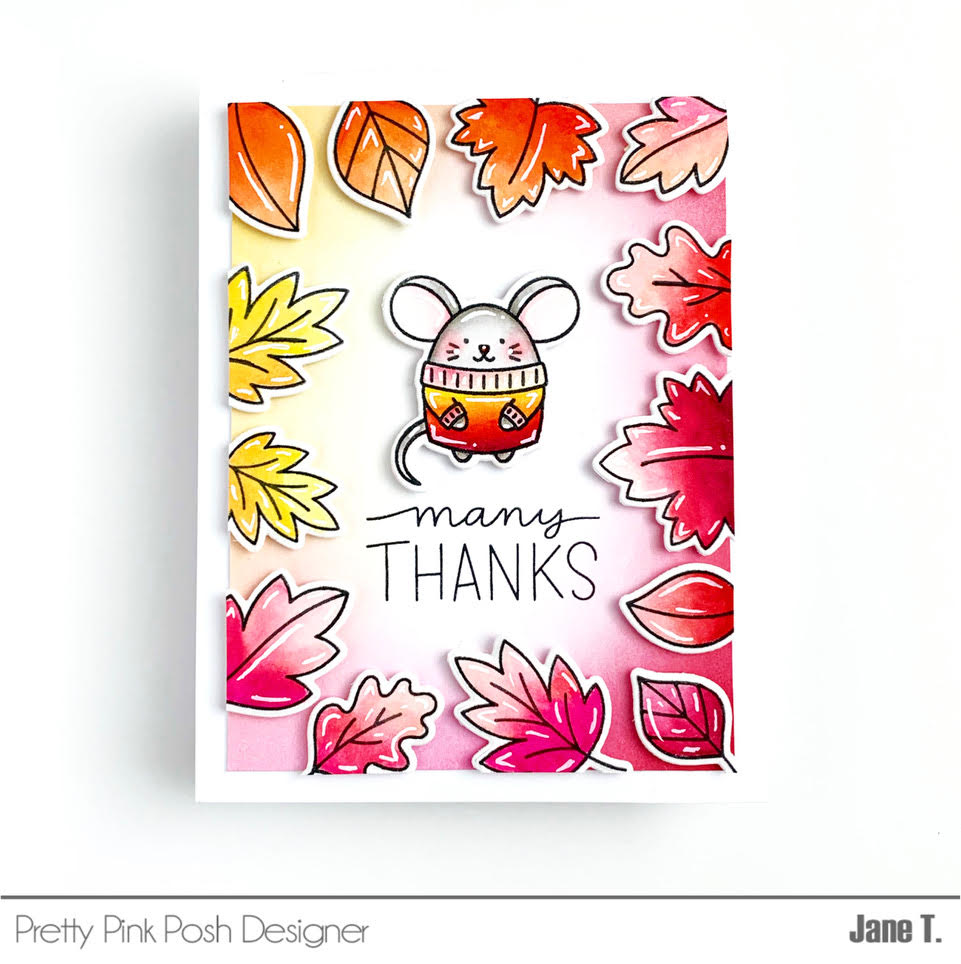
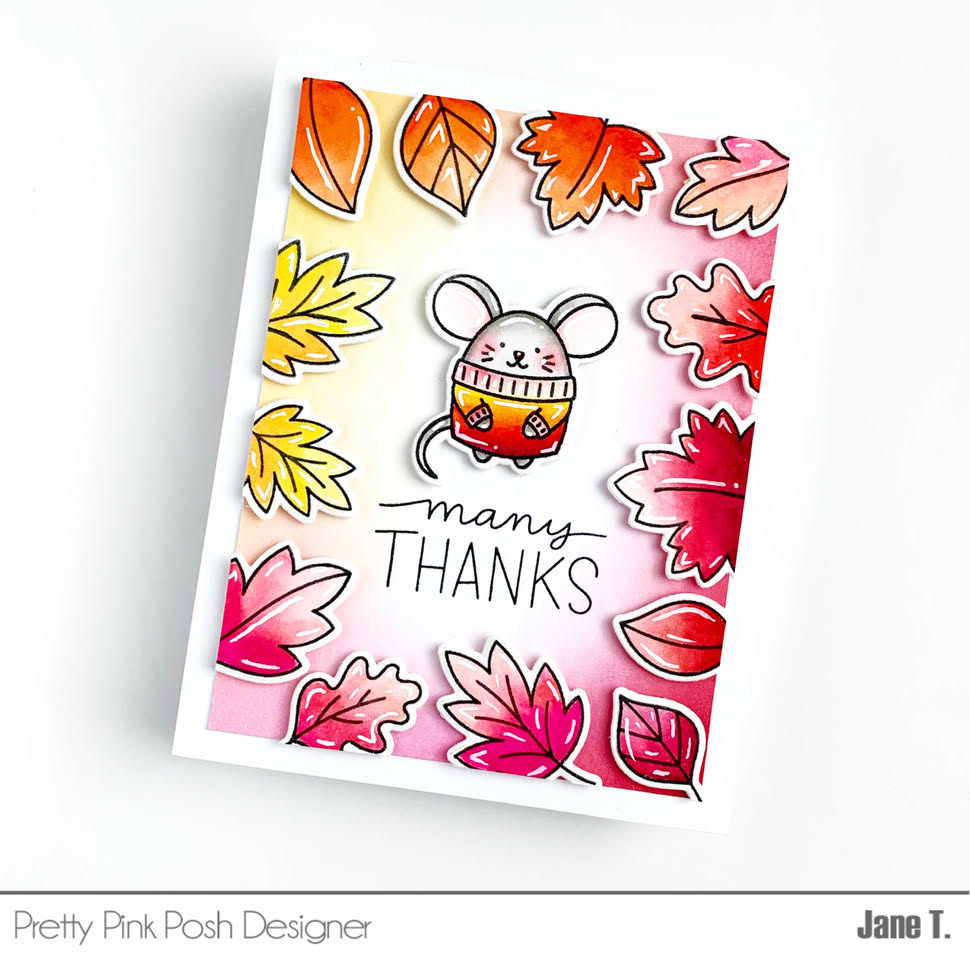
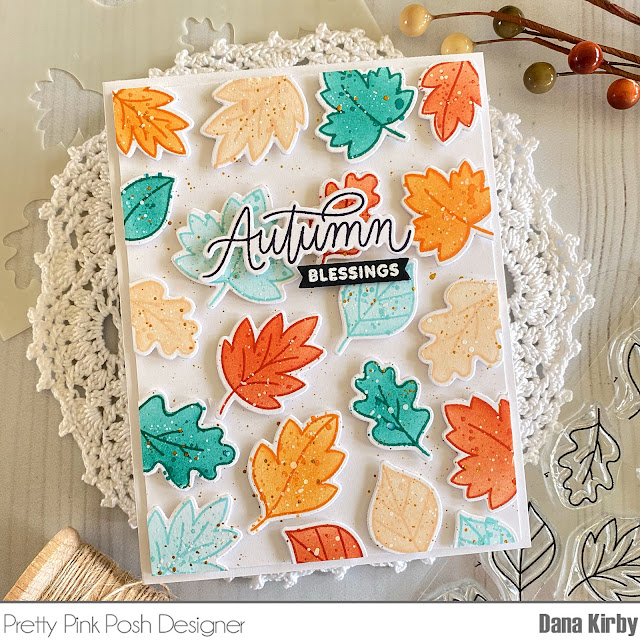
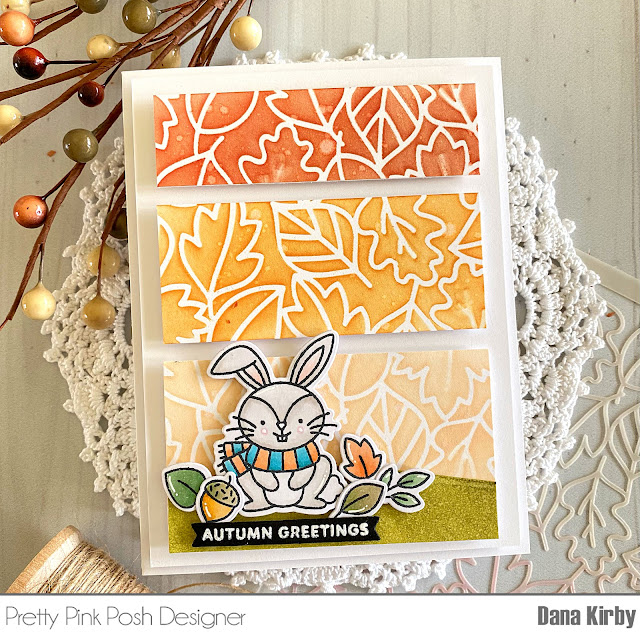
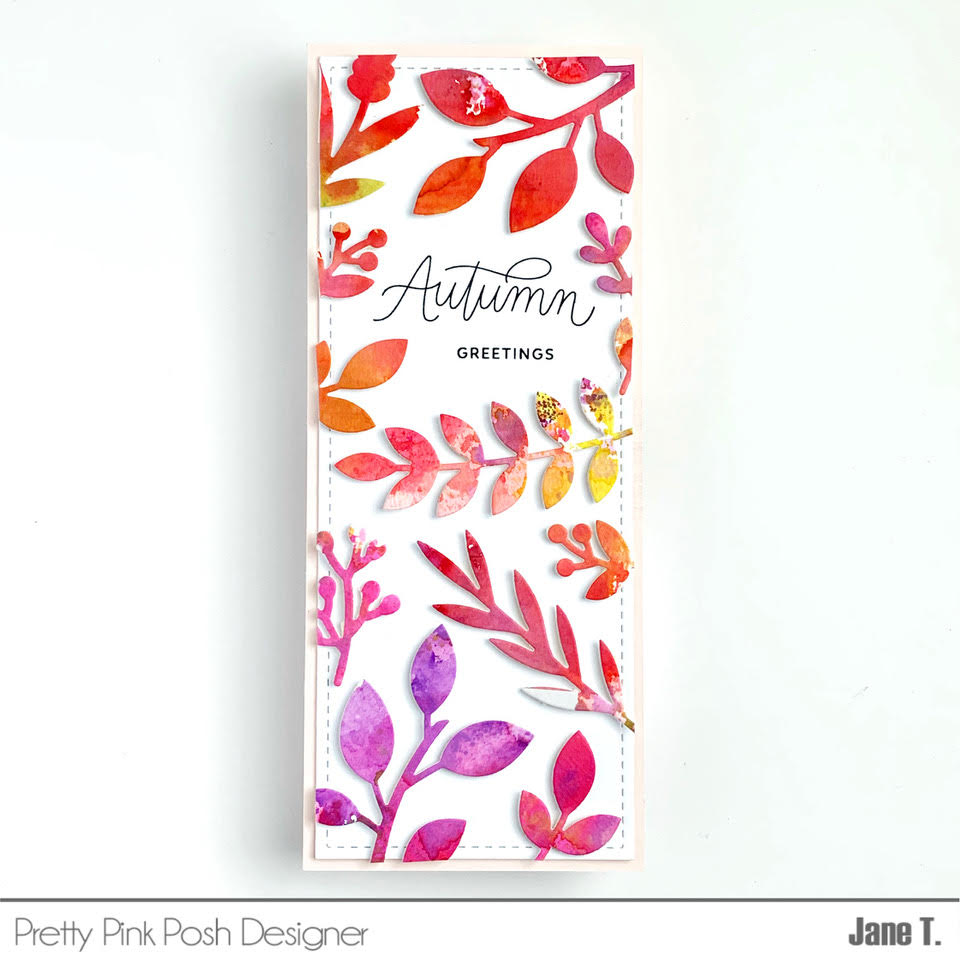
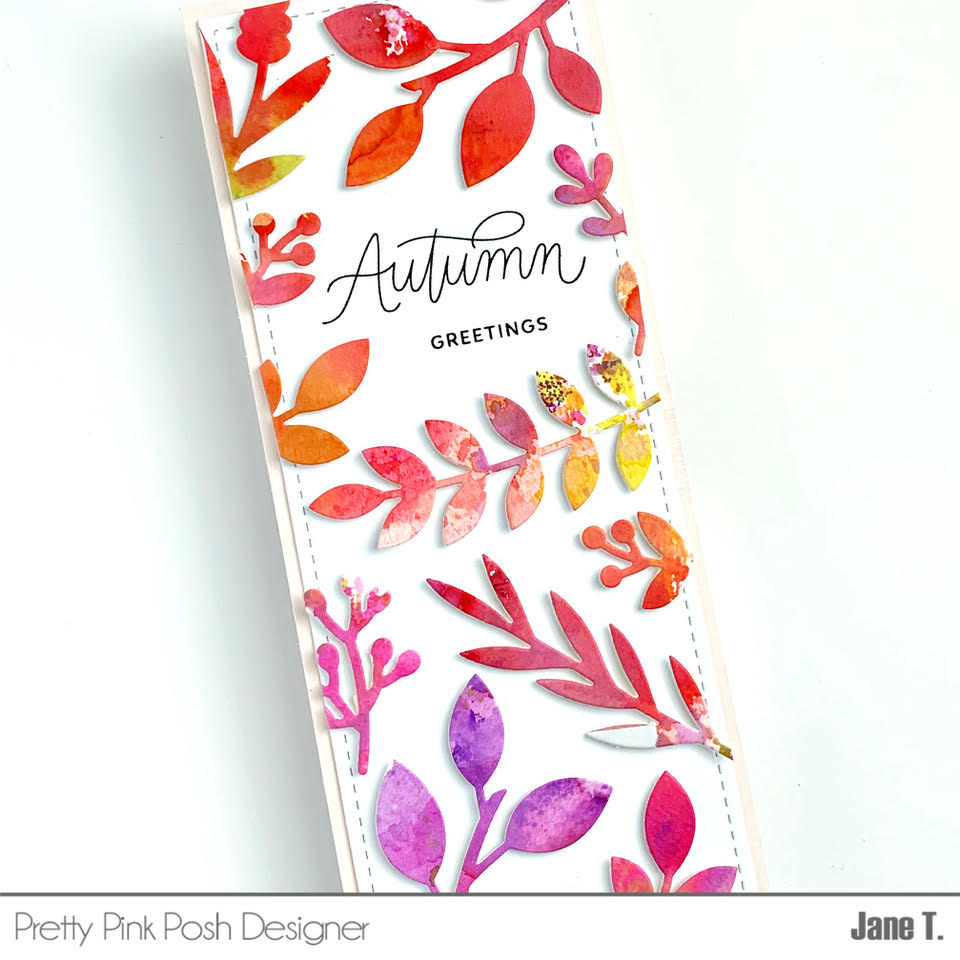
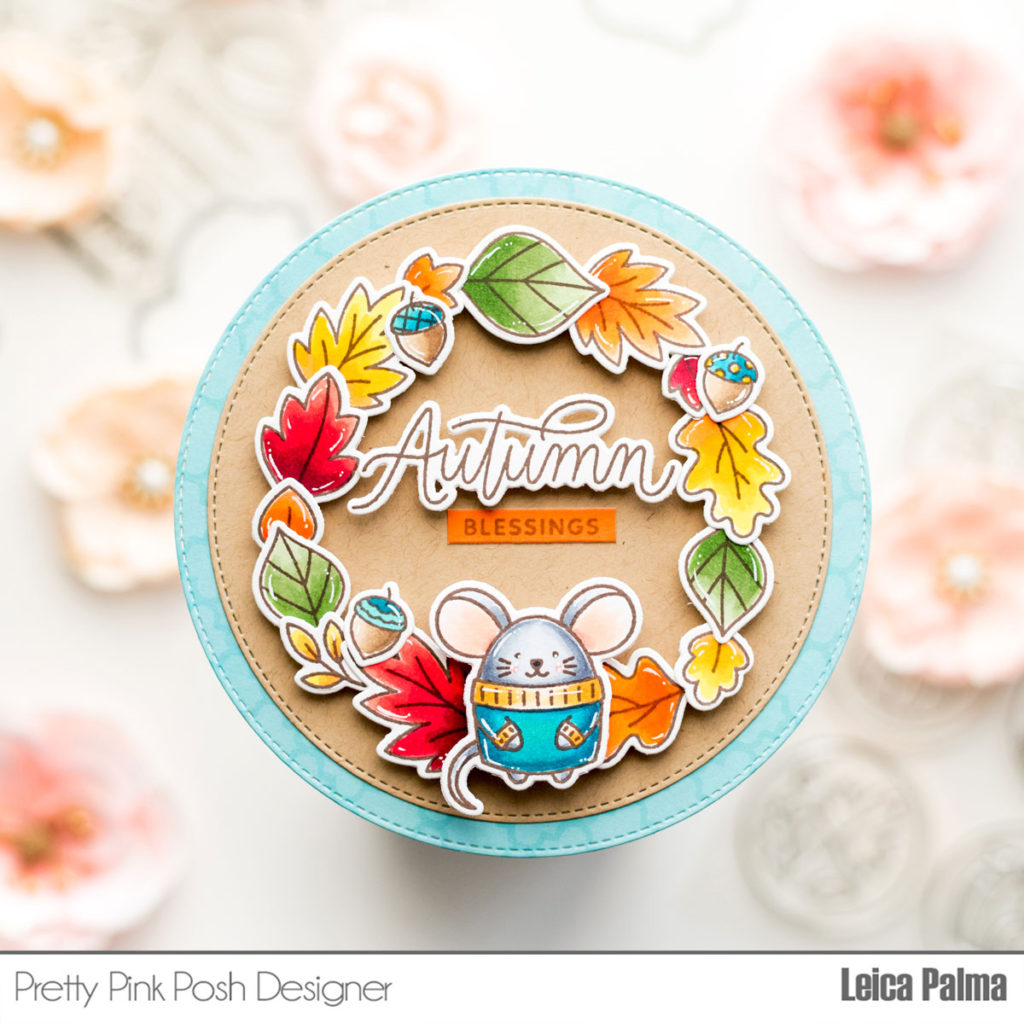
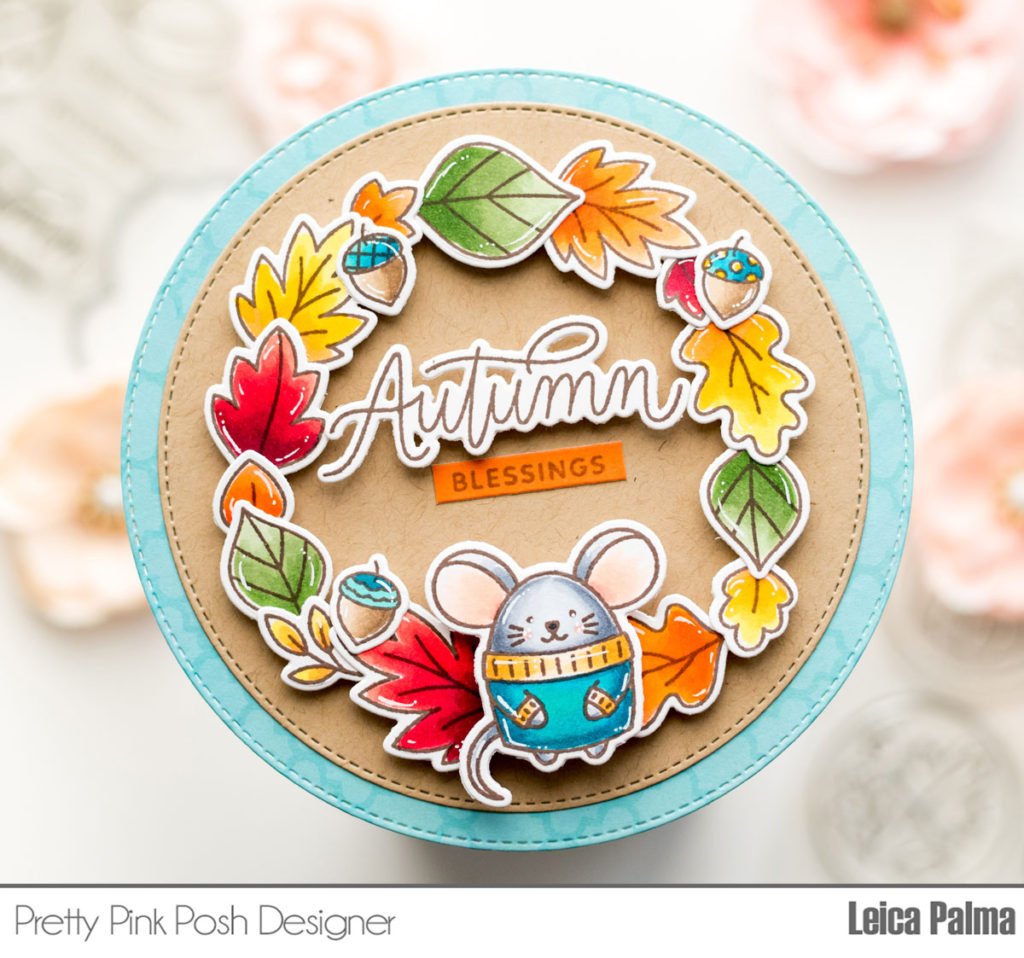
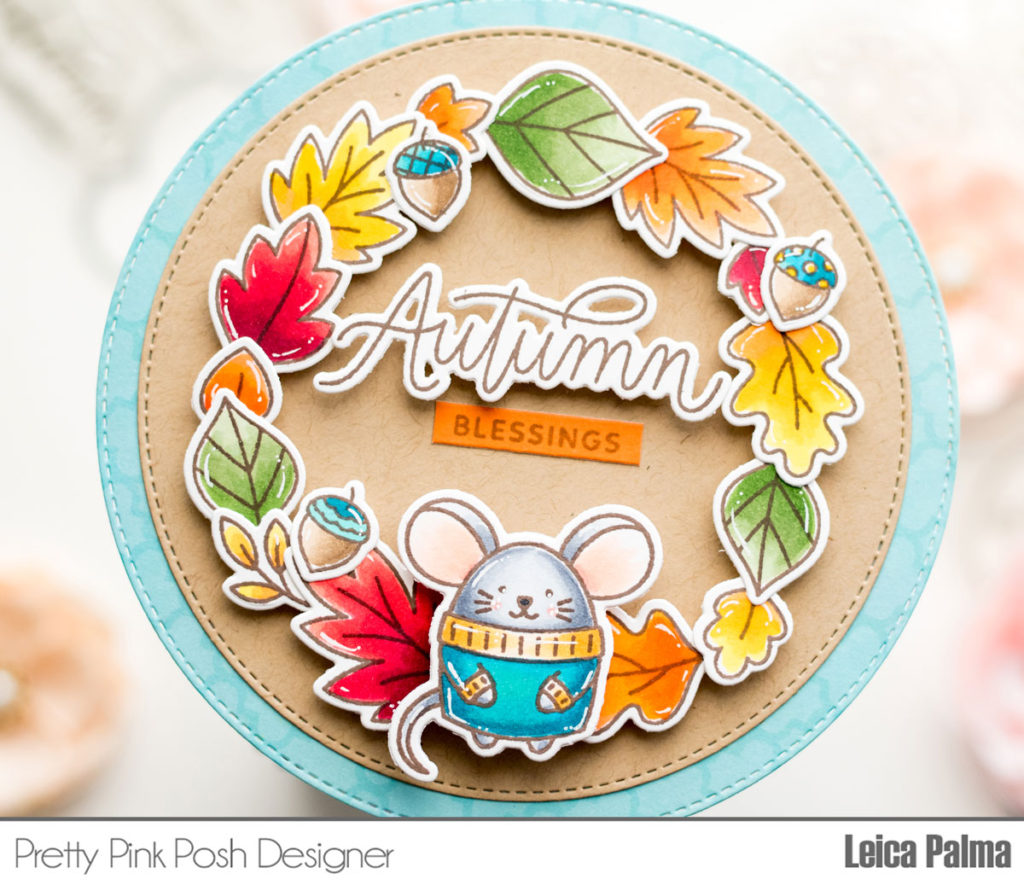
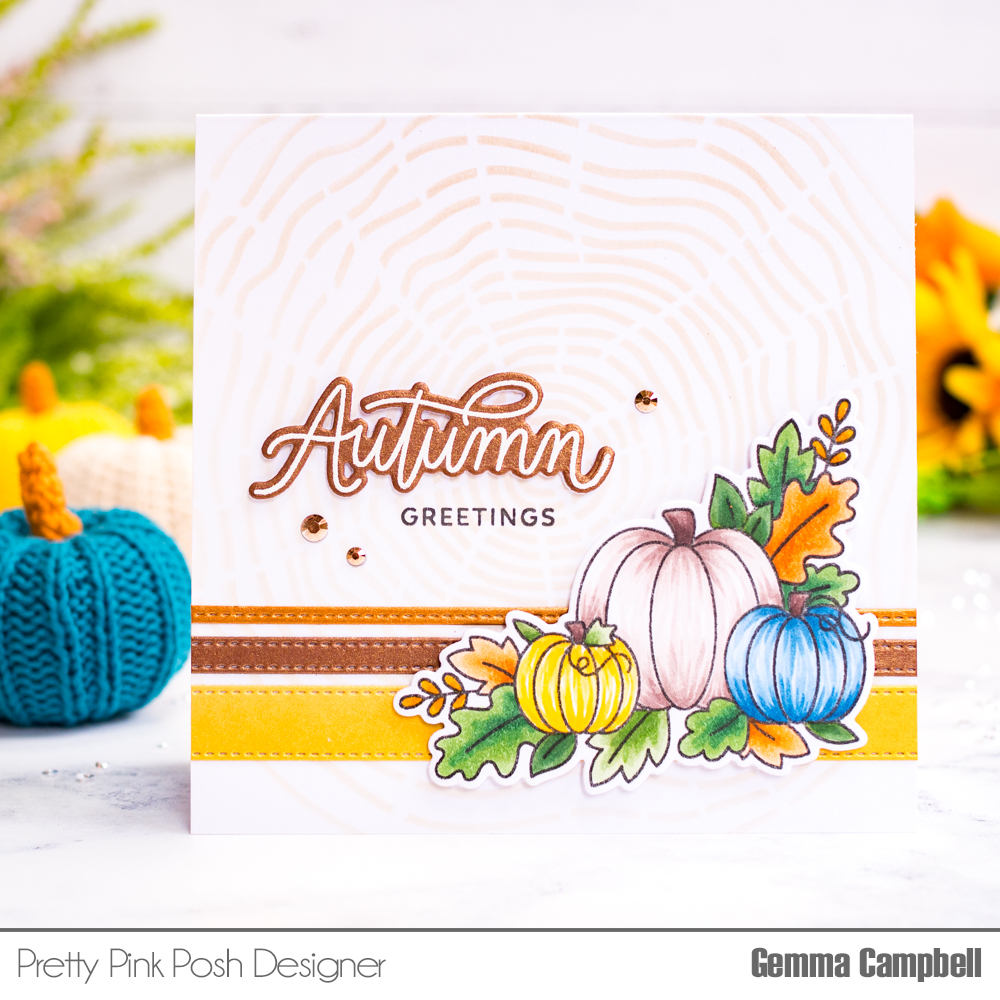
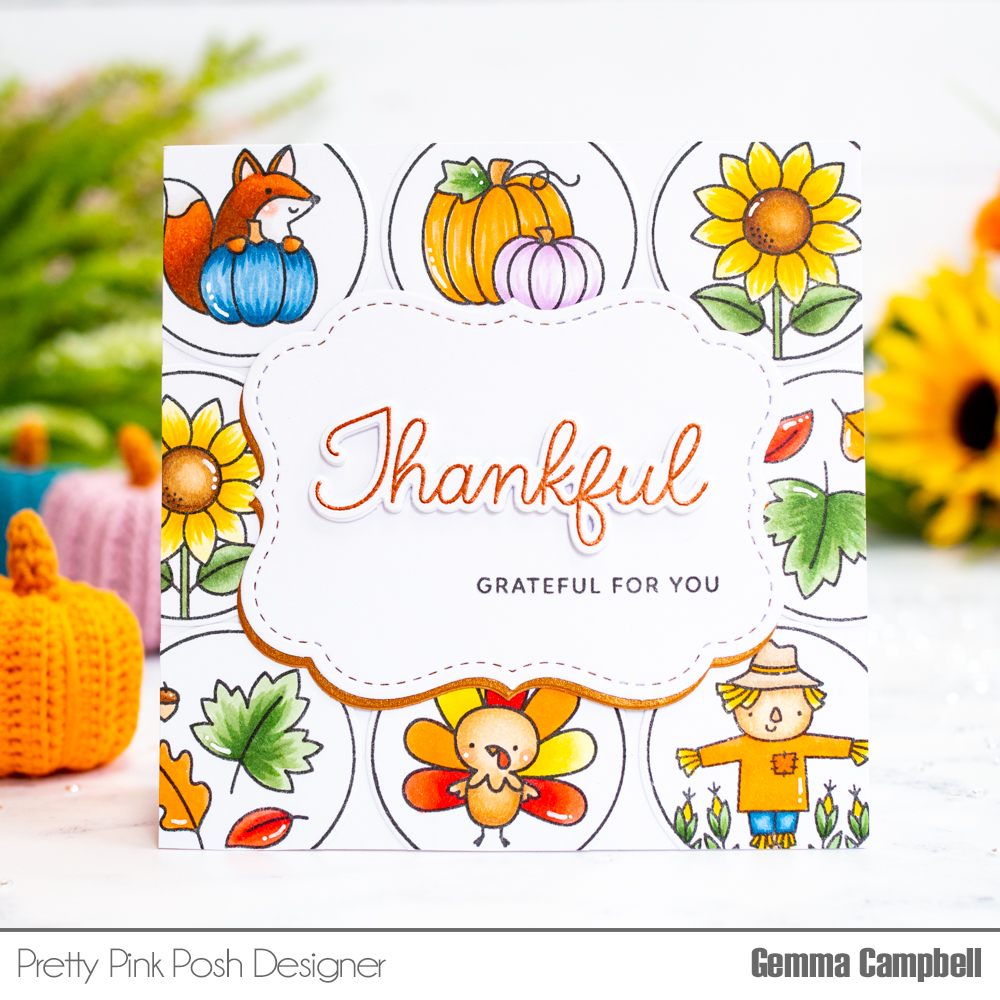
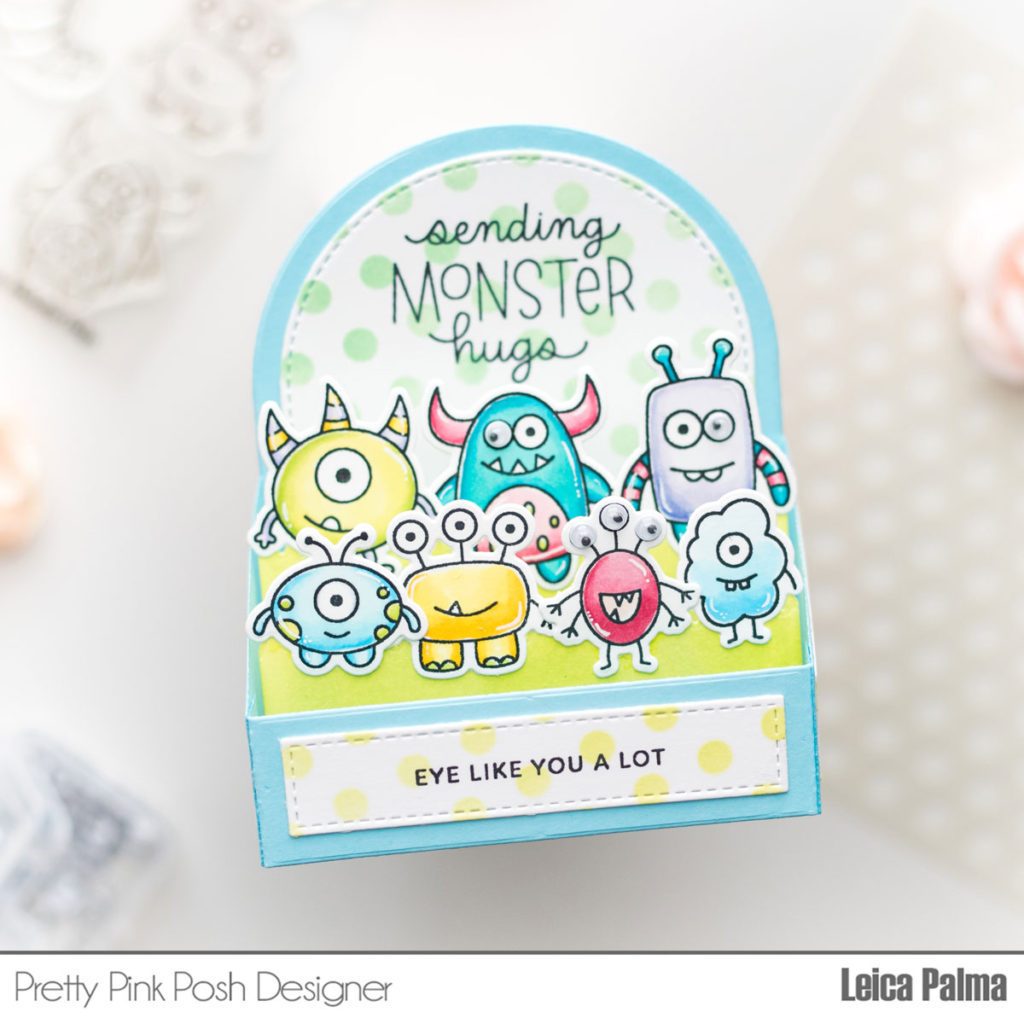
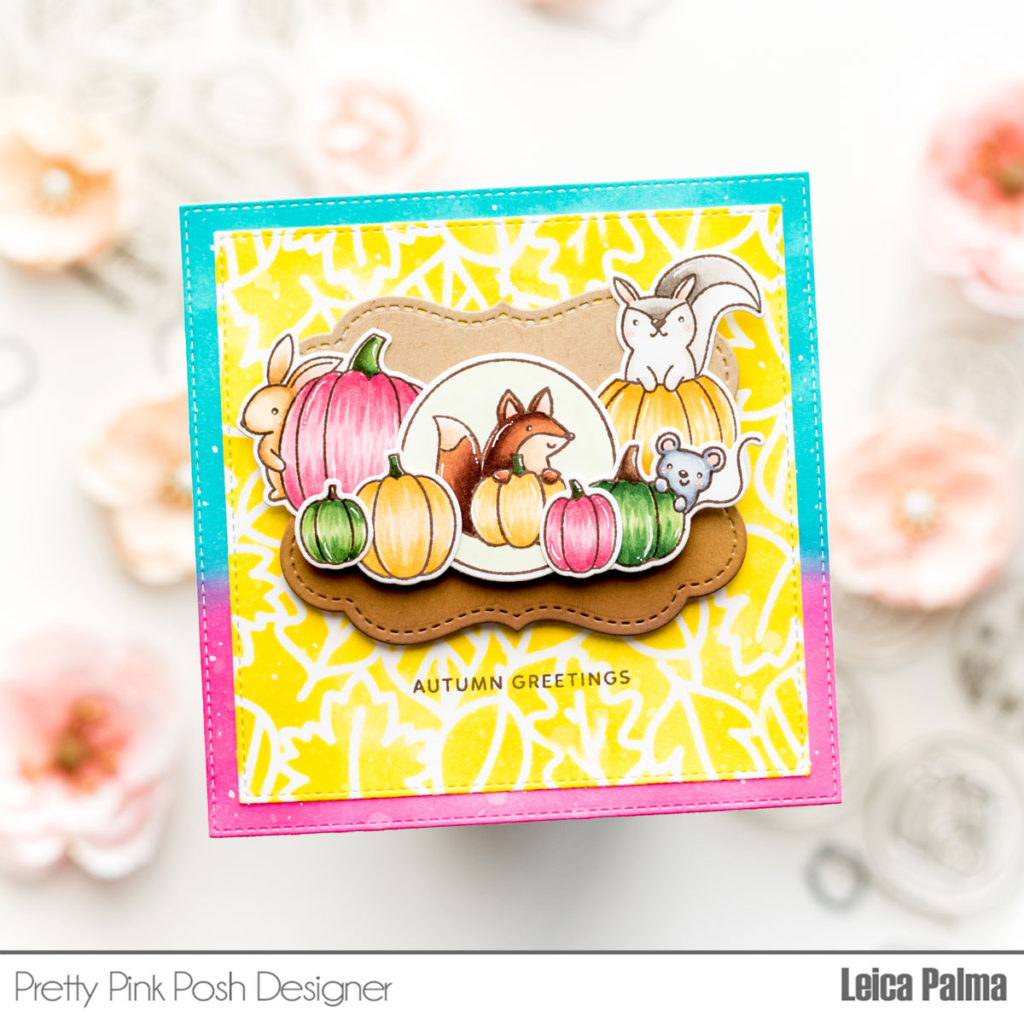
Hello everyone! It’s Leica here today with an Autumn card with the cutest critters at the pumpkin patch. I wanted to use non-traditional fall colors and I’m so happy that it worked out for this card. I hope you like it!
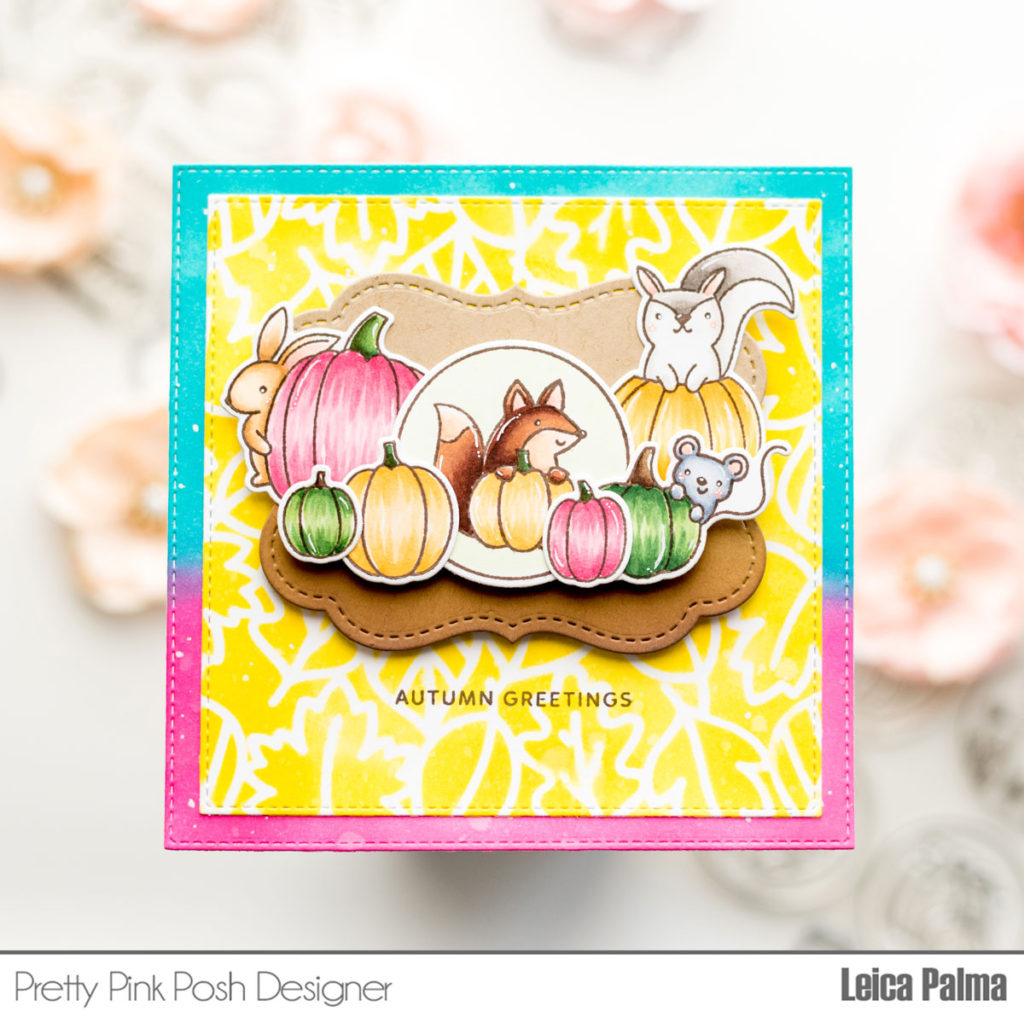
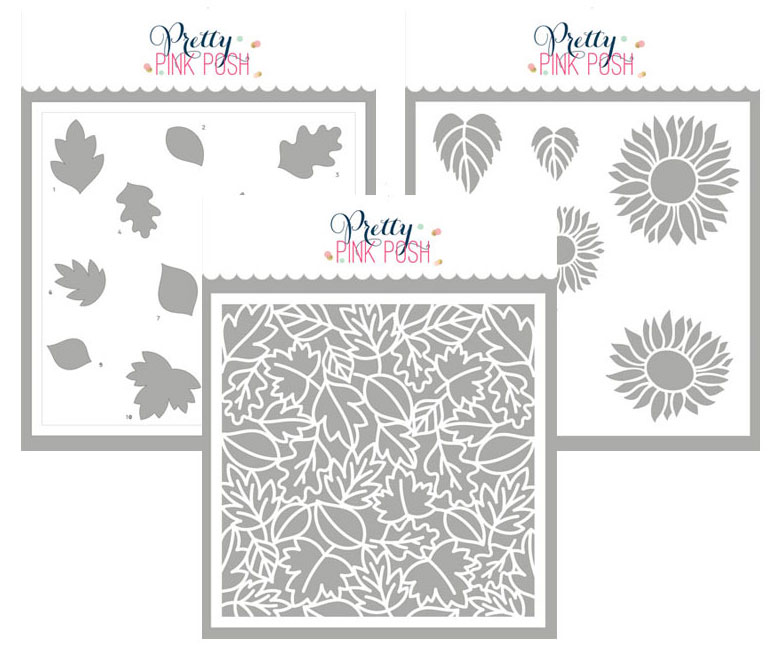
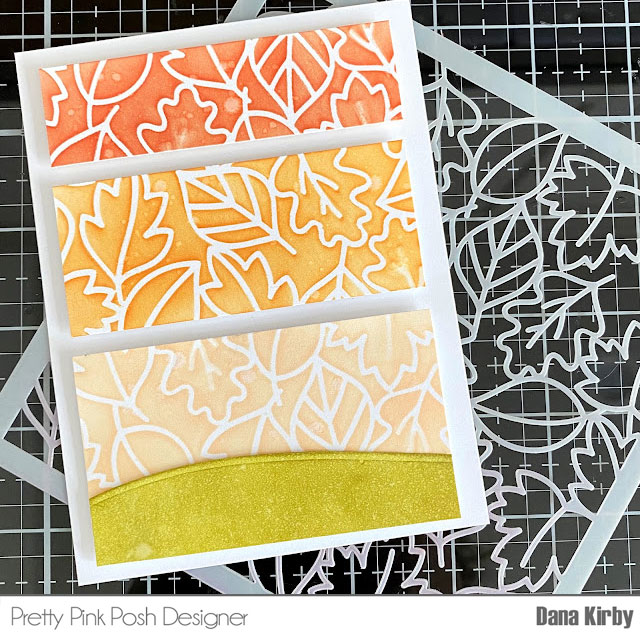
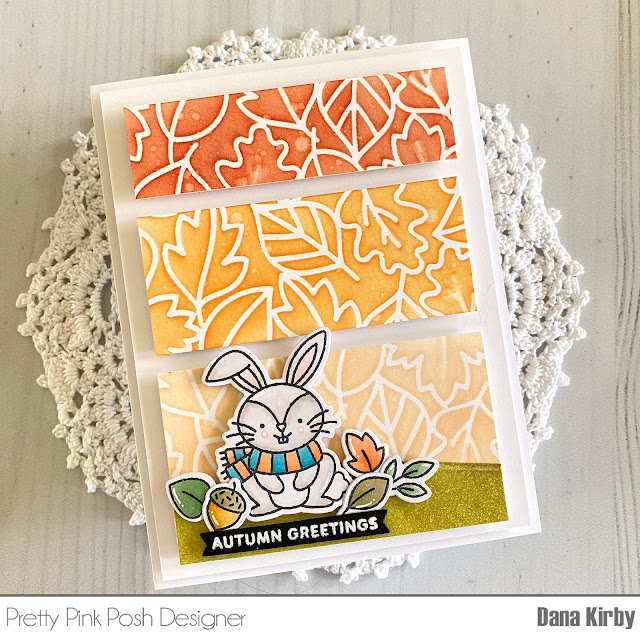
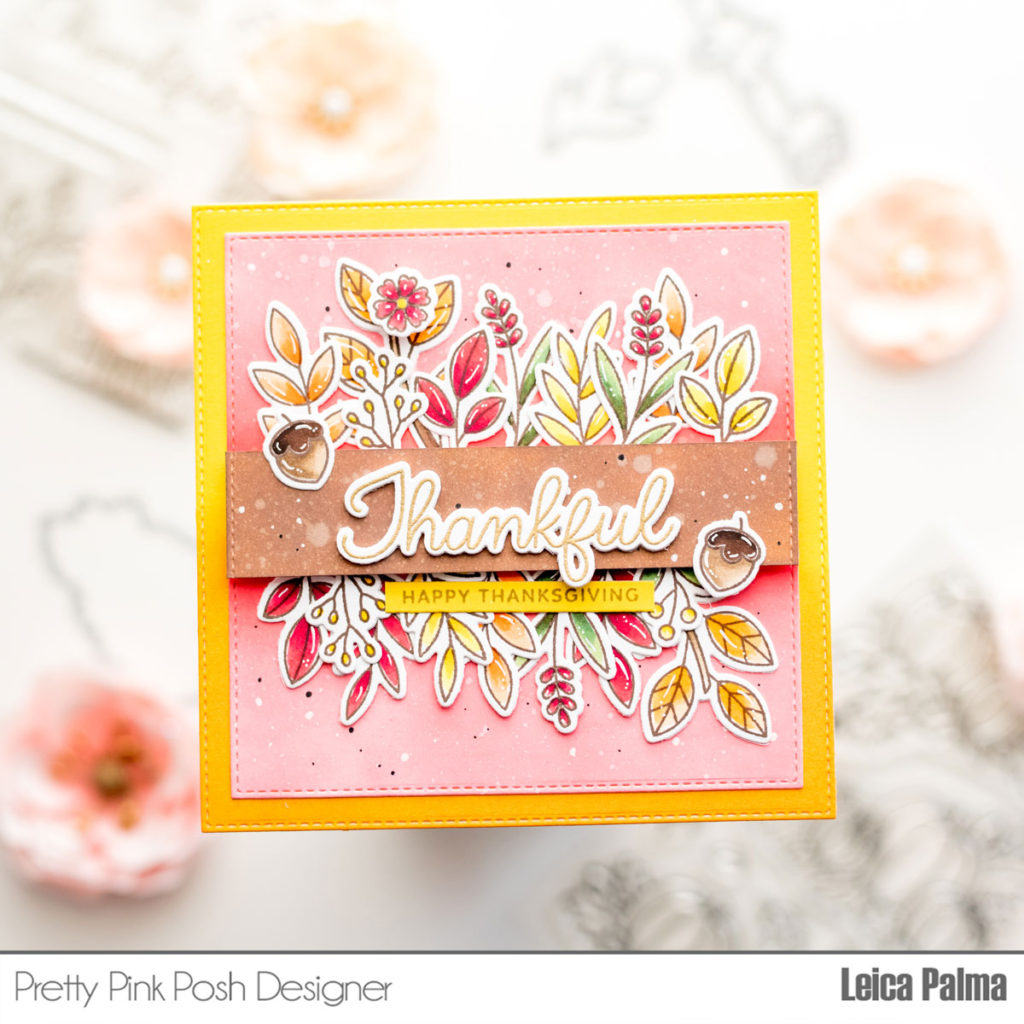
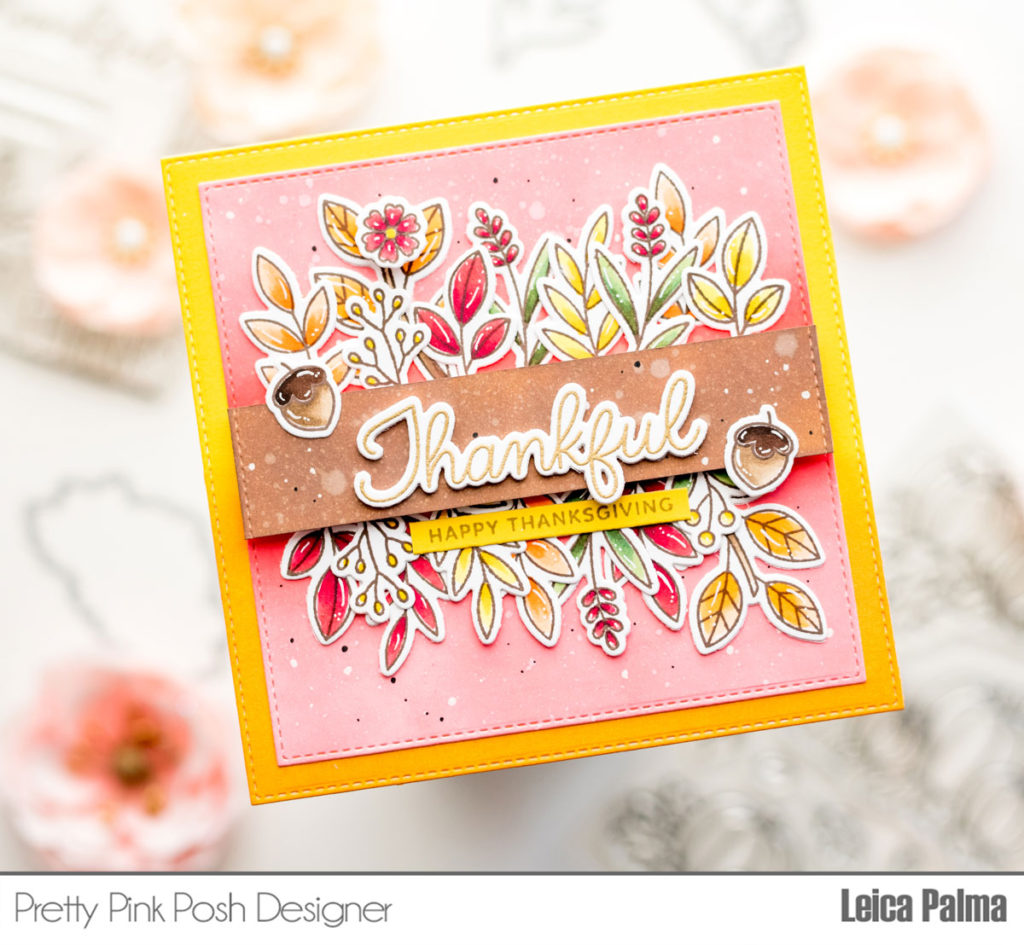
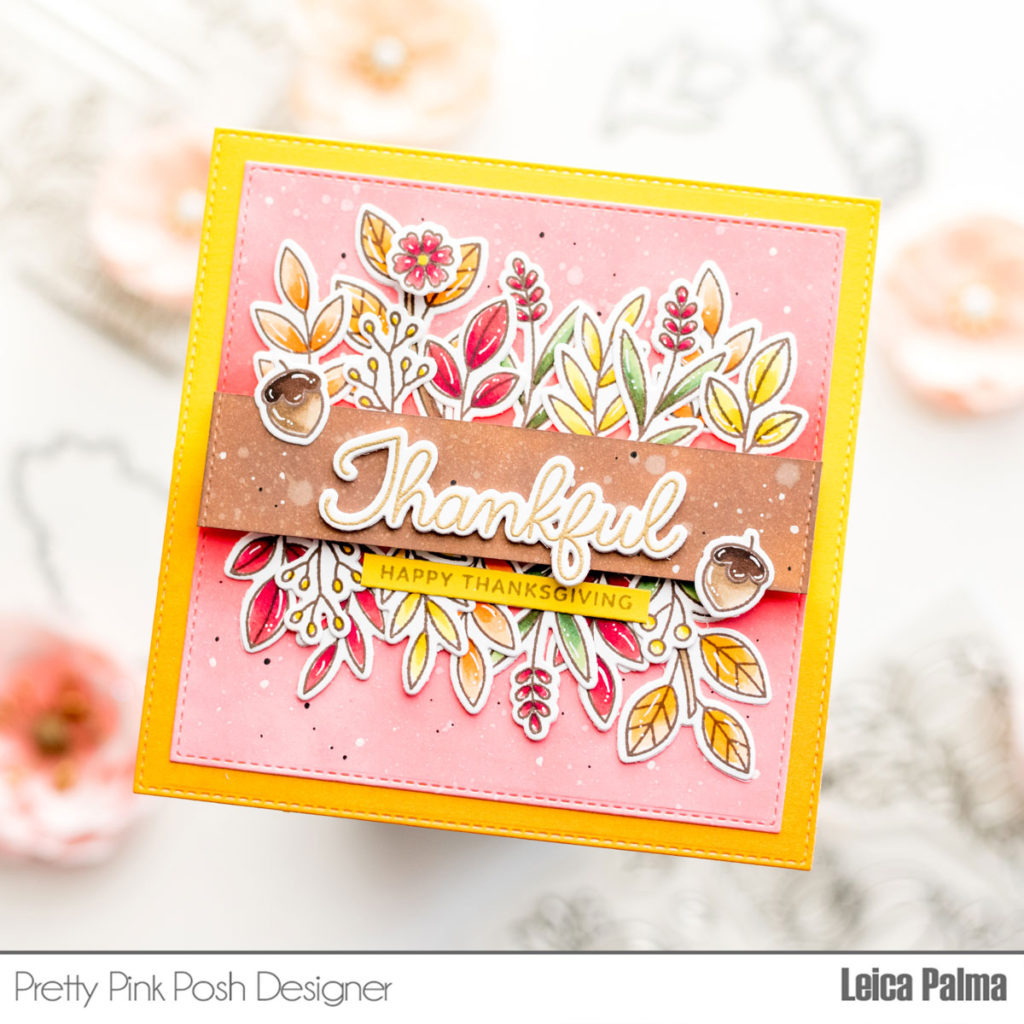
To create my card, I started by cutting a 5″ square panel that I ink blended with Peacock Feathers and Picked Raspberry Distress Oxide Inks. I sprayed with water for an oxidized effect and added white dots here and there with a white gel pen. I also cut a 4.5″ square and ink blended Mustard Seed Distress Oxide Ink through the Leaves Background Stencil. Next, I cut the ornate die from the Fall Circles coordinating die in kraft cardstock and ink blended the bottom with Vintage Photo Distress Oxide Ink.
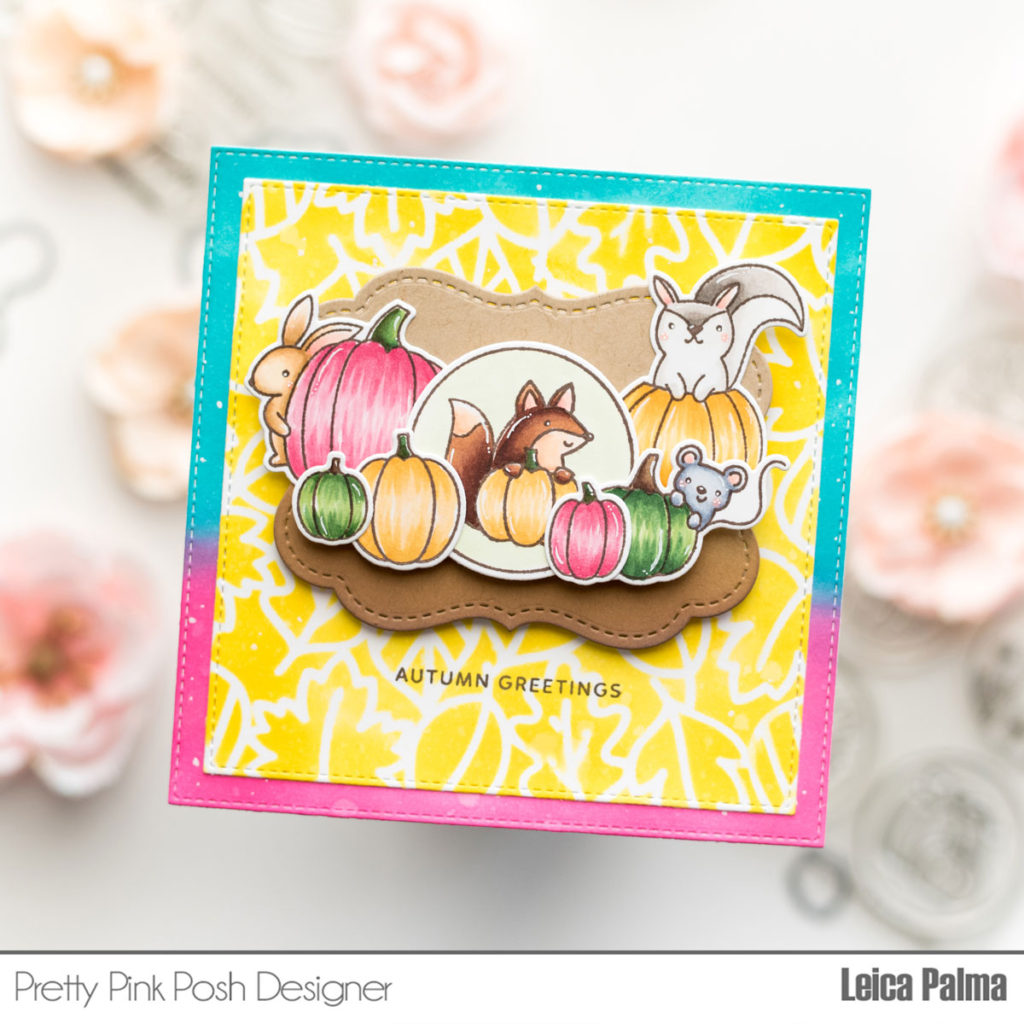
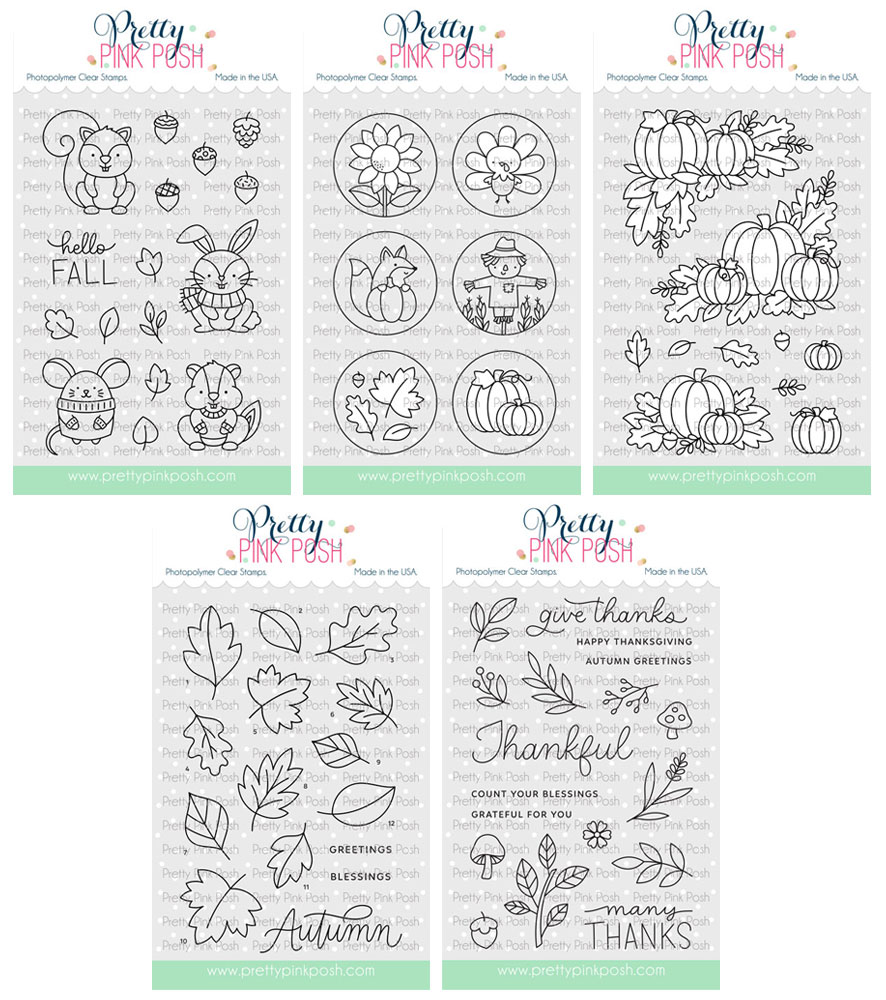
The images are from a previously released set, Pumpkin Patch Critters stamp set. I stamped them with Memento Rich Cocoa ink on 110lb white cardstock and colored them with Copic markers. I also cut one of the images from the new Fall Circles stamp set.
Pumpkins – G46/43/40, R85/83/81, YR23/21/20
Squirrel – W5/3/1/0
Mouse – C5/3/1
Rabbit – E55/53/50
I cut the images with their coordinating dies and adhered them to the ornate panel, using glue and foam tape. I then stamped the Autumn Greetings sentiment onto the yellow panel and foam mounted the ornate panel on top. Lastly, I cut a white 5″ square, scored at the .25″ mark, and adhered it to the card panel to finish my card.
Will you be trying non-traditional colors for your Autumn cards? We’d love to see them! Tag us on Instagram and make sure to share them on our Facebook Group.
PRIZES: be sure to leave comments on each stop. We are giving away 3 $25 gift certificates to three random comments (1 winner each day) left before September 19, 2021 at 11:59 PM PST. I’ll be announcing the winners next week, so be sure to return and see if you are one of the winners!
Pretty Pink Posh blog << you are here
Tammy Stark
Wanda Guess
Carly Minner
Dana Kirby
Tina Smith
Be sure to leave comments on all the stops- we’ll be randomly picking comments to win gift certificates. Thanks for joining us!