Clean and Simple: Sweet Valentine

Hello, Gemma here with a new post for my Clean and Simple series.
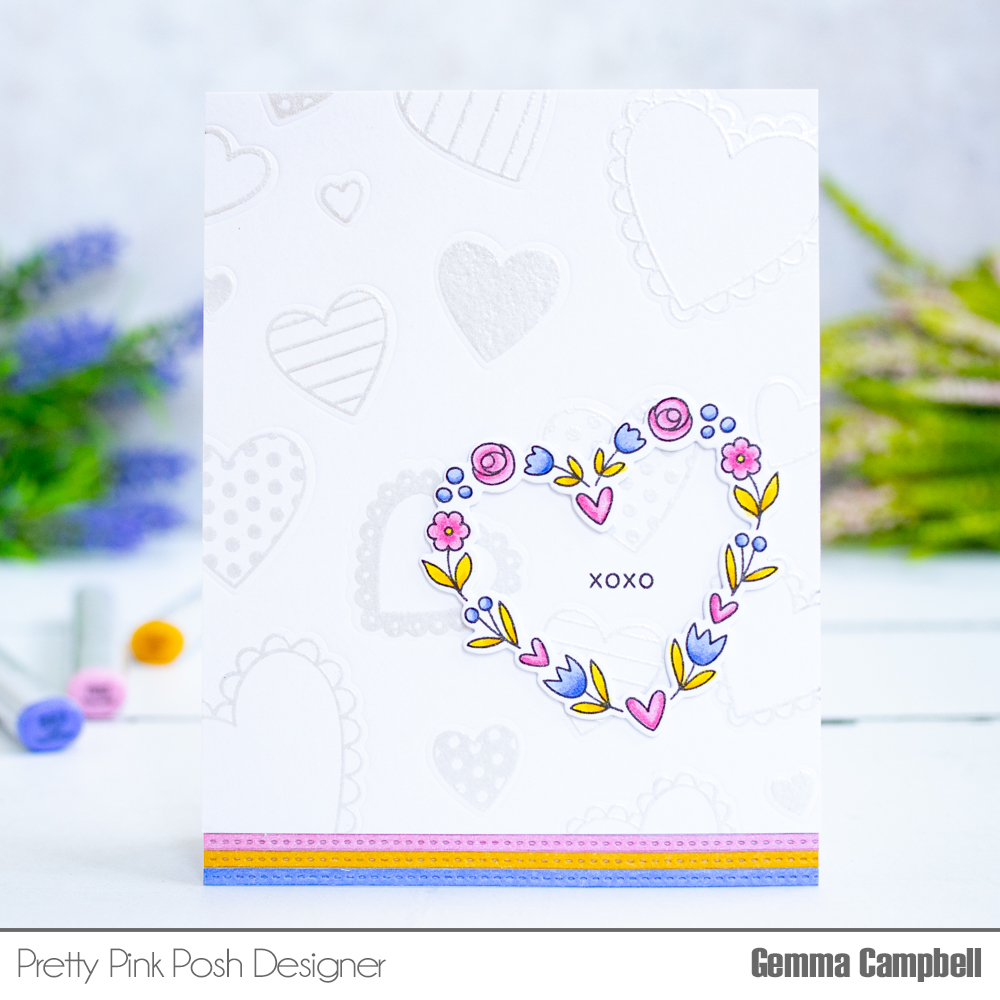
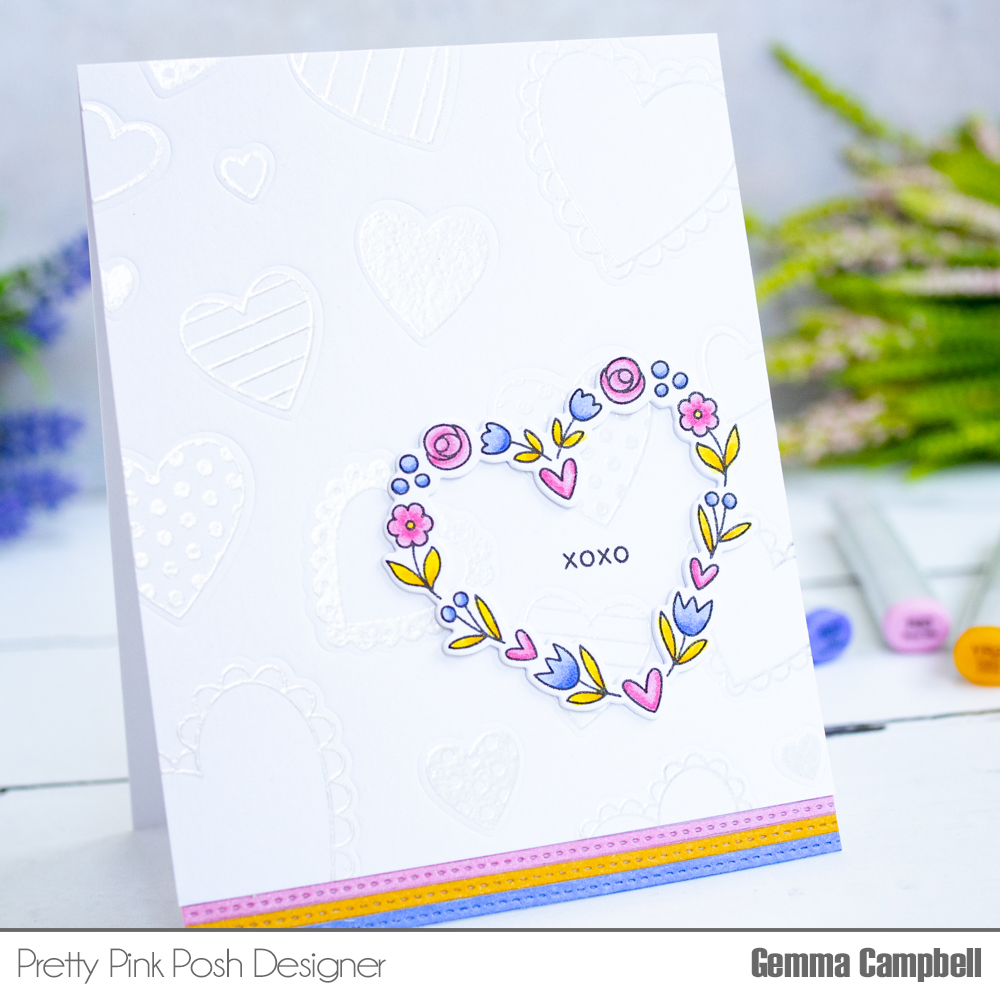
Adding texture to the background is one of my favourite ways to add interest on a clean and simple card. My card today features a tone on tone stamp and embossed heart background.

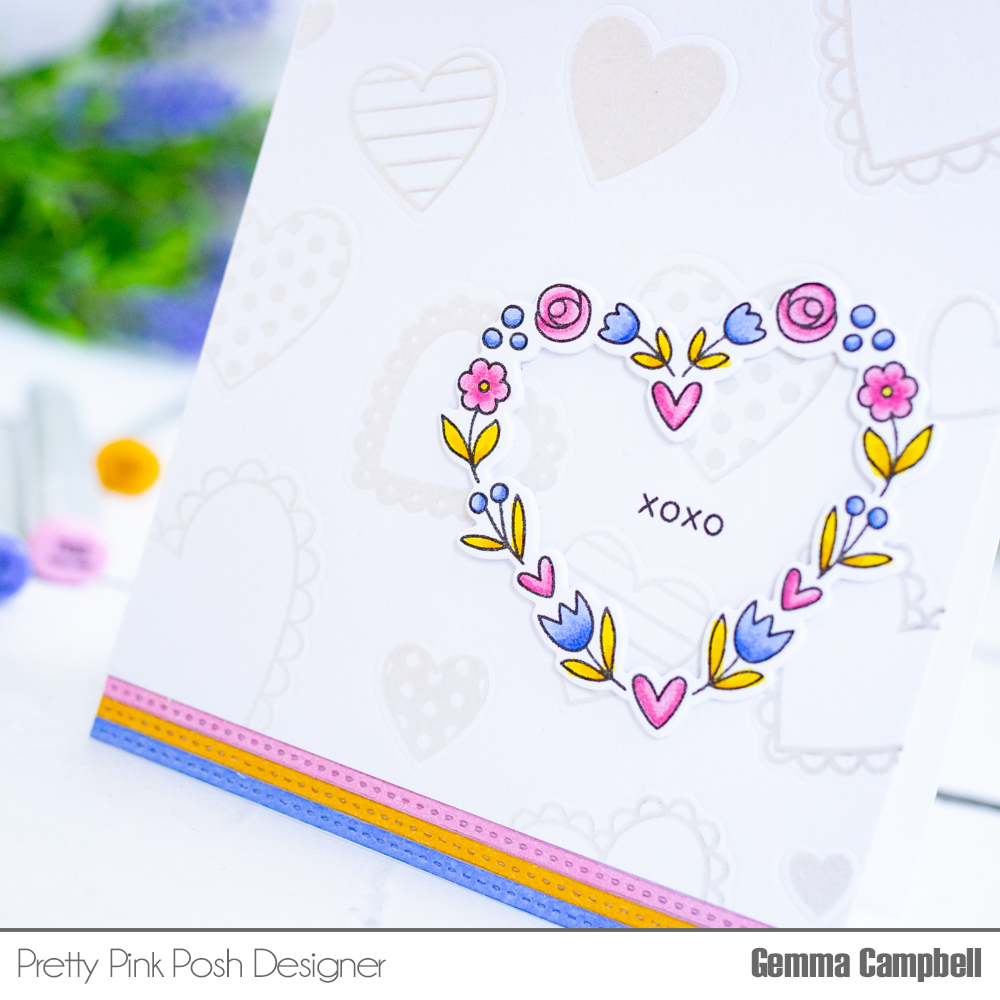
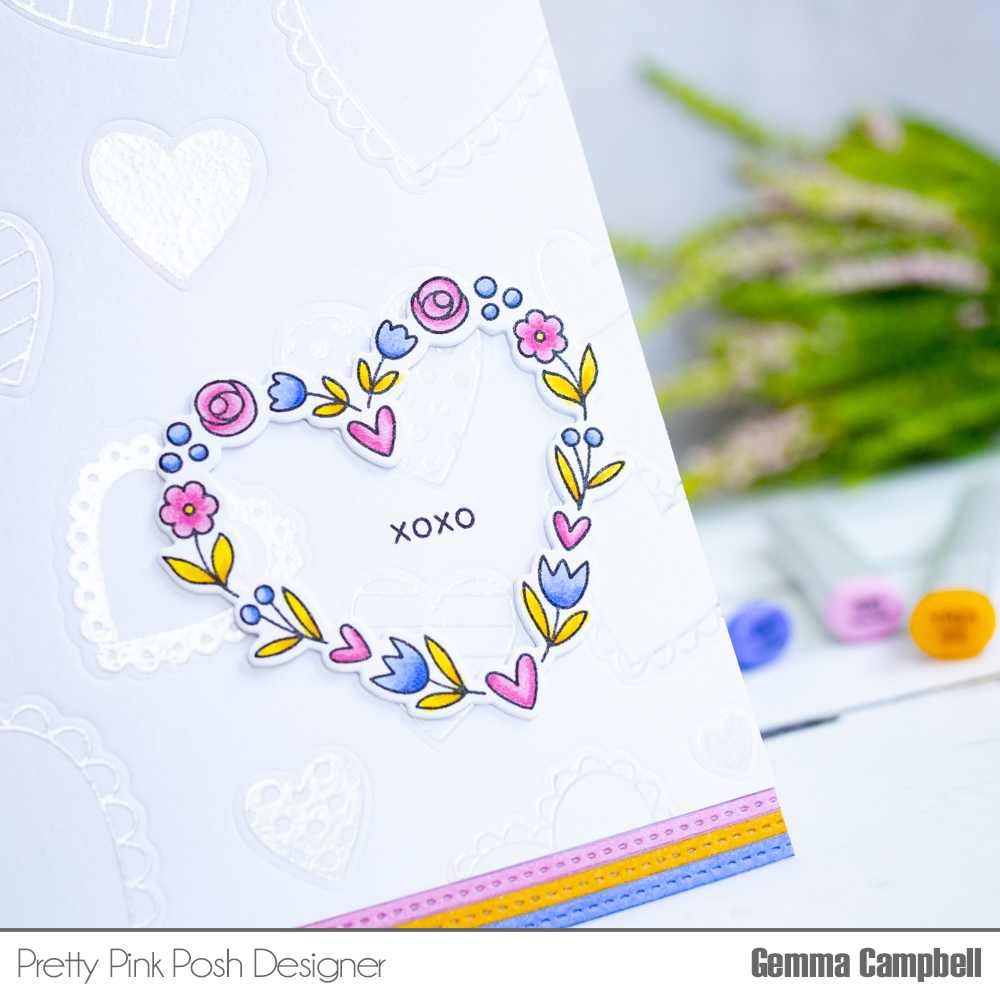
On a white panel of card, I stamped the heart images from the new Valentine Hearts stamp set with a clear embossing ink. I then heat embossed the images with a white pearl embossing powder. This gives a lovely pearly sheen in the light. You could use a clear embossing powder as an alternative.

To add even more texture, I used the Valentine Hearts coordinating die set to dry emboss around each image. To dry emboss with your dies, you need a tan embossing mat for your die cutting machine. This stops the die from cutting when you run it through the machine and embosses the shape into the card instead. As the die is slightly larger than the stamped image, it gives an embossed outline around the image.

Next, I stamped an image from the Floral Heart stamp set and coloured it with copic markers. I used these colours: Y14, YR23, B63, B66, R81, R83, R85. I then die cut the image with the coordinating die set, along with two plain die cuts to layer behind it for dimension.
To compliment the colours in the floral heart, I added some colour to a scrap of white card using the wide nib from my copic markers. This is easier than finding card stock to match. I die cut thin strips using the Stitched Strips die set and adhered them to the bottom edge of my A2 card base.

I trimmed down the embossed heart background panel, then adhered on my card base. Before adding the floral heart, I stamped a sentiment from the same stamp set on the panel. I then adhered the floral heart so the sentiment showed in the centre to finish.
I hope you were inspired by this clean and simple Valentine’s Day card!

Thanks Gemma for another beautiful card design. I love it.
Beautiful!!!