Day 1: Blog Hop + Holiday Release Now Available
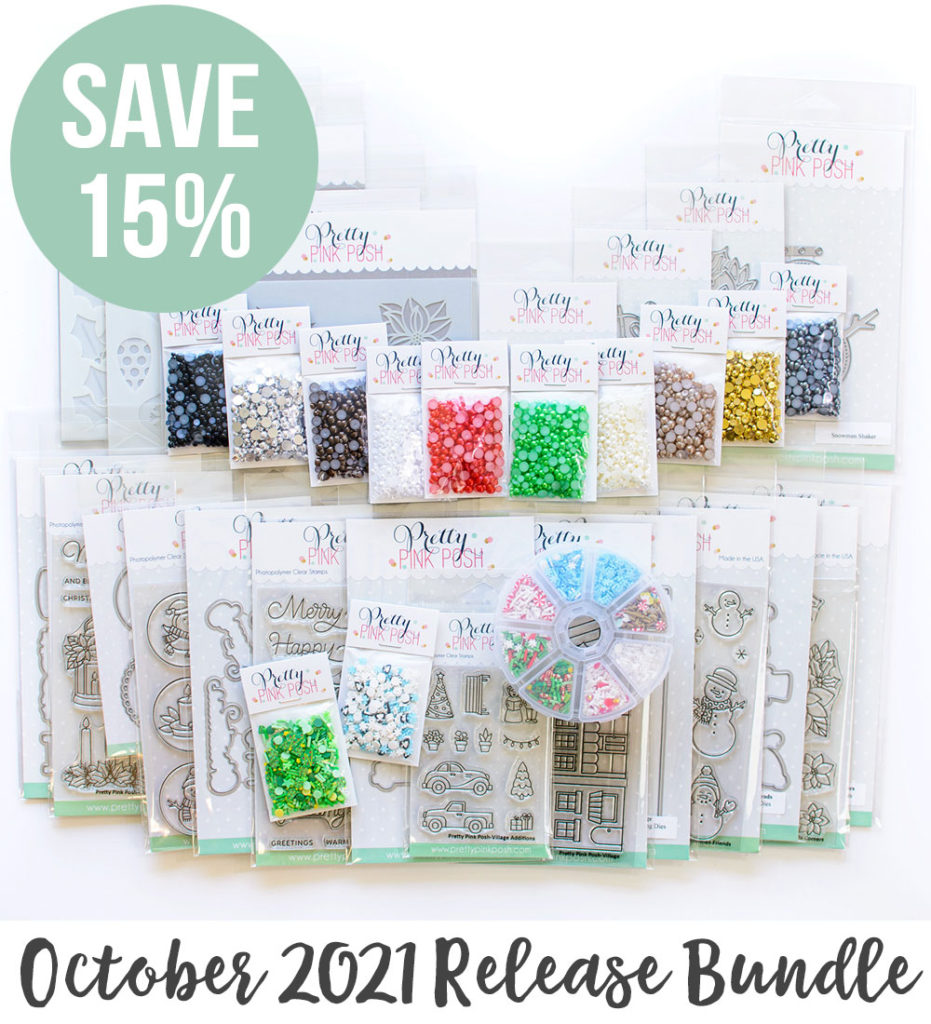
The October 2021 Release is now available in the Pretty Pink Posh Shop and select retailers that carry our products. If you missed our post yesterday, we revealed all of the products in picture form, but if you would like to see them in a video, Heather has that for you today!
Watch the video above I Watch the video in HD on YouTube
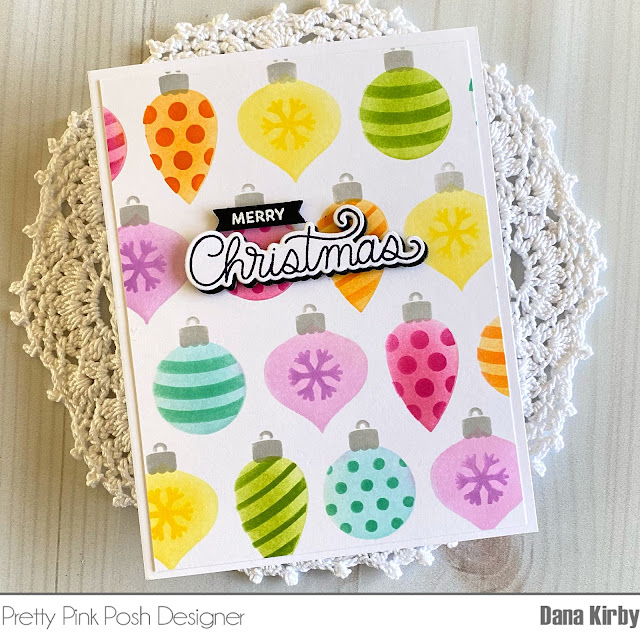
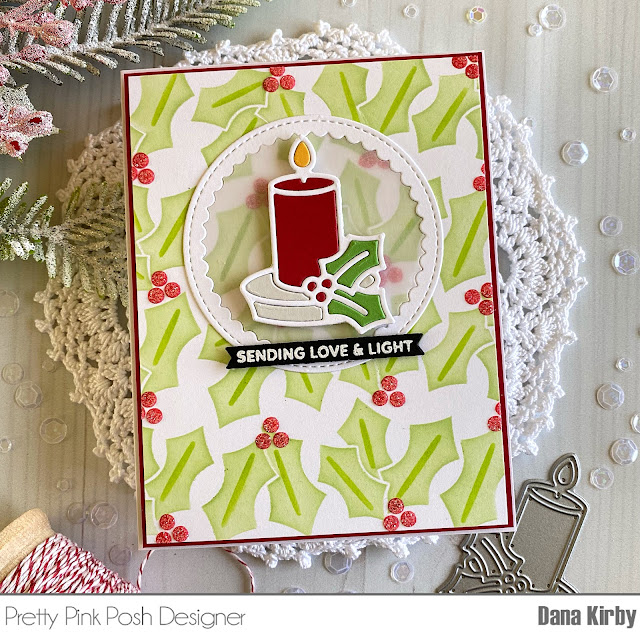
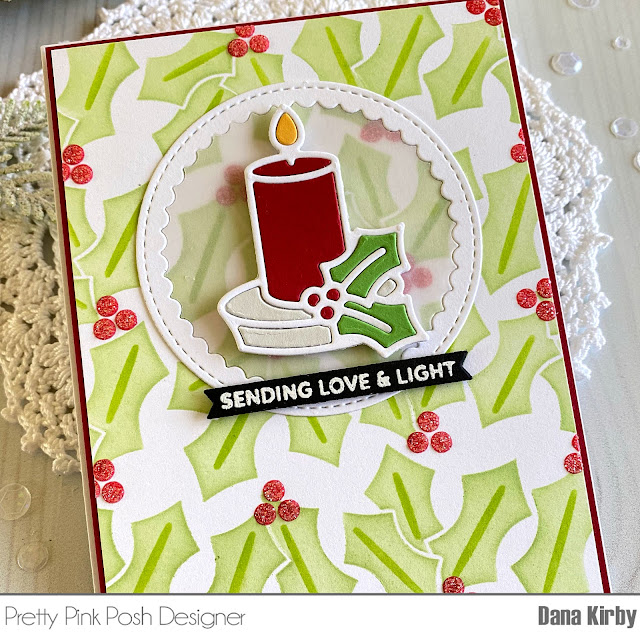
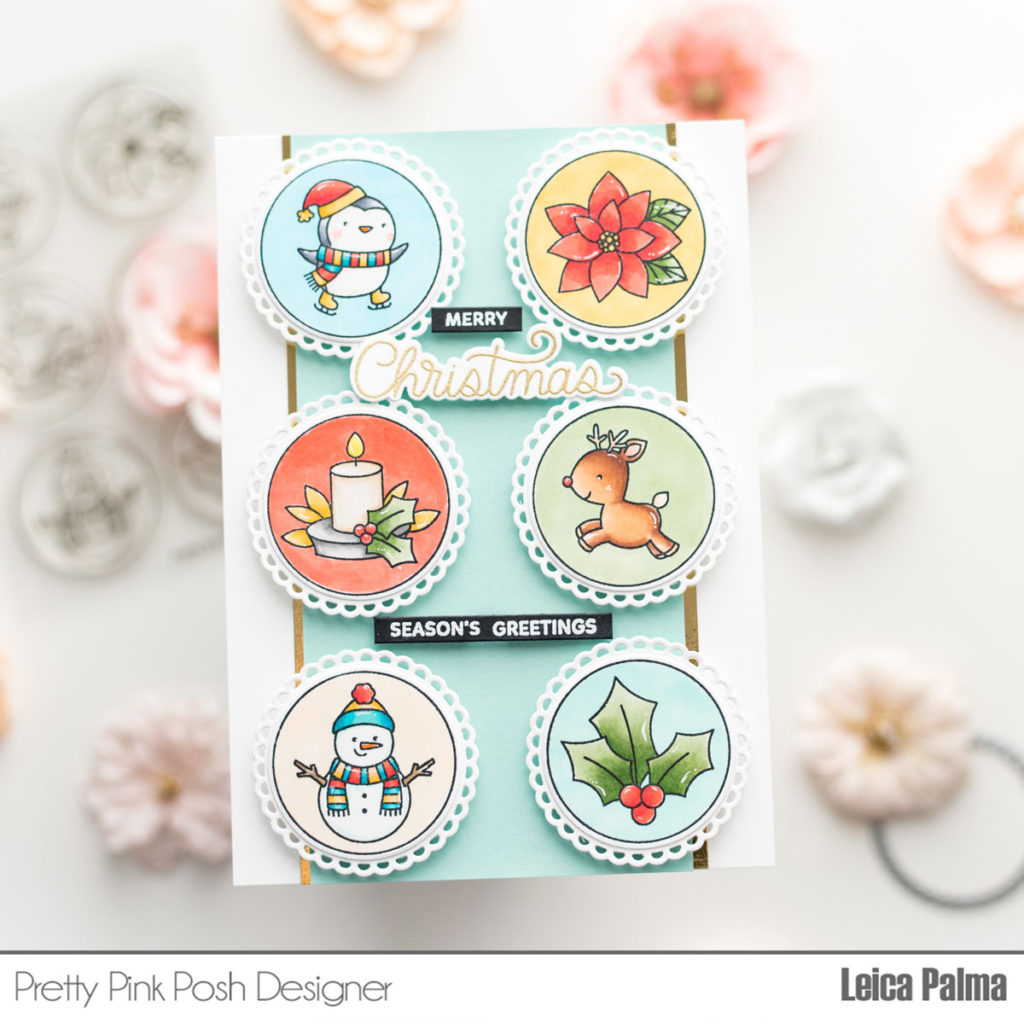
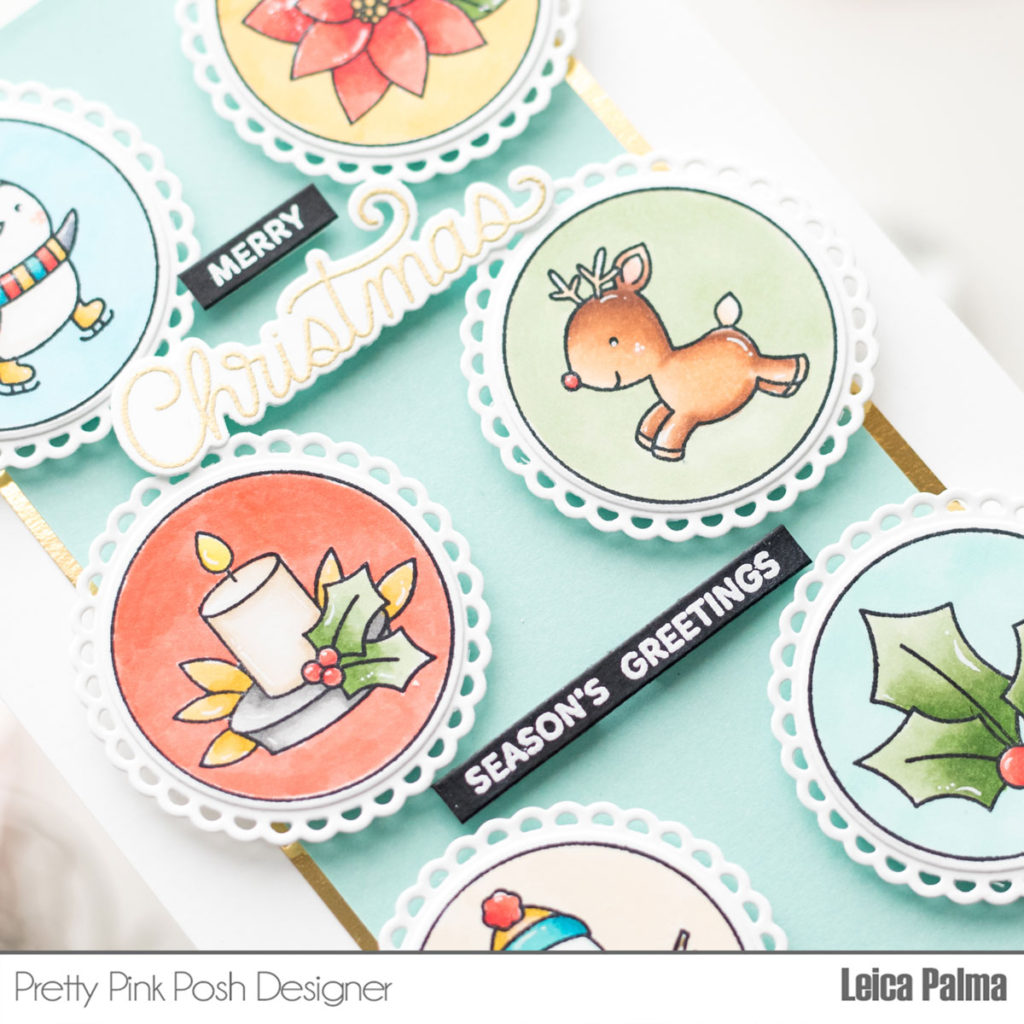
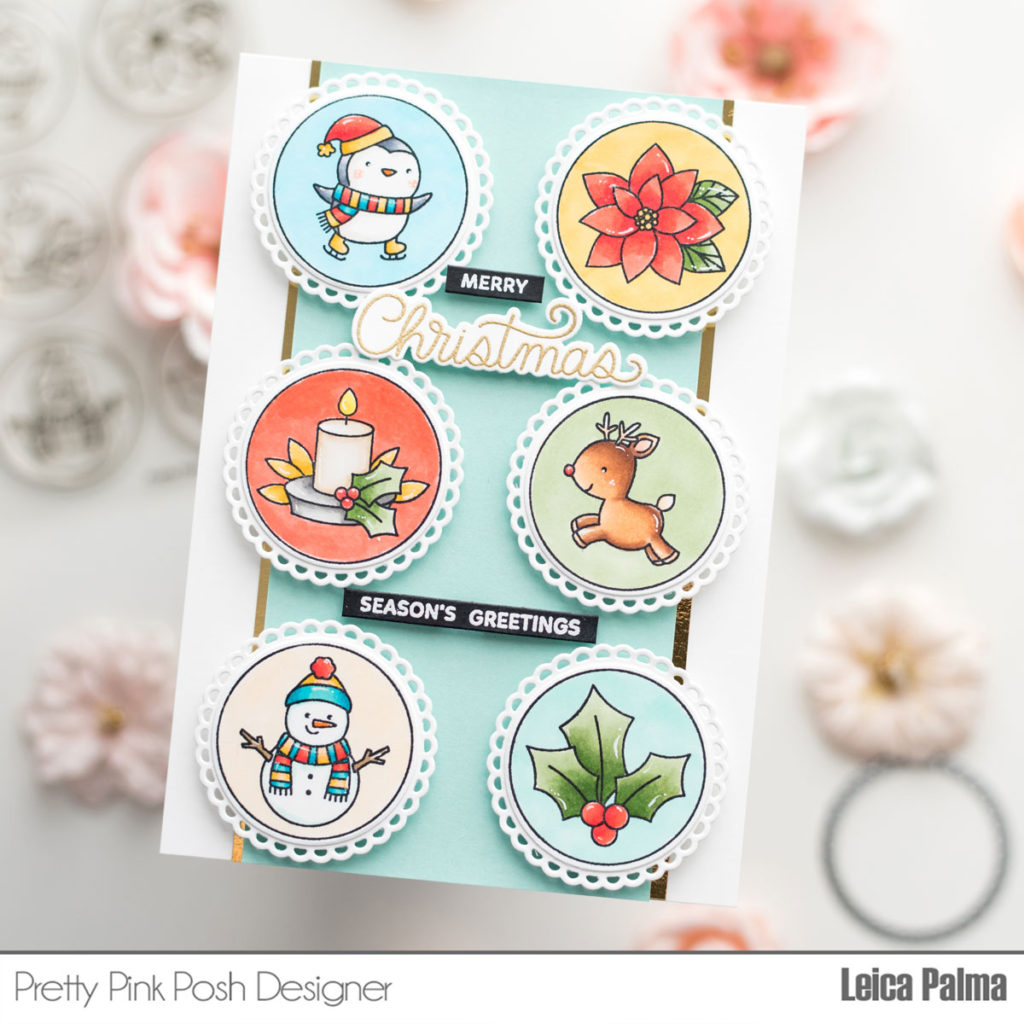
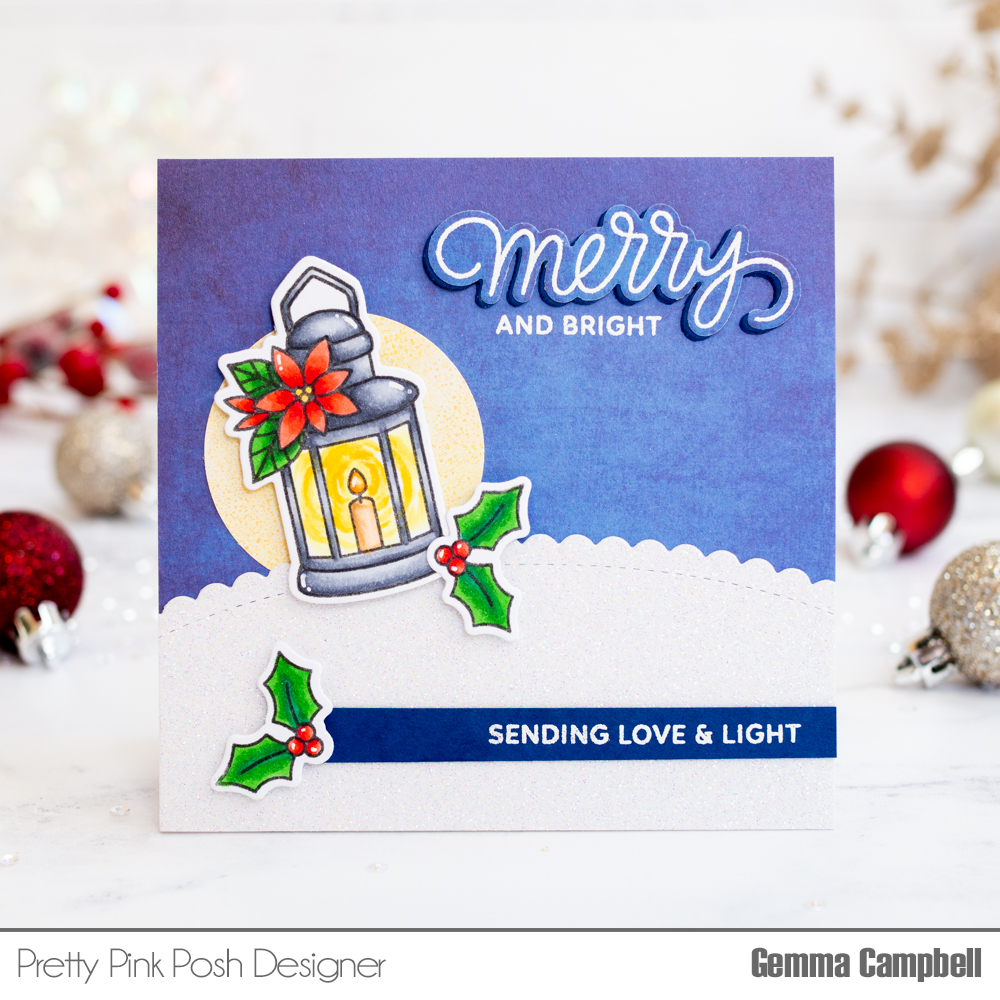
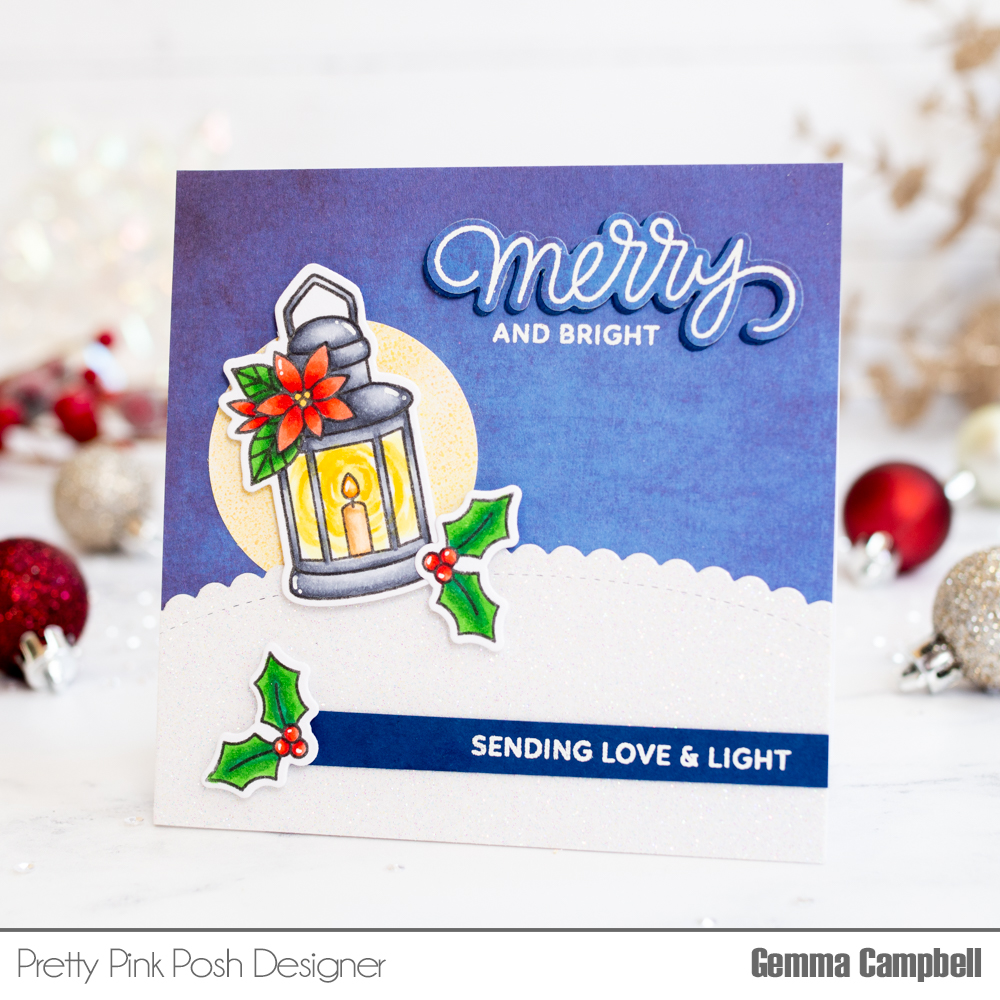
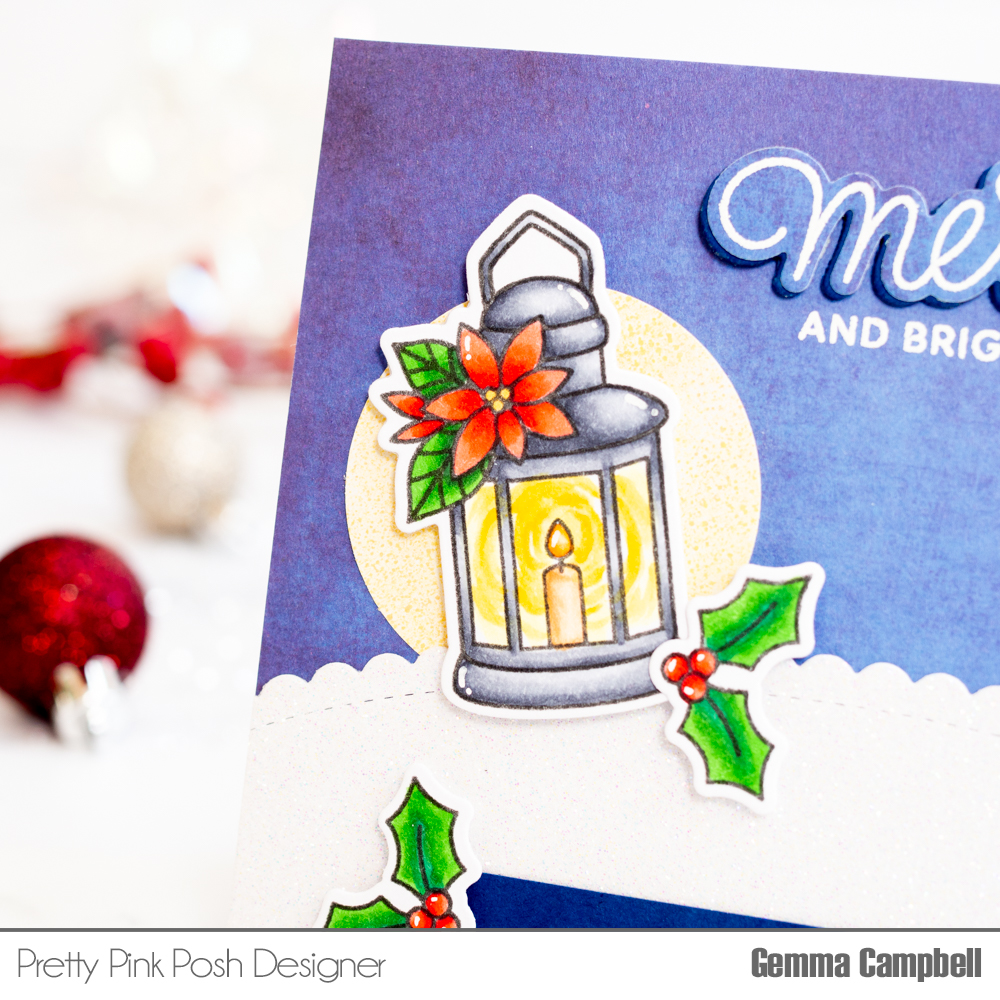
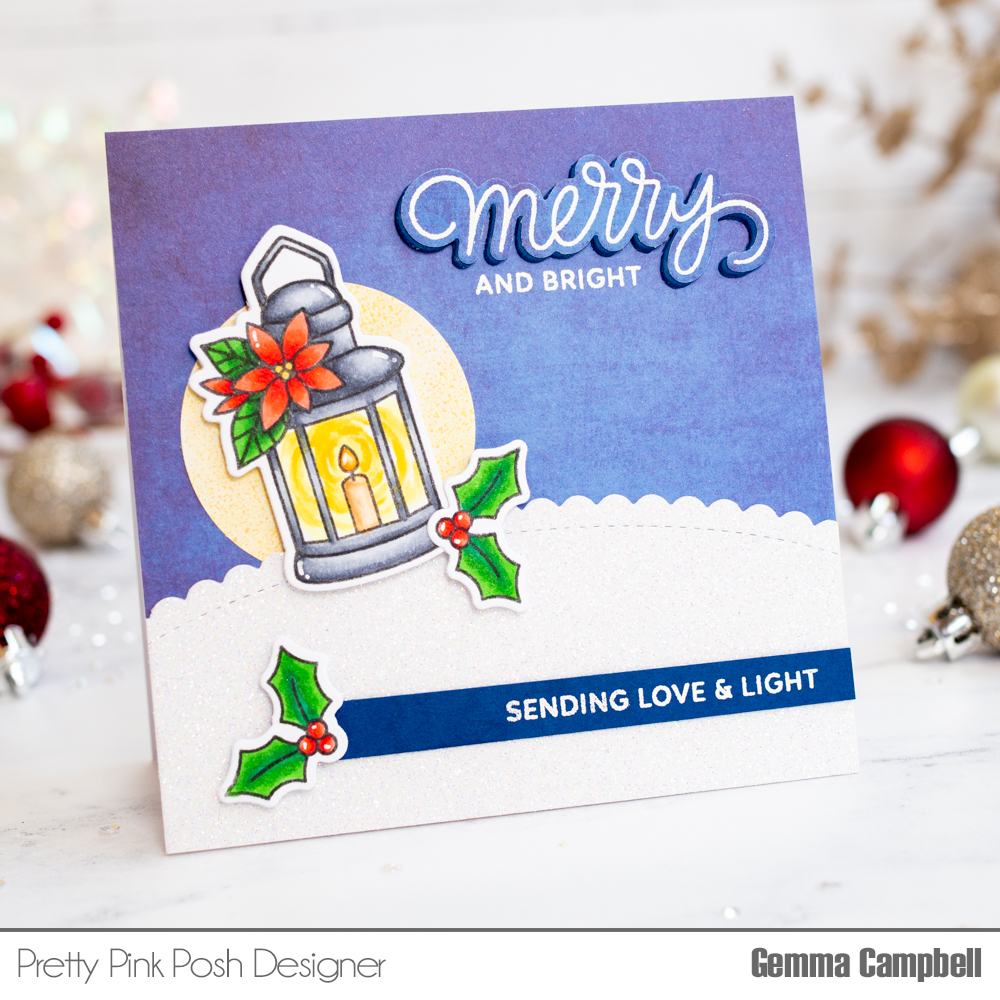
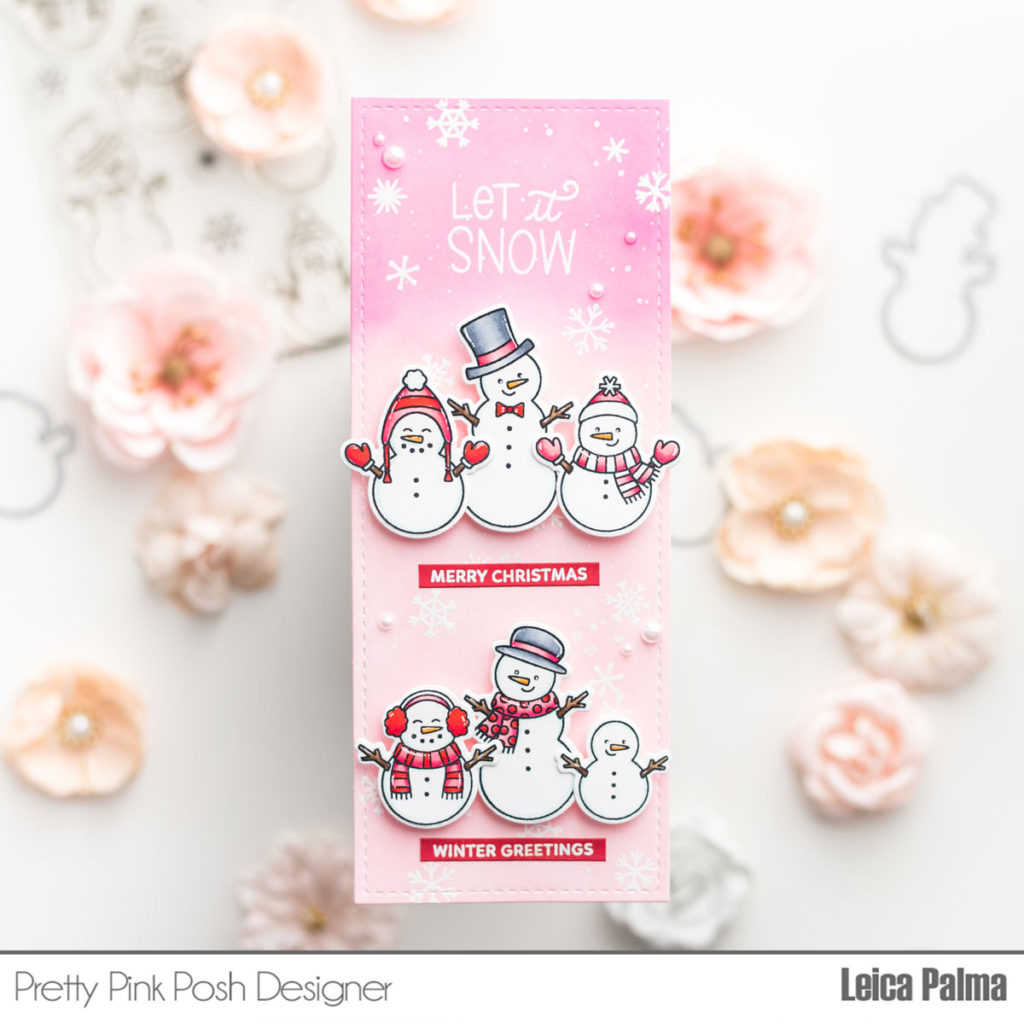
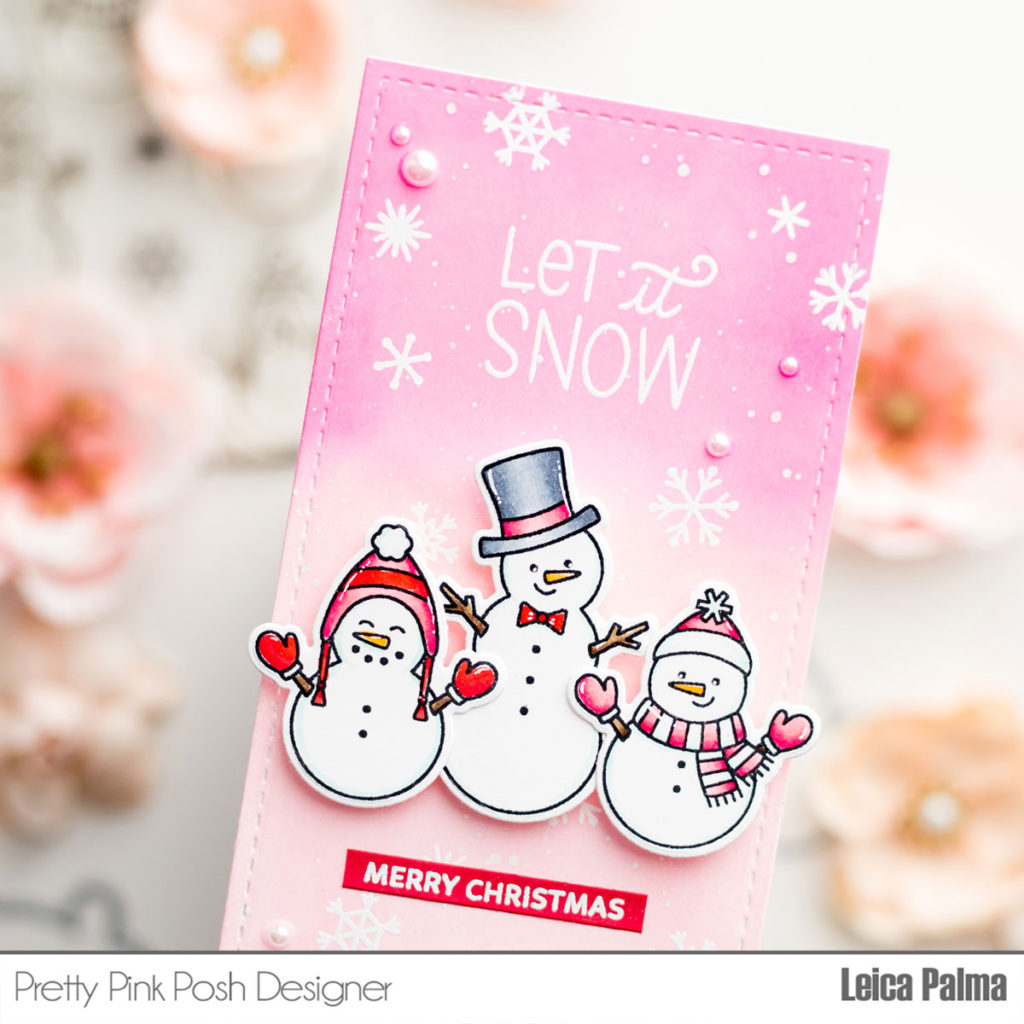
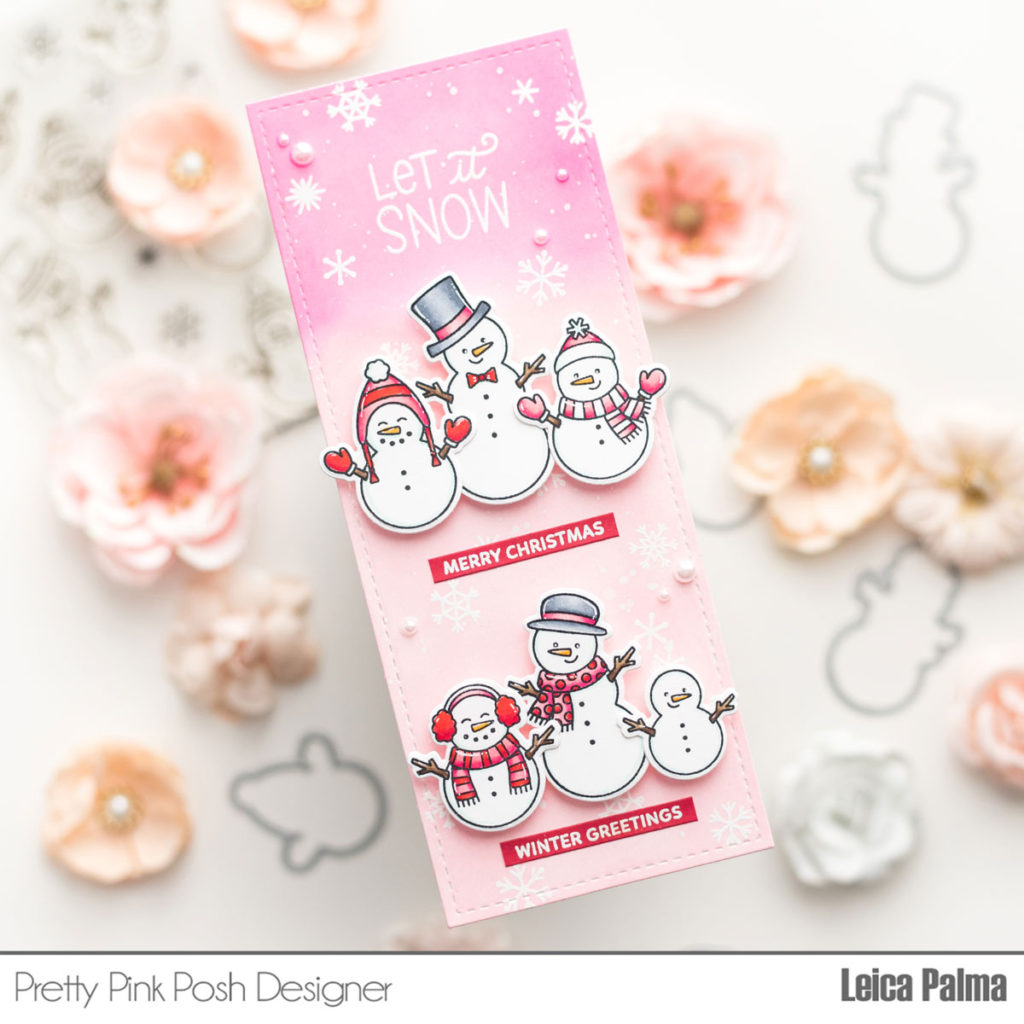
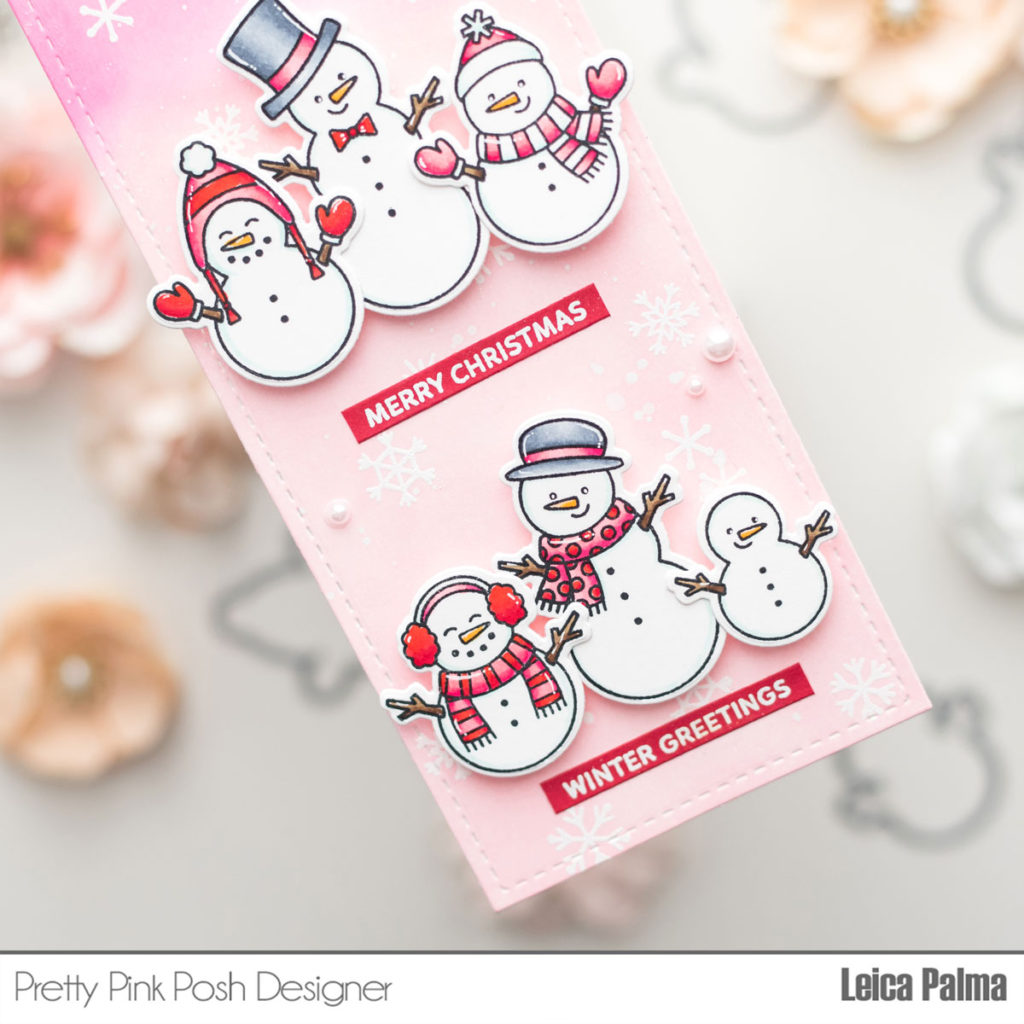
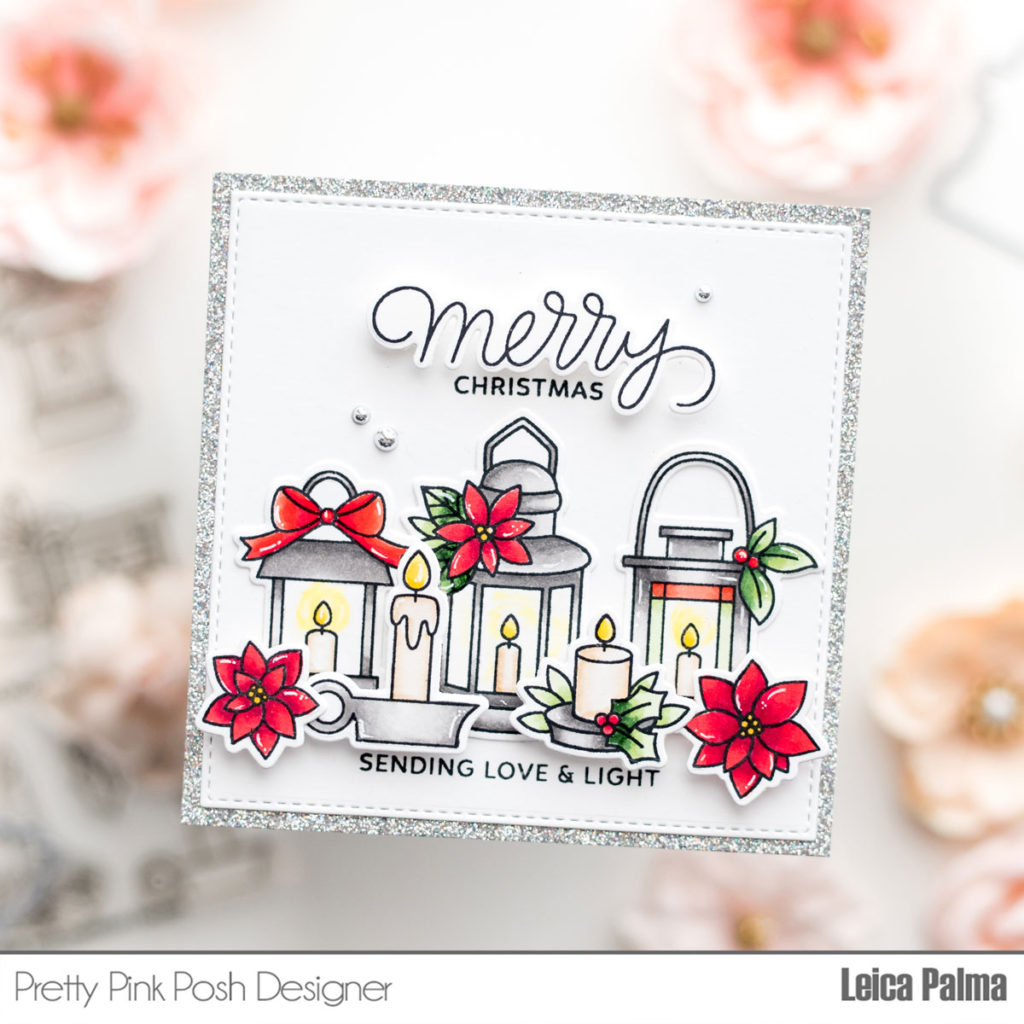
Hello friends! It’s Leica here today. I have a simple Christmas card to share with you all to kick off day 1 of the blog hop.
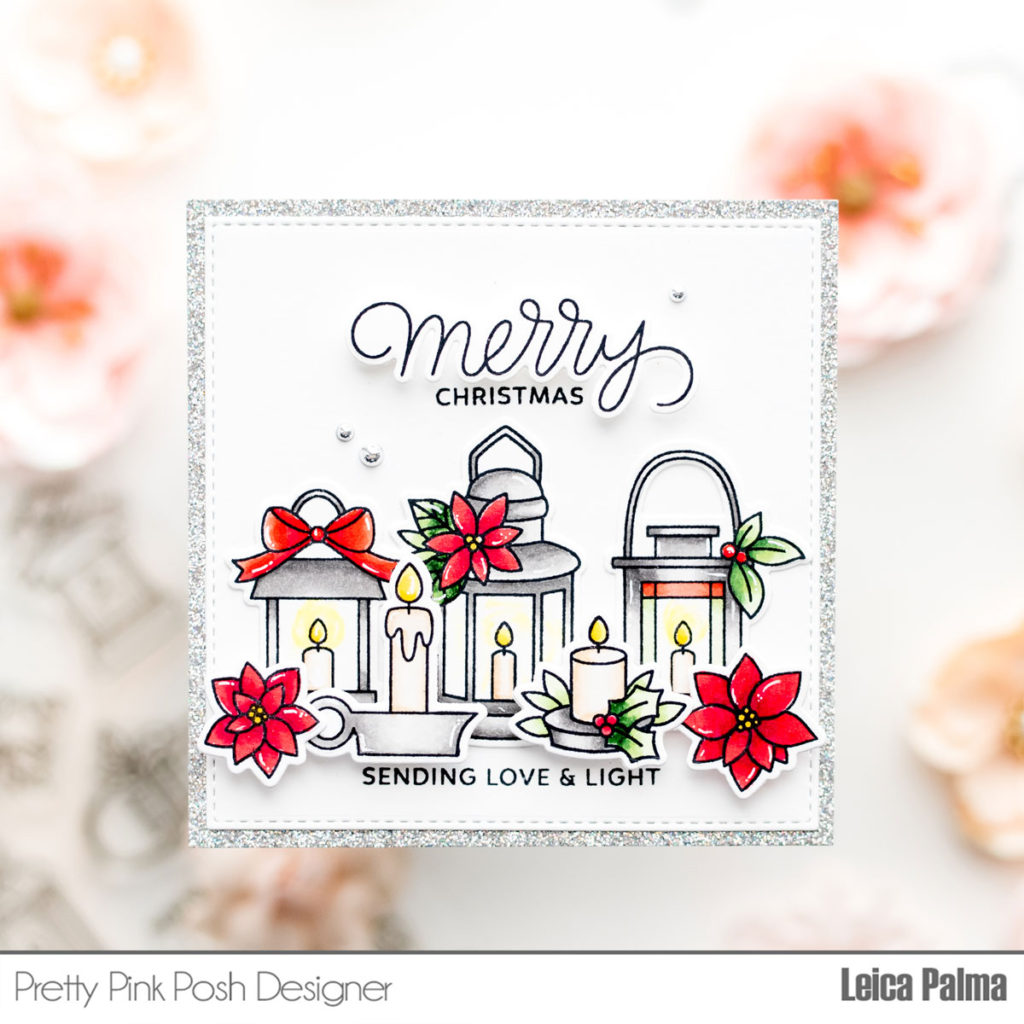
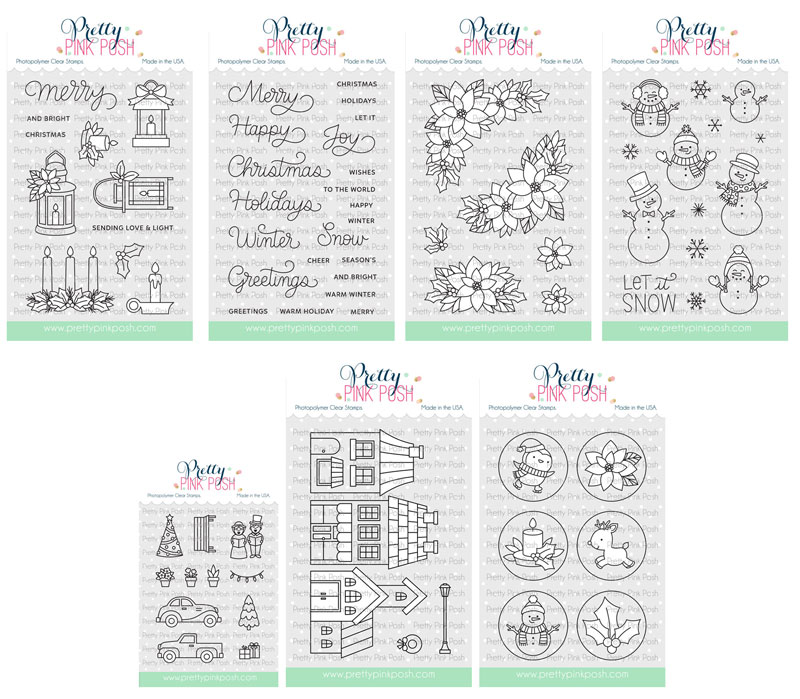
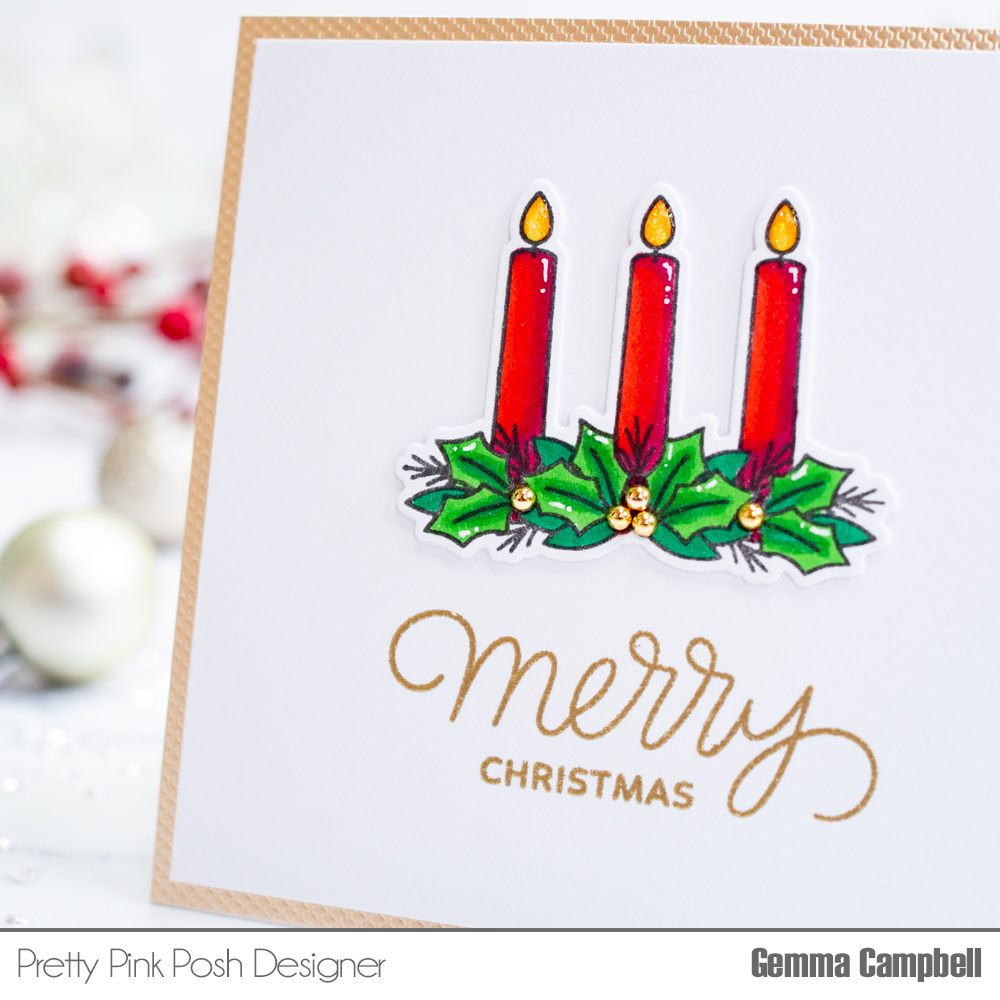
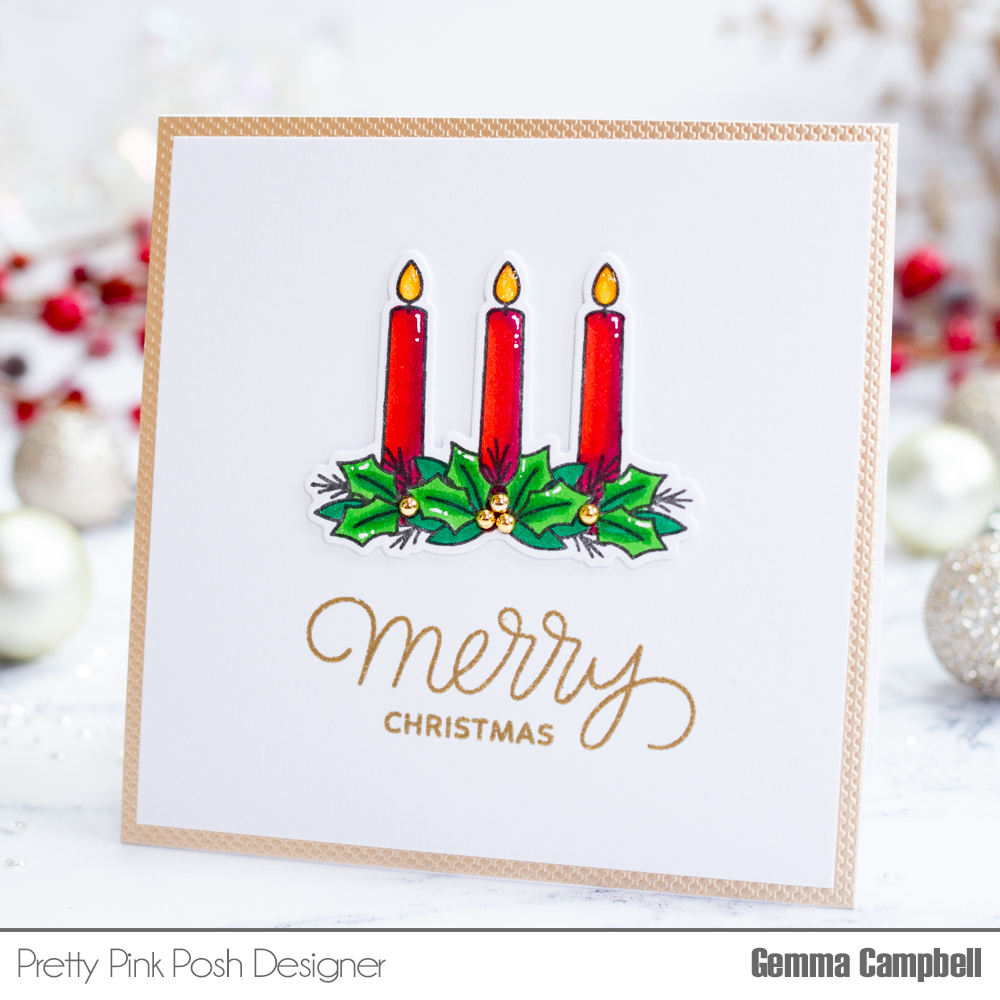
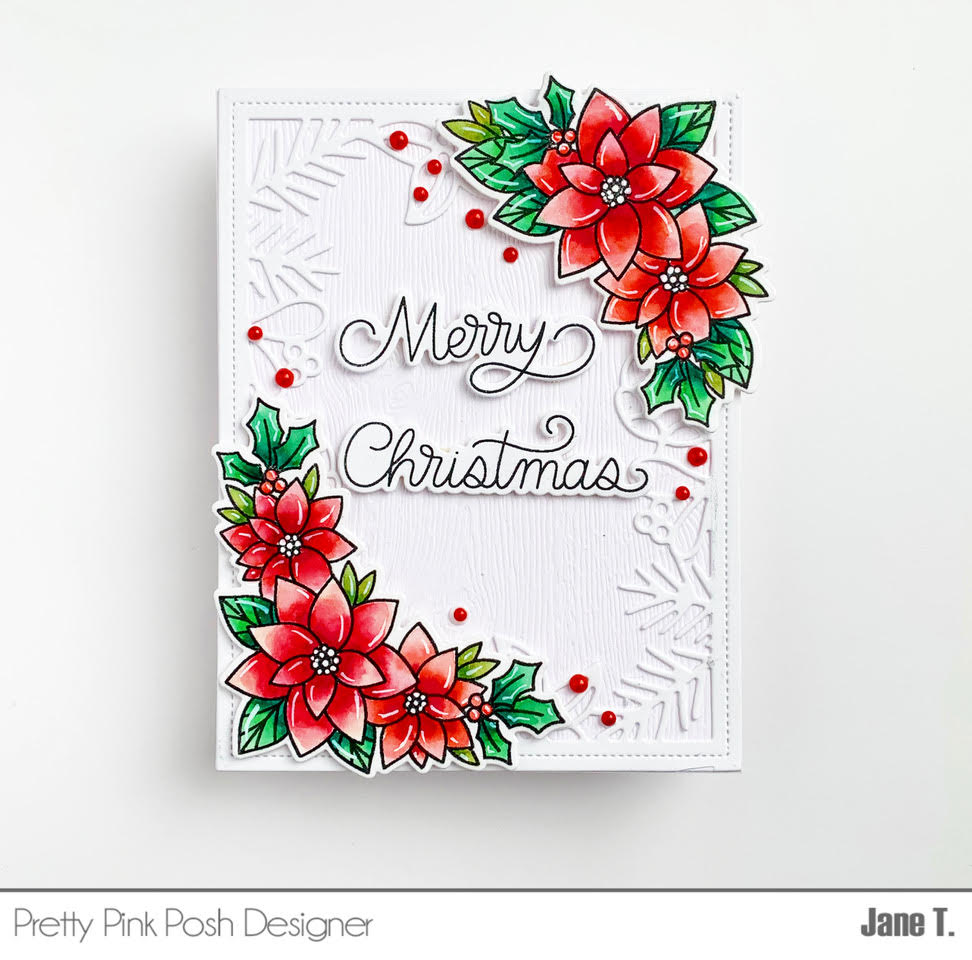
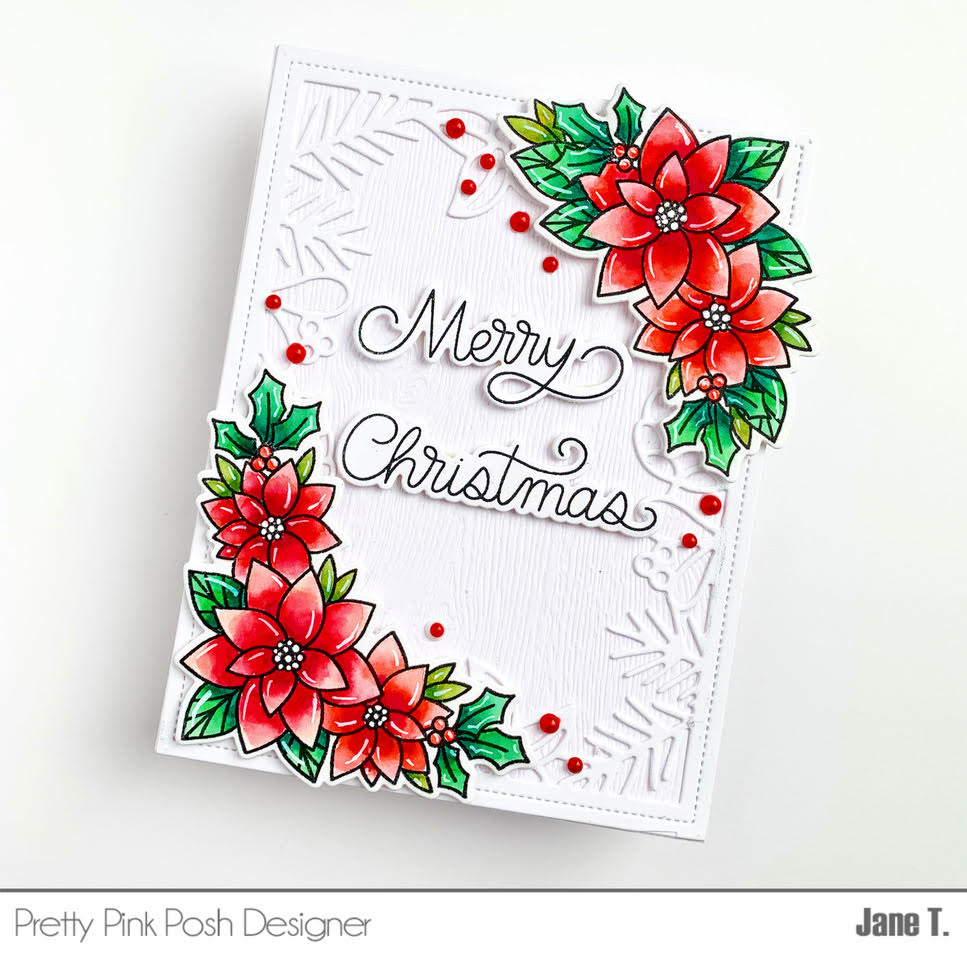
For this square-shaped card, I used images from the new Pretty Pink Posh Christmas Candles stamp set and Poinsettia Corners stamp set. Let’s begin! I first cut a 4.25″ square in silver glitter cardstock. I also cut a 4″ square and adhered it onto the larger panel.
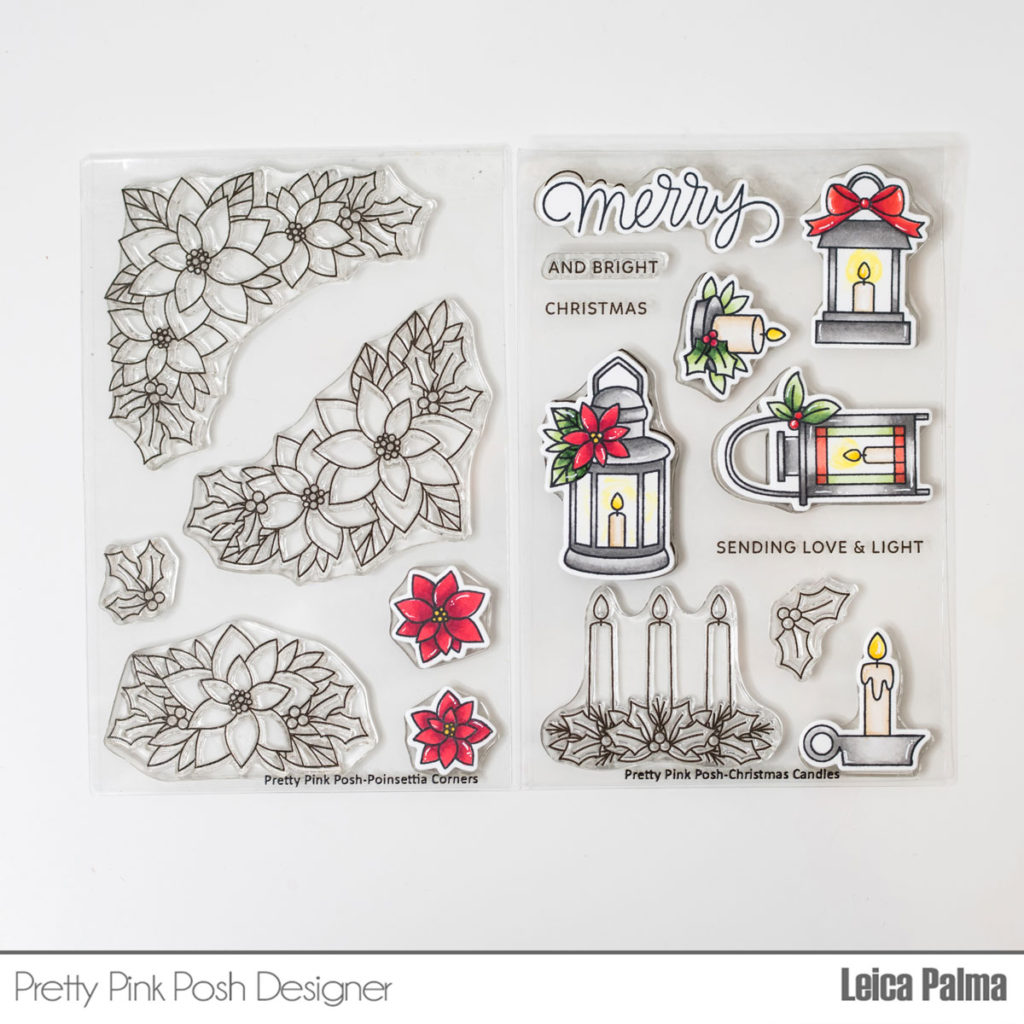
Next, I stamped, colored, and cut the images from the Christmas Candles stamp set and Poinsettia Corners stamp set. I used the following Copic markers: E42/41/40, R39/37/35, T5/3/1, Y18/11.
I glued down the 3 large candles directly on the card. I also stamped “Christmas” and “sending love & light” on the card panel. Next, I foam mounted the smaller candles, poinsettia, and the “merry” greeting. For added texture and interest, I added Metallic Silver Pearls here and there.
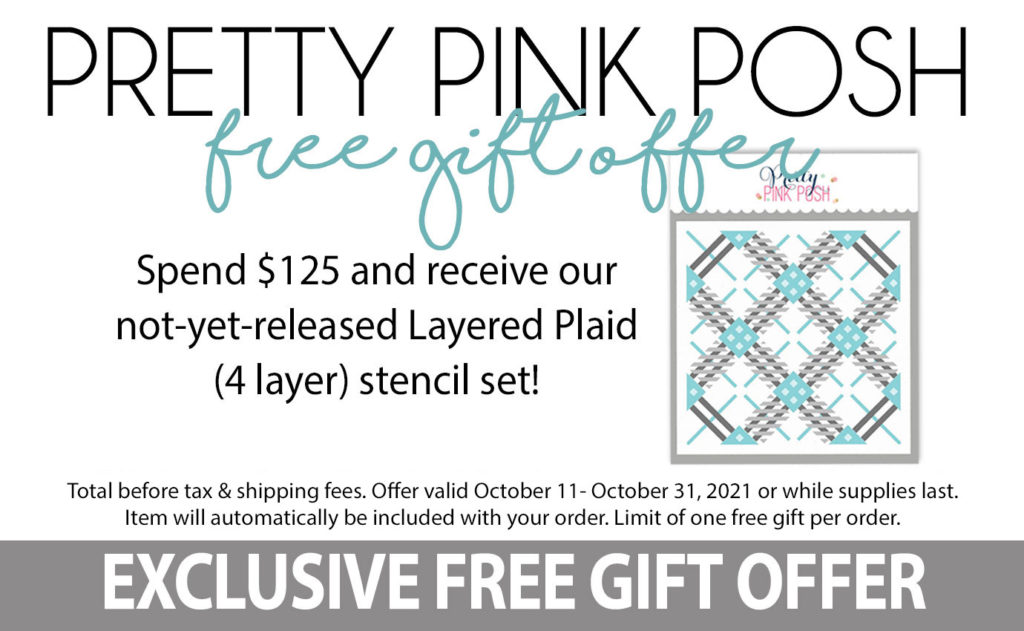
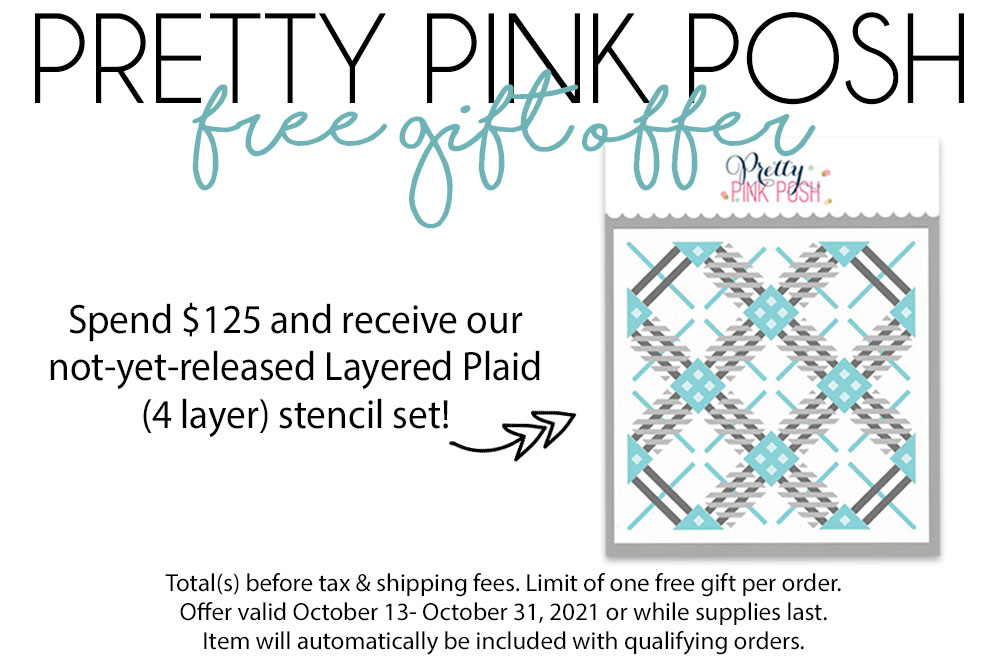
We’re giving away this not-yet-released 4 layer stencil called Layered Plaid with qualifying orders over $125. This is while supplies last and will automatically be included with orders.
PRIZES: be sure to leave comments on each stop. We are giving away 3 $25 gift certificates to three random comments (1 winner each day) left before October 19, 2021 at 11:59 PM PST. I’ll be announcing the winners next week, so be sure to return and see if you are one of the winners
Pretty Pink Posh blog << you are here
Jennifer McGuire
Rachel Alvarado
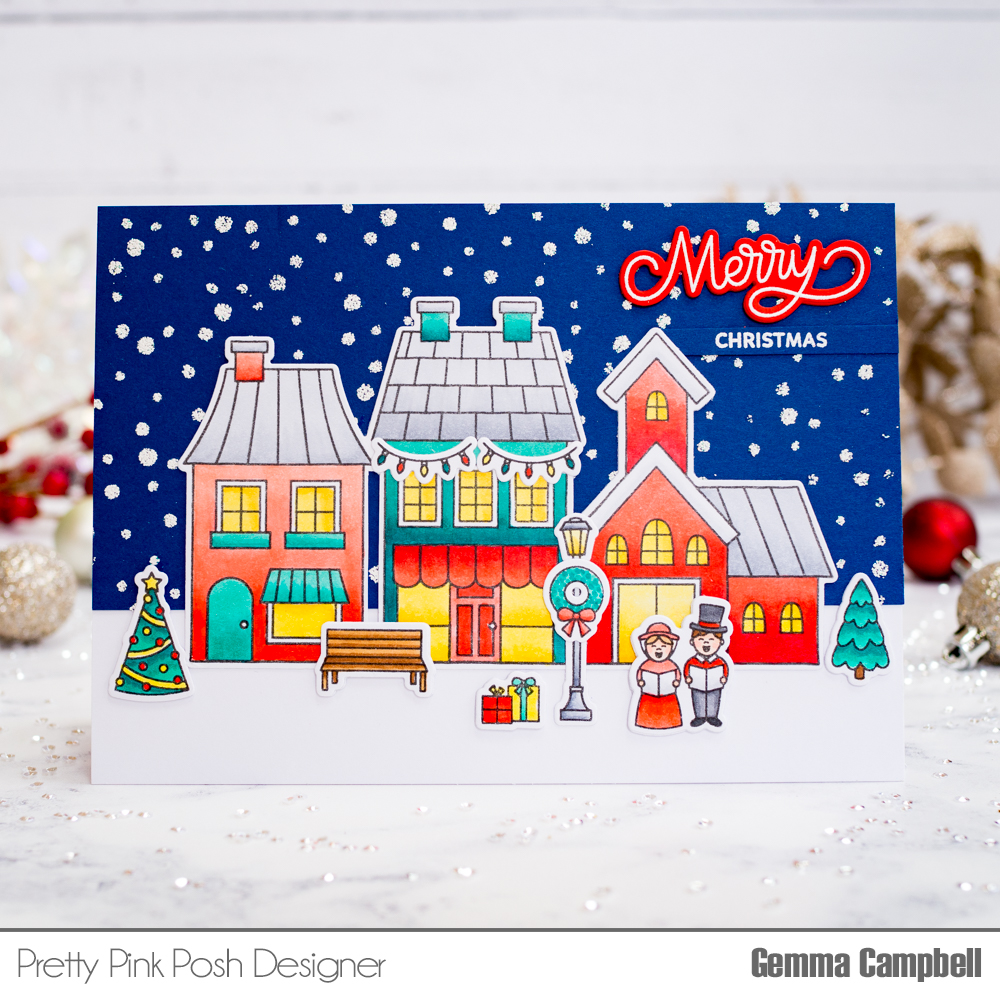
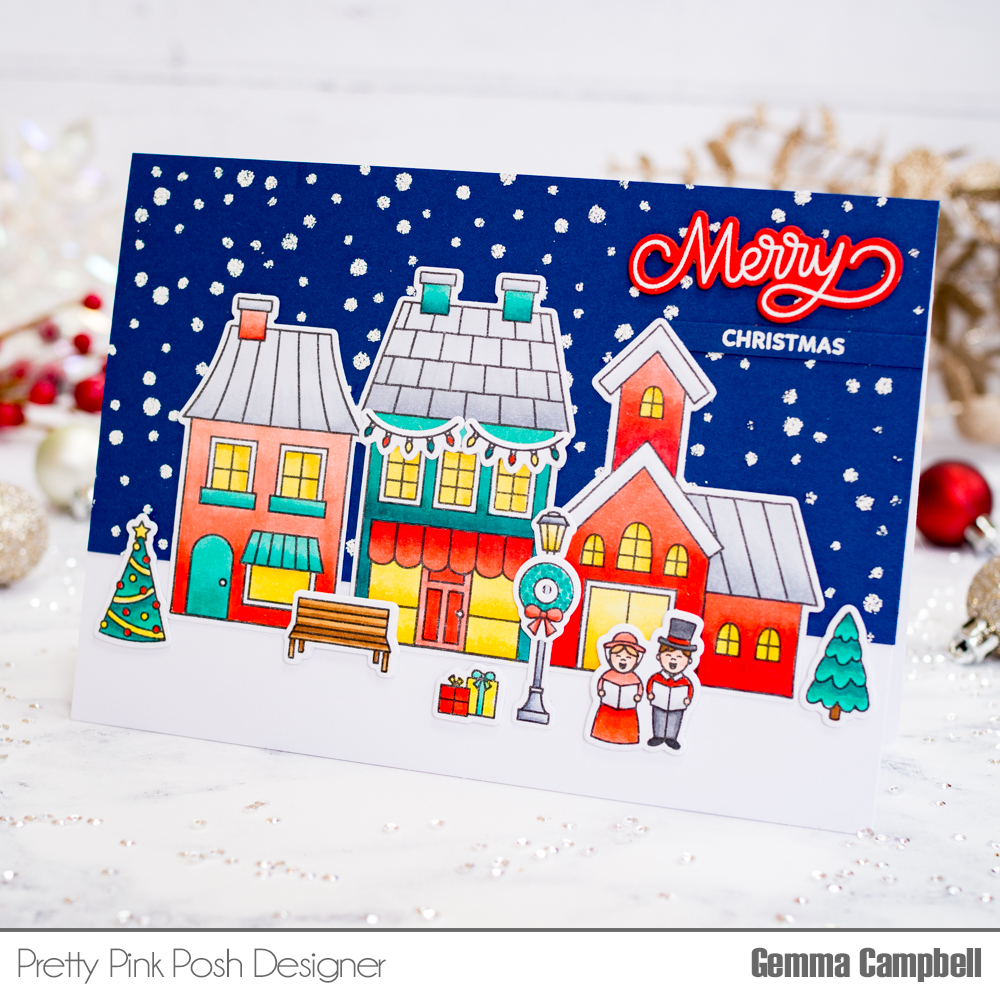
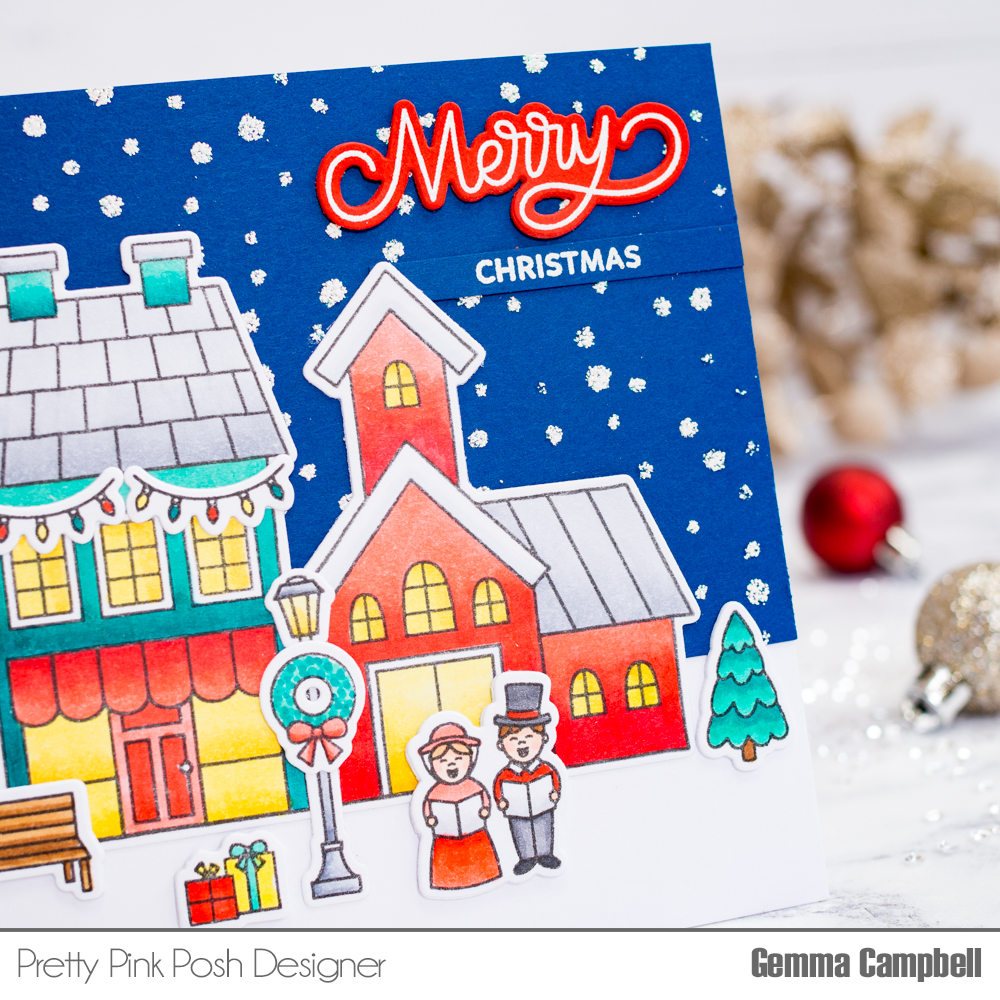
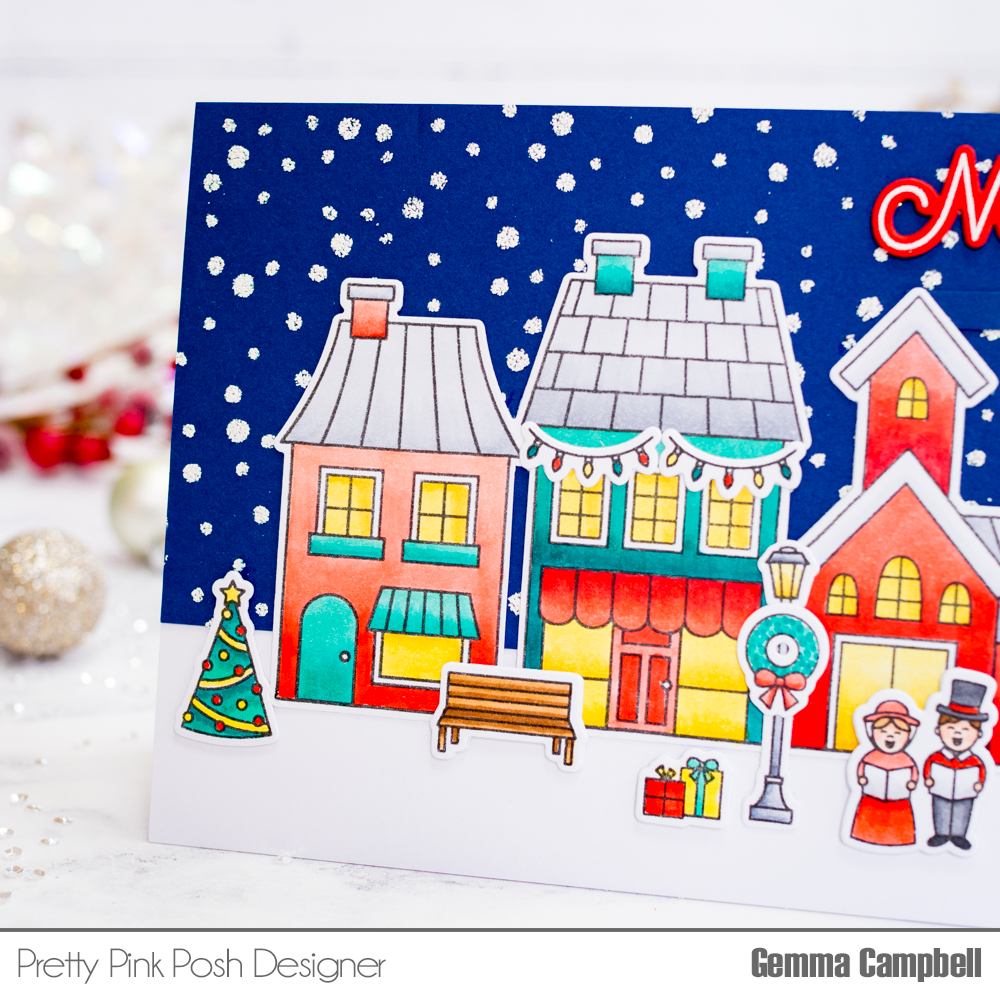
Gemma Campbell
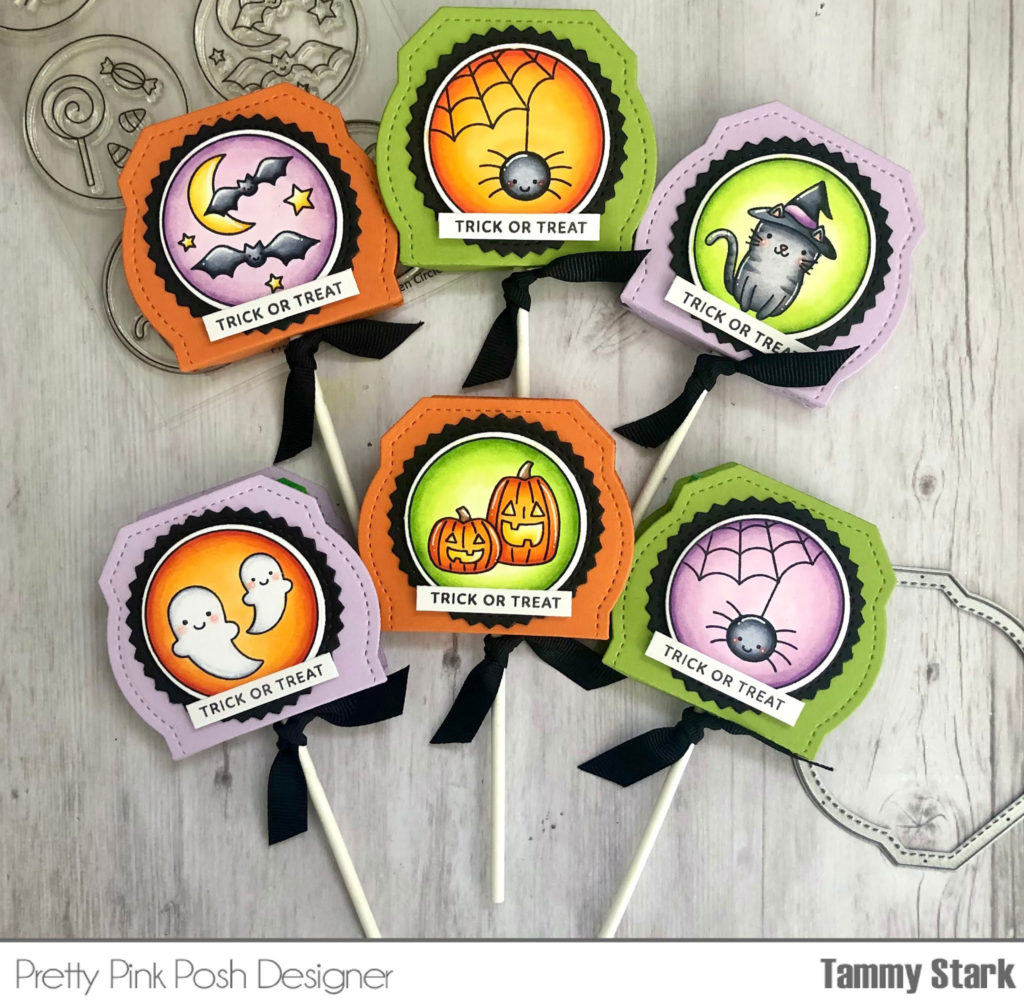
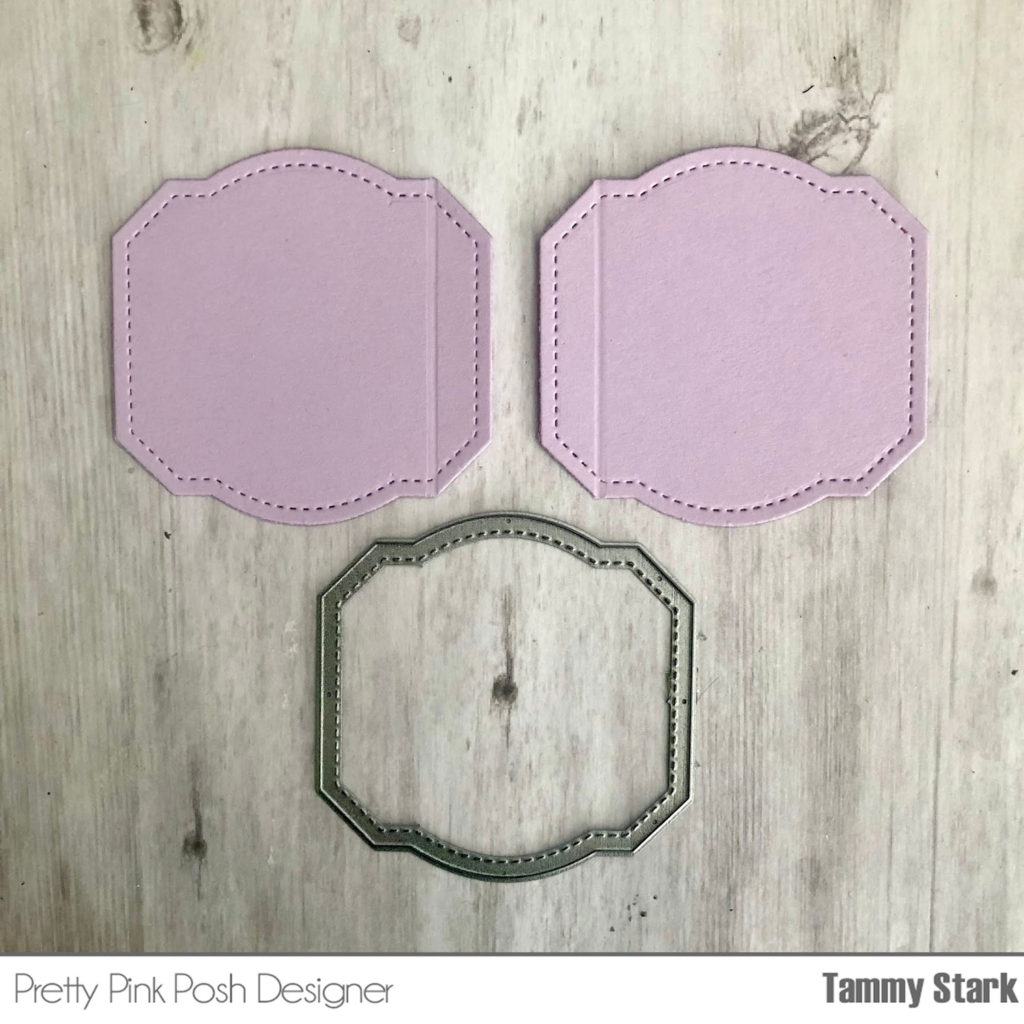
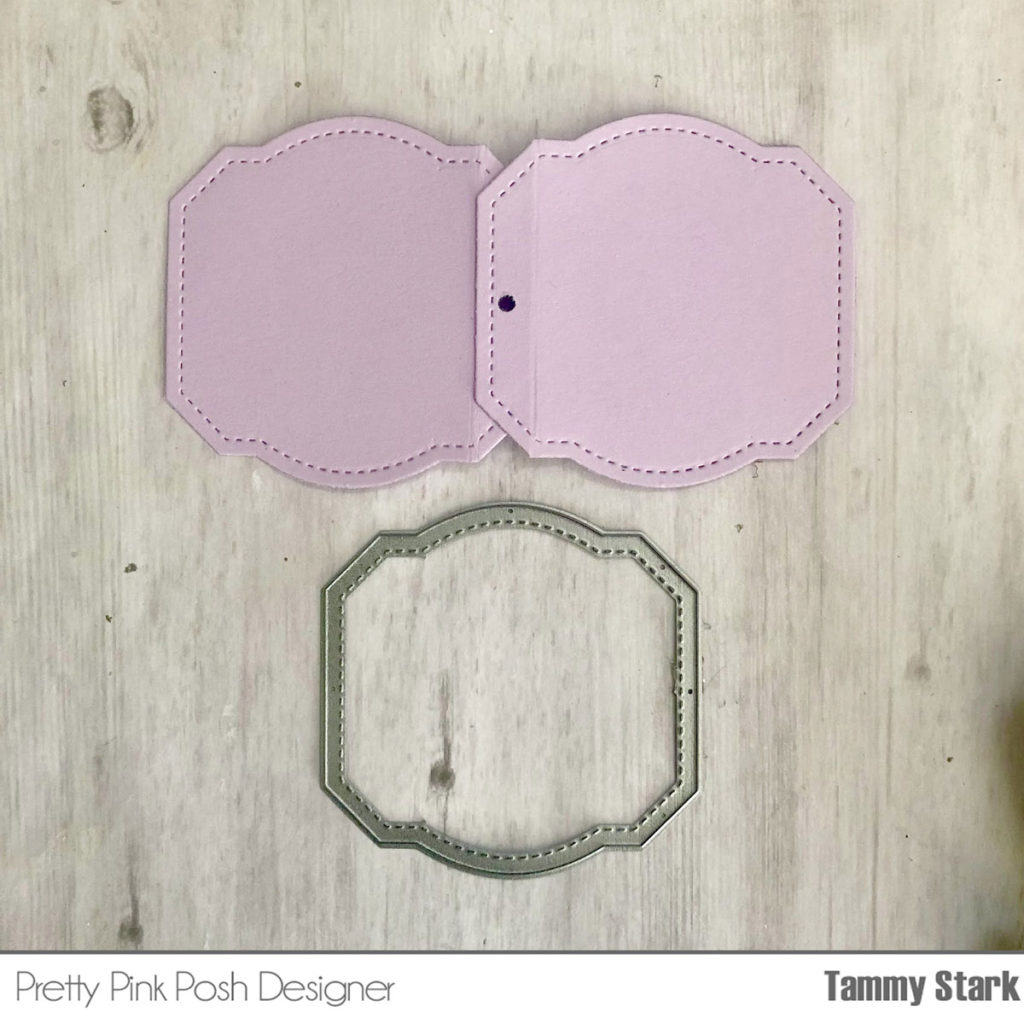
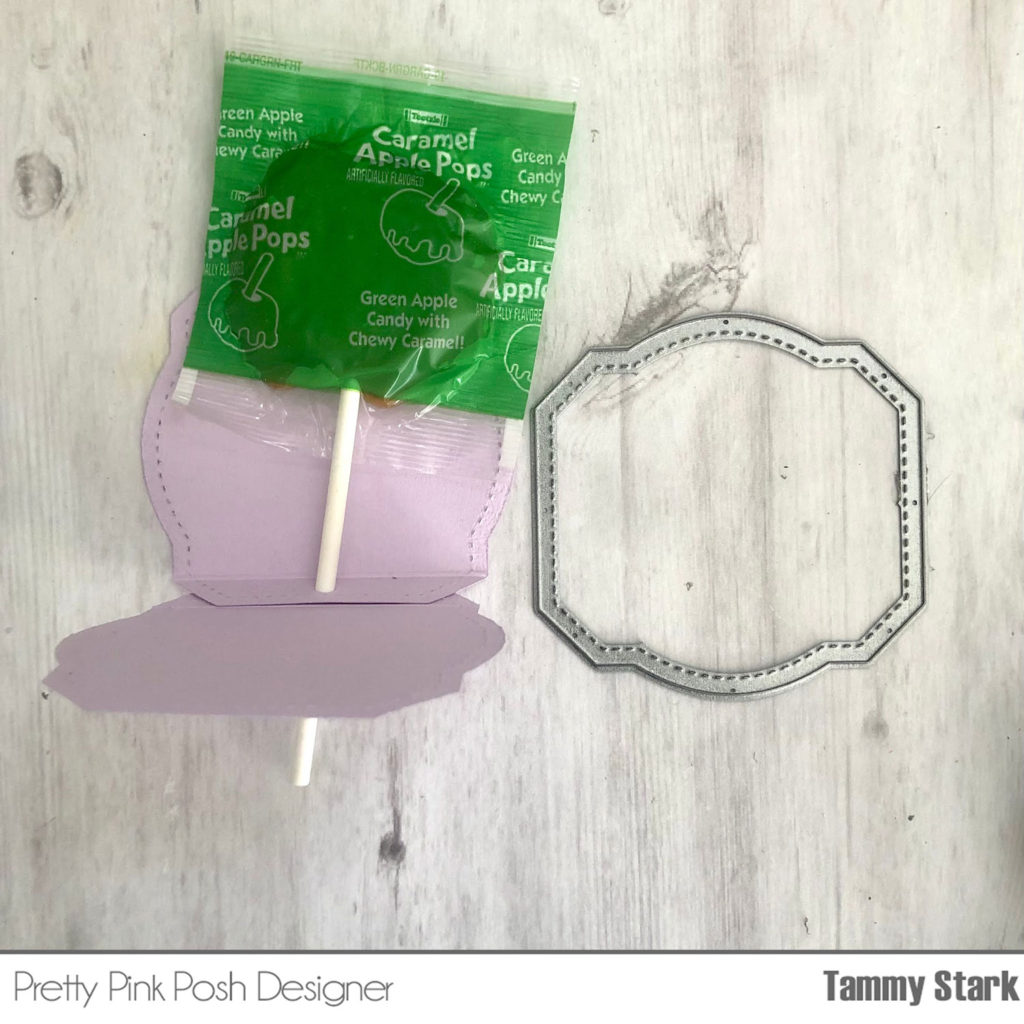
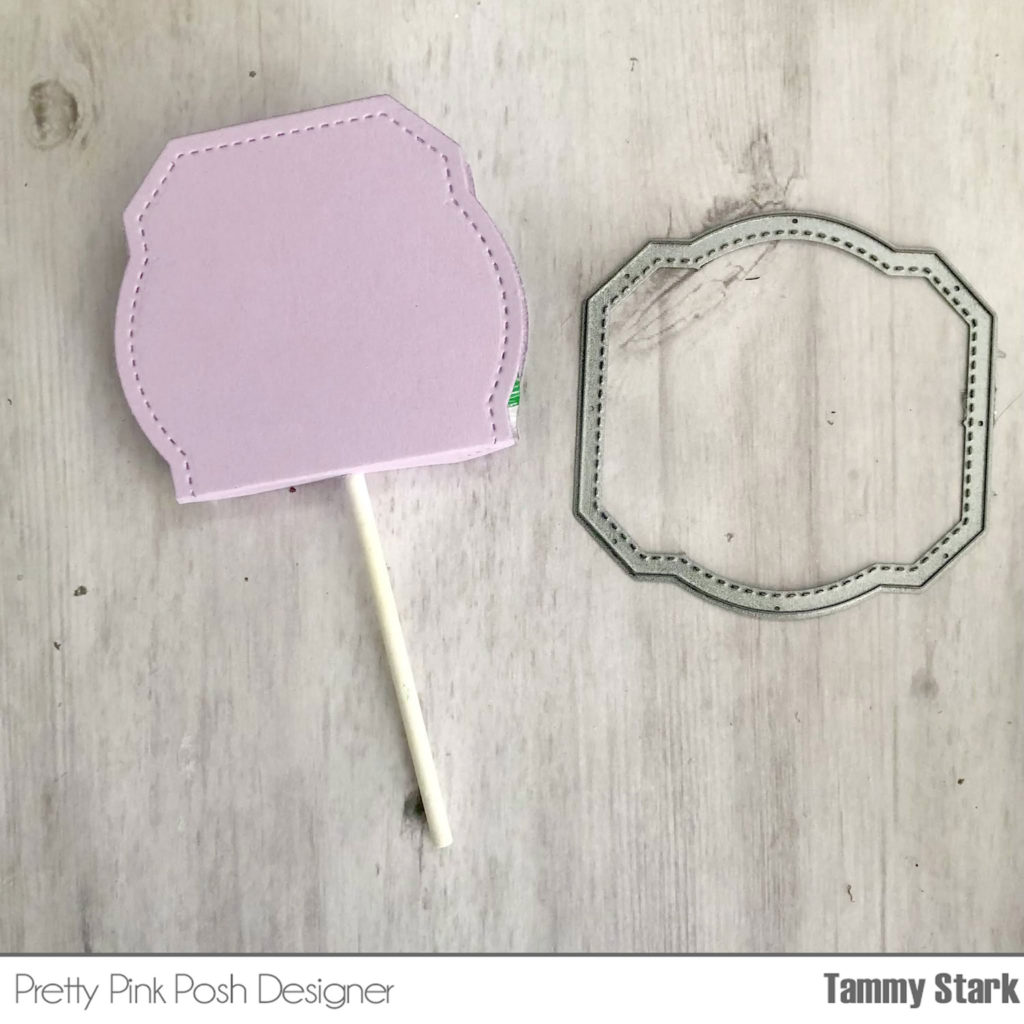
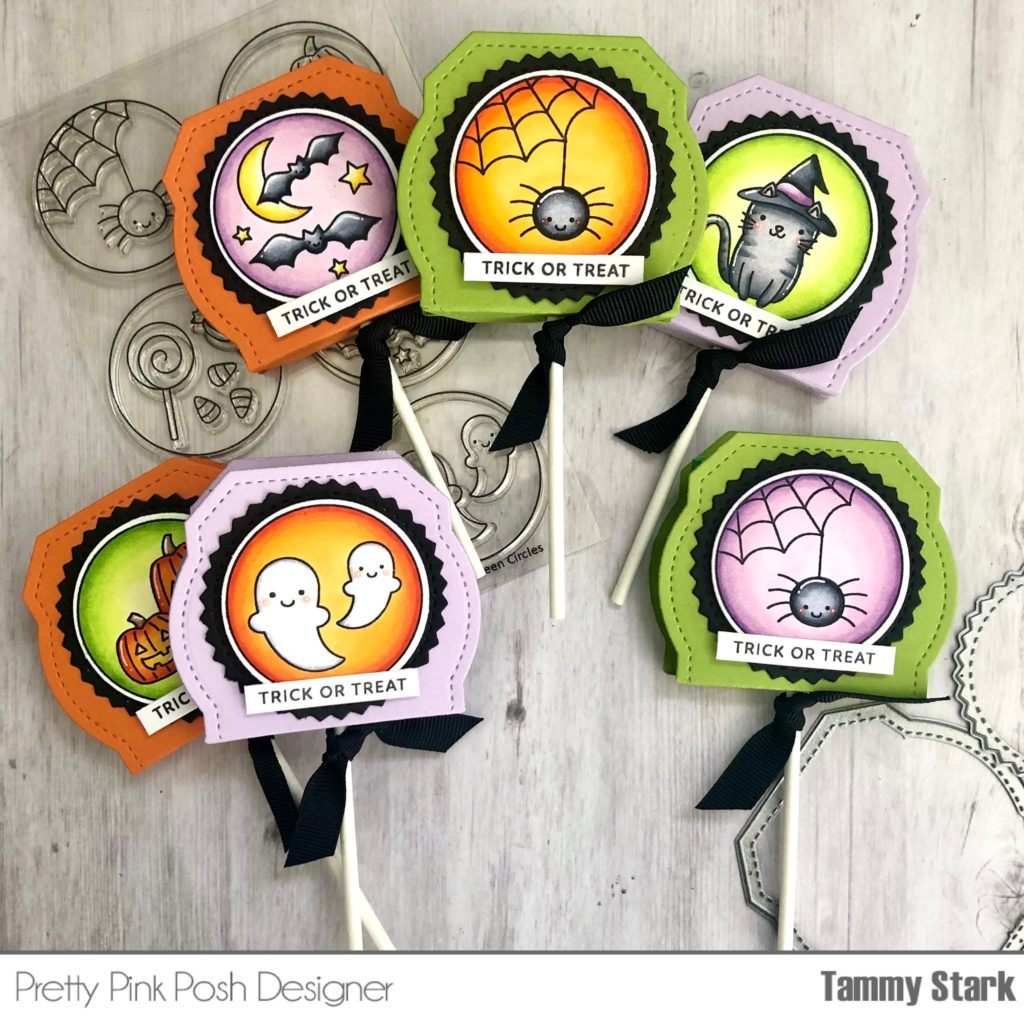
Tammy Stark
Tina Smith
Ashley Marcu
Thanks so much for stopping by today, we hope to see you again tomorrow for another day of holiday inspiration!