
Clean and Simple: Off the Edge Cutting

Hello, Gemma in for another installment of my series. For my CAS card today, I’ve used a technique that Jennifer McGuire showcased a few years ago, called Off-The-Edge Die Cutting. I tried this technique out at the time and really loved the effect. It works really well for CAS cards too.
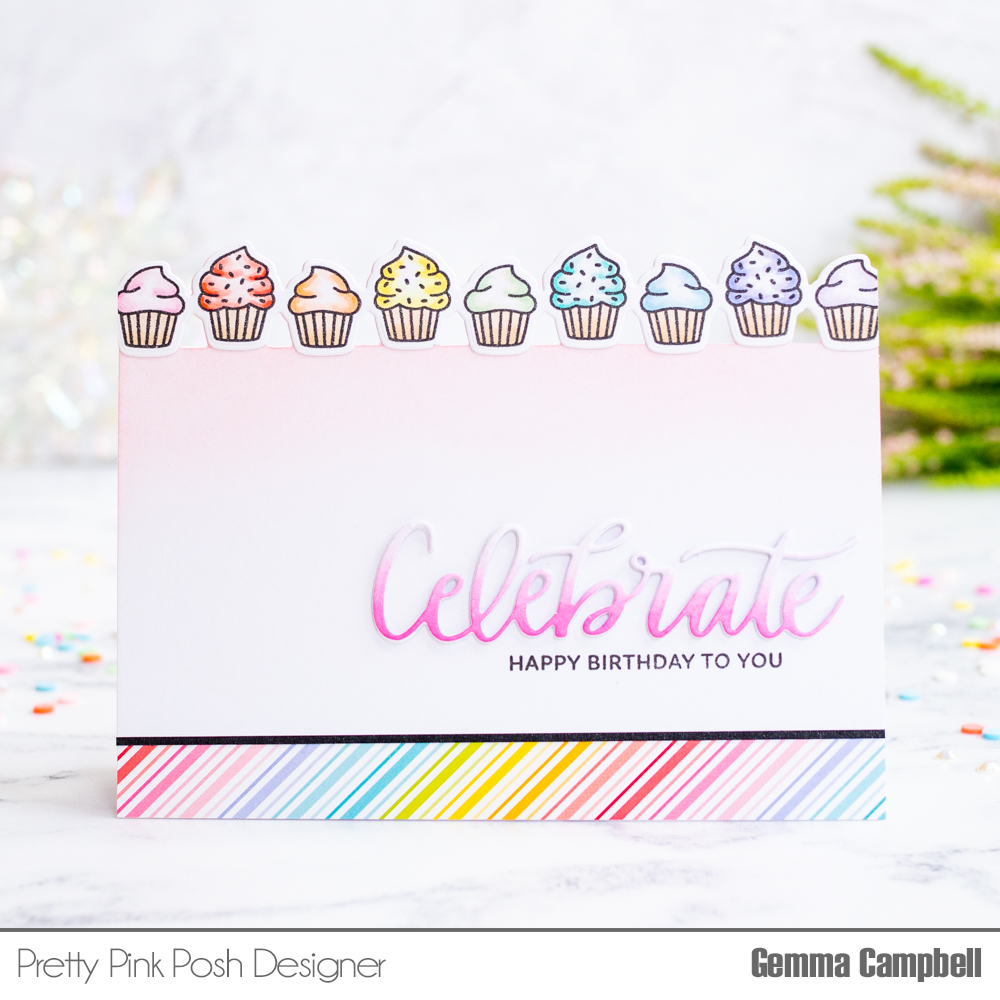
I’m using the new Party Days stamp set and coordinating dies for my off-the-edge die cut CAS card. I began with a piece of card cut to 8.5 x 5.5 inches, and I drew a pencil line down the centre of the longest edge at the 4.25 inch point.

I used washi tape to temporarily adhere the cupcake border coordinating die so it sits with part of the die underneath the pencil line, but most of it above. As I want to partially die cut this border, I placed the edge of my die cutting plate along the line, and ran it through my die cutting machine so it only cuts above the pencil line.

For the areas between the cupcakes that didn’t cut, I used a metal ruler and a craft knife. I am then left with a piece of card with the cupcake border cut at the top. The panel can be trimmed down to 4.25 inches high so it will still fit in a standard sized envelope.
At this point, you can stamp directly on to the die cut edge, but I decided to stamp and die cut a separate cupcake border to adhere over the top. By layering over the top, the partial die cut edge gives stability and the separate border means the copic colouring doesn’t show up on the reverse.
I coloured the cupcakes border with a pastel rainbow of copic markers, then die cut it with the coordinating die. Before adhering it to my die cut panel, I blended some spun sugar distress oxide ink onto the panel, fading it out to white.

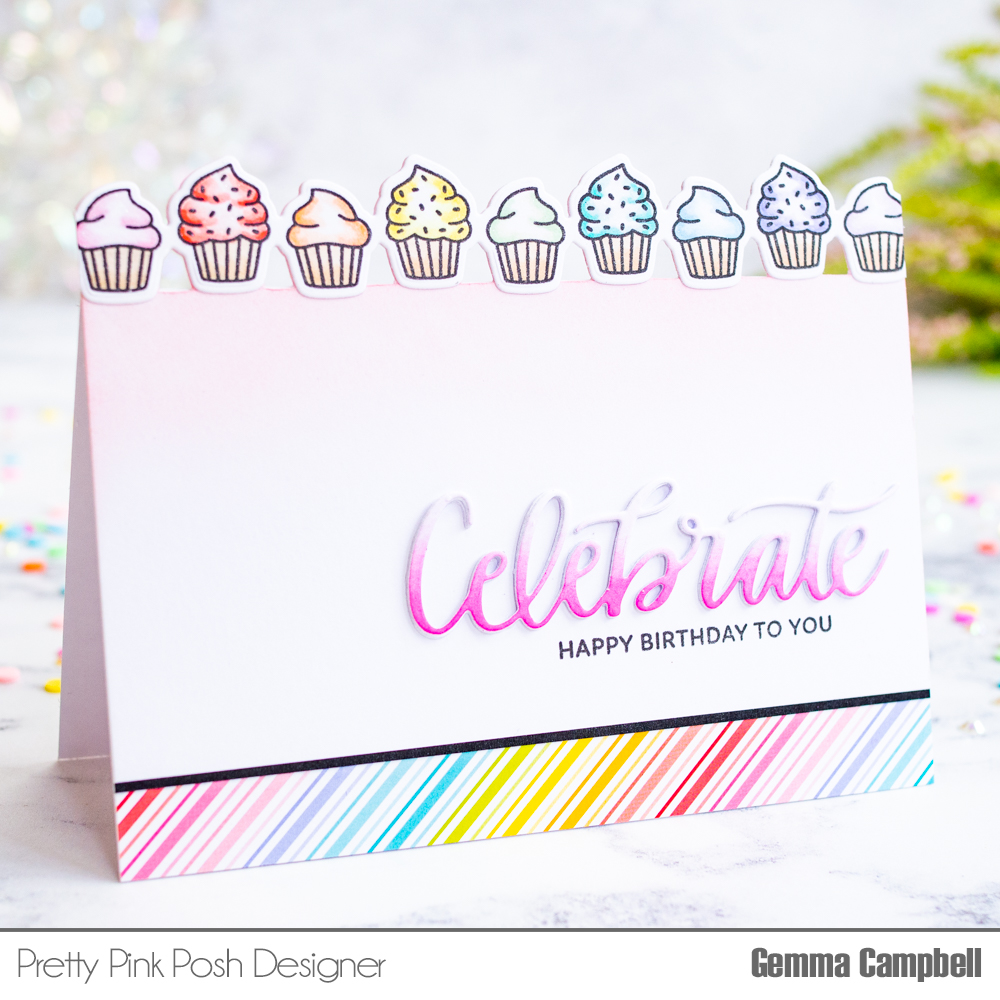
I trimmed the panel down to shorter than 4.25 inches so I could add a patterned paper border. I adhered some rainbow paper on a landscape A2 card base, then adhered the panel so the cupcake border sits above the fold of the card. I adhered a thin black strip of card along the edge of the patterned paper.
To finish my card, I stamped a sentiment from the Let’s Party stamp set, then adhered a die cut Celebrate word die above it. I stacked the die cut with 3 layers for dimension, and partially inked the sentiment with picked raspberry distress oxide ink to tone in with the background.
Do check out Jennifer McGuire’s video for Off-The-Edge Die Cutting, to see this fun technique in action.
Thank you for stopping by today!
What a cute idea. I like the colorful cupcakes…