Sneak Peek: Citrus + Watermelon
Hello, Gemma here today with a sneak peek of the new Citrus and Watermelon stamp sets. Perfect for fresh, summary cards.
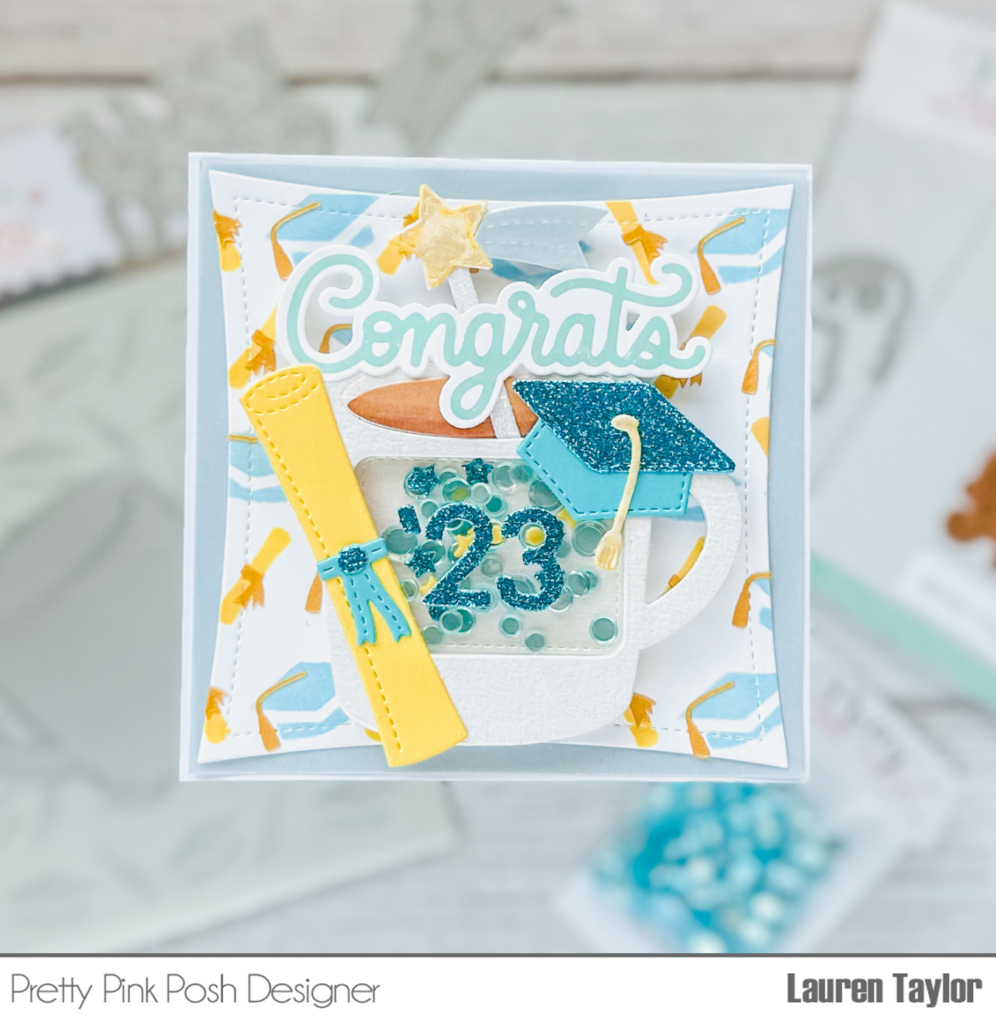
New release will be available June 7th
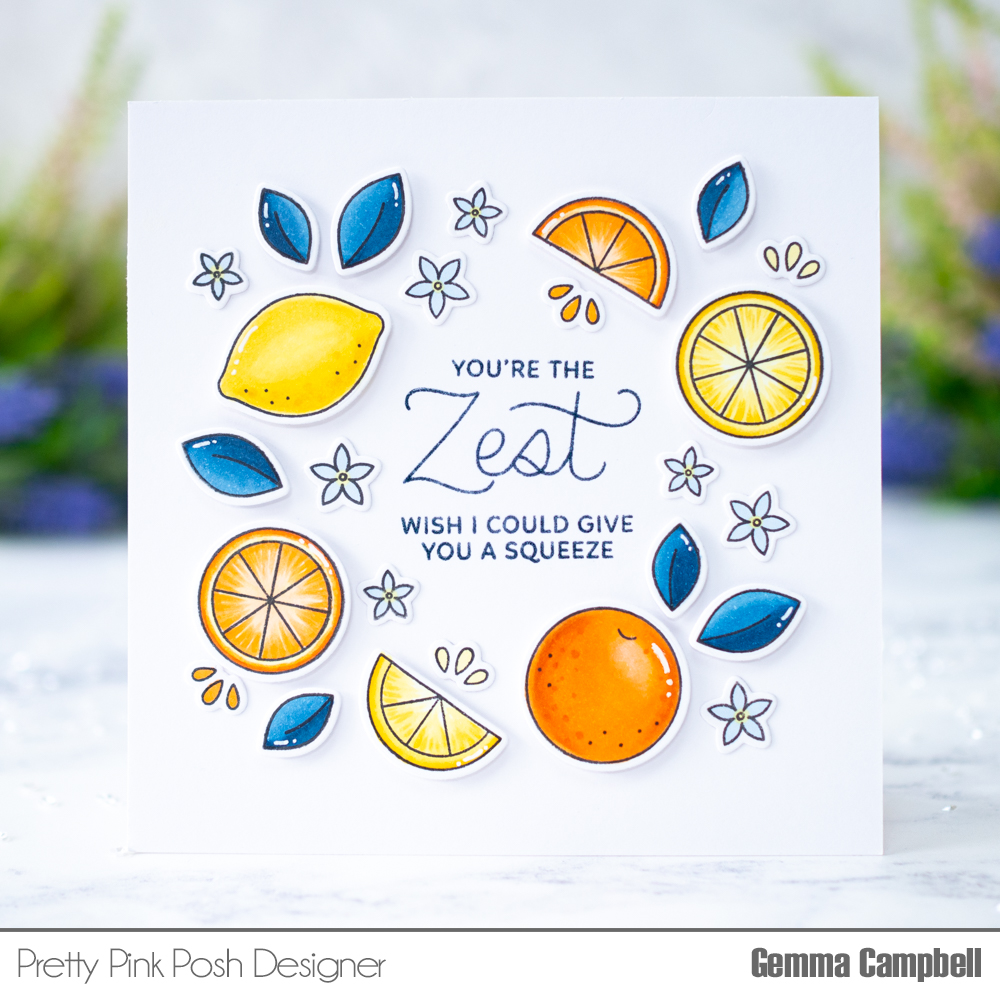
The citrus set includes orange and lemon / lime images, along with two fun sentiments.
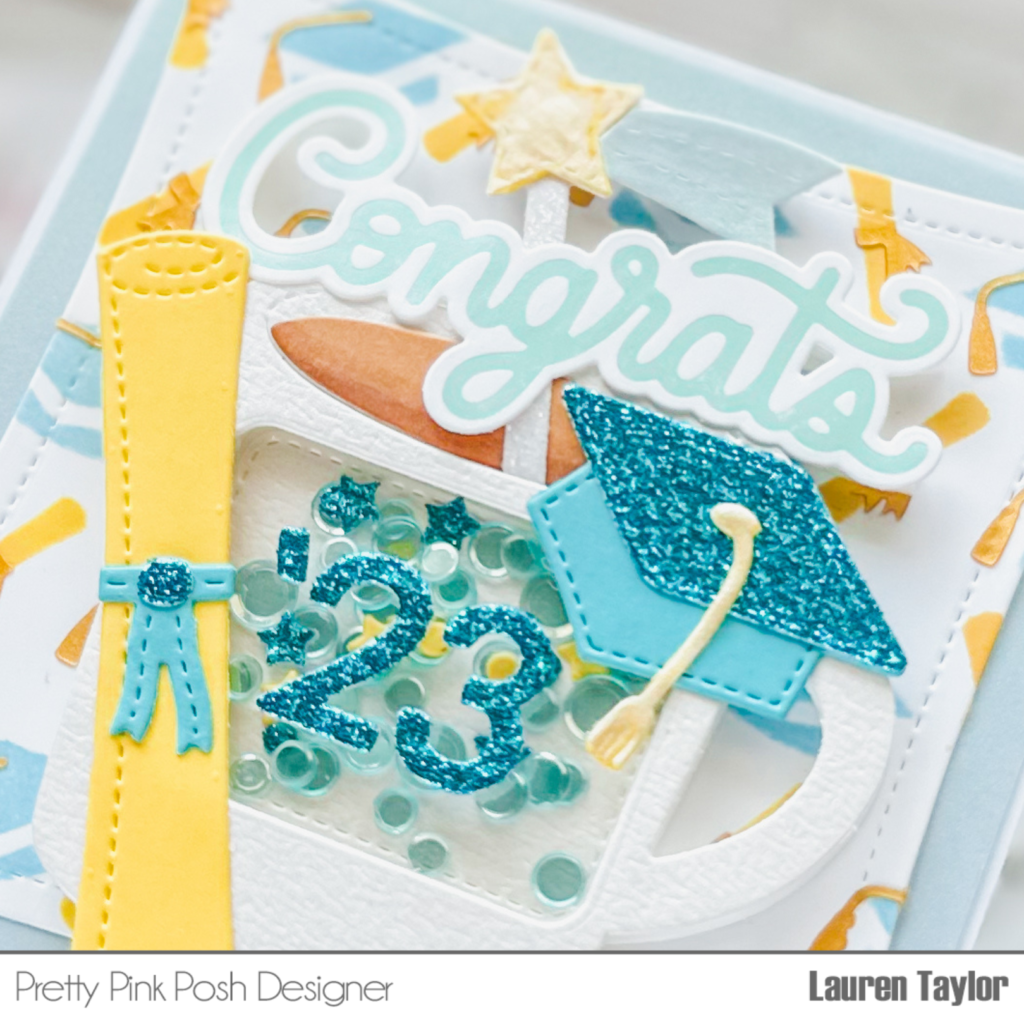
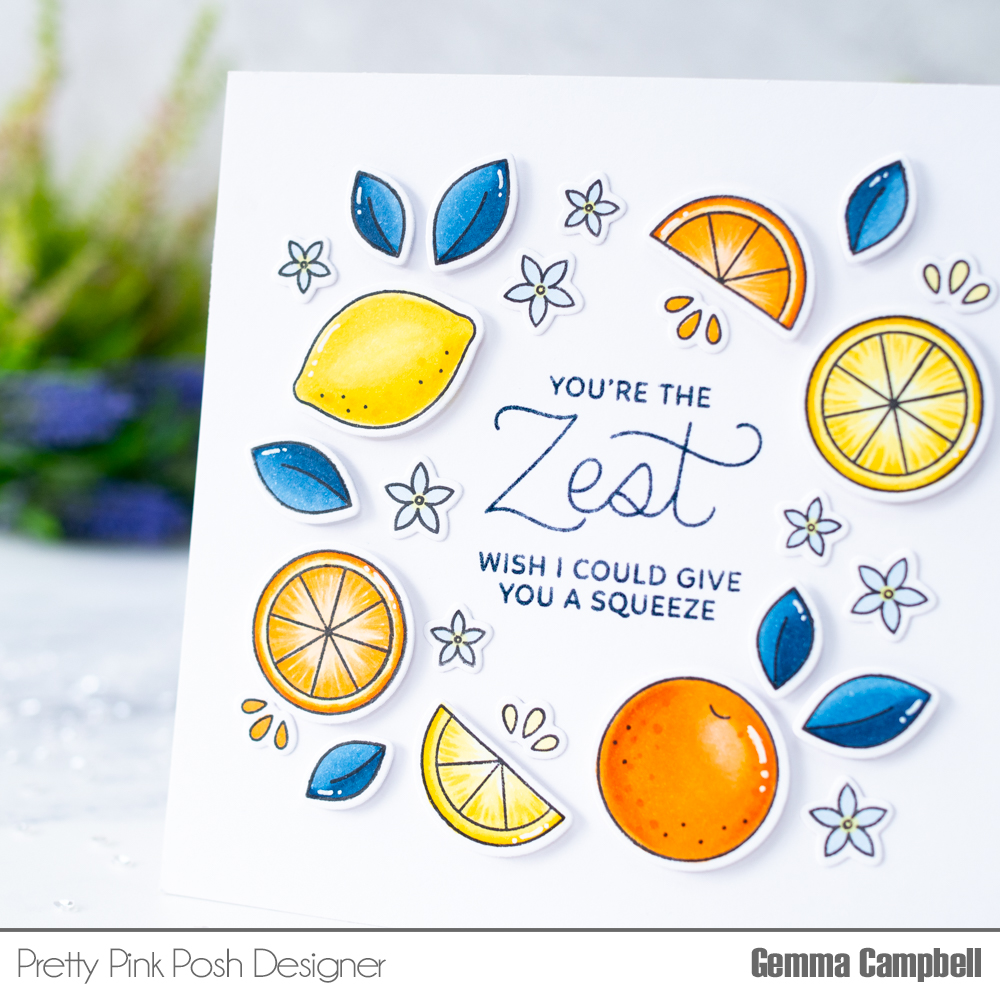
I stamped out the images and coloured them with copic markers. I then die cut them with the coordinating dies. Instead of green leaves, I went with a navy blue as I love the colour combo with the orange and yellow. The images I’ve coloured as lemons can also be limes.
Copic colours: Lemons: Y00-Y15; Orange: YR01-02 YR14-18; Orange slice: Y00 YR00 YR14-18; Leaves: B93-97; Flowers: B91
Next, I stamped the sentiments from the stamp set in the center of a square card panel, using embossing ink. I then heat embossed them with a navy embossing powder, to complement the colours scheme. I adhered this panel to a top folding card base (5.25″ square).
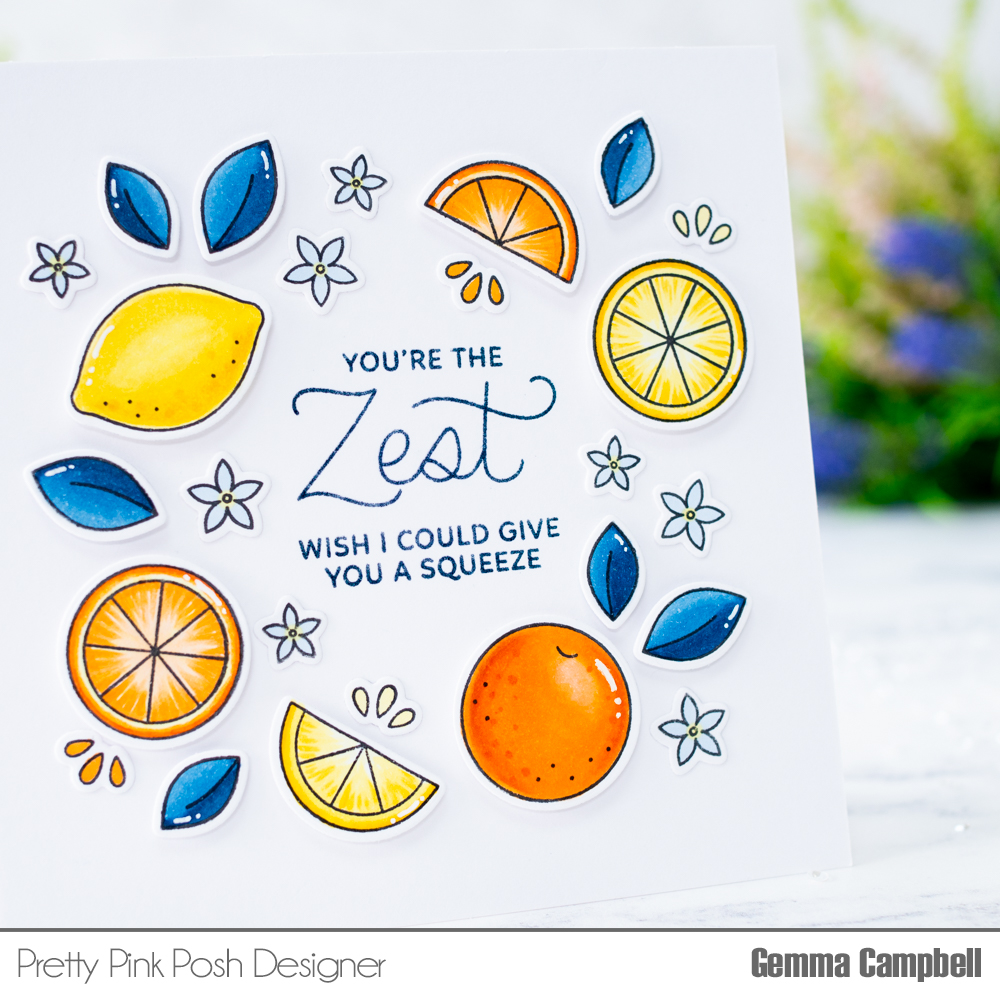
I arrange the images around the sentiment, then adhered the larger images with foam tape, and the smaller images with liquid glue.

The Watermelon set includes the whole melon and two different slices, along with some pretty leaves. There are a selection of different sentiments too.
As before, I stamped out the images and coloured them with copic markers. I enjoyed colouring these as they were quick and the colours are really fun. I used the coordinating dies to cut them out.
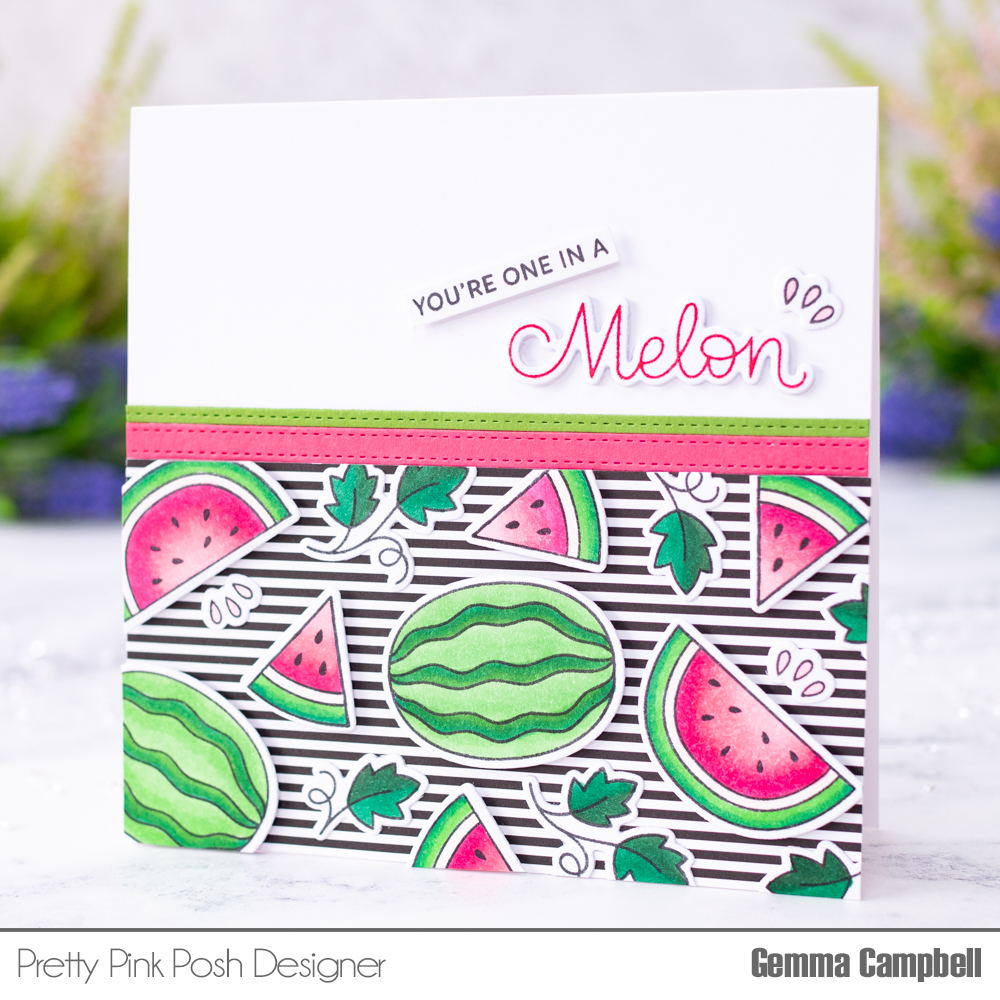
Copic colours: Watermelon: G12 G14 G17 G07; Watermelon slices: G14 G17 RV21 RV23 RV25 E000 Leaves: G17 G28.
Next, I cut a panel of black and white striped patterned paper (2.75 x 5.25″). I adhered the images on top – using foam tape for the melon and slices, then liquid glue for the other images. I allowed the images to go over the edges, cutting away the overhang, to give the look of a pattern that continues. The bright coloured images are a fun contrast against the black and white stripes.
I adhered this panel to a 5.25″ card base. Above the panel, I added two Stitched Strips in pink and green, to give the edge a nice finish.
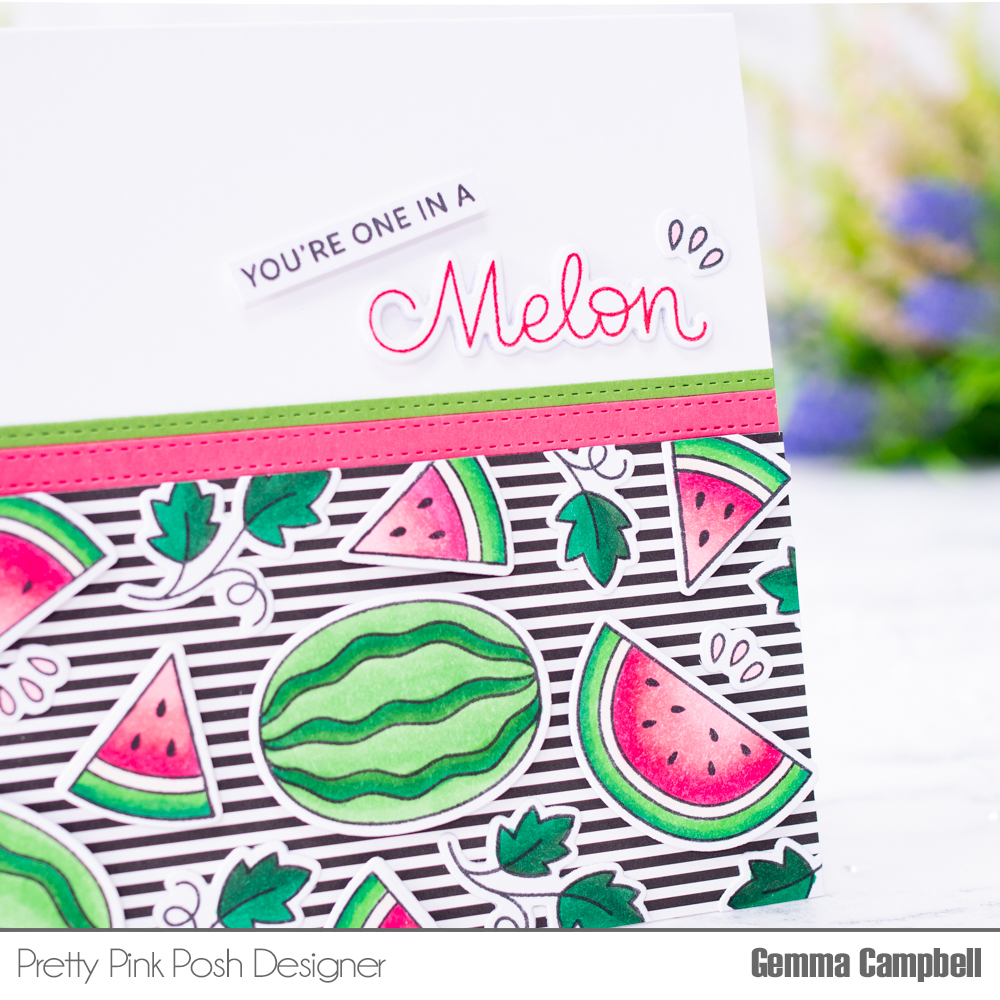
For the sentiment, I stamped out the ‘Melon’ word in pink ink. This has a coordinating die so I used this to cut out the word and added extra layers for dimension. I stamped the accompanying sentiment in black and cut into a strip. I popped this up with foam tape.
Thanks so much for joining me today! Stop by tomorrow for another sneak peek of the June 7th release!