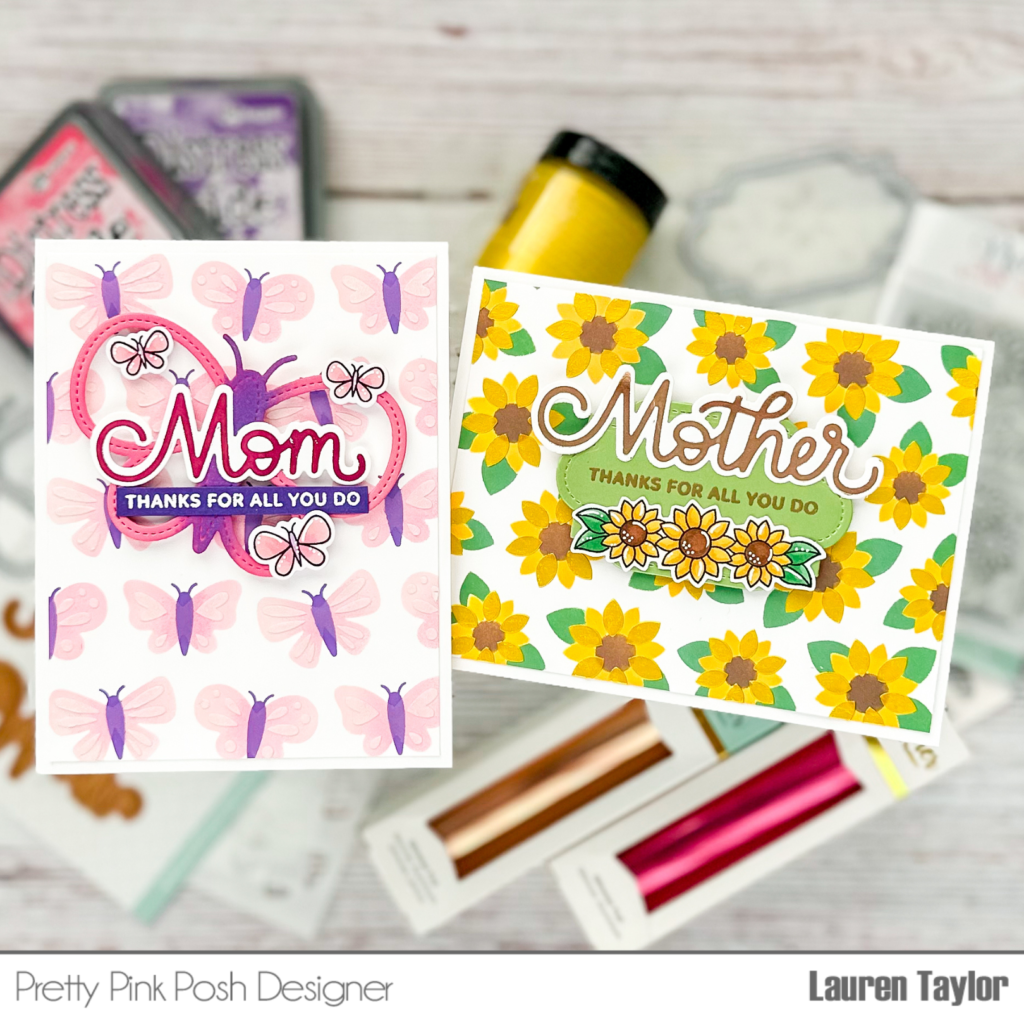
Sneak Peek: Just A Note
Hi, friends! It’s Lauren and I am so excited to be sharing a little peek at the new Just A Note stamp set and coordinating dies! The 3×4 stamp set is going to be so fun for the musically talented people in your life. I have a lot of family members that are so talented and I thought it would be fun to make a Father’s Day card with this set since they’re all fathers!
New release will be available May 1st
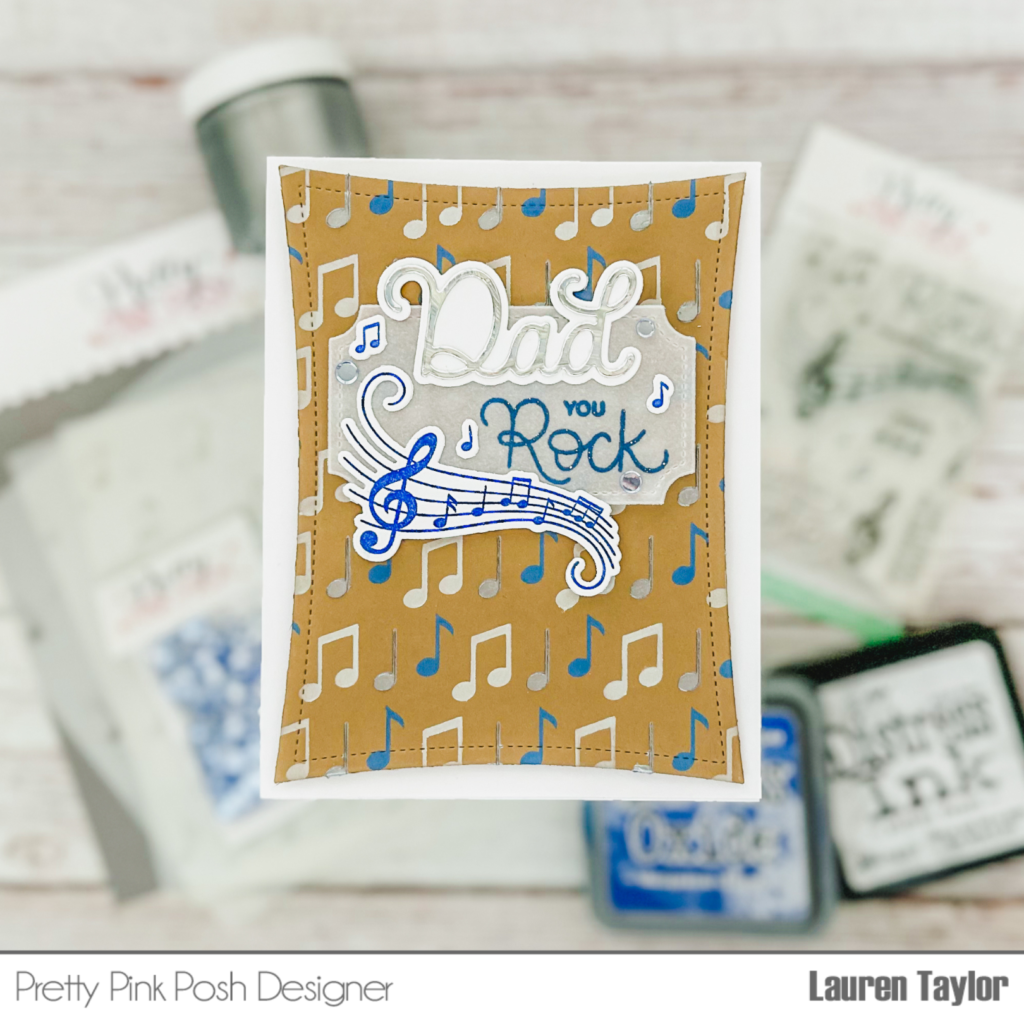
I started with stenciling my kraft cardstock background cut with the largest Wonky Stitched Rectangle die since it would need the most time to dry. The Layered Music Notes stencils are perfect with this stamp set; I used the A stencil with Blueprint Sketch Distress Oxide, the B stencil with Picket Fence Distress Ink and the C stencil with Platinum Stencil Butter from The Crafter’s Workshop.
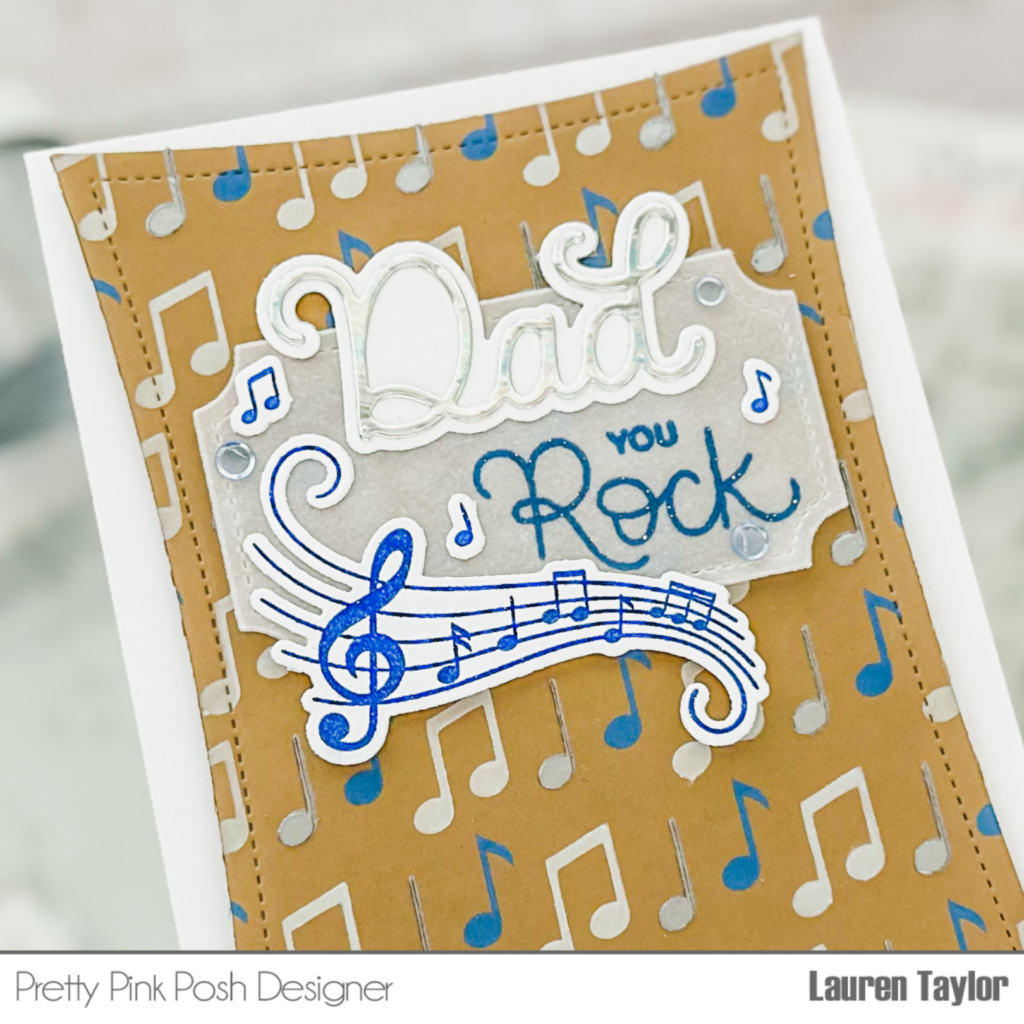
While the background was drying, I cut a piece of vellum using the stitched label die from the Get Well Soon coordinating dies. Using Blue Belle VersaFine Clair Ink, I stamped the “You Rock” sentiment from Just A Note towards the lower right and embossed it with clear embossing powder. I also stamped the staff image and the three smallest musical notes on white cardstock and embossed them, too. Using the coordinating dies, I cut out the images and set them aside.
Since this is a Father’s Day card, I cut “Dad” from the Dad/Father Shadow Dies in some holographic cardstock as well as its shadow in white cardstock. Using a fine tip glue, I adhered the two layers together. I layered the “Dad” sentiment towards the top of my vellum label and added the staff image so it would be towards the left of the “You Rock” sentiment. Once they were in place, I added foam adhesive to the back of the vellum label where white cardstock would hide them and glued it to my now dry background.

Finally I added my stenciled card front to a card base with foam adhesive. Using a jewel picker, I added the three music notes and some Blue Shimmer Confetti on the vellum label.
I hope you’re as excited as I am for the Just A Note stamp set and coordinating dies! Come back tomorrow for another sneak peek of the May 1st release.