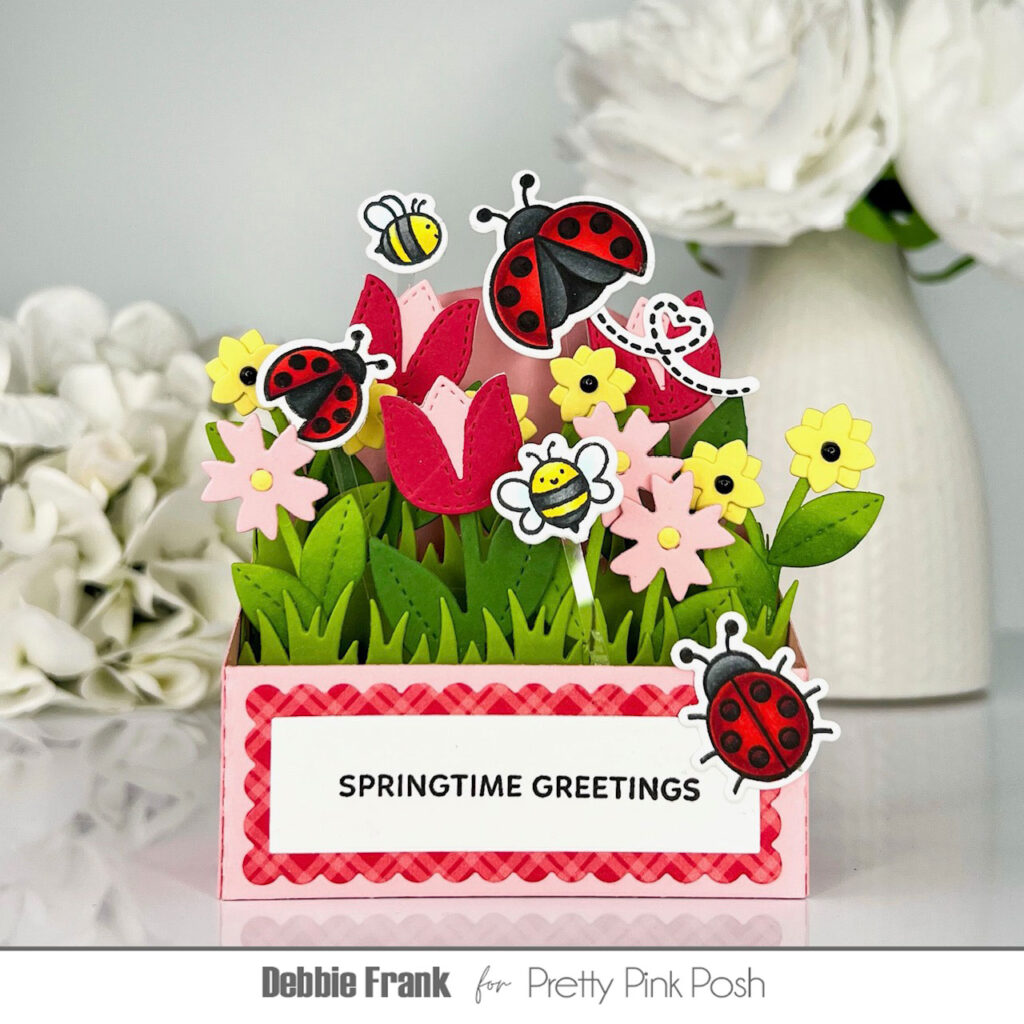
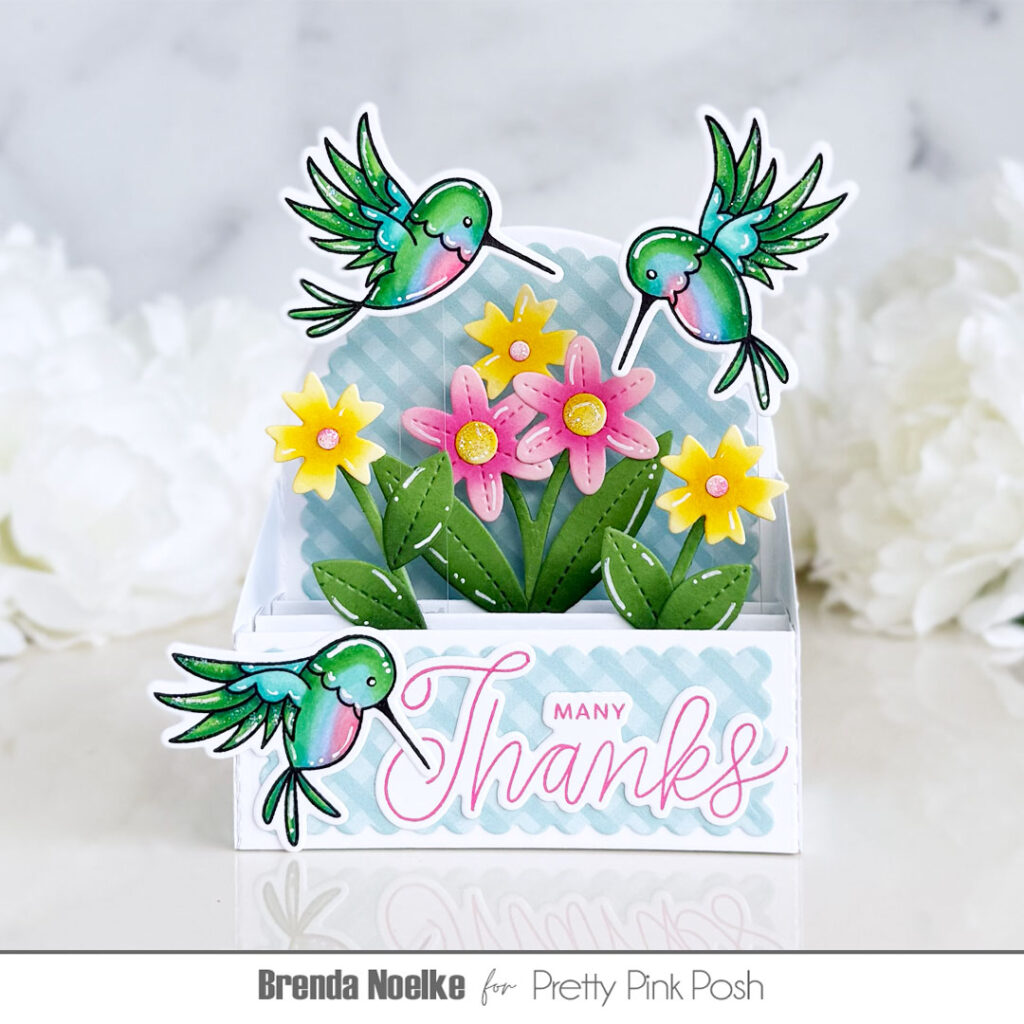
Many Thanks Box Card
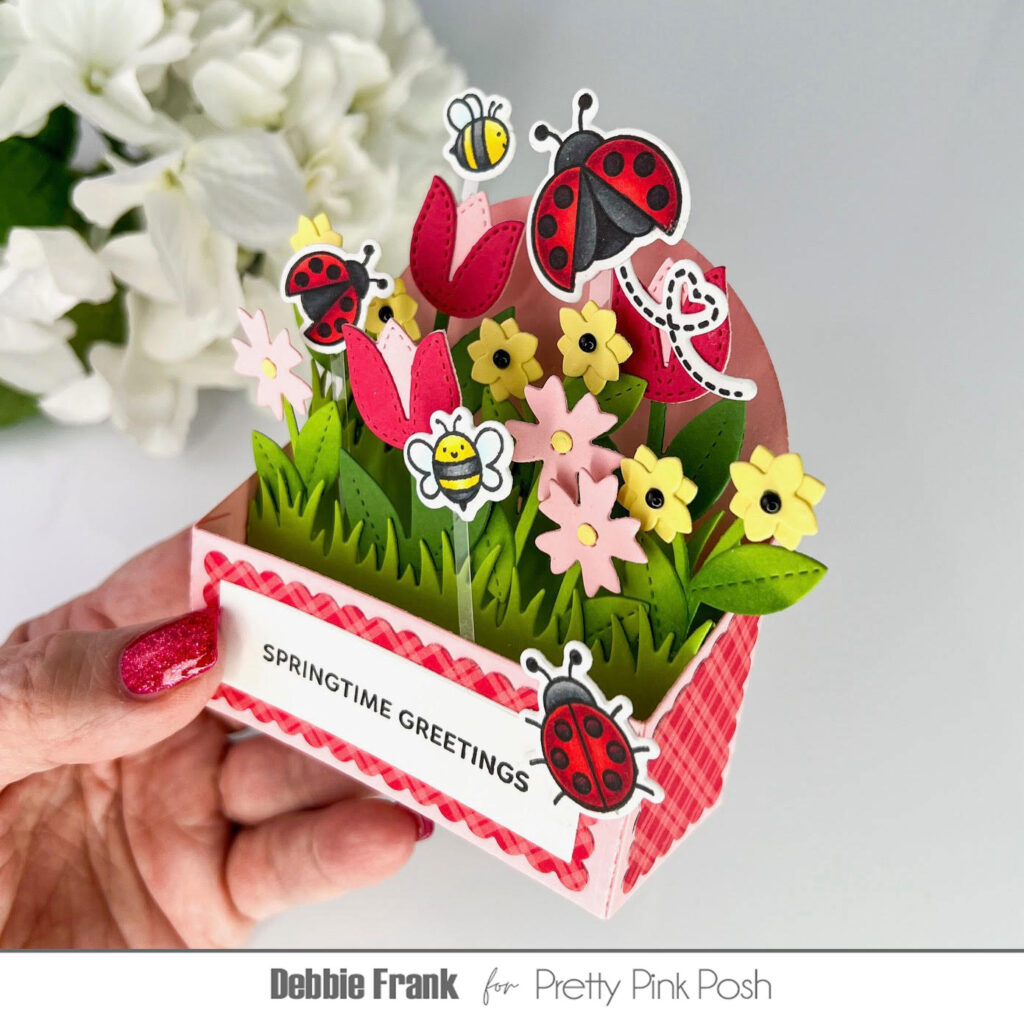
Hello, crafters!! Brenda here with you!! I’m super excited to be sharing a box card featuring the Hummingbird Thanks Stamp Set, Stitched Spring Flowers Dies and the Scallop Box Card Die Set with you today!! The Scallop Box Card Dies create a dimensional pop-up card that folds flat to fit in an envelope for mailing!
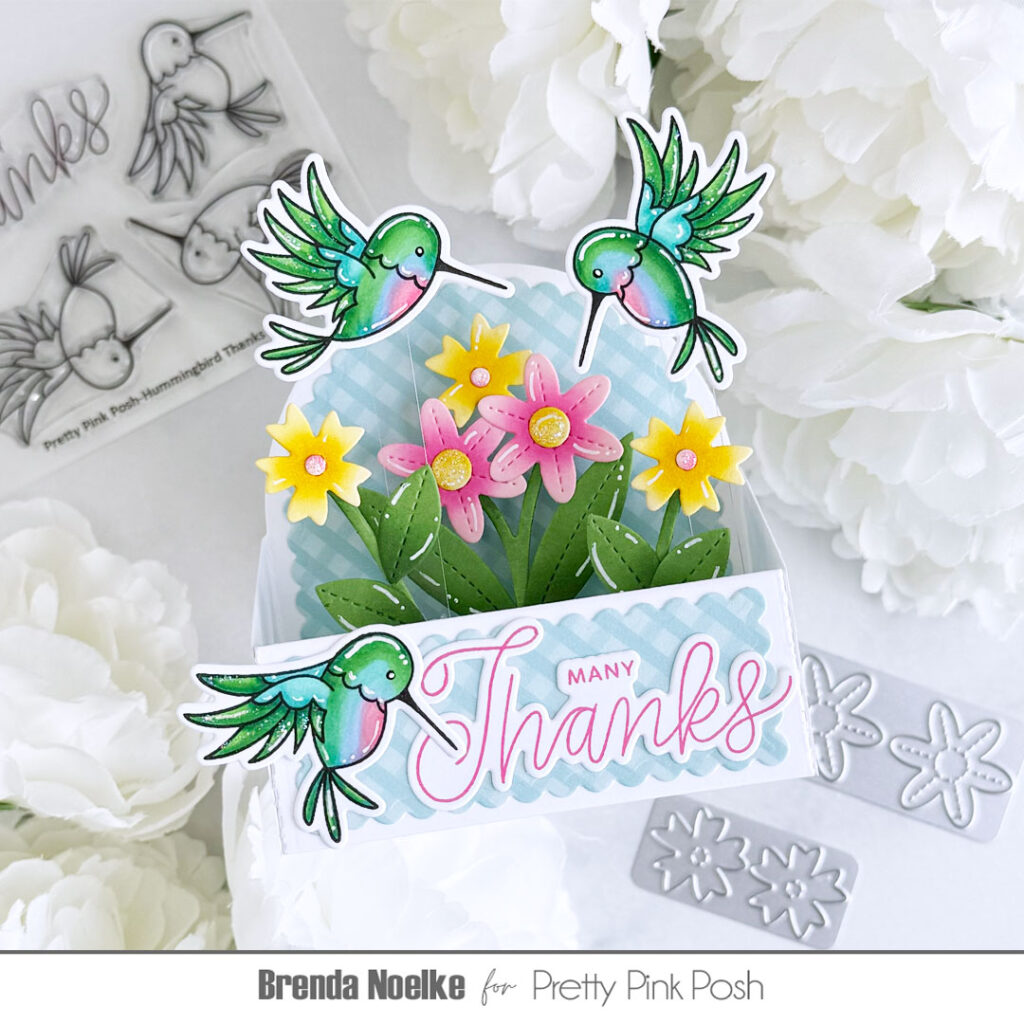
I began by stamping the hummingbirds in the Hummingbird Thanks Stamp Set onto white cardstock with Copic-friendly black ink. I colored them with Copic markers using the following colors: G16, G05, G14, YG06, BG15, BG13, BG32, BG11, B66, B63, B60, RV14, RV13, RV21 & RV11. The Coordinating Dies were used to cut them out, then I used a white gel pen to add highlights.
The back, sides and three of the cross pieces in the Scallop Box Die Set were die-cut from heavyweight white cardstock. The pieces were folded along the stitching and reinforced with a bone folder. The scalloped detail dies were cut from aqua gingham cardstock and adhered to the white pieces with liquid glue. The pieces of the box were adhered together with strong double sided adhesive.
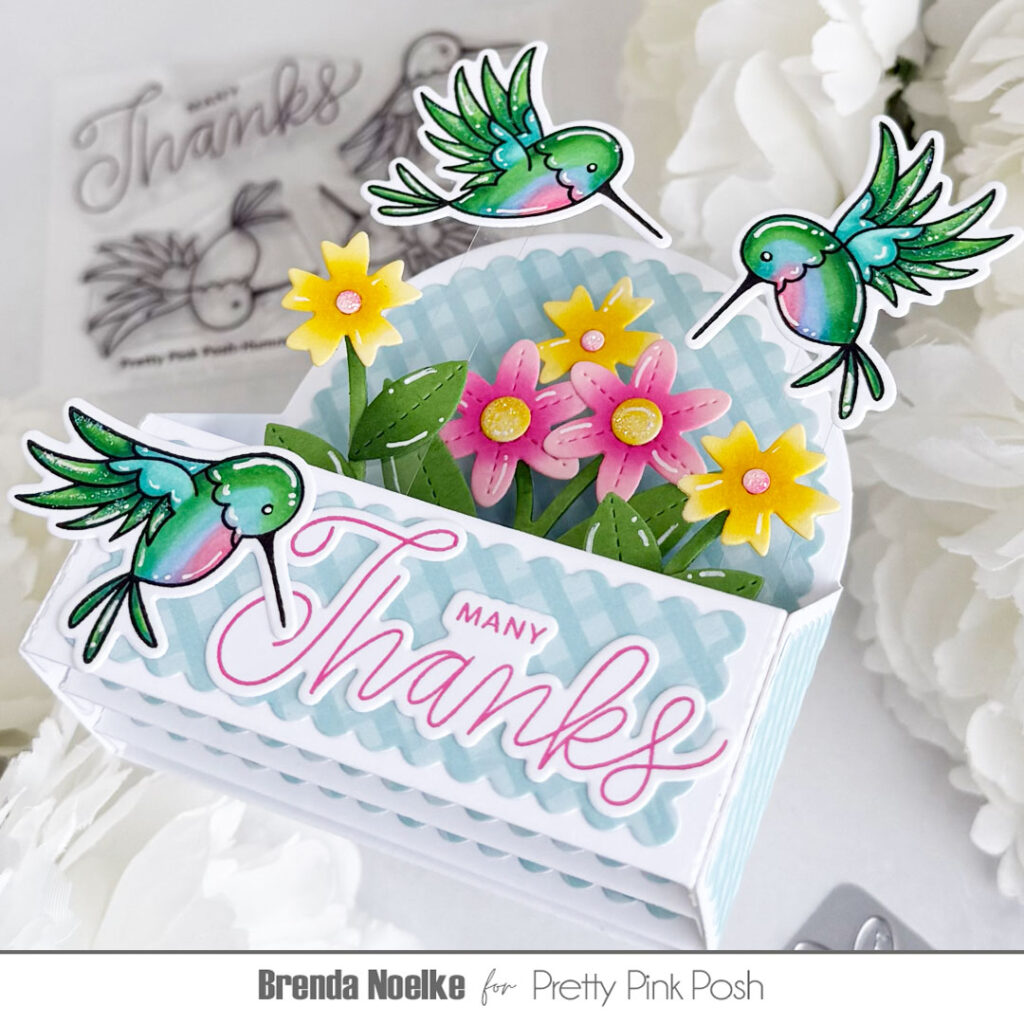
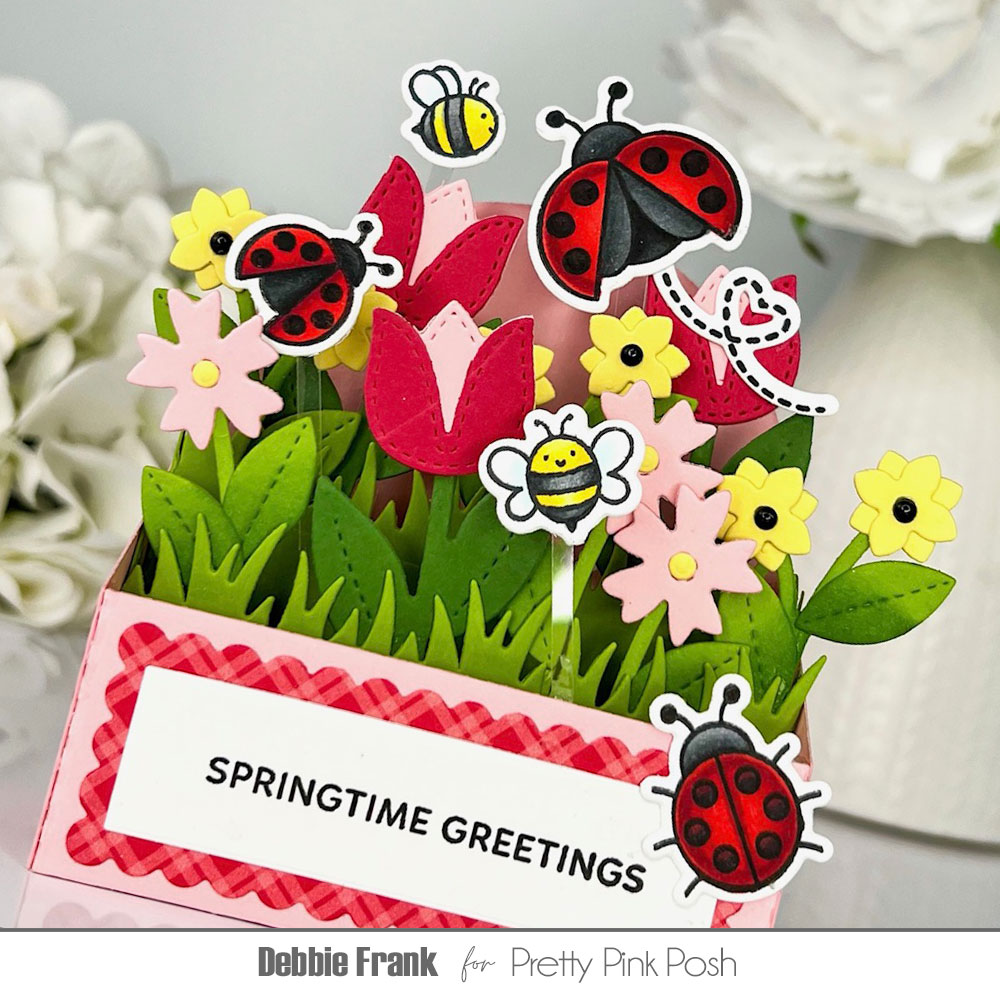
The flowers and leaves from the Stitched Spring Flowers Die Set were die-cut from pink, yellow and green cardstock. Picked Raspberry, Mustard Seed and Rustic Wilderness Distress Inks were used to add shading to the die-cuts using blending brushes. I also added highlights to these with a white gel pen, then adhered them to the cross pieces of the box. Two of the hummingbird die-cuts were adhered to strips of strong acetate and adhered to the cross pieces, as well.
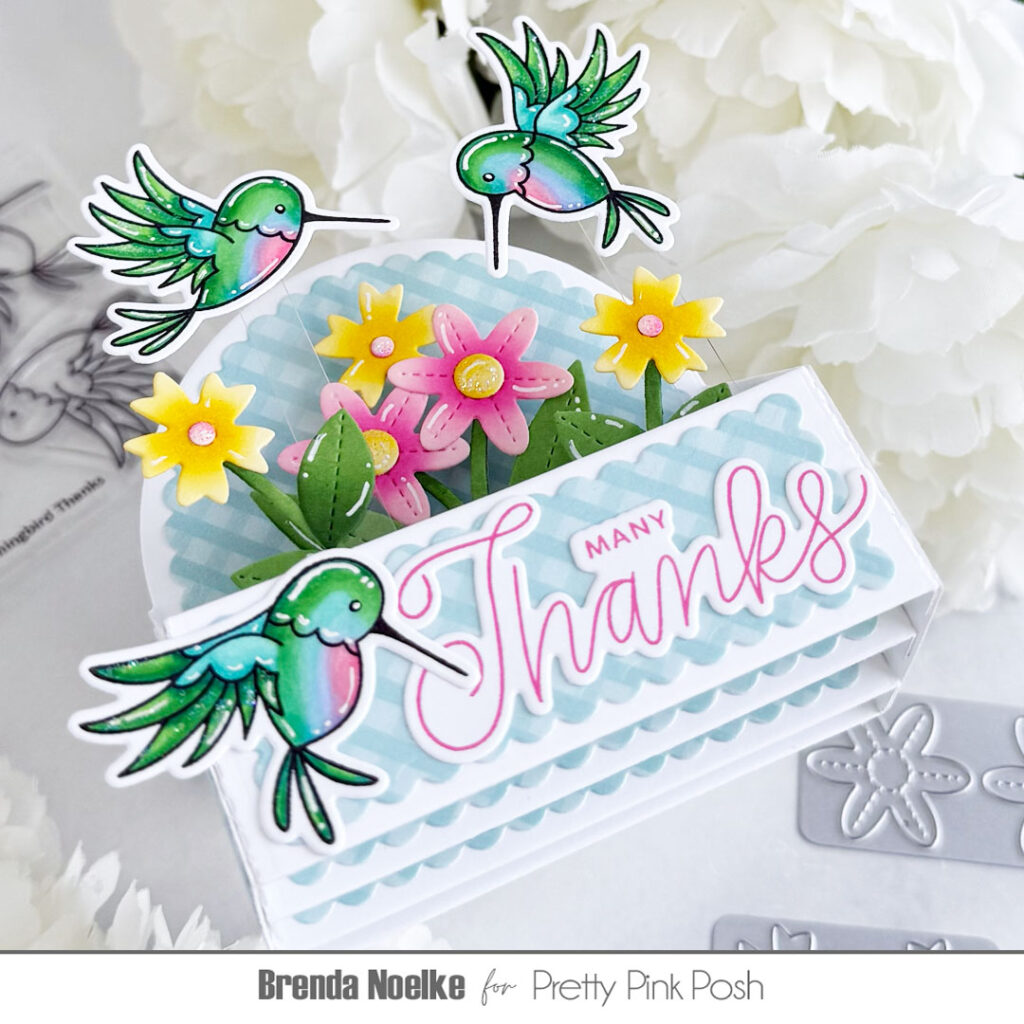
The sentiment, also from the Hummingbird Thanks Stamp Set, was stamped onto white cardstock with Picked Raspberry Distress Oxide Ink. Once it was dry, it was cut out with the Coordinating Die and adhered to the front of the box with liquid glue, along with the last hummingbird. I added Star Dust Stickles to the centers of the flowers and the wings of the hummingbirds to finish off the card.
Thank you so much for spending part of your day with me! I appreciate you taking the time to stop by!!