
Holly Jolly Fringe Tree
Hello crafty friends, it’s June! Today I’m back with a holiday card using mostly products from last year’s Christmas release. I still love all of the products, the entire release was right up my alley and still, there was one product I hadn’t used yet: the Fringe Tree. It’s a fairly simply card with not too many details or ink blending/coloring, so it would be a perfect one to make assembly line style if you still need more Christmas cards to send out in time for the holidays!

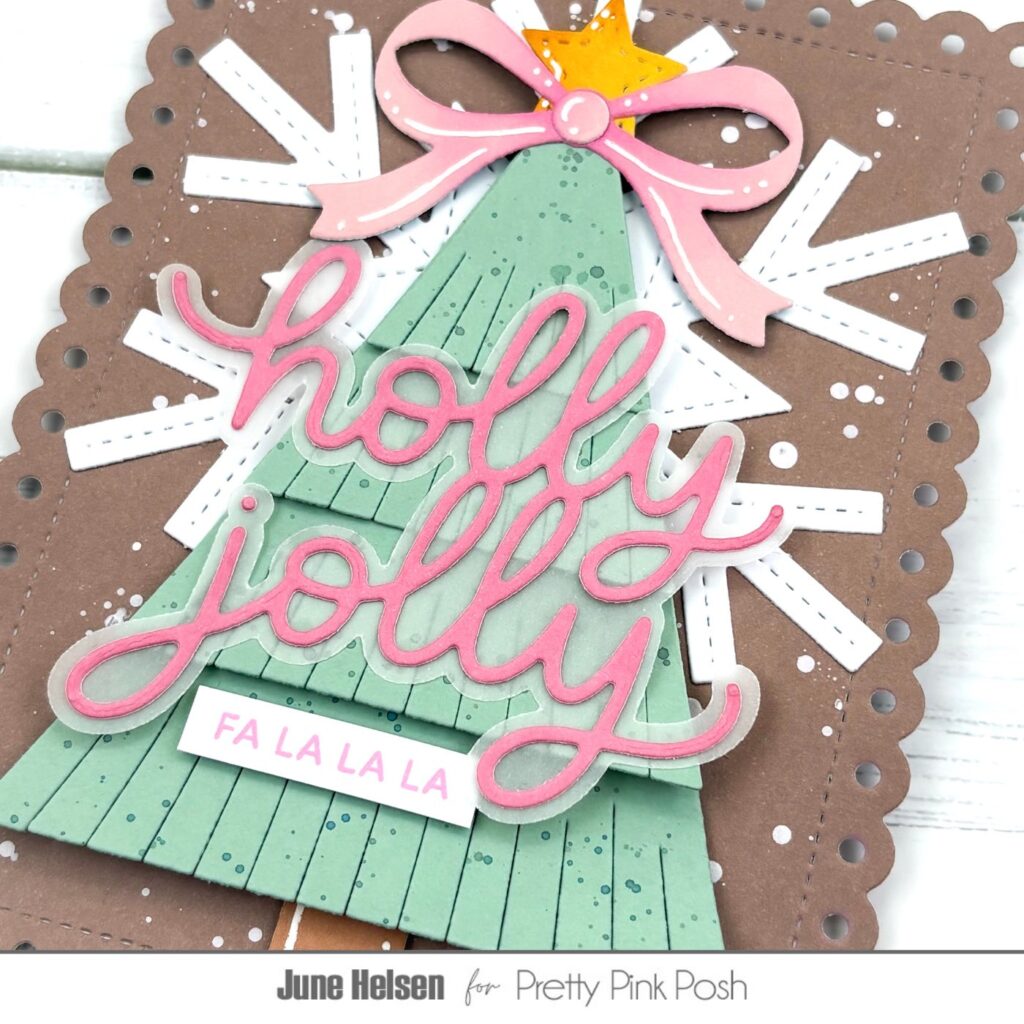
I cut my tree from sage green cardstock and splattered some darker green ink on my pieces to give them some nice texture. Putting the fringe die cuts together is always such a fun thing to do, I love curling up all the fringes! I embellished my tree with the star included in the set and of course also added the tree trunk. You probably know me by now and I love adding bows wherever possible, so I added the one from the new Christmas Bell Shaker on top of the tree aswel. For both the star and bow, I added a little ink blending as well as gel pen details.
I cut out the Snowflake Shaker without the inside piece to turn it into a shaker, making it a perfect backdrop for my tree. This contrasts nicely with the brown Eyelet Rectangle I used as my card panel. I added white paint splatters so it wouldn’t look as plain.
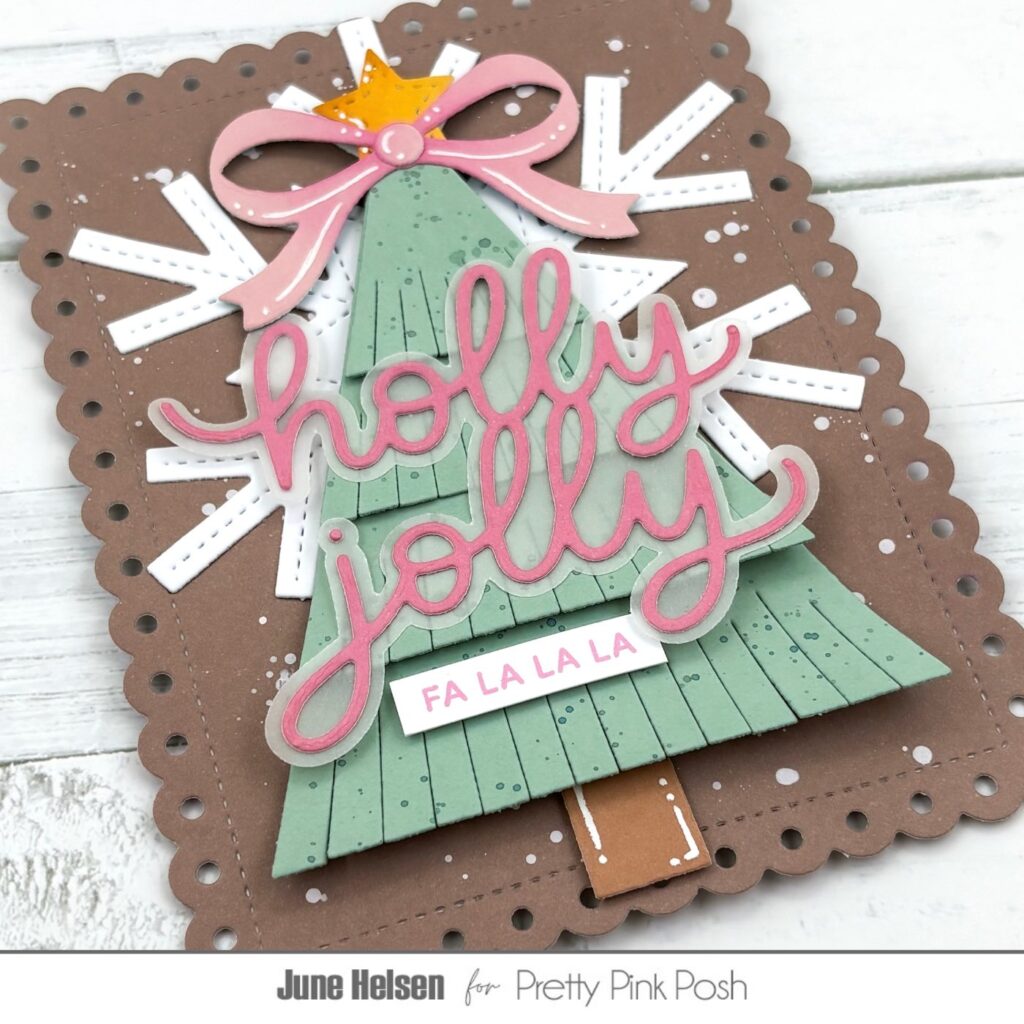
For my sentiment, I cut the Holly Jolly Shadow from pink cardstock to match the pink I brought in with the bow. I backed it with the shadow piece cut out of vellum. To add even more pink accents, I also added a sentiment strip saying ‘fa la la la’, which is a sentiment included in the Winter Birds stamp set.
This was one of the quickest cards I ever put together, so I hope it can inspire anyone who still needs to get some more Christmas cards done in time during this busy season. I do love my detailed cards that take hours, but I also love how card elements like the ones from the fringe collection are not only quick to put together, but they also fill up a card easily so you don’t need to put much thought into the rest of the card. Easy peasy!
I hope to see you again soon, bye!