Spring Daffodils
Hello crafty friends, June back here today! Today I’m back with another card I made recently using products from the latest spring release. The Daffodil Shaker is the real star of the show here, but I also used a couple of other fun new products on my card. Let’s get started!
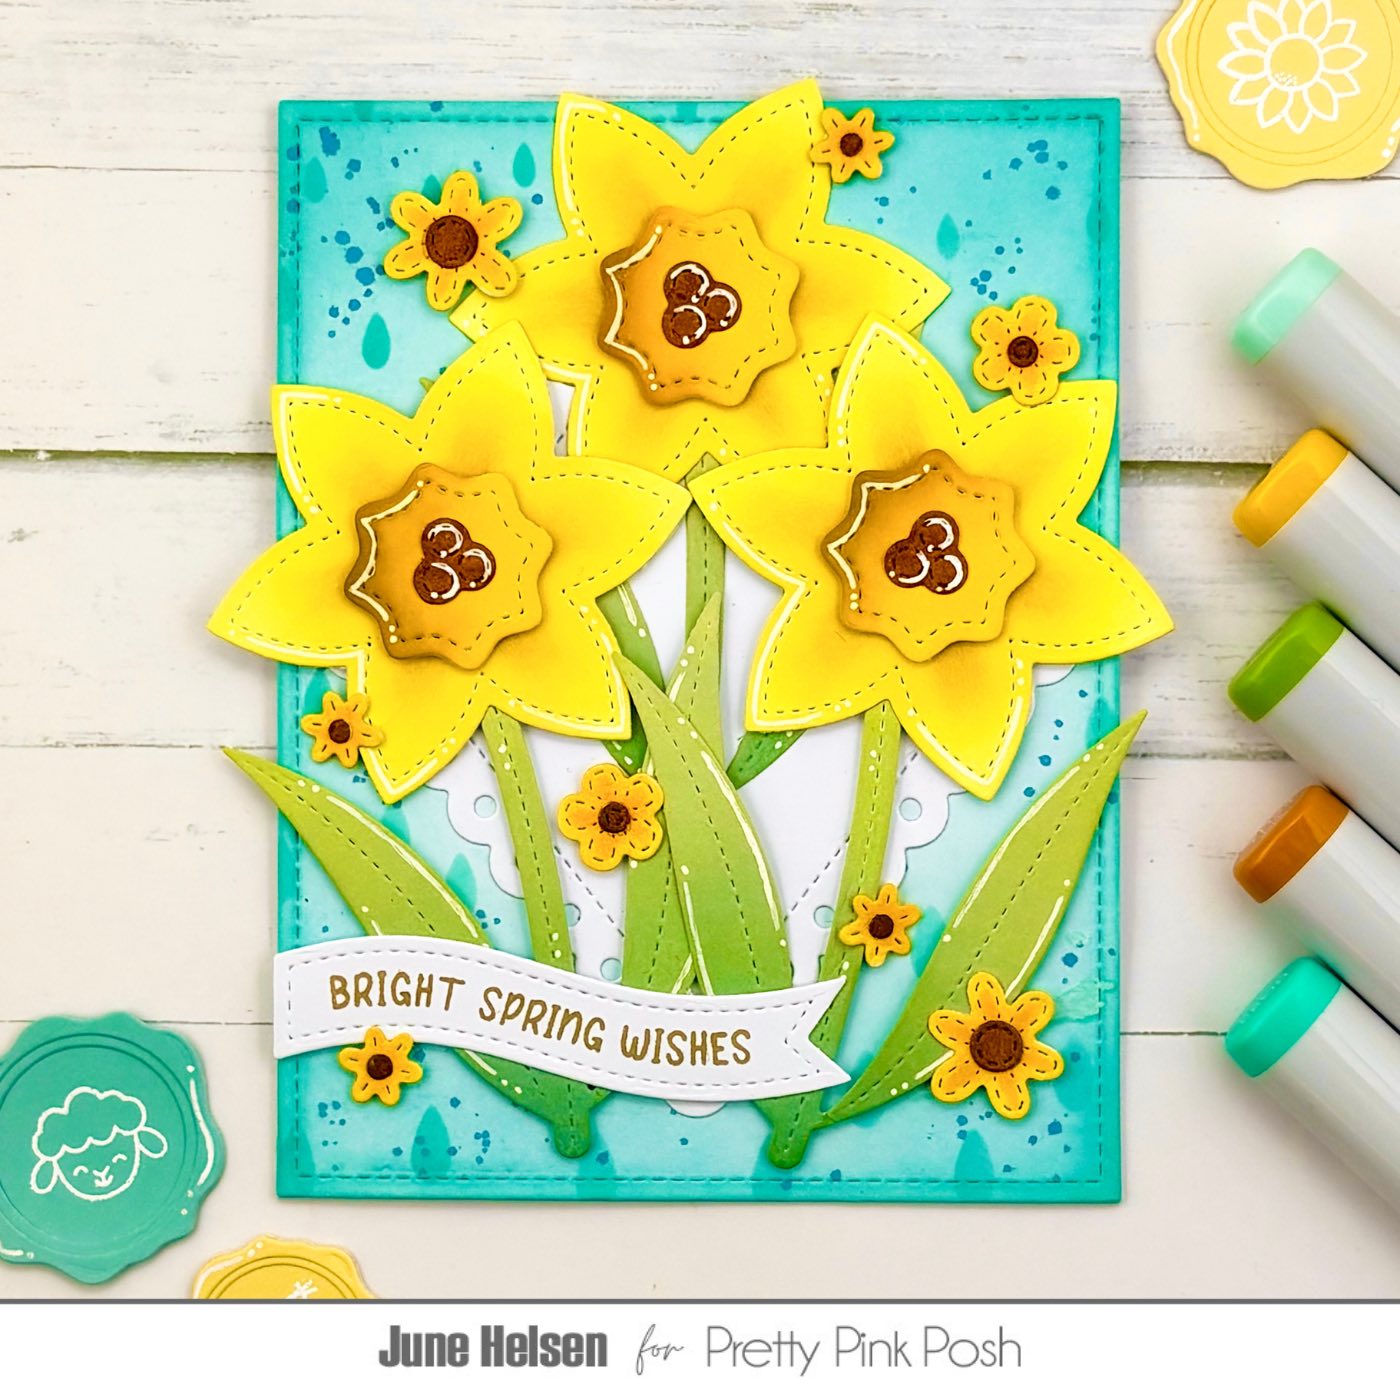
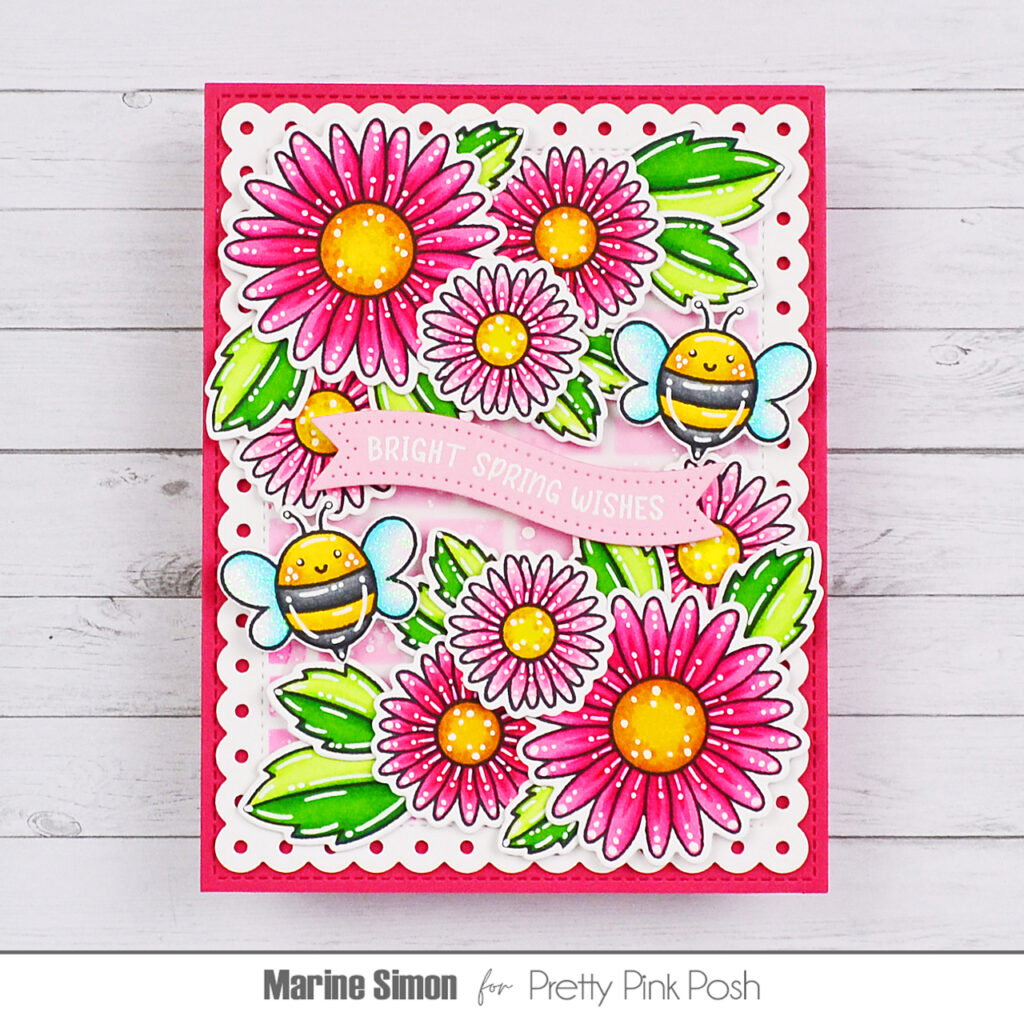
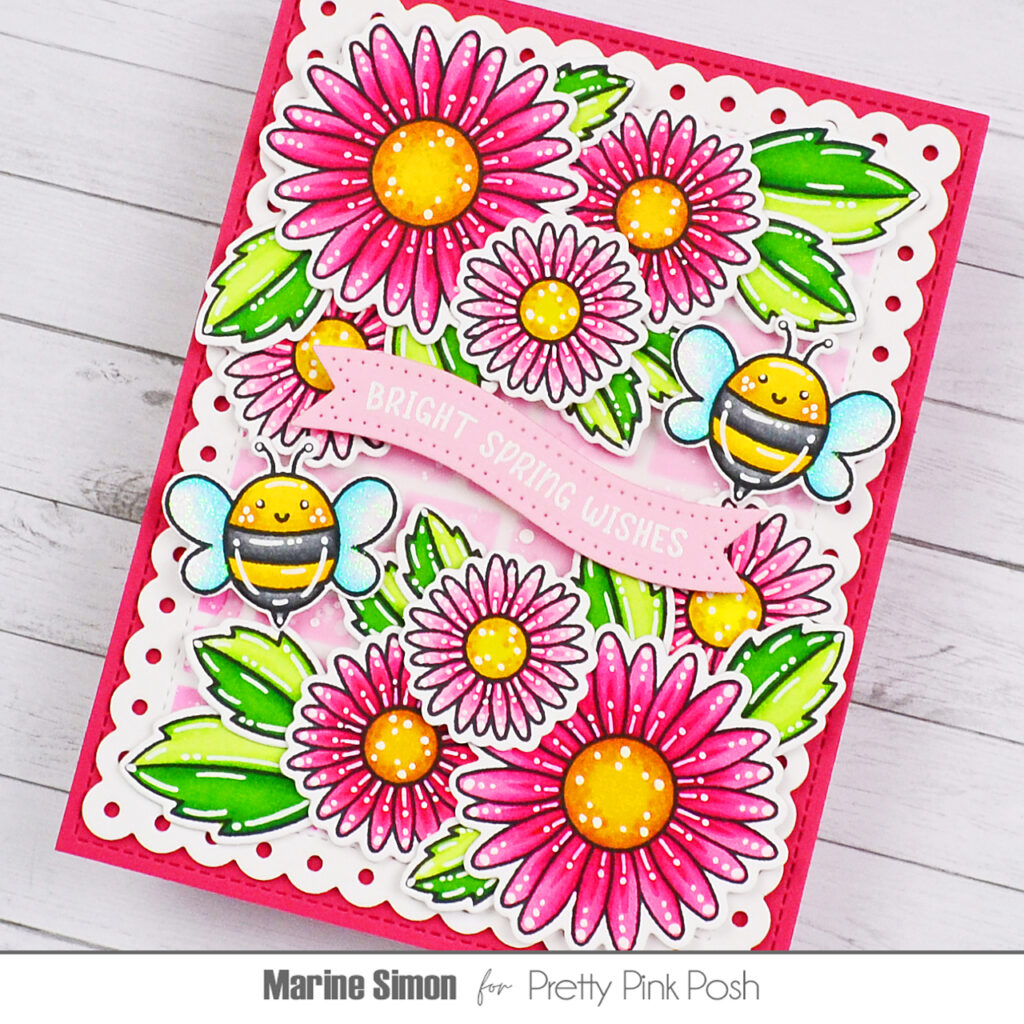
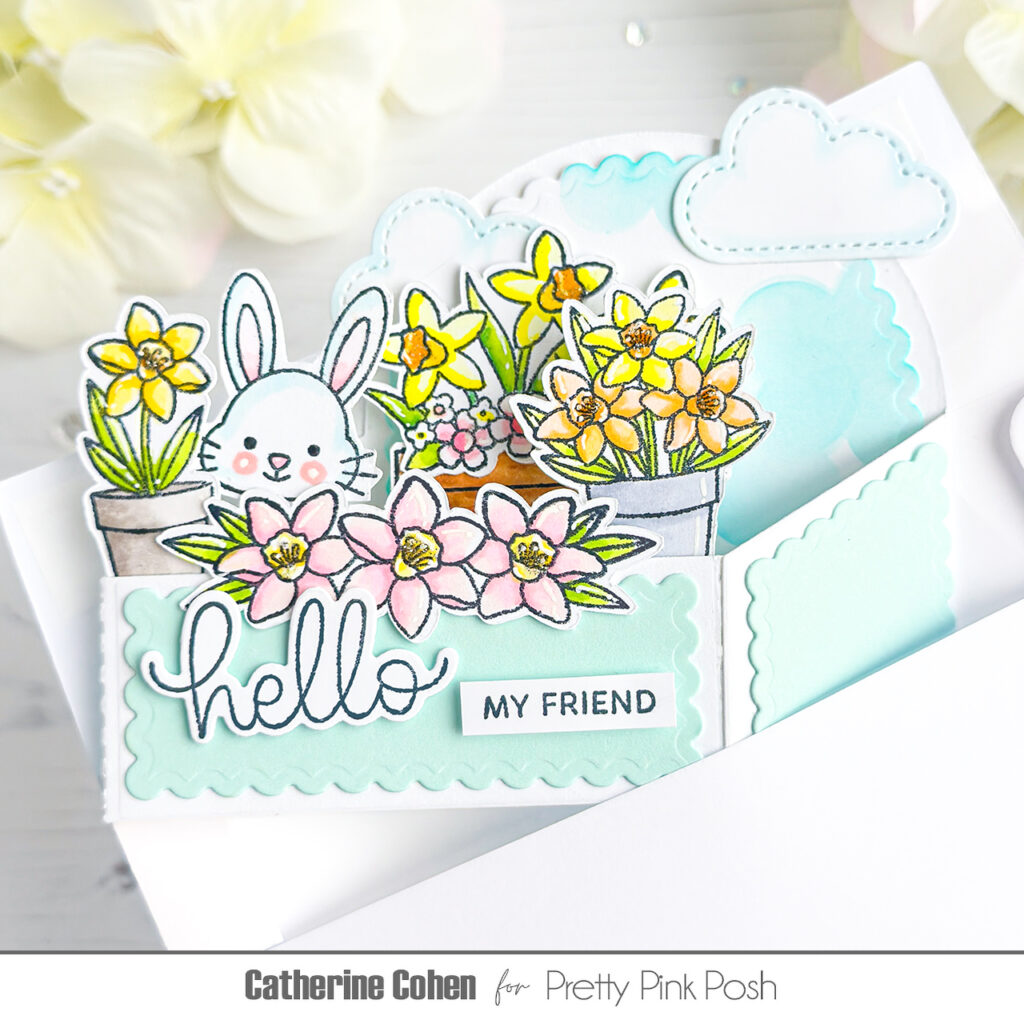
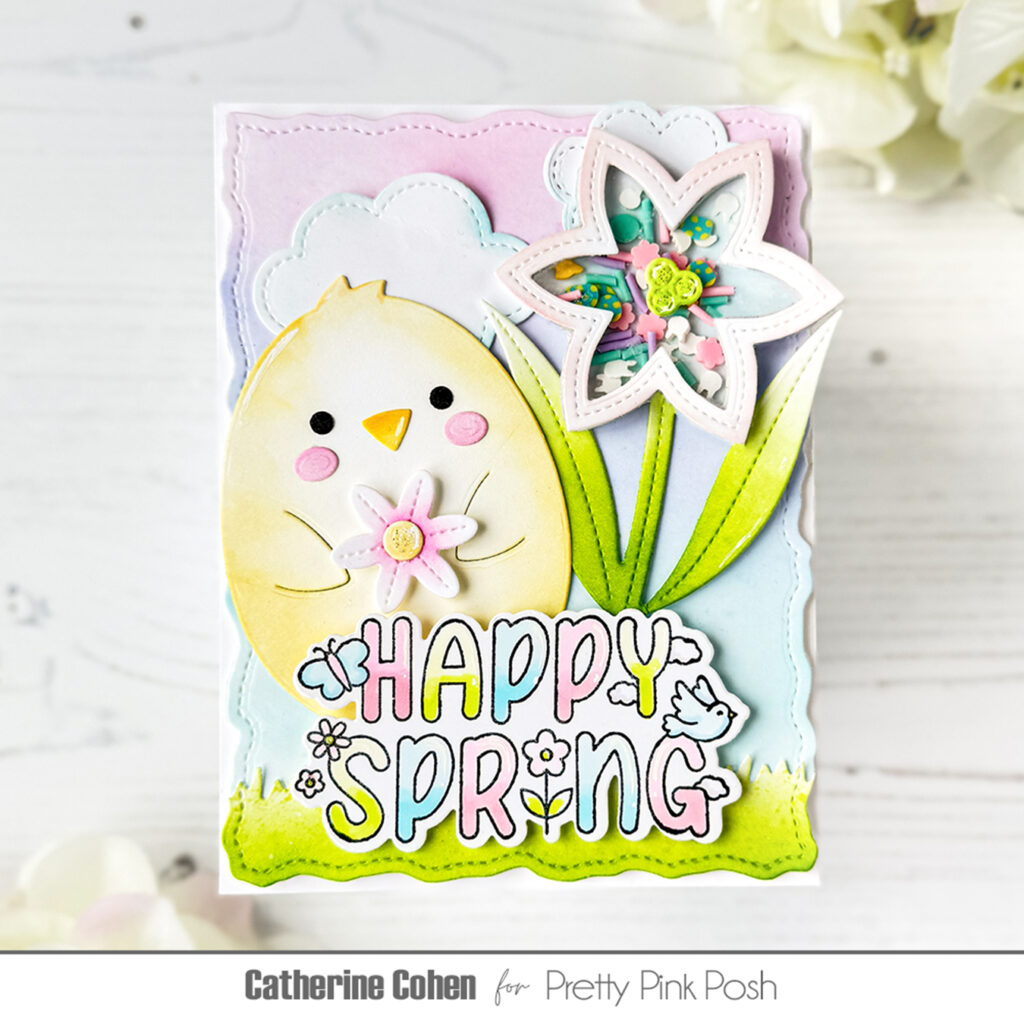
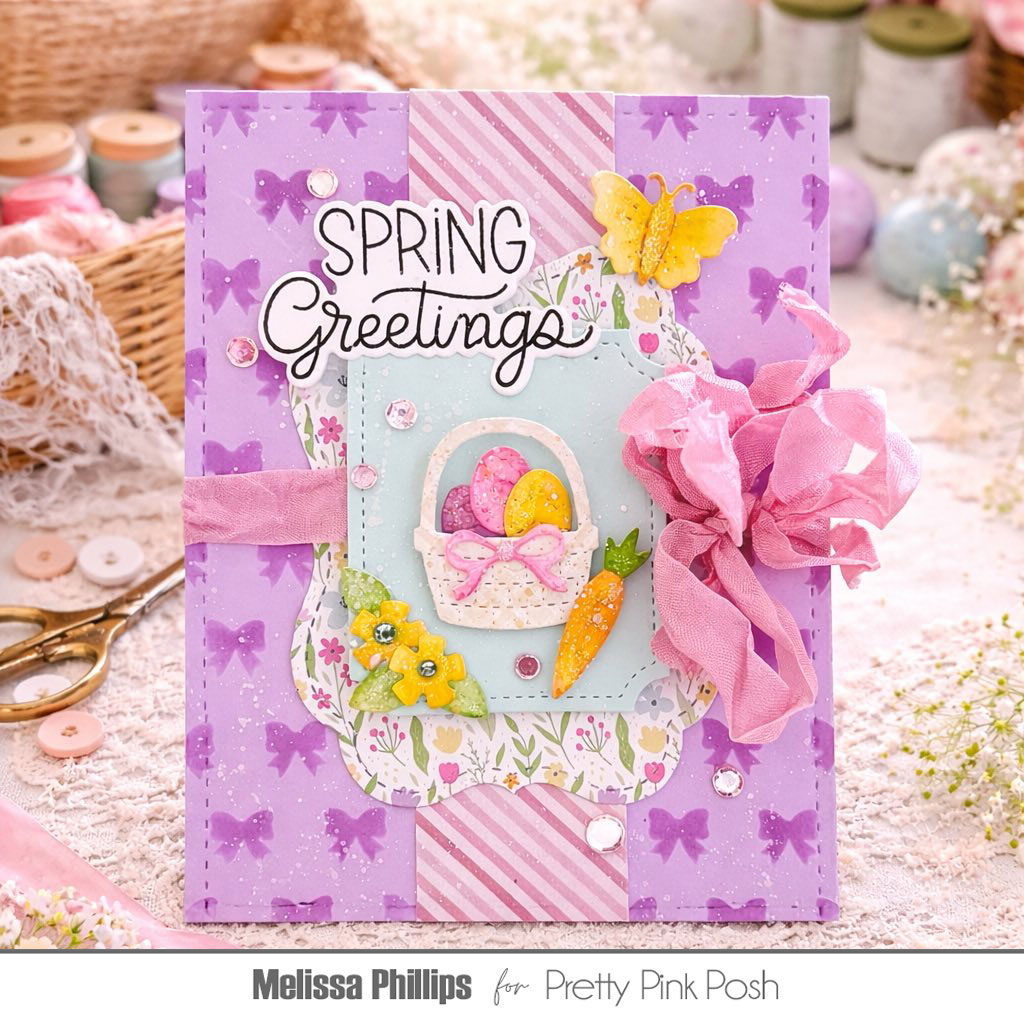
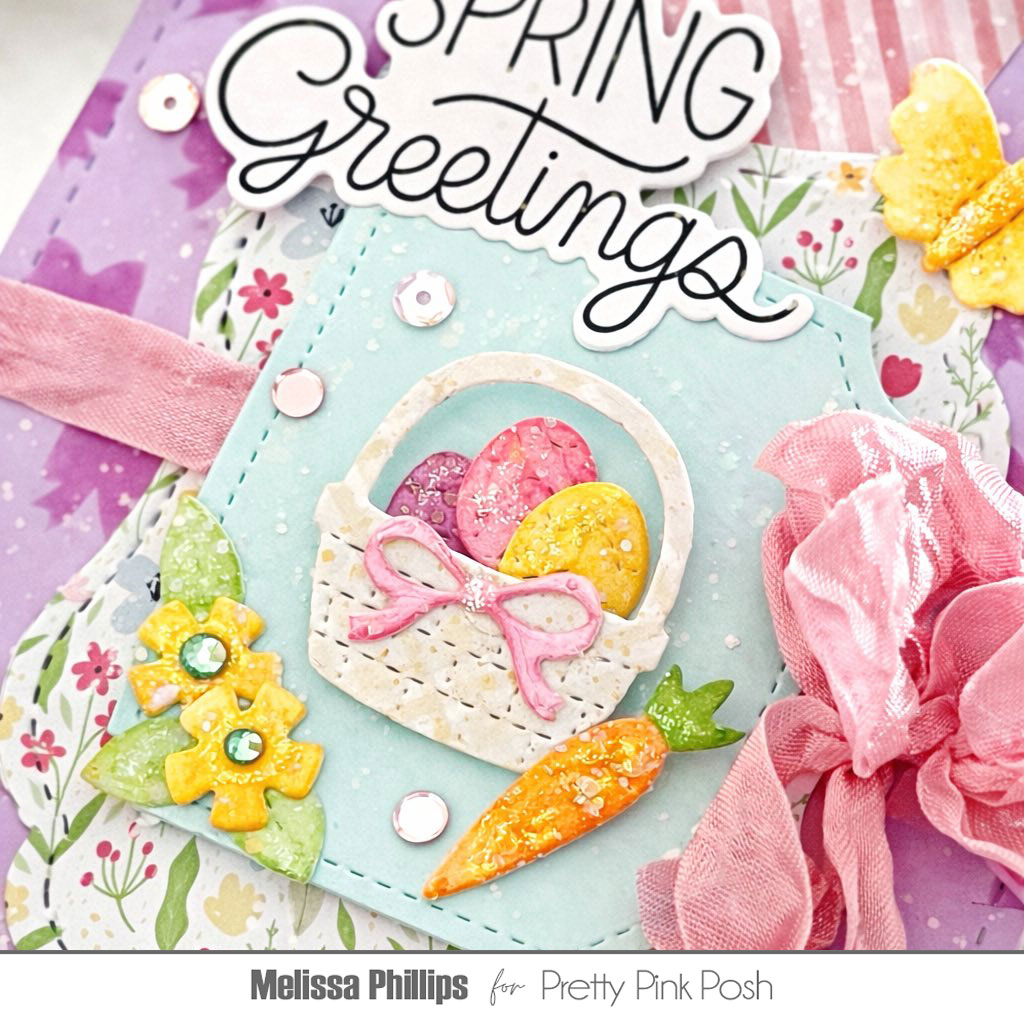
I knew that I wanted a full bouquet of daffodils on my card, so I decided to not use the Daffodil Shaker as a shaker so I had some more freedom with layering the flowers. I cut the flowers and their centres from different shades of yellow cardstock and did some light ink blending on them to give them a more realistic look. I also added some gel pen details to add even more to them. I cut the leaves from green cardstock and did all the same steps.
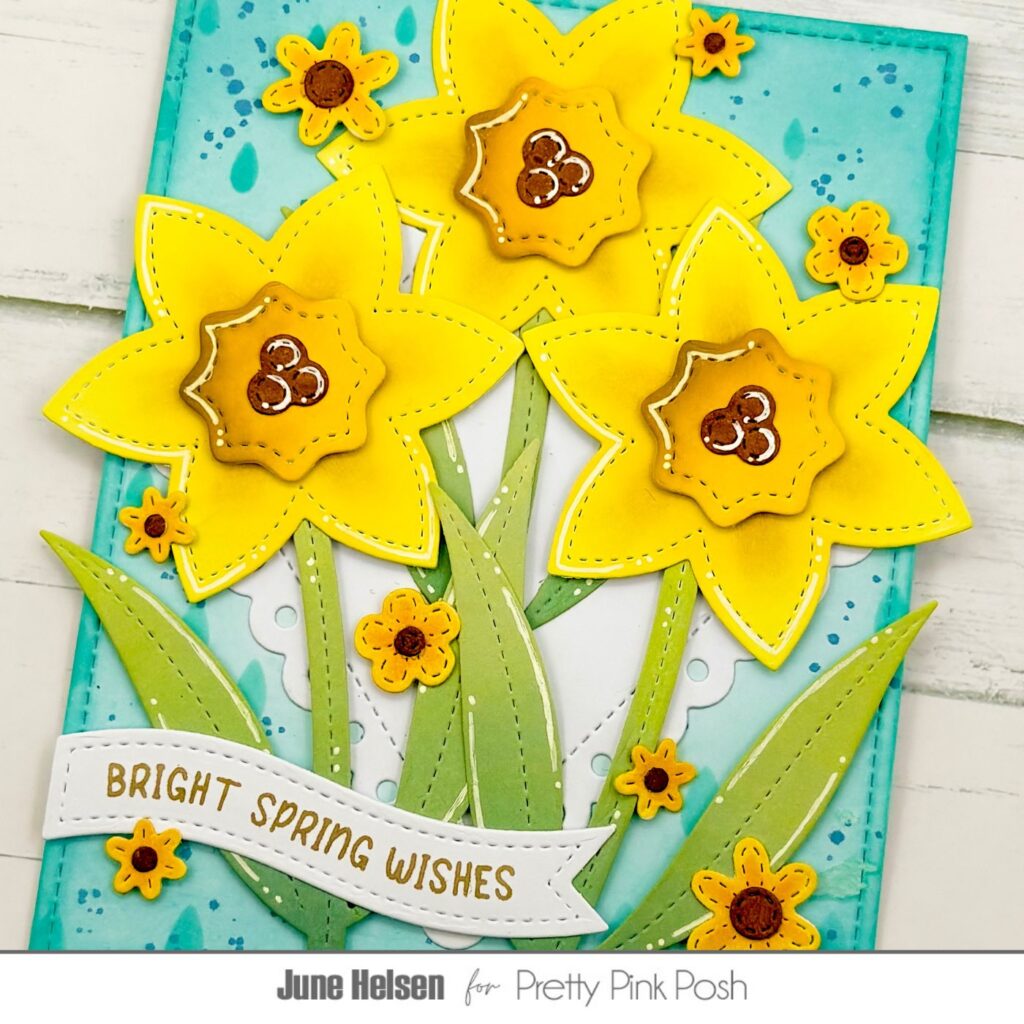
I cut a panel from white cardstock and blended a background using Salvaged Patina and Peacock Feathers Distress Oxide. I used the Raindrops Stencil to create a subtle pattern on the background, as well as added some darker ink splatters. I cut an Eyelet Diamond from white cardstock to go on top of it, creating a nice backdrop for the colorful flowers.
The Banner Greetings 3 die set includes a ‘half’ banner that falls off the side of the card and I thought it would be perfect for this card layout, so I cut it from white cardstock and stamped a sentiment from Easter Banner Greetings on it using brown ink.
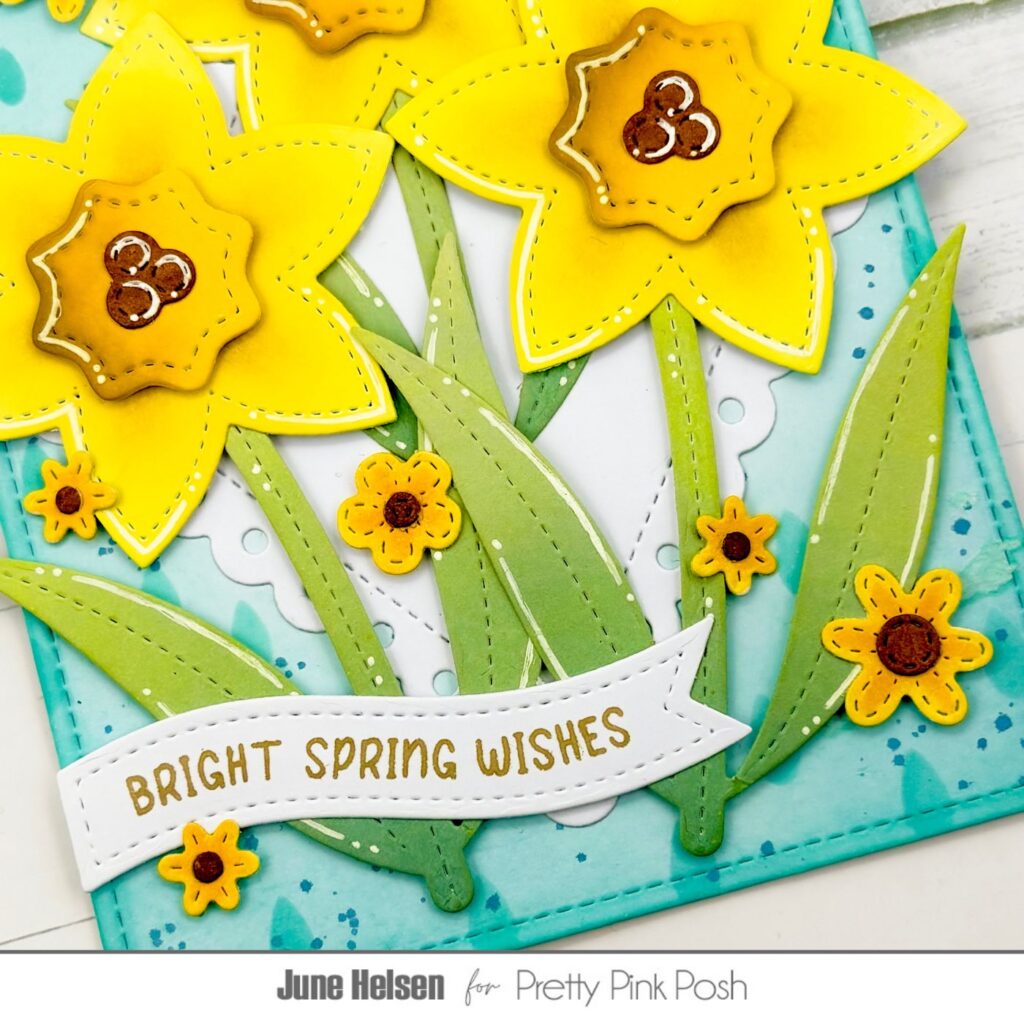
As a finishing touch, I cut some flowers from the older Spring Foliage die set in the same colours as the daffodils and sprinkled them around the card. Not only does it add a nice detail, but it also ties in the bright yellow with the rest of the card.
And that’s it for today! I hope this card puts you in a spring mood. As I’m writing this post, we’ve just had the most spring-like weather I could imagine here in Belgium: lots of sunshine but also LOTS of rain. It gave me the exact same vibes as this card did, so I thought it would be a good one to feature today!
I hope to see you again soon, bye!