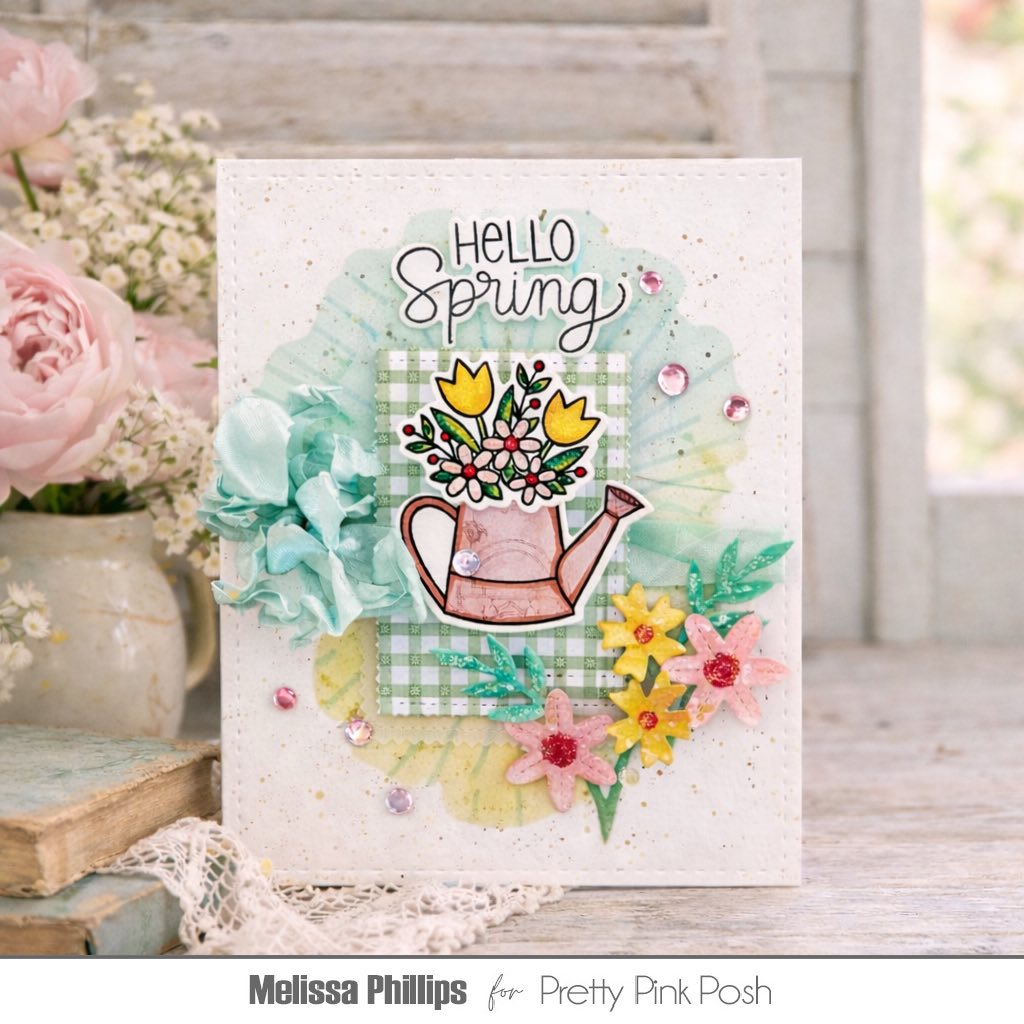
Spring Floral Vase
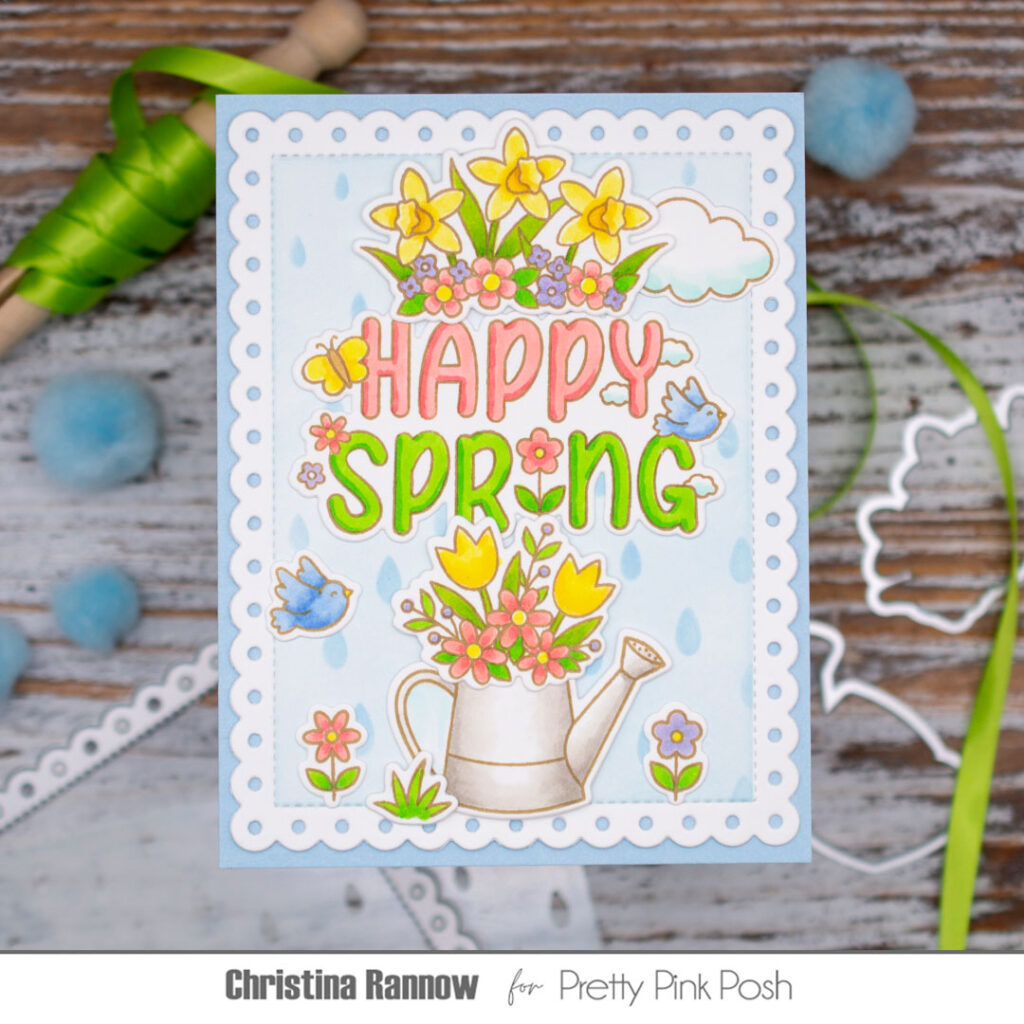
Happy Spring! Debbie here with some springtime vibes! Bringing out the Paper Florist in me! I thought it would be fun to pull out the previously released Vase Shaker Die to use with the new Daffodil Shaker and the Stitched Spring Flower Dies and many more new products.
I knew this would need to be a 5X7 card once I started to lay out the vase with all the flowers I wanted in it to be a full bouquet.
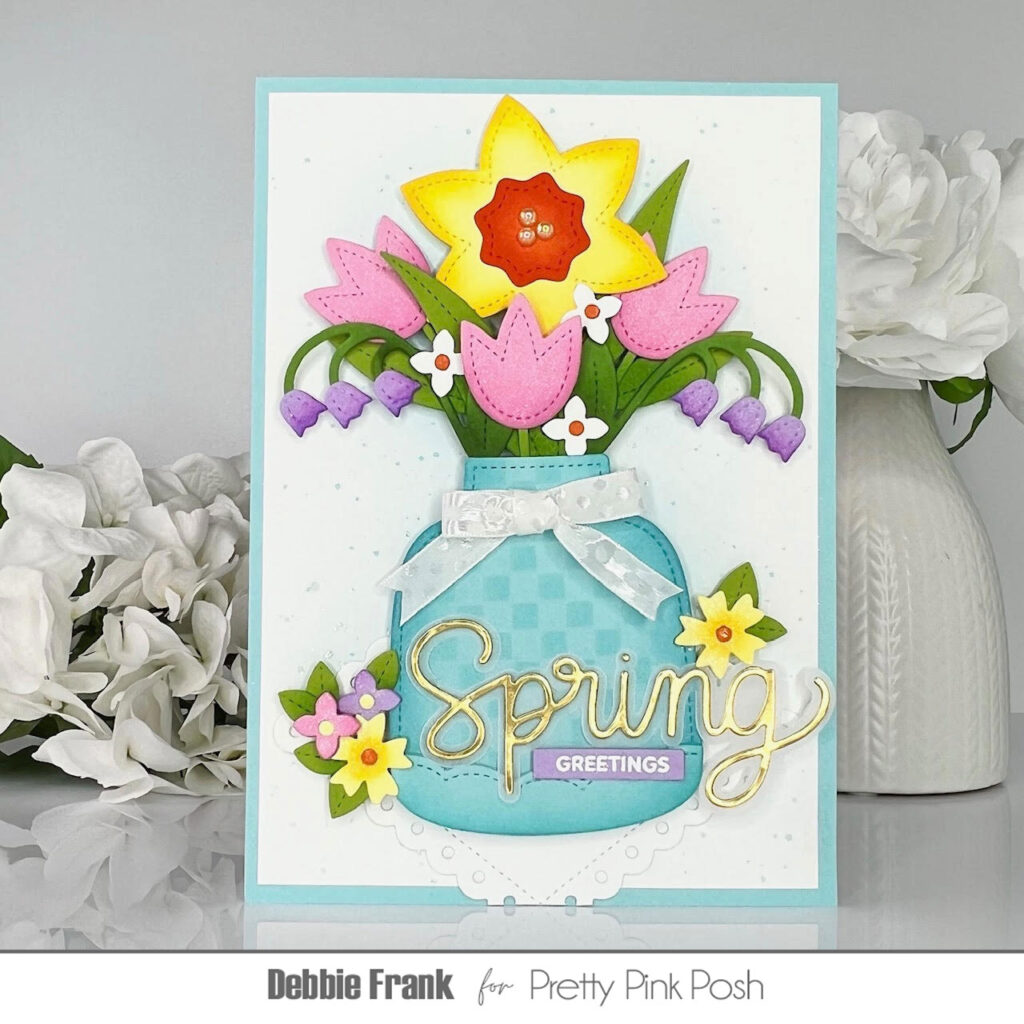
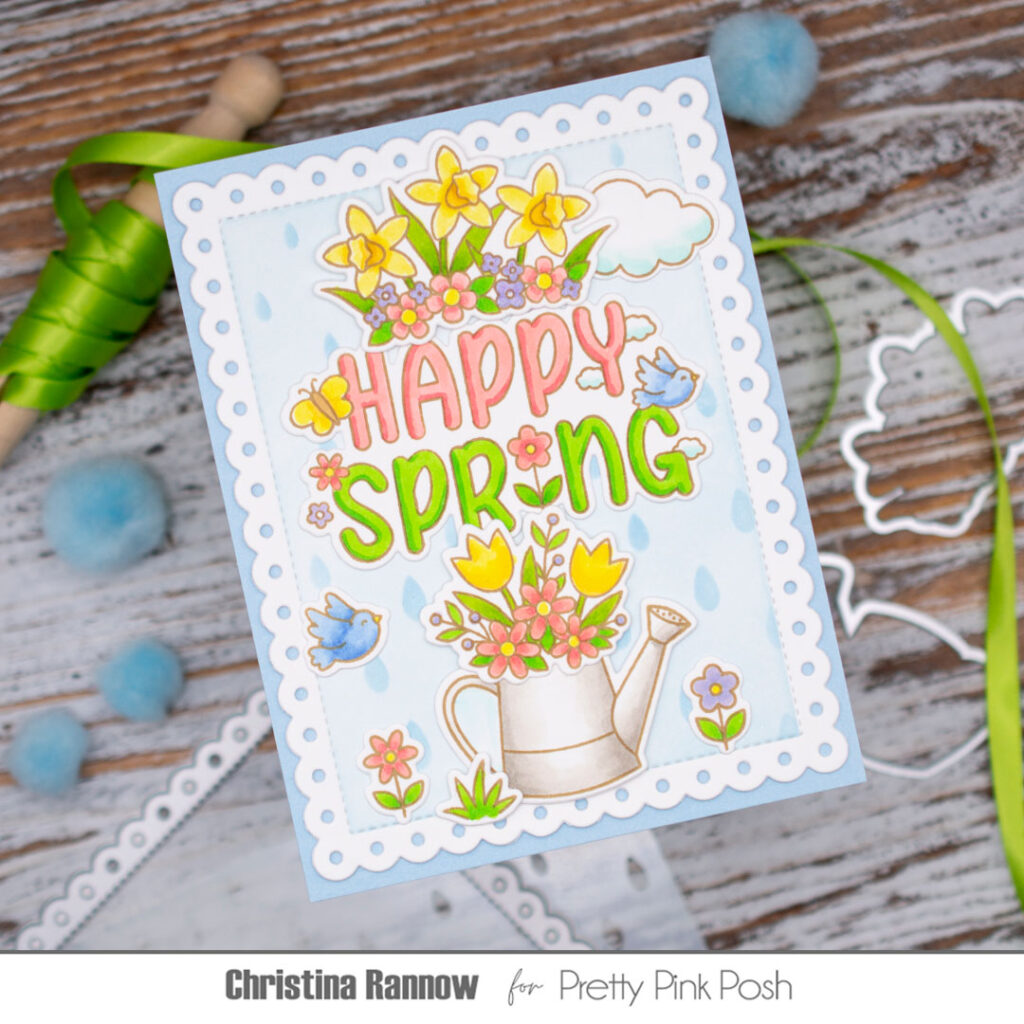
I started off with the super fun Mini Checker Stencil on a light blue card stock and ink blended on more blue to keep it monochromatic. Once the ink was applied then with the Vase Shaker Die I die-cut out the whole vase.
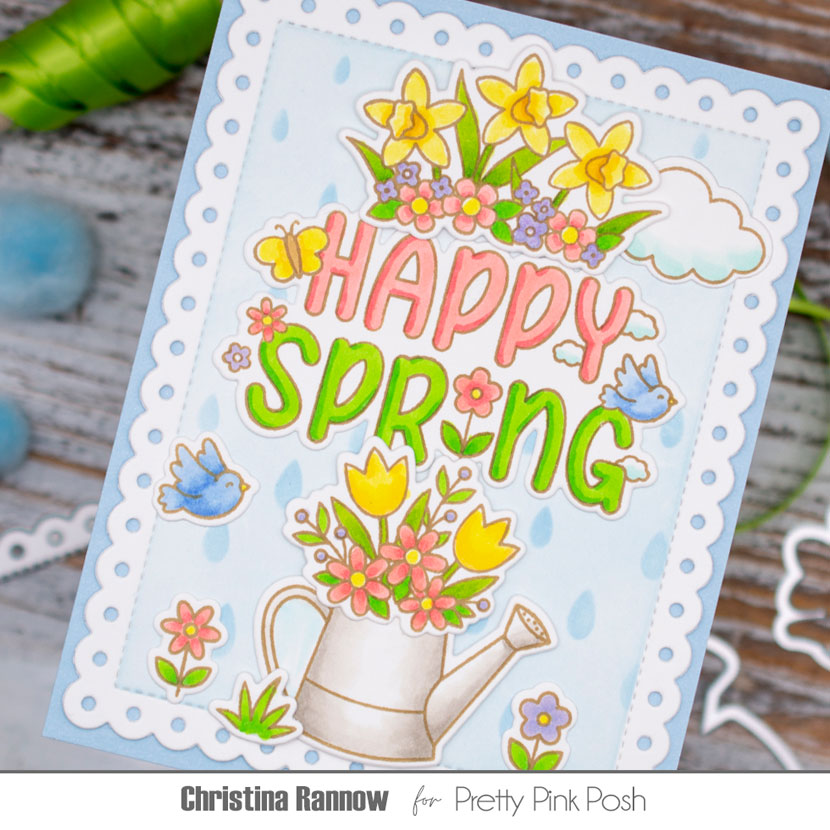
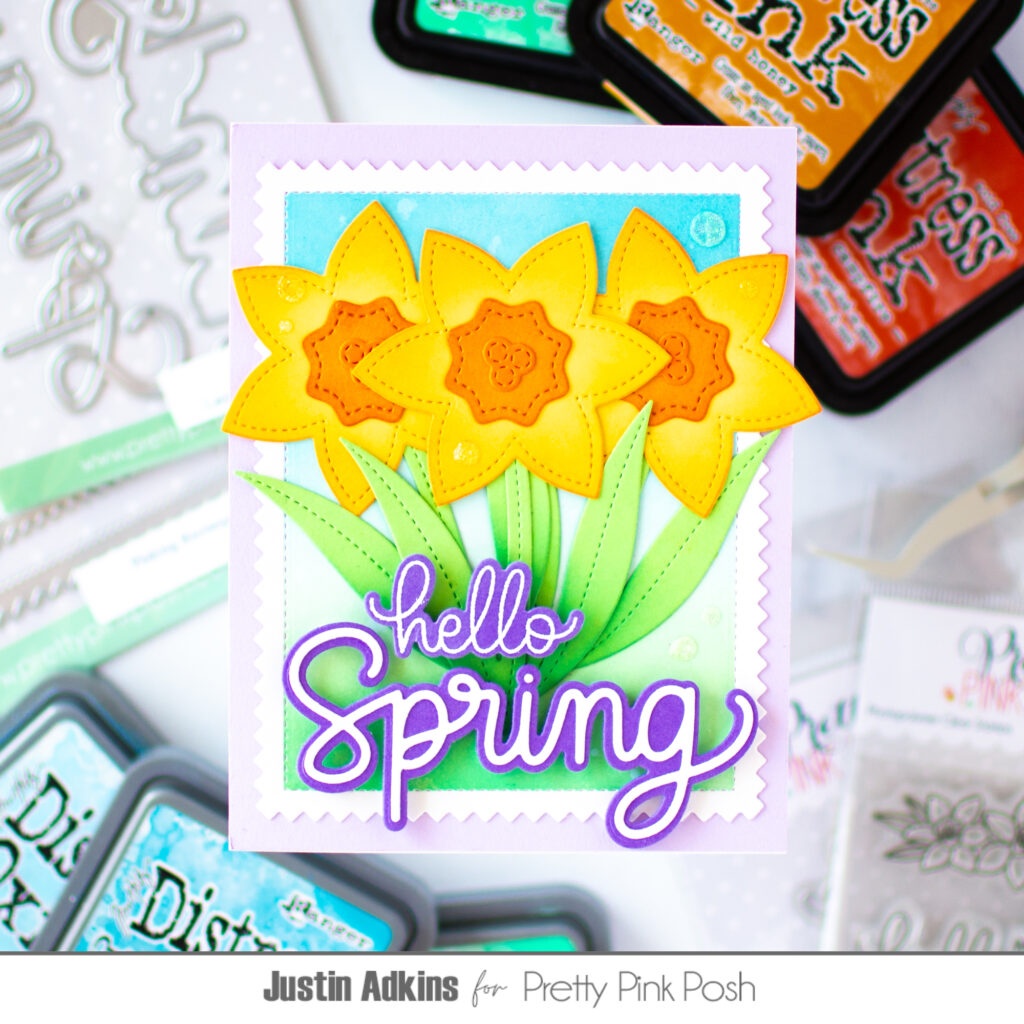
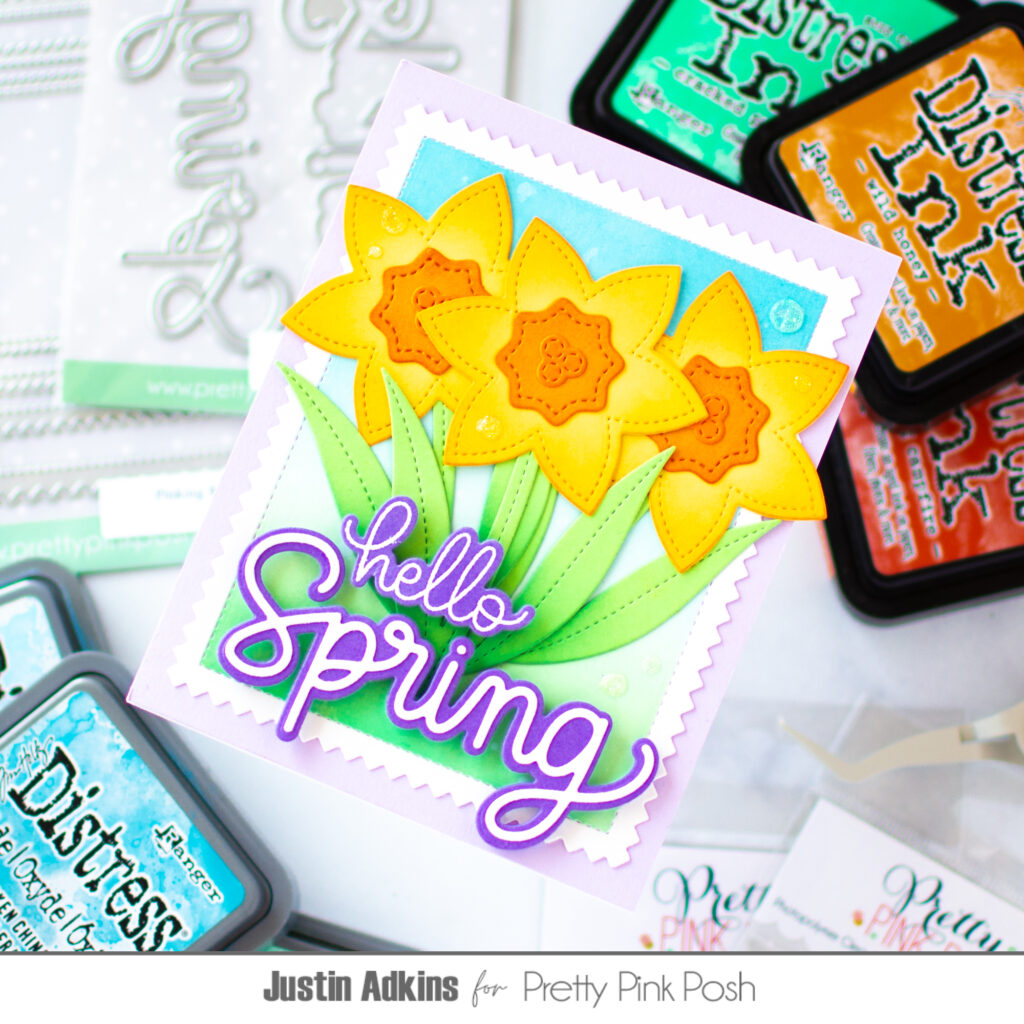
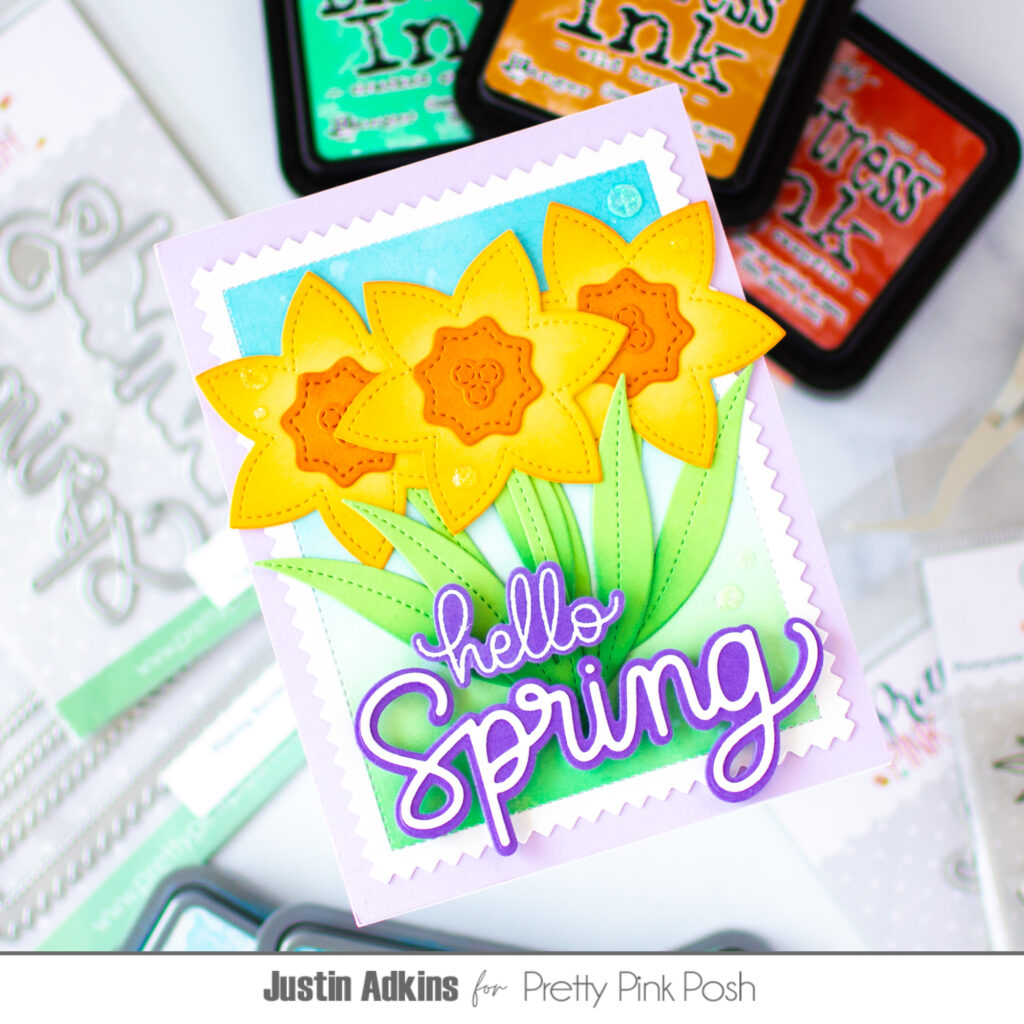
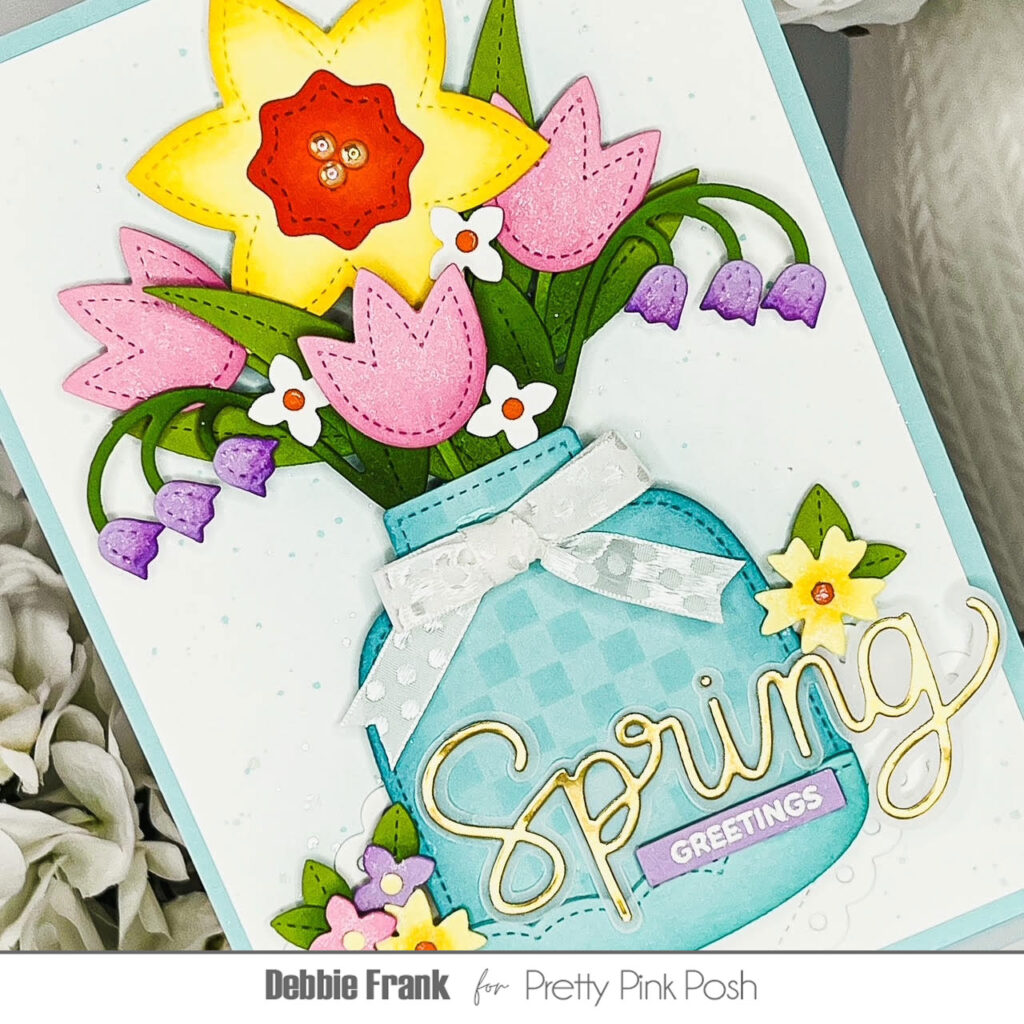
Next, with the Daffodil Shaker Dies, Stitched Spring Flowers and the previously released Spring Florals Dies. I die-cut out the flowers and added some ink on each flower to give some dimension to them. I love the sweet Bell flowers from the Spring Florals to give the bouquet the roundness it needs. The Tulips I had to make them to give that spring feel we all love!
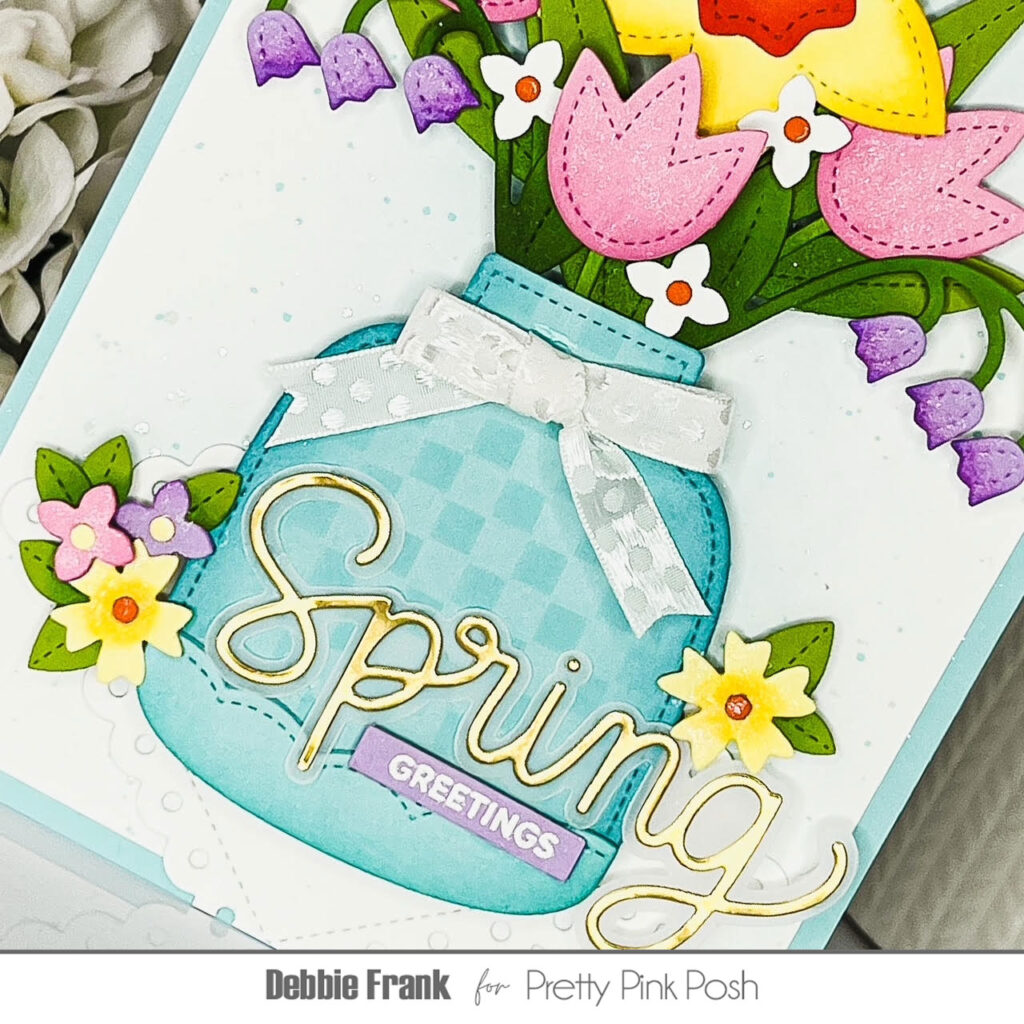
For my background panel measuring 4 6/8 X 6 6/8 inches I ink blended blue in the center, I did not bring it out far enough though! Also I splattered on some Perfect Pearls to give a water splatter look and matted it to the same blue card stock as the vase.
Once I had my flower bouquet arranged I thought the largest Eyelet Diamonds Die was a perfect Doily for the vase. This is where if I brought the blue ink out far enough the Eyelet Diamond would have shown up more.
I then die-cut out the Large Spring Shadow Die from gold and vellum and adhered together. To complete my sentiment I stamped and white heat embossed the “Greetings” from the Sentiment Strips: Fall set by masking off the Autumn.
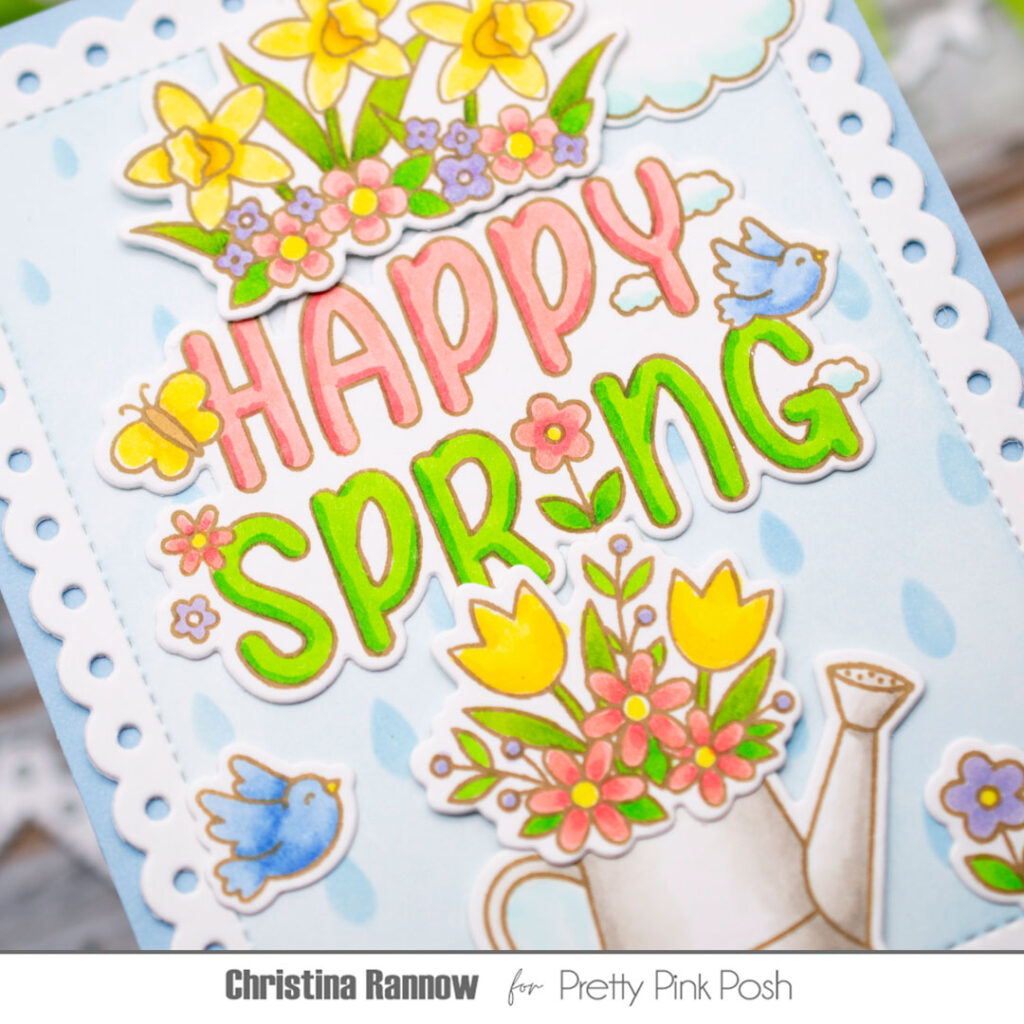
The final touches that I added was a shimmer pen to the flowers, Creamsicle Pearls to the center of the Daffodil, and making the polka dot bow to attach to the vase.
Thanks for taking the time to read and hope you have a wonderful crafty day!