
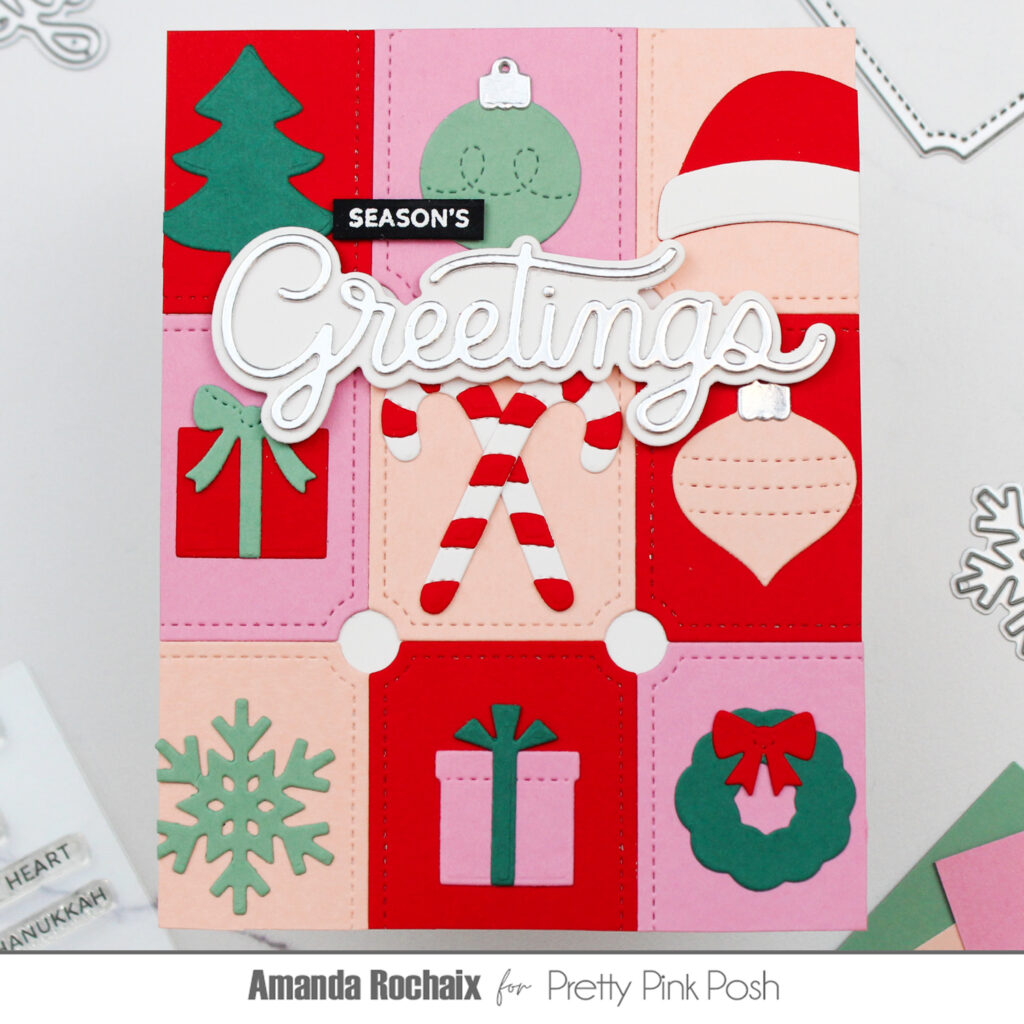
Season’s Greetings Grid Card
Hi, crafters! Amanda here, and I’m so excited to kick off my first blog post with Pretty Pink Posh! Today’s card is a little bit die cut heavy, but if you die cut all these elements in multiple colors, then you could have a pretty fun mass production party on your hands.
This card features a couple new items, like the Notched Rectangles dies and the Winter Greetings Shadow dies, but also features a few previously released products such as the Holiday Sentiments stamp set, and the Christmas Holder Additions die set. So, needless to say, shop your stash, and I’m sure you’ll find something great to use!
Now onto the details! For this card I chose the color palette of Poppy, Carnation, Nectar, Eucalyptus, and Juniper cardstocks from Concord & 9th, but this card would be fun with a variety of color palettes! I started off by die cutting the second smallest of the Notched Rectangles dies out of Poppy, Carnation, and Nectar.
With those ready to go, I grabbed an A2 card front and divided it into thirds with a ruler. This just helps me to try to make things even with a guideline, but if you’re a fly-by-the-seat-of-your-pants crafter, you can just eyeball it! When I stuck the rectangles down, I made sure the Nectar rectangle in the center of the card was as straight and centered as possible since I was trying to make the rectangles that would go above and below it equal in size since they would be hanging off my card front a little bit. When it came to gluing down the other rectangles, I kept them in the same order (Poppy, Carnation, Nectar), but shifted the colors over one each row so that the same colors weren’t in the same place, then trimmed off the excess.
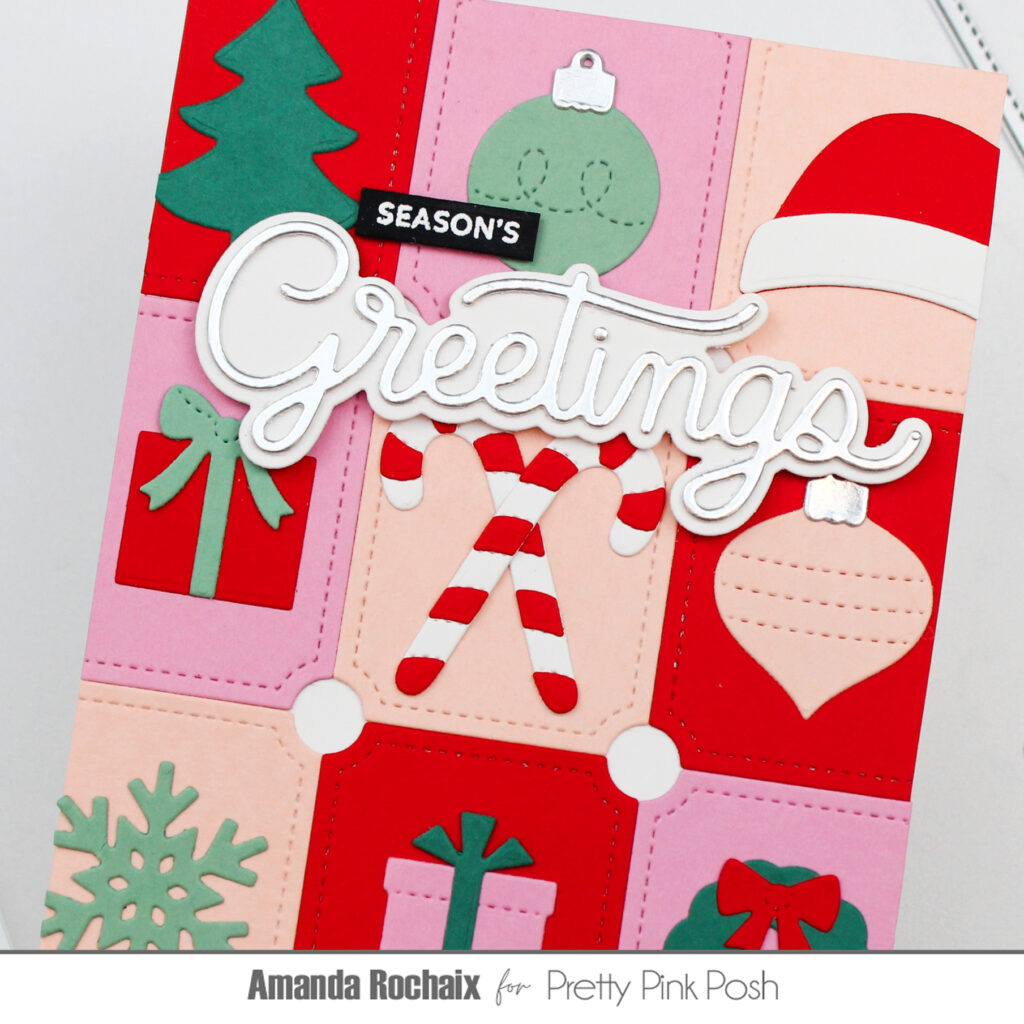
Now comes the fun part! I pulled out the Christmas Holder Additions die set, and die cut the Santa hat, one of the presents, the candy cane details, and the small bow out of Poppy cardstock. I die cut the Santa hat trim and the candy canes out of white cardstock, the pointy ornament out of Nectar, and one the presents out of Carnation. The Christmas tree, wreath, and pointy bow were die cut out of Juniper cardstock, and the round ornament, snowflake and long bow were die cut out of Eucalyptus cardstock. For the ornament toppers, I chose silver metallic cardstock since the tones of it worked really well with these colors. I assembled all of the cute little icons, then adhered them to the rectangles. I didn’t have any rhyme or reason with where I glued them down, except that I wanted the colors to pop.
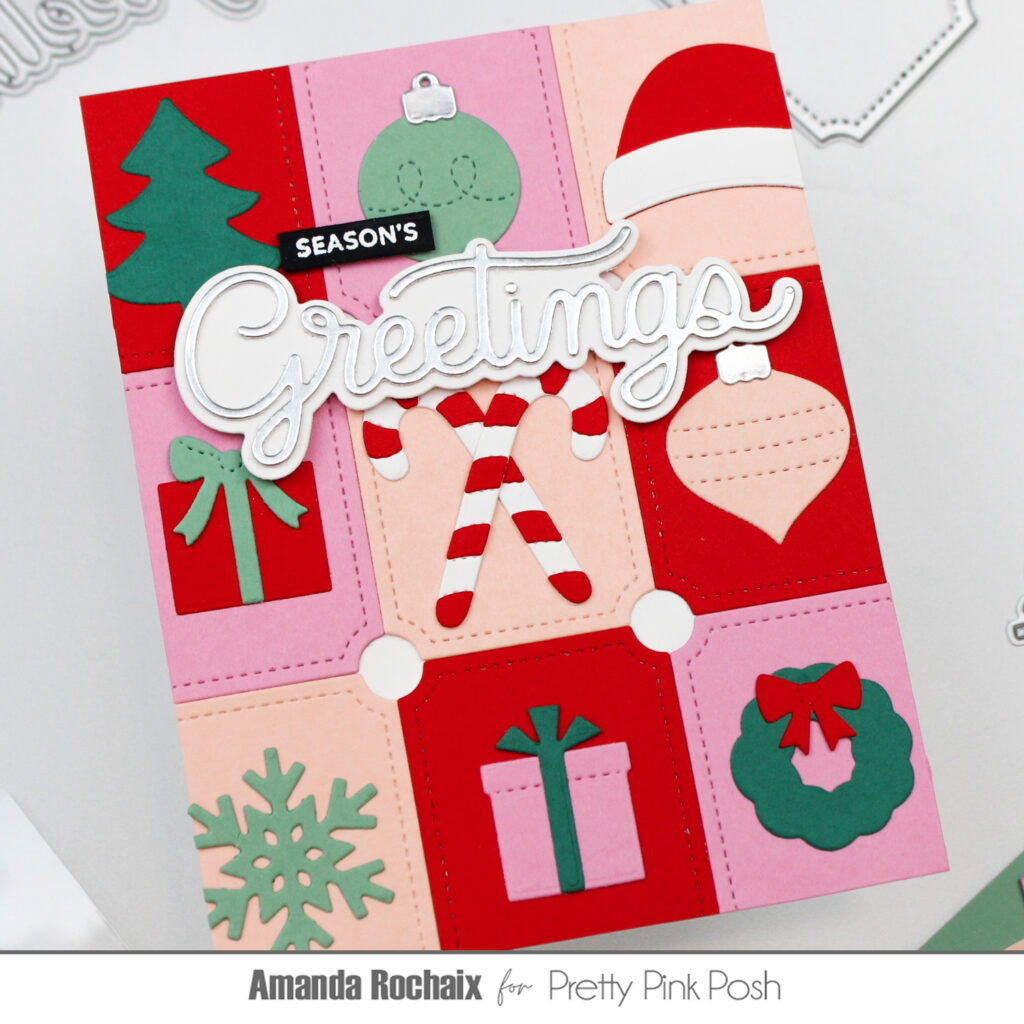
All that was left to do on this card was the sentiment! I die cut the ‘greetings’ from the Winter Greetings Shadow die set out of matte silver cardstock and a layer of white cardstock, plus the shadow layer out of white cardstock as well. I grabbed the Holiday Sentiments stamp set and pulled out the ‘season’s greetings’ stamp, masked off the ‘greetings’ portion of it, and white heat embossed on black cardstock. Then I used the small simple strip from the Sentiment Strips die set to die cut my sentiment. I popped the ‘greetings’ up on some 2mm foam squares and stuck it down right where the first two rows of rectangles meet. This does cover up the fun circles that the Notched Rectangles make when they meet up at the corners, but if those circles bother you, you can totally use any rectangle die as well! To finish this card off, I stuck the ‘season’s’ on some 1mm foam squares and nestled it just above the ‘greetings’.
I really love how this card turned out! The pops of color are so fun and so are all those cute icons! If this inspires you to create, please tag me on Instagram! I would love to see what you made!
Great debut! Way to go, Amanda!