Day 5: Stencil Theme Week
Save 20% on all products in the stencil section
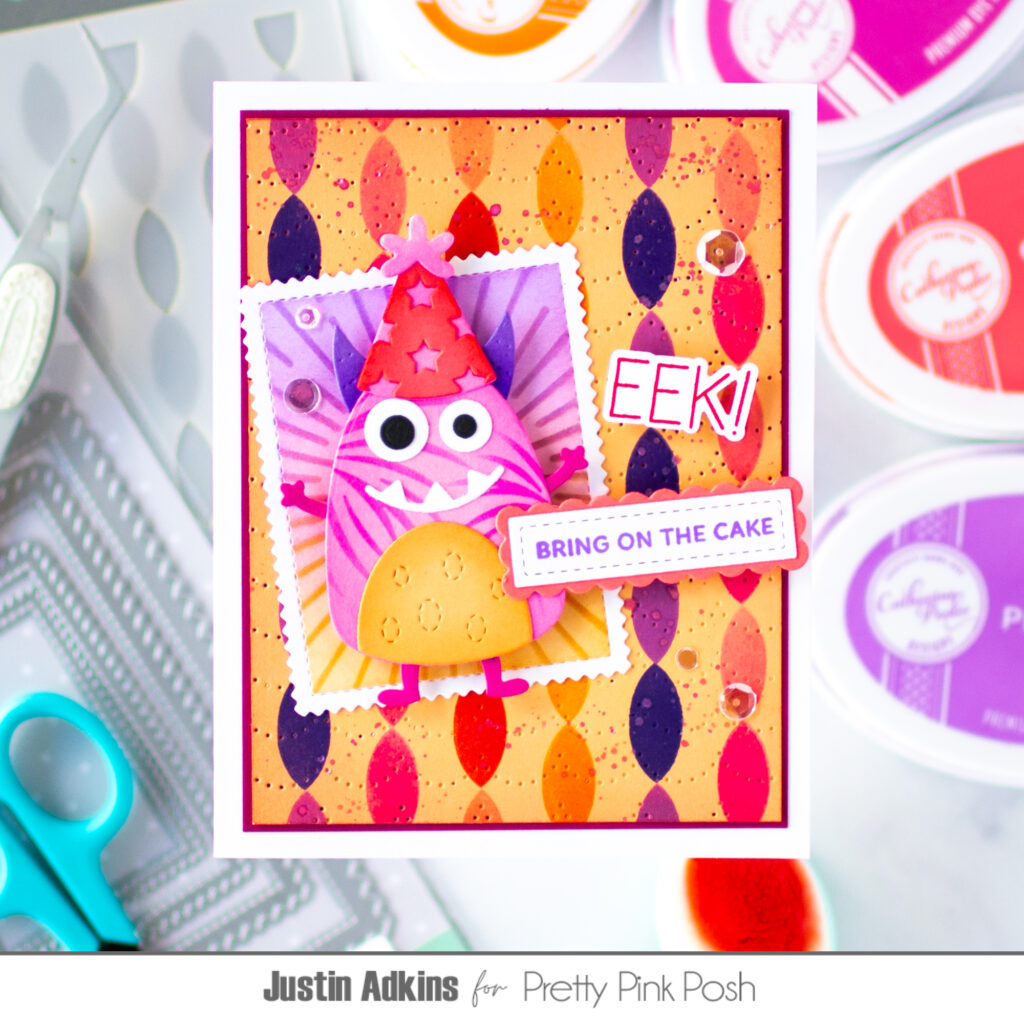
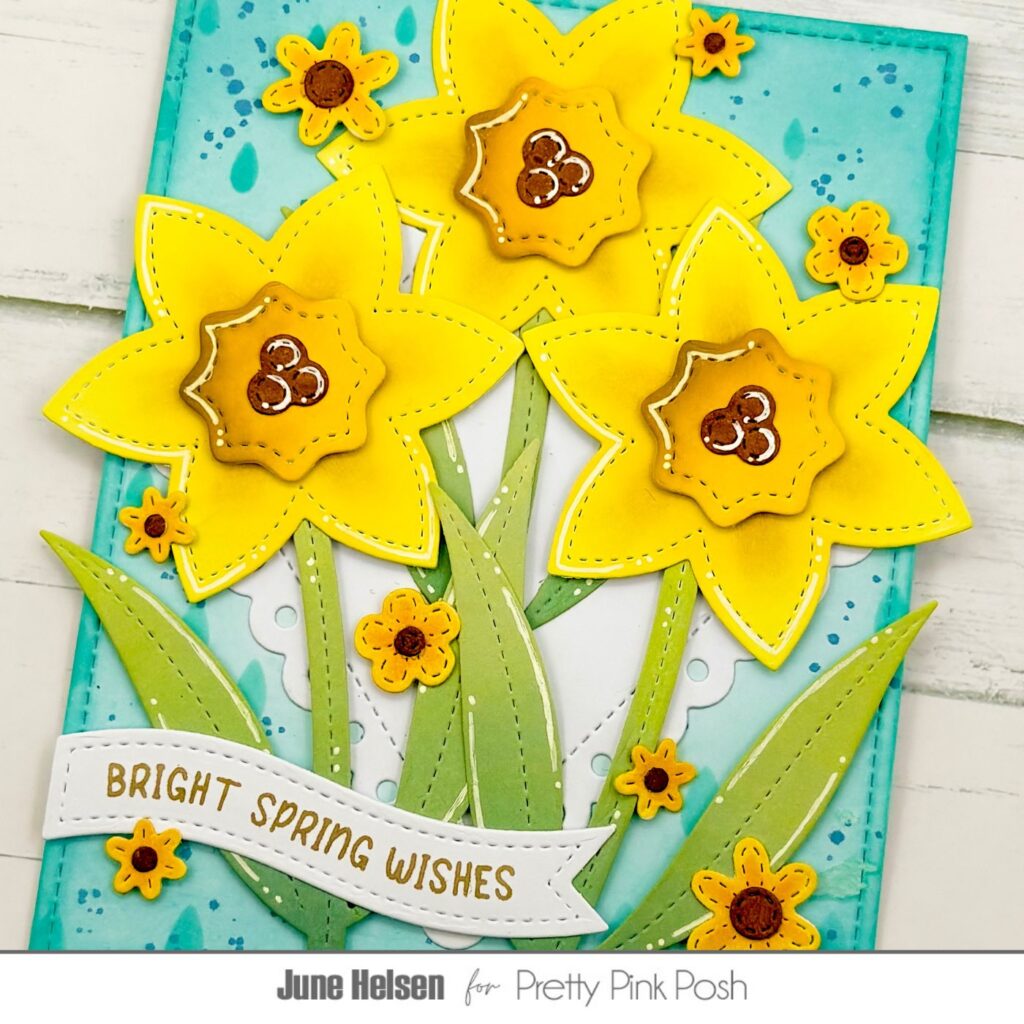
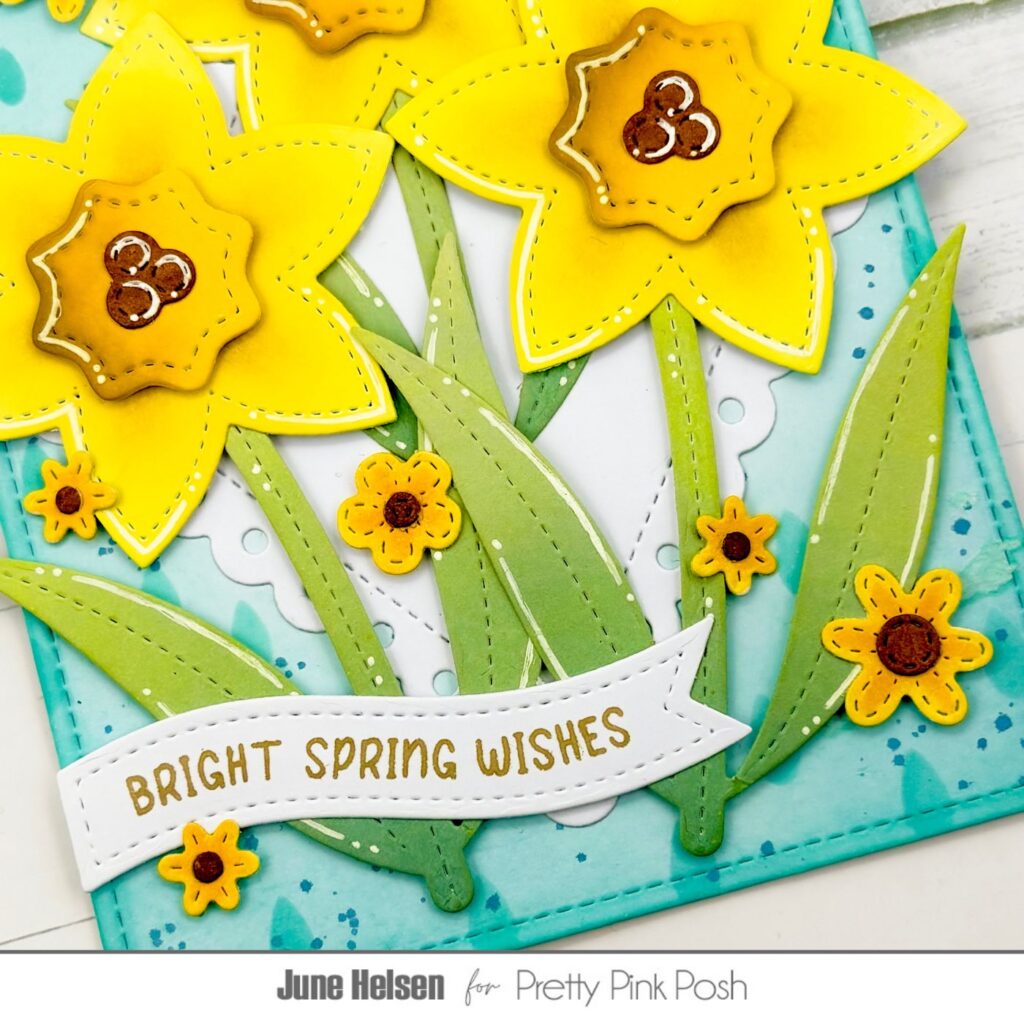
Hello Everyone! Welcome to the fifth day of the Stencil Theme Week! It is Zsofi here today with a cute baby card mixing some older stencils, stamps and dies. Let me guide you through the process of how I built this unisex and very colourful projects.
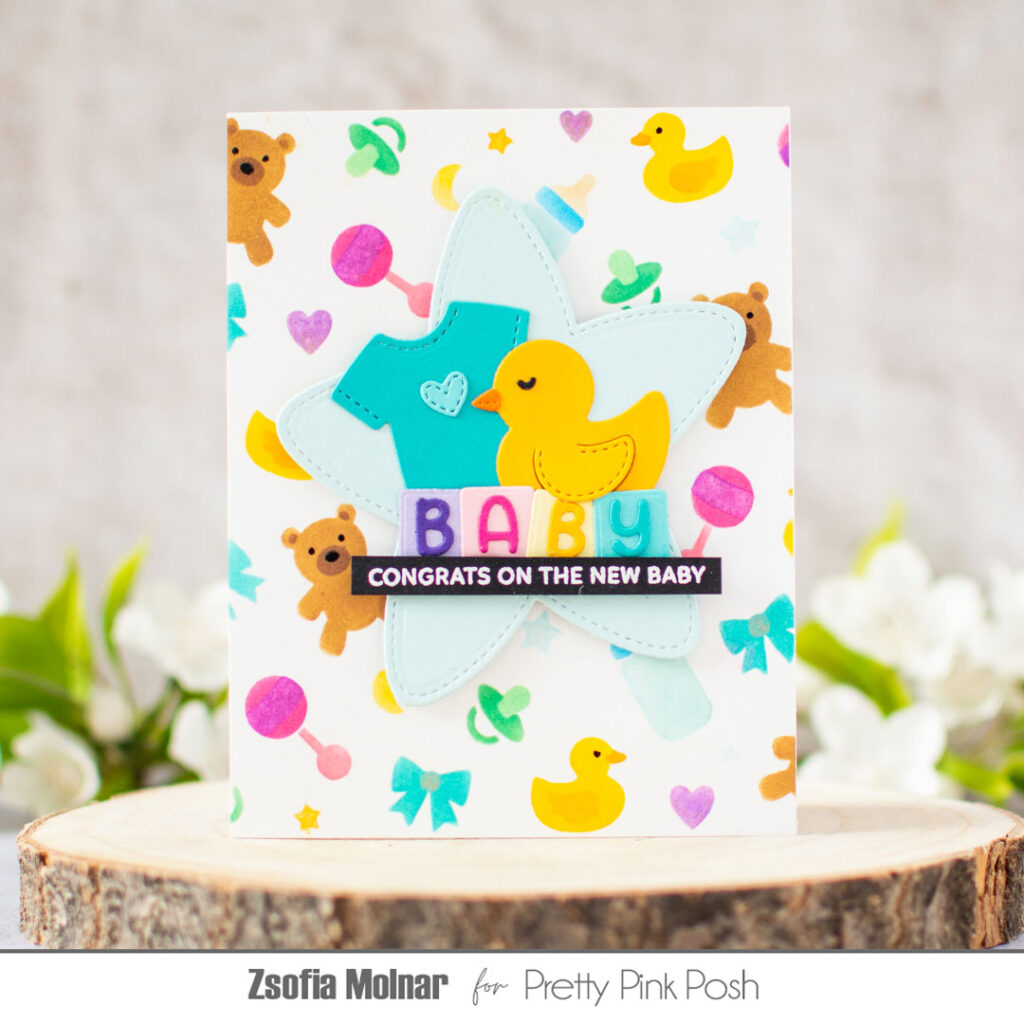
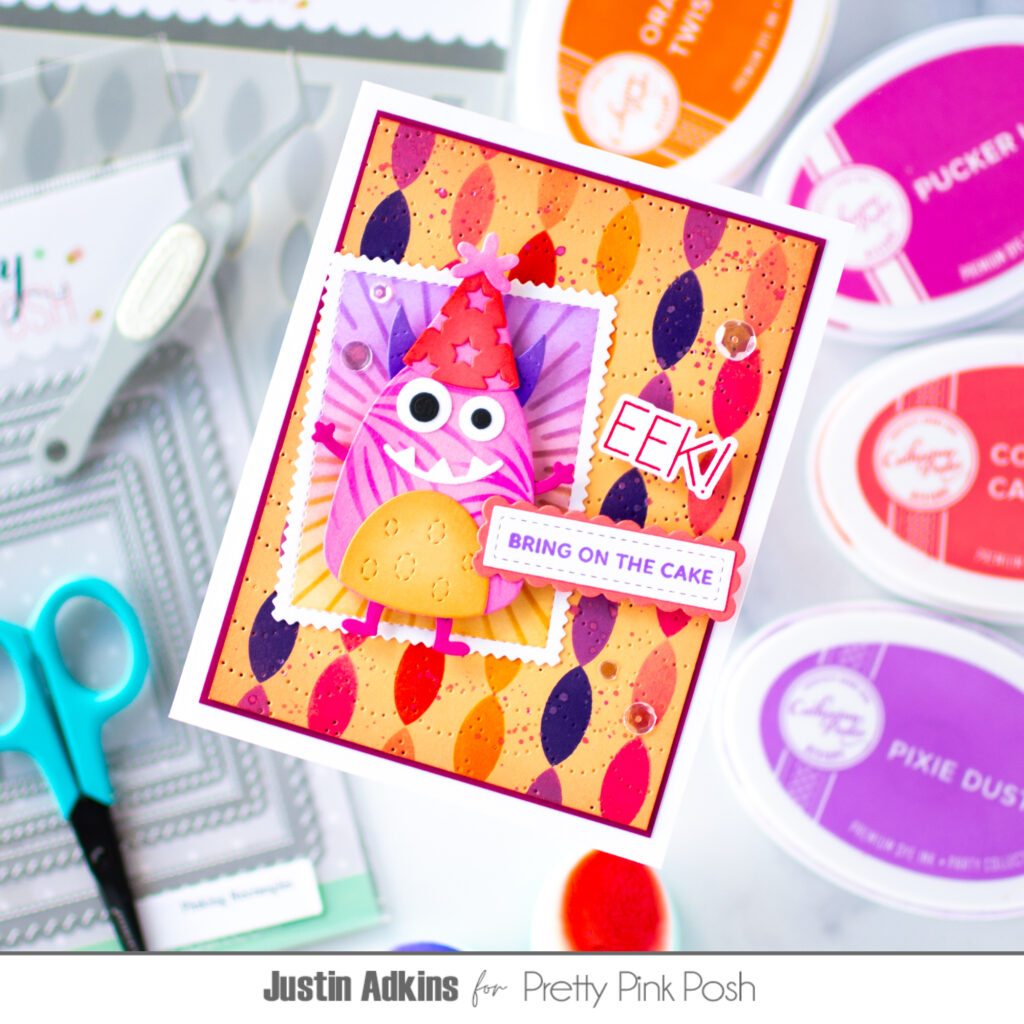
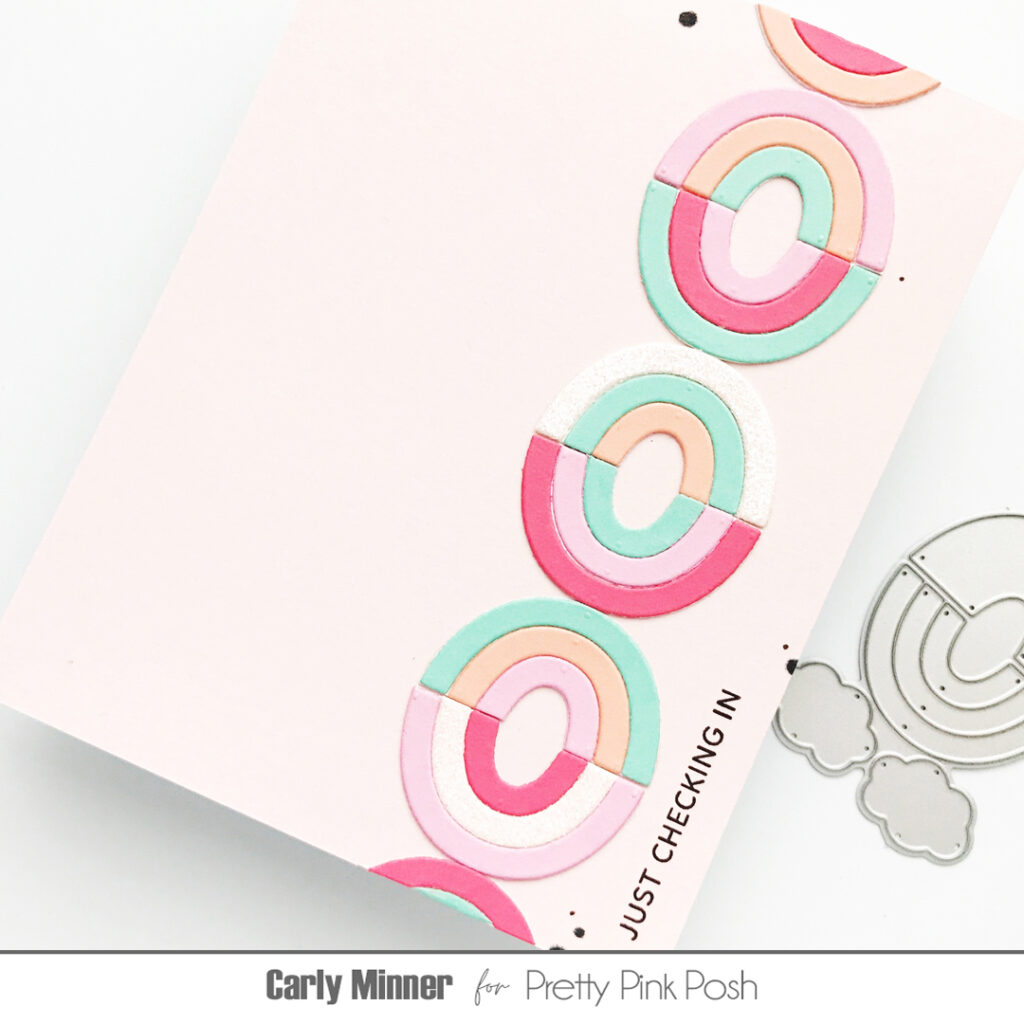
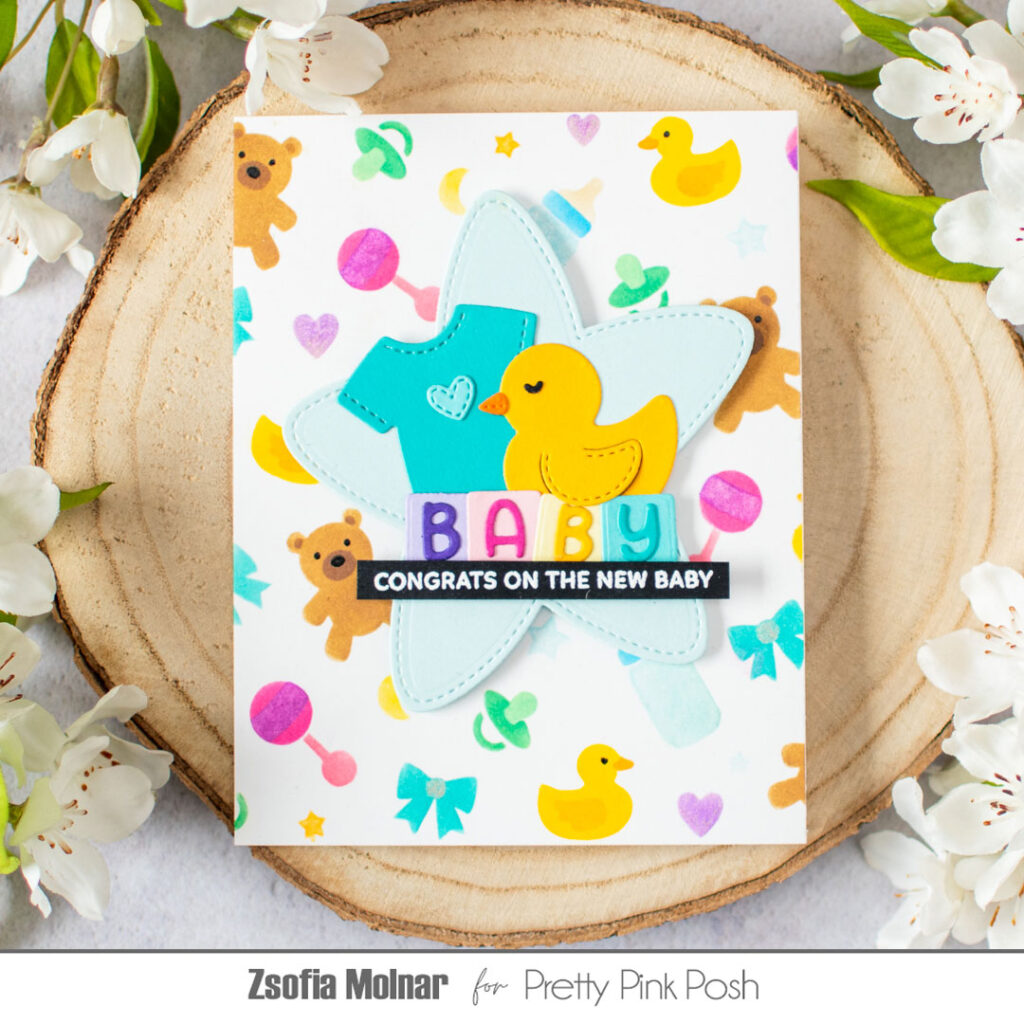
I started with creating my own patterned paper: the Layered Baby Wreath set has 3 stencils included which allows you to apply many different colours without masking, and helps you build depth and add details in an easy way. I used Distress Oxide inks today, but it can work with many other types of ink. I used a small blending brush for each colour family, it worked perfectly fine even if the brush head was not particularly small.
When all 3 layers were done, I used a clear shimmer pen to add some sparkle (be careful as it will move the ink being water soluble), and added some further details with a black glaze pen.
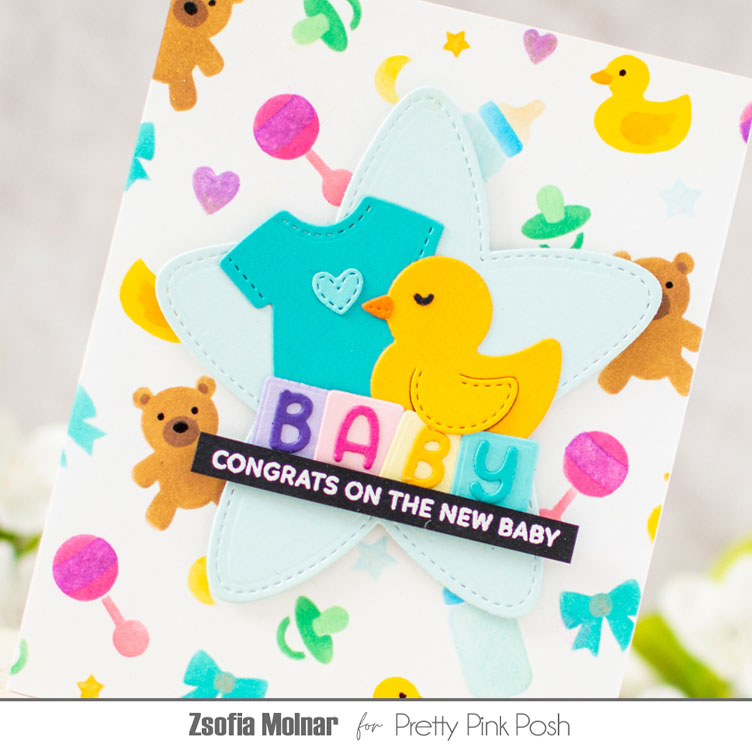
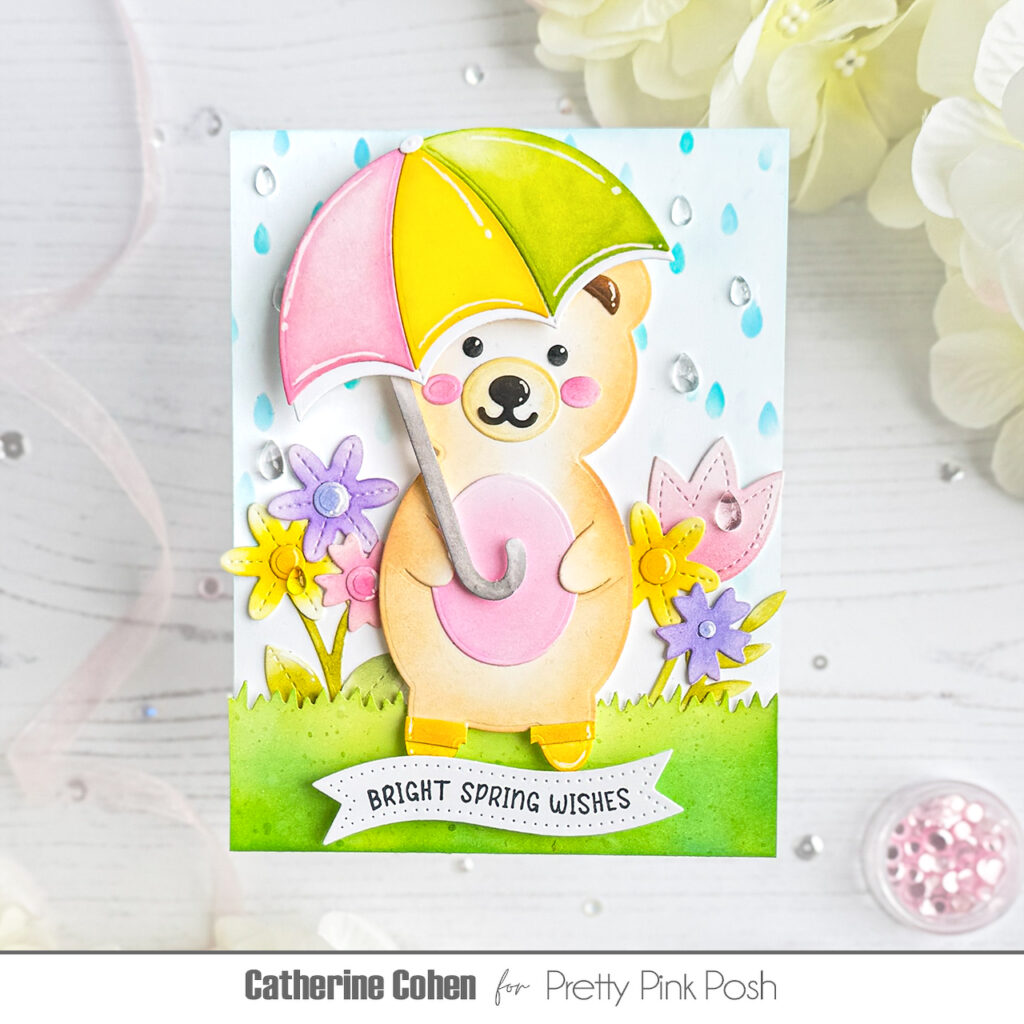
Then I worked on the focal panel: I used the Stitched Stars die set (retired) to cut the biggest star out of light blue cardstock. All the little baby accessories I die cut from colourful scraps using the Baby Mug Additions die set. It is a perfect way to use up all the little cardstock pieces you wanted to throw away. I love the stitching details, it adds a home-made feel to the whole design! After adhering it all on the star, I popped the focal panel in the middle of the stencilled background using 3D foam squares for extra dimension.
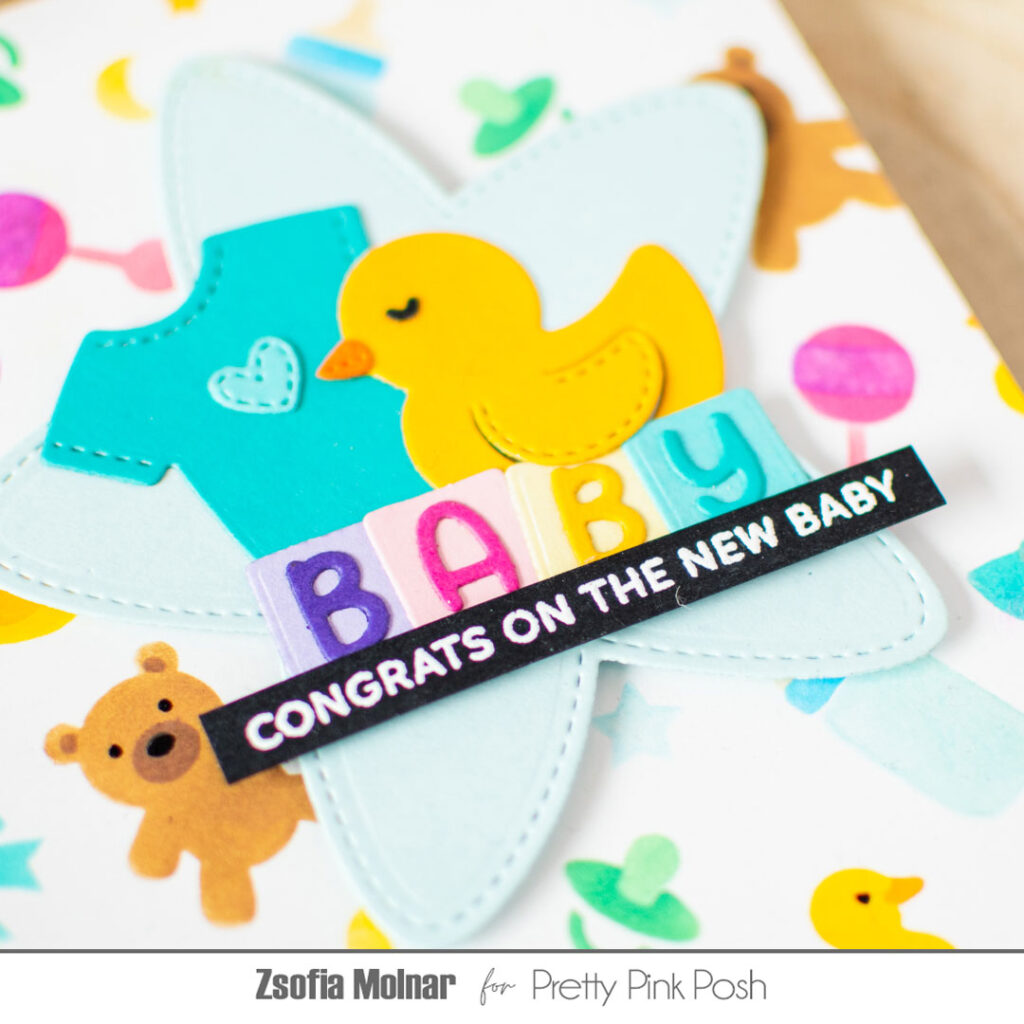
The sentiment I white heat embossed on a thin strip of black cardstock using the Sentiment strips: Occassions stamp set. I used foam squares to adhere it under the baby accessories to make it even more dimensional.
As a finishing touch I wanted to add some glossy accents to the background to make a few parts shiny, but I totally forgot. Even though I wanted to make a unisex card, I can easily imagine this in monochrome colours (pink, blue) too.
I hope you like this idea and got inspired to use your older stencils and dies. I cannot wait to see your beautiful creations, make sure to share them in our Facebook group!
Thanks for stopping by and hope to see you soon.