Easy Black & White Backgrounds for Quick Cardmaking
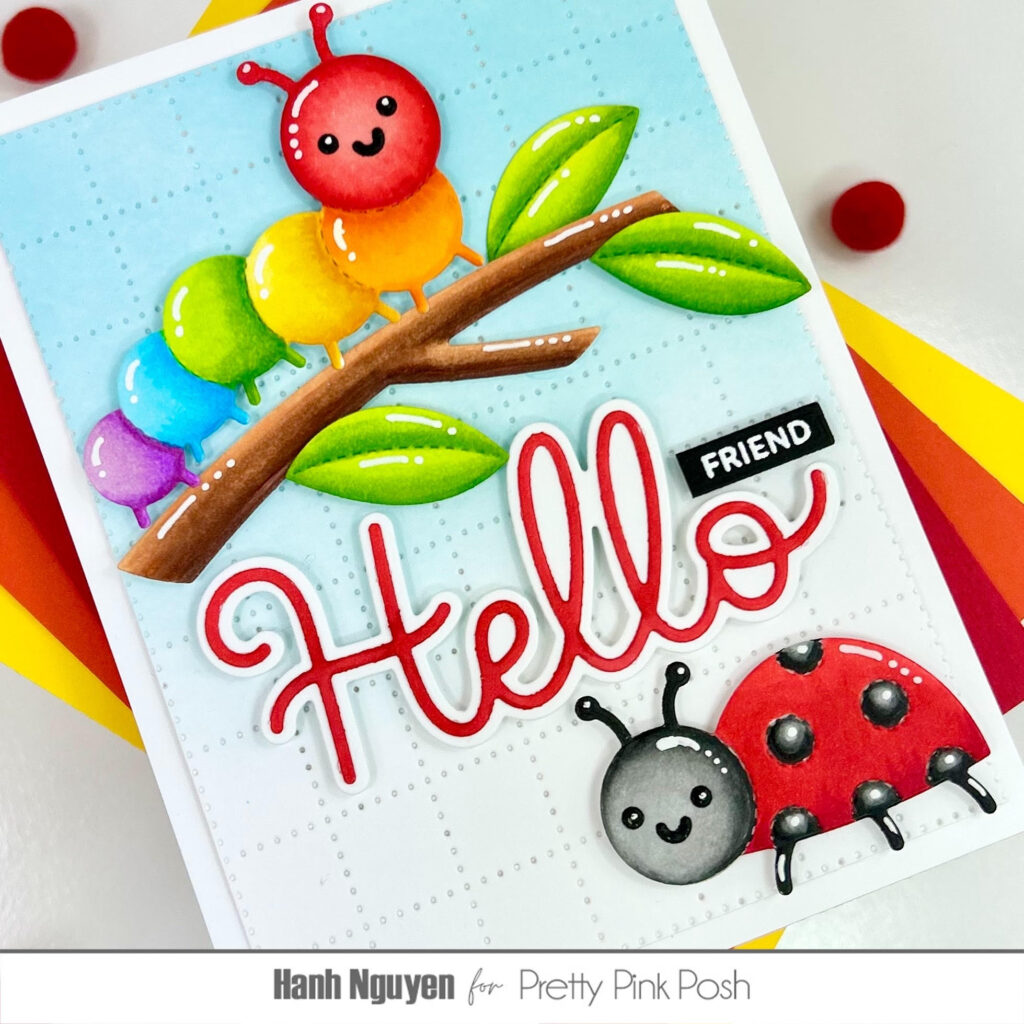
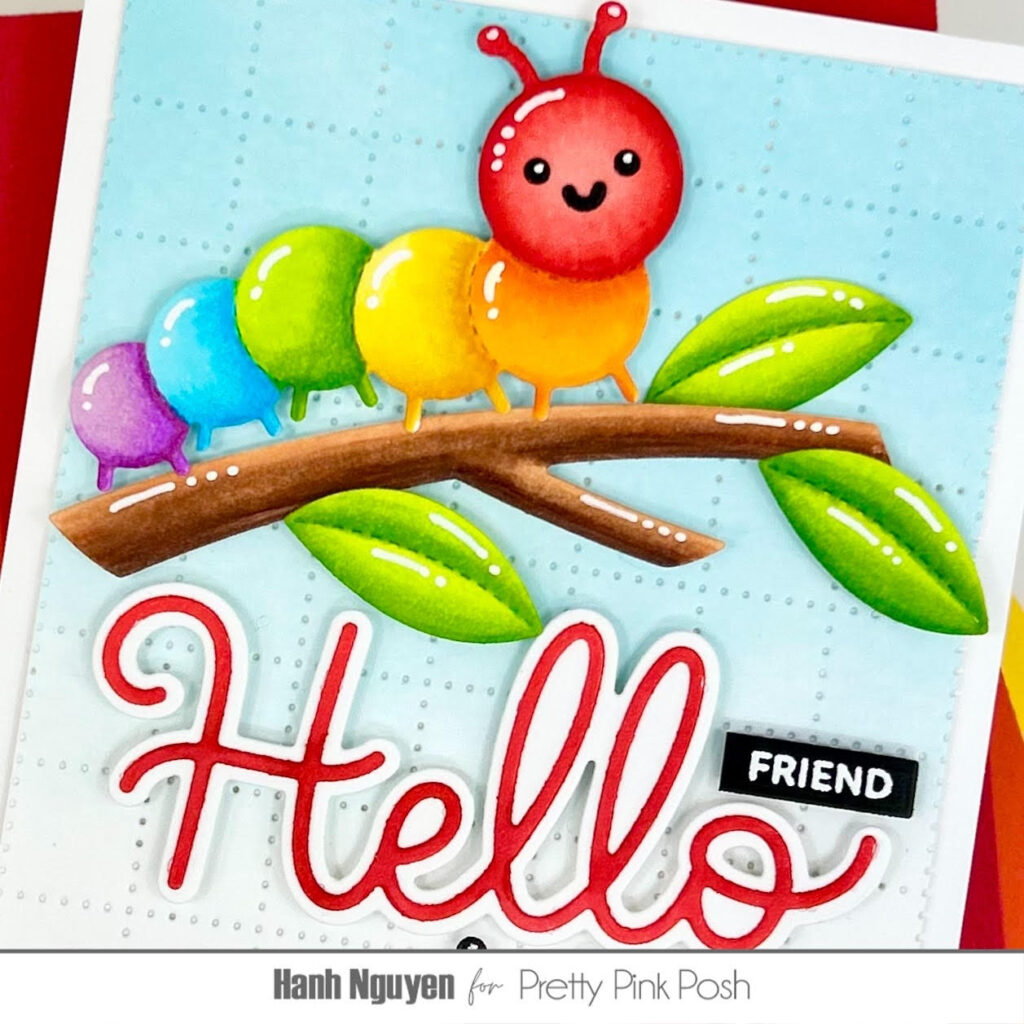
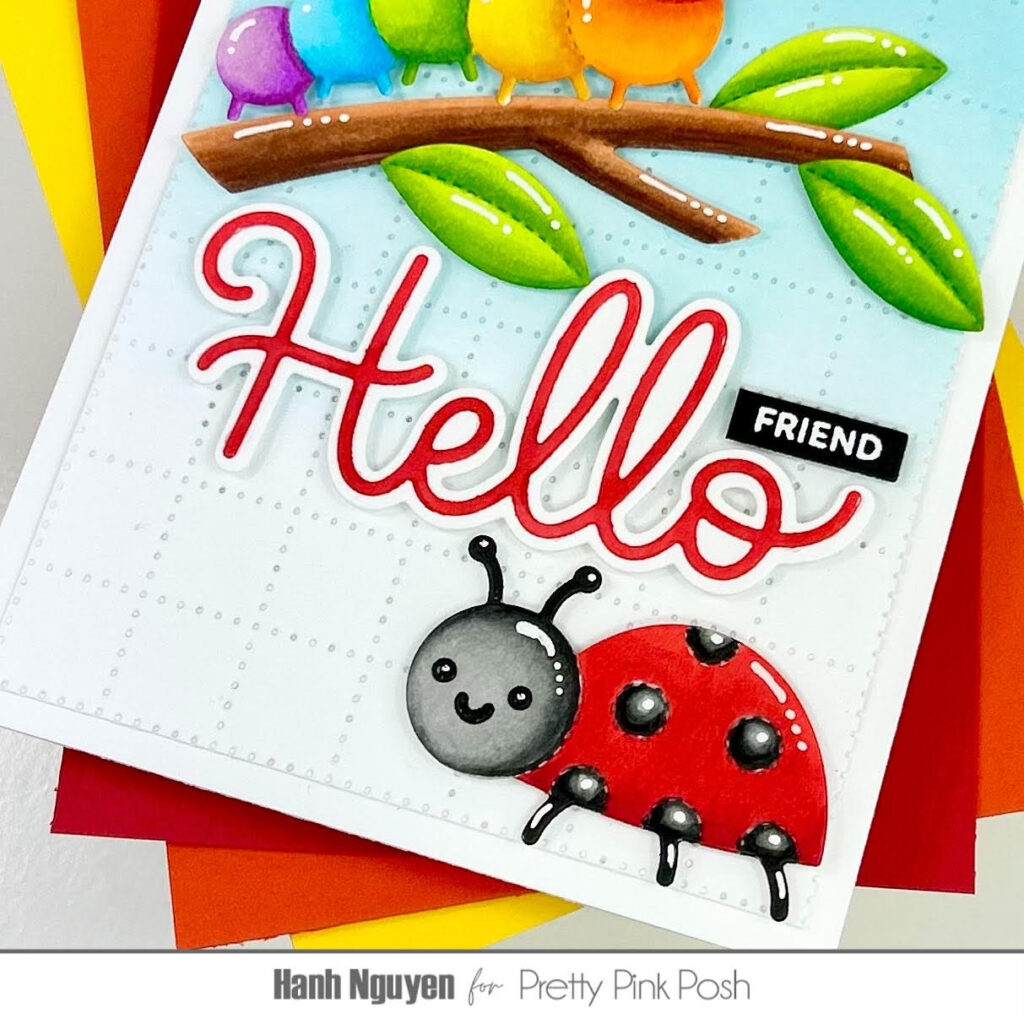
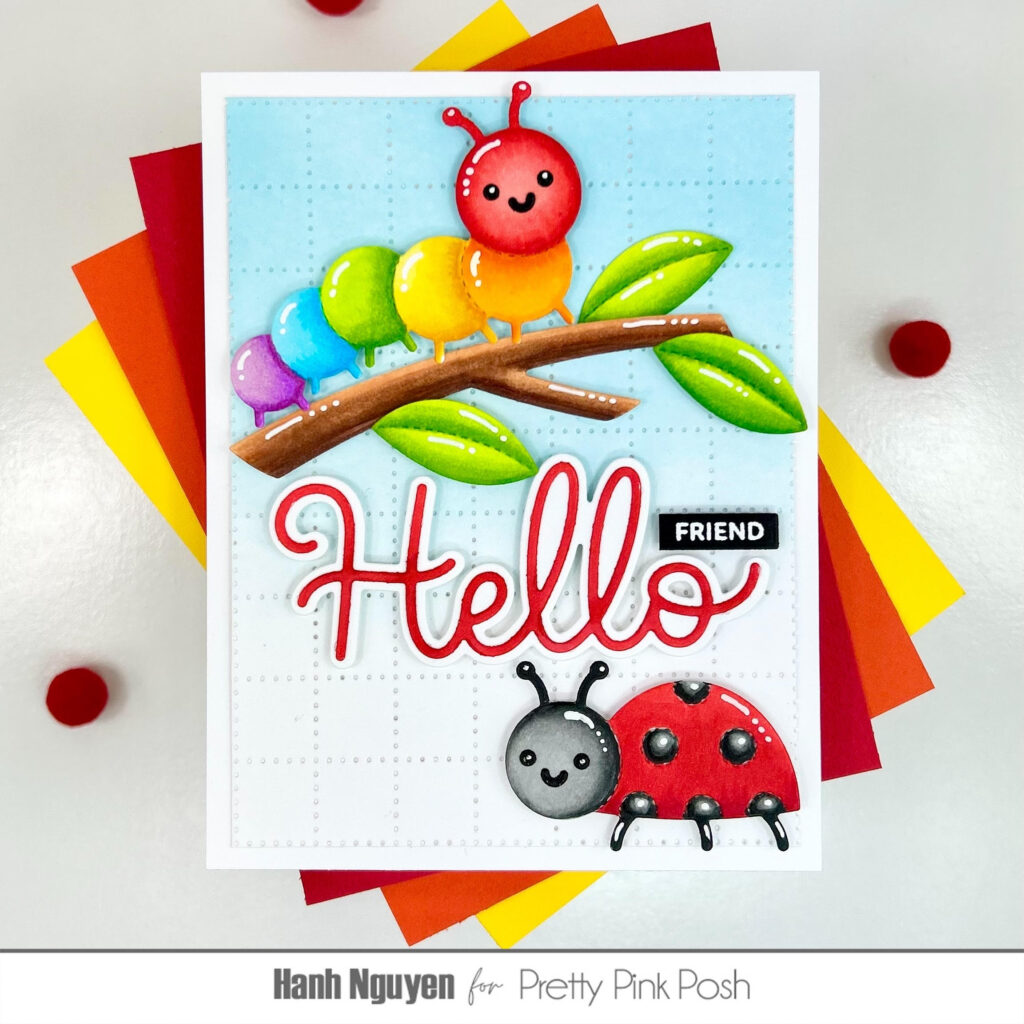
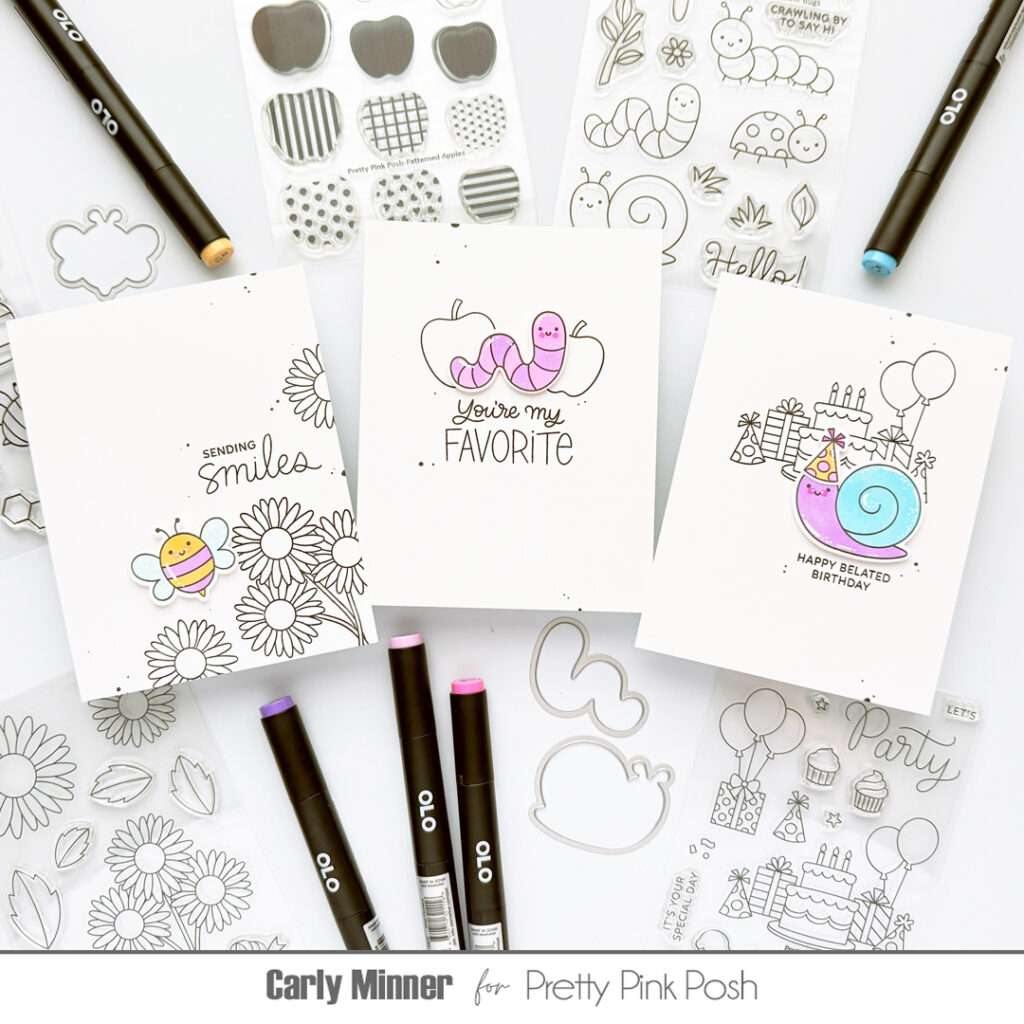
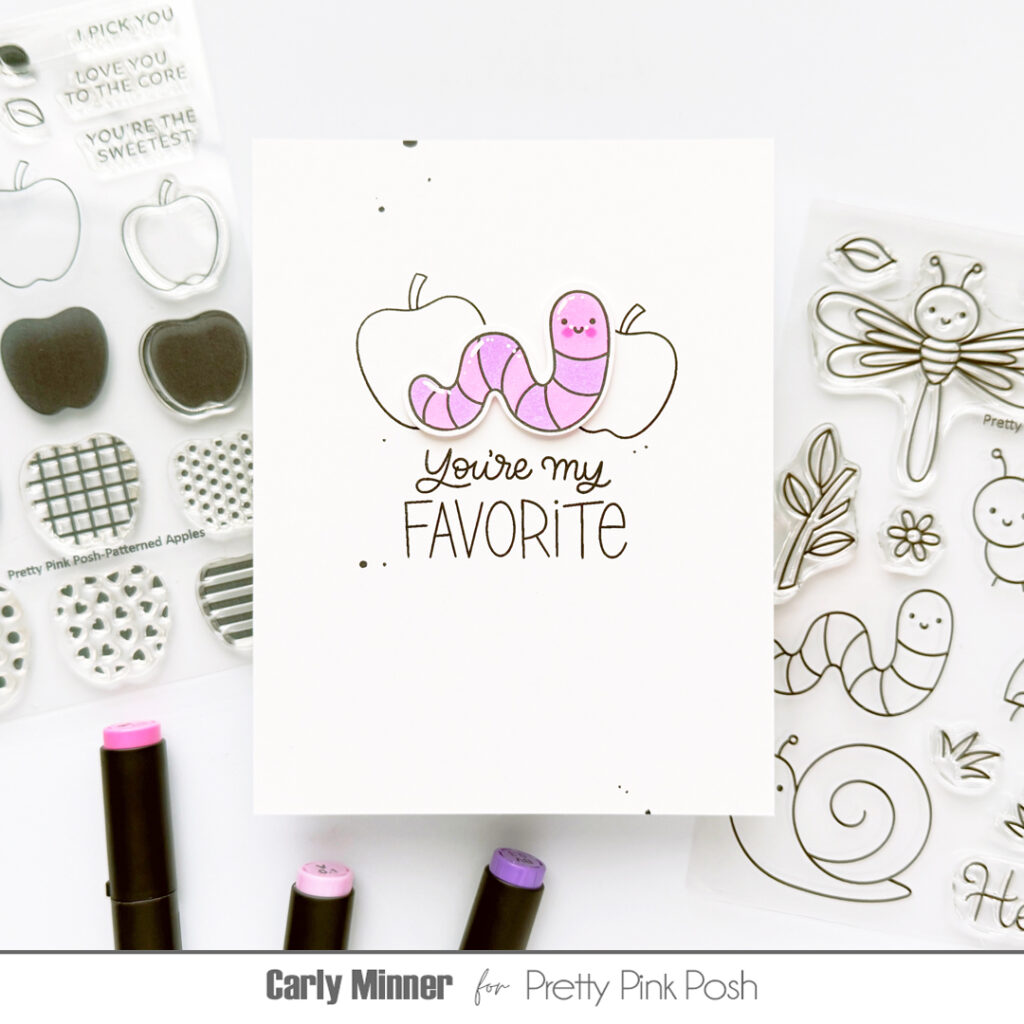
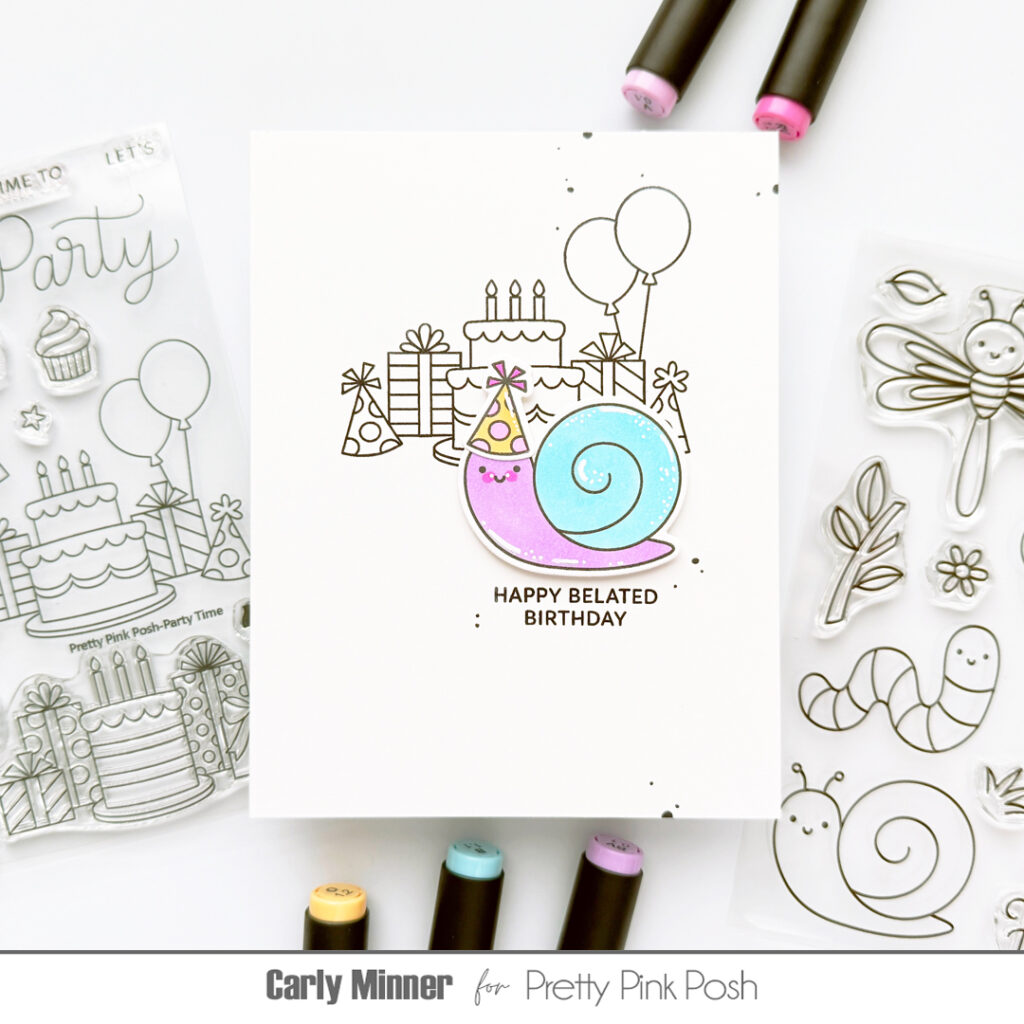
Hi friends, Carly here today. Pretty Pink Posh stamps are some of my absolute favorites to color but…coloring takes me a long time! And sometimes I don’t have as much time to spend cardmaking as I would like so that’s where easy black & white backgrounds come in!
Watch the video above I Watch the video in HD on YouTube
Here’s my process…
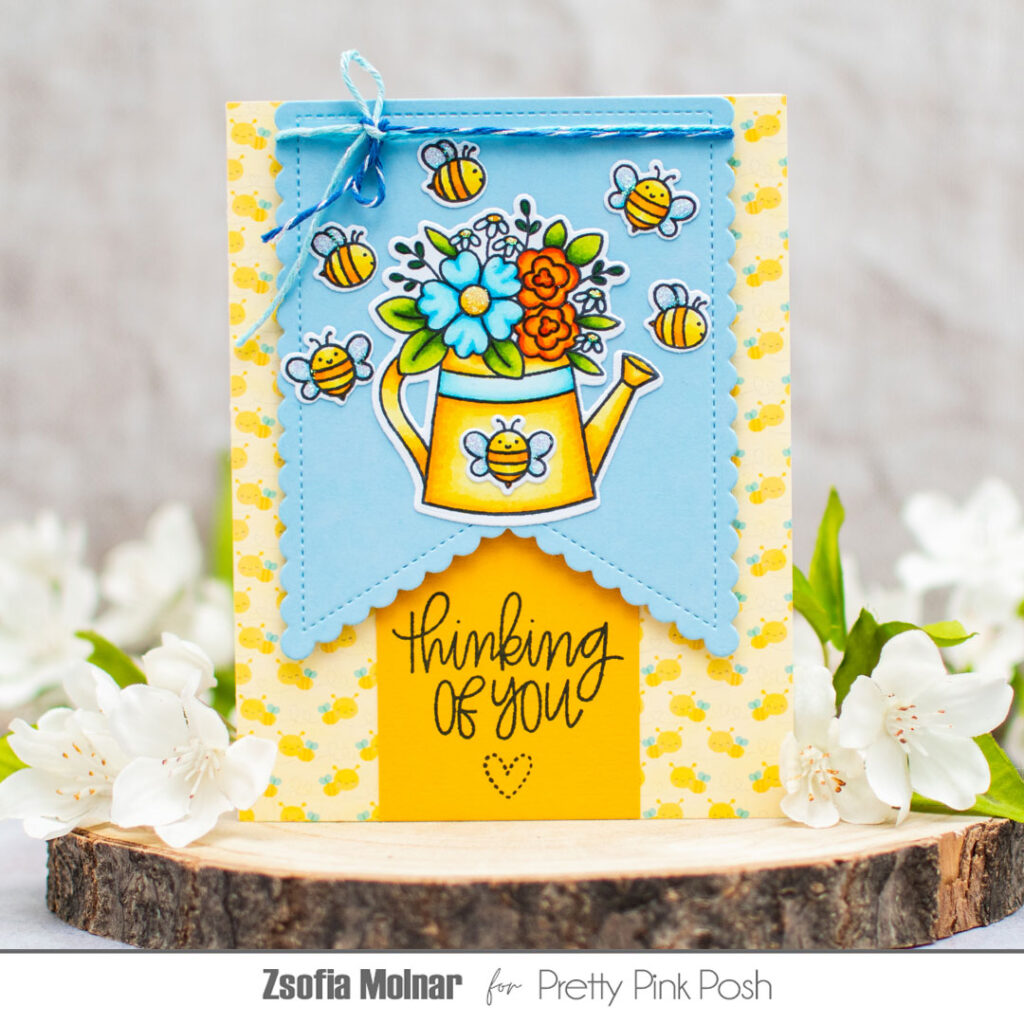
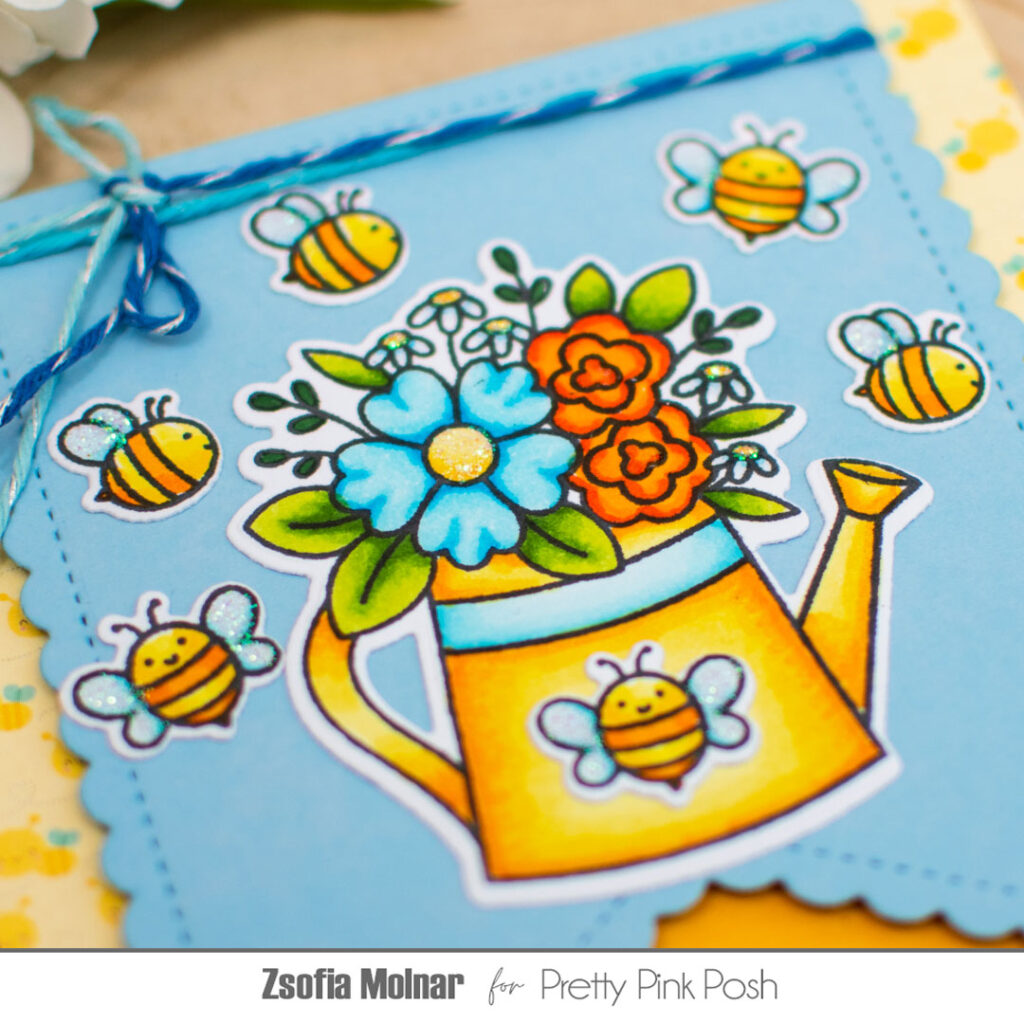
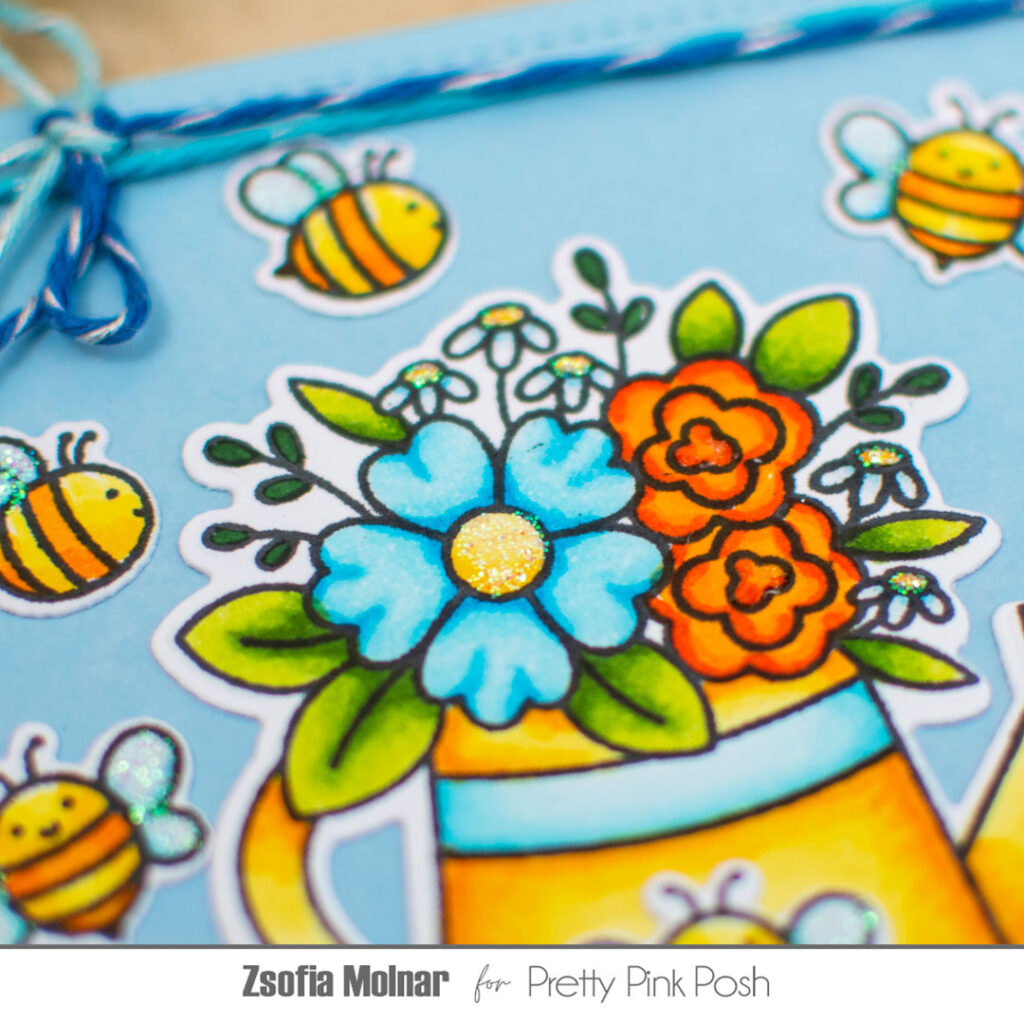
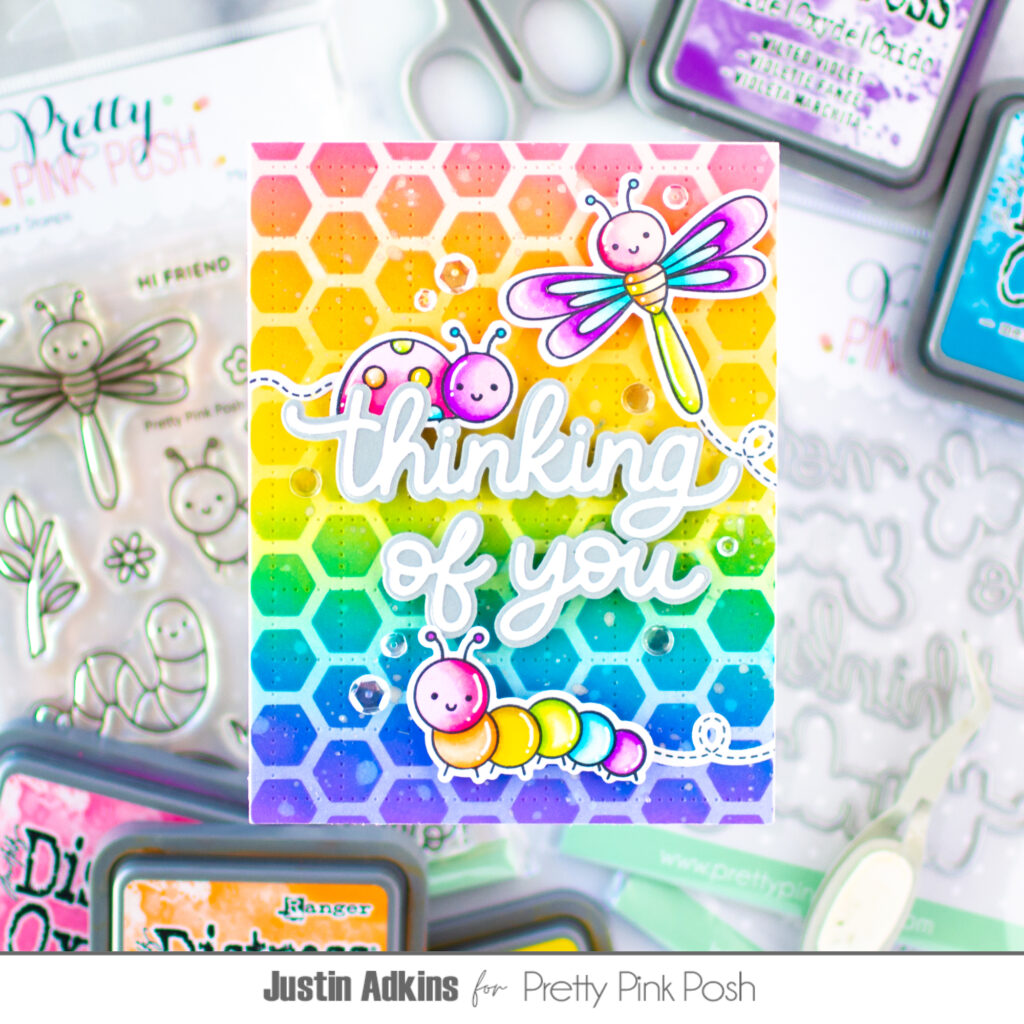
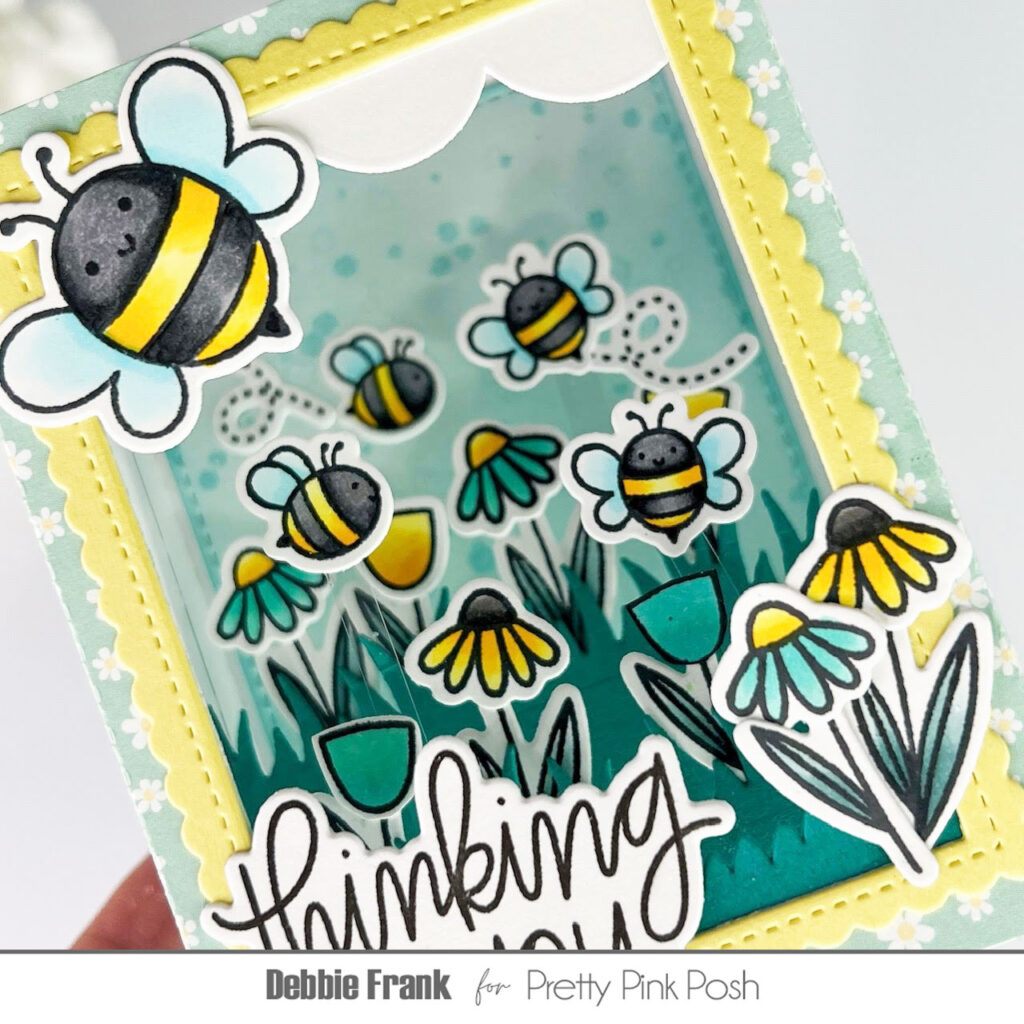
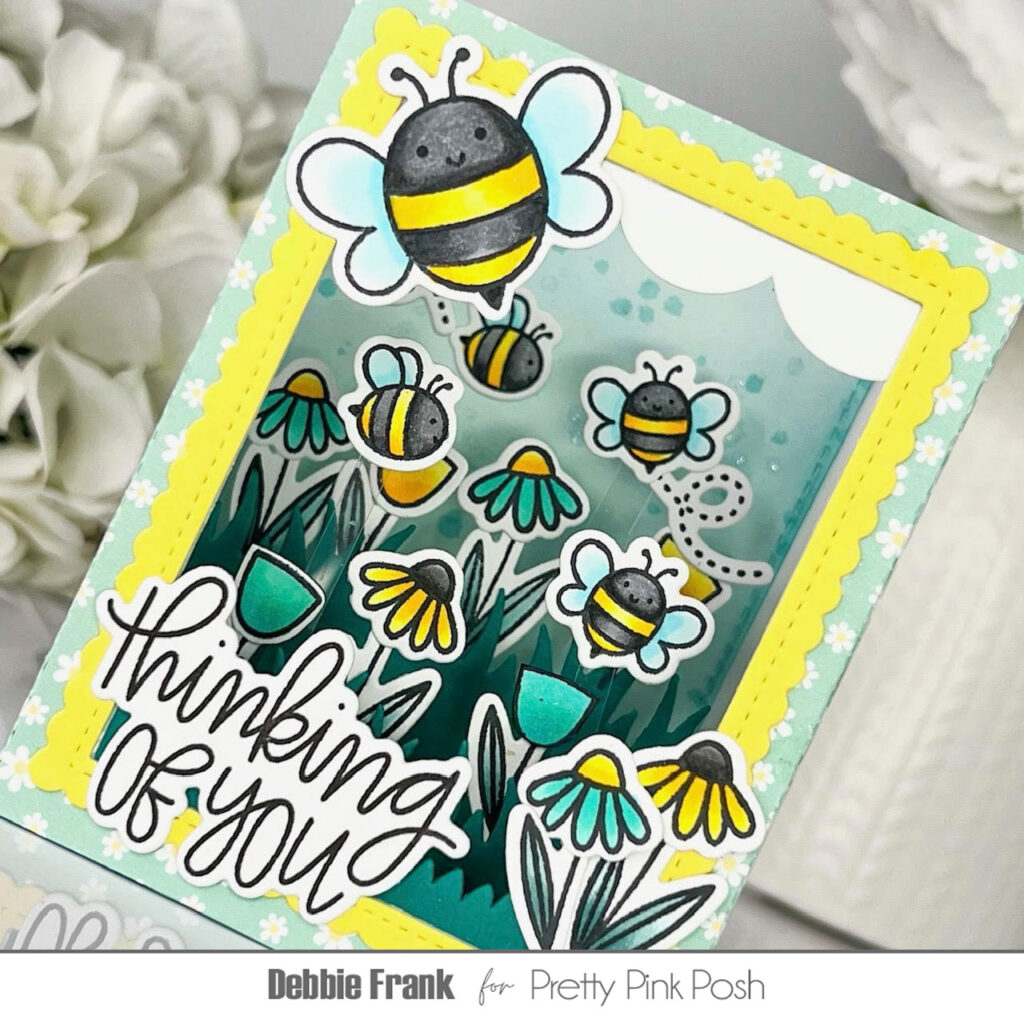
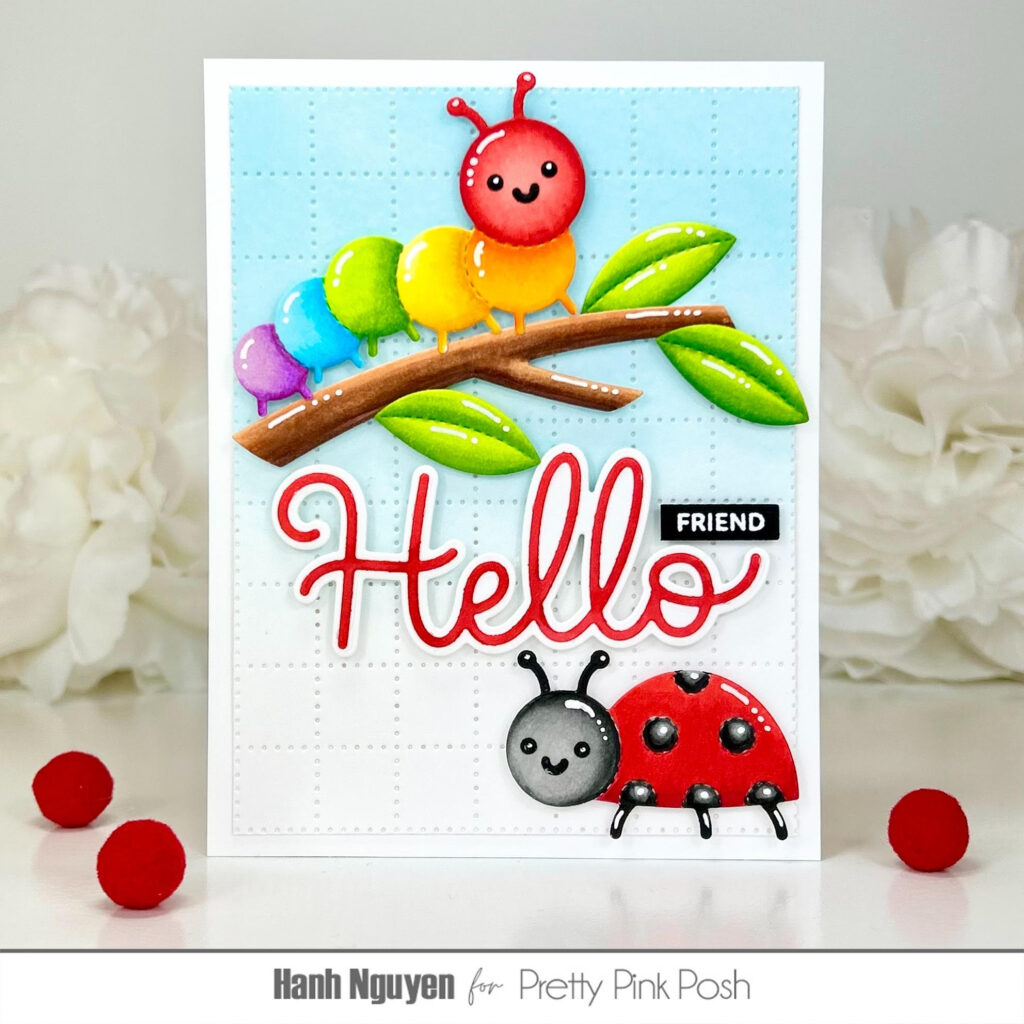
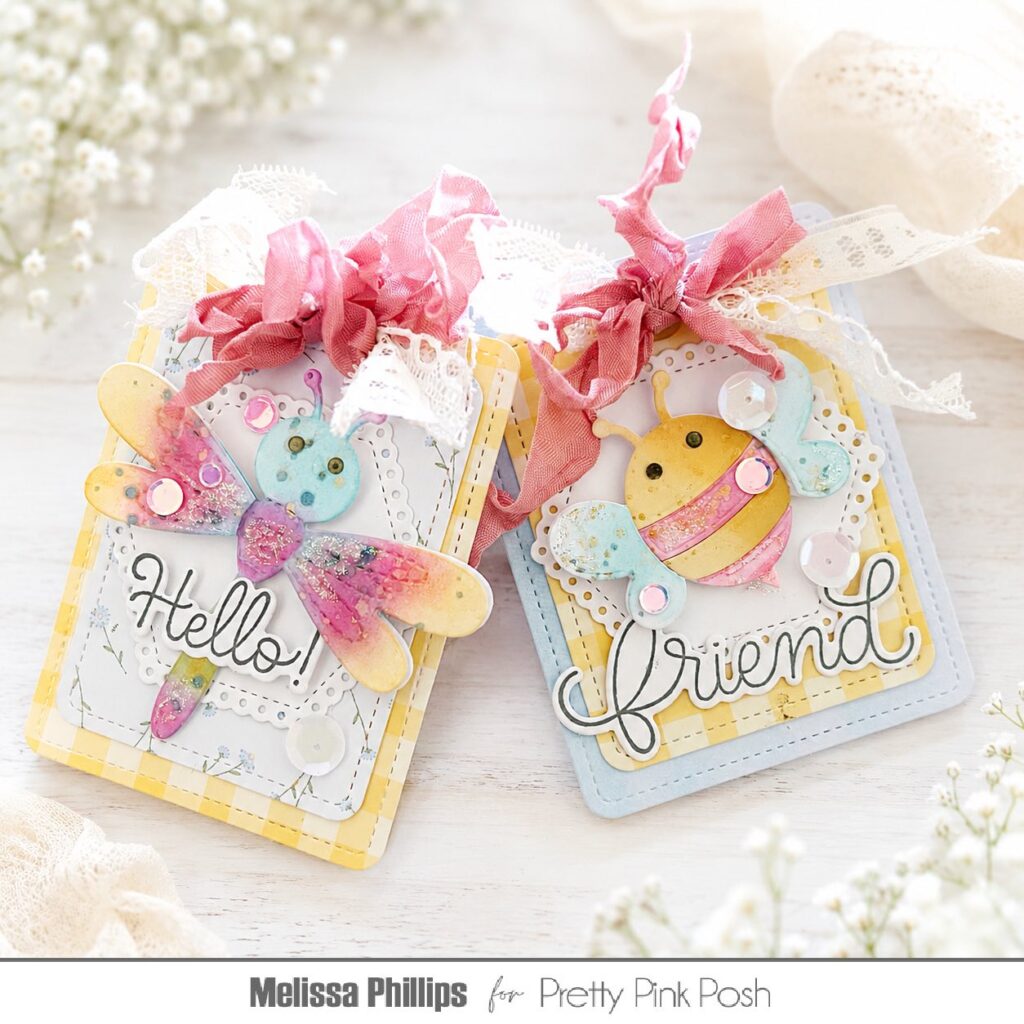
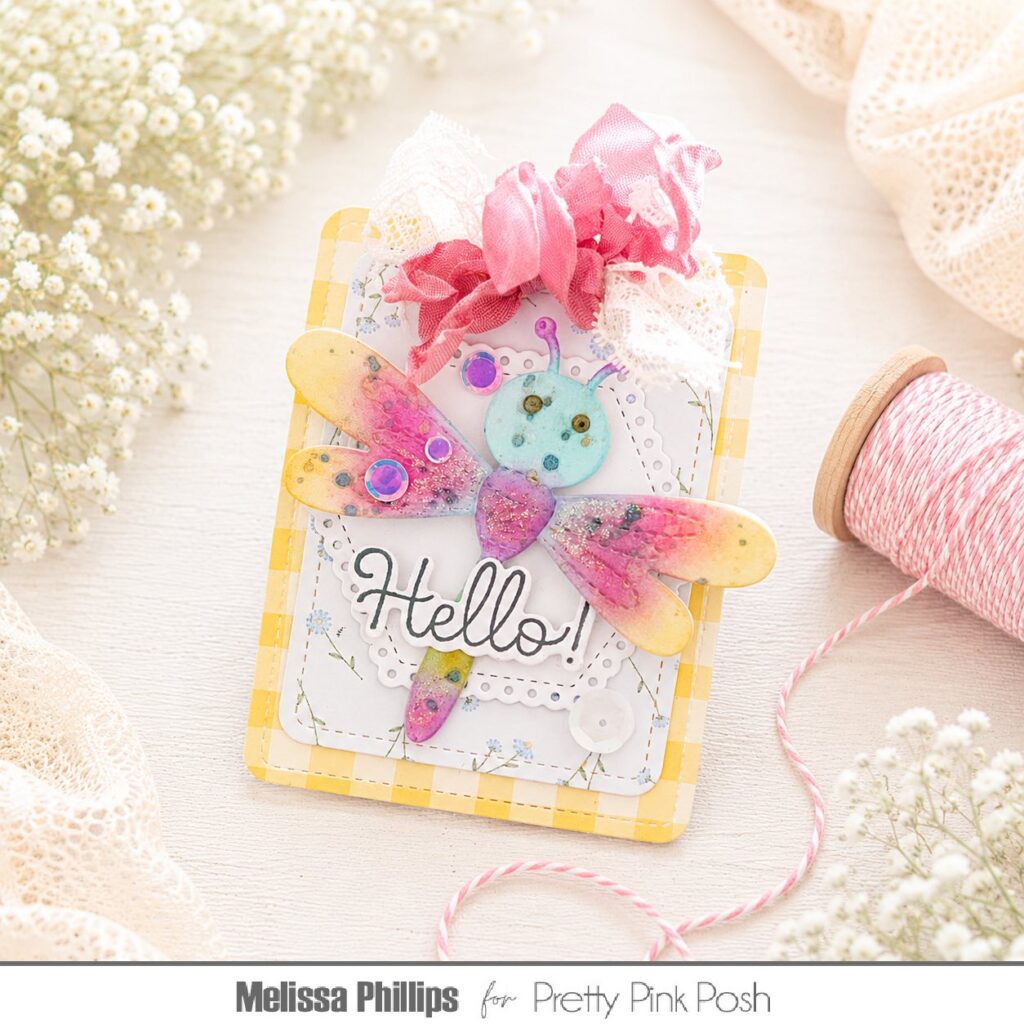
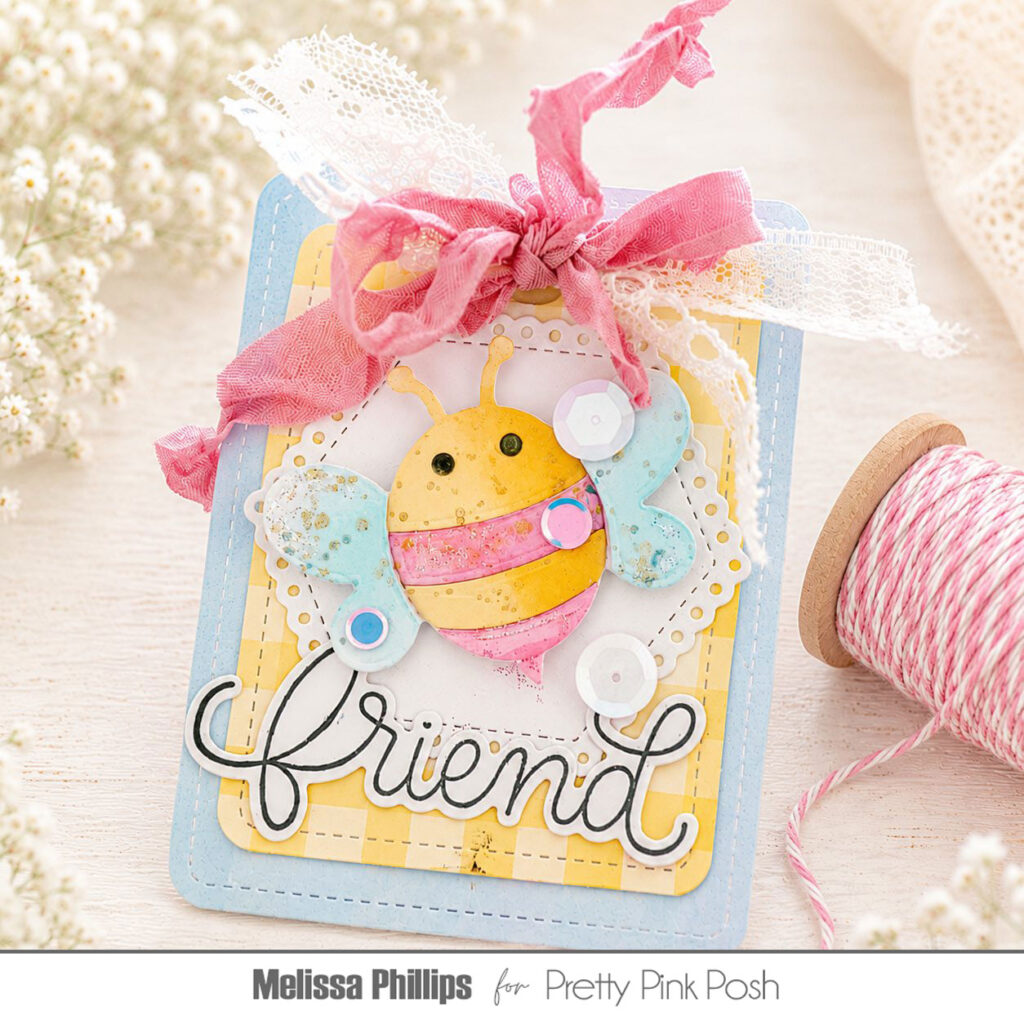
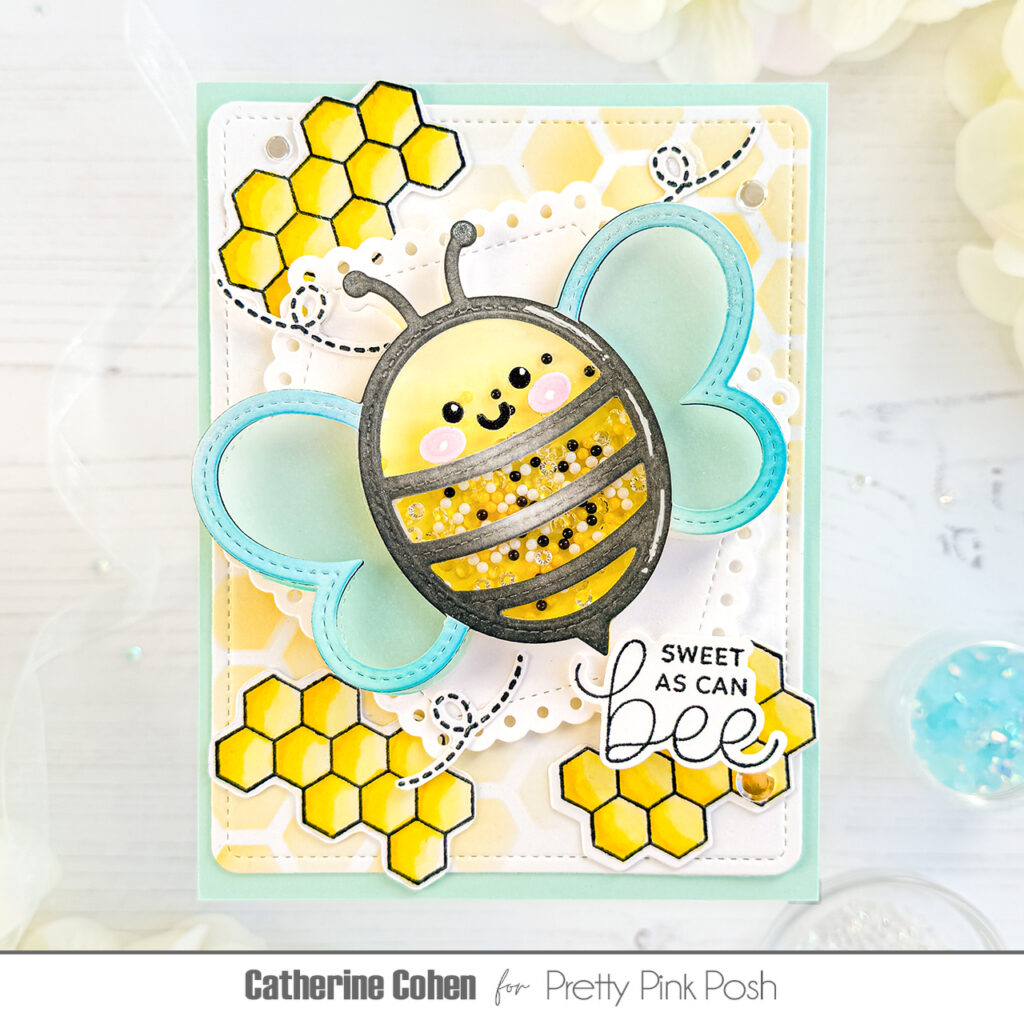
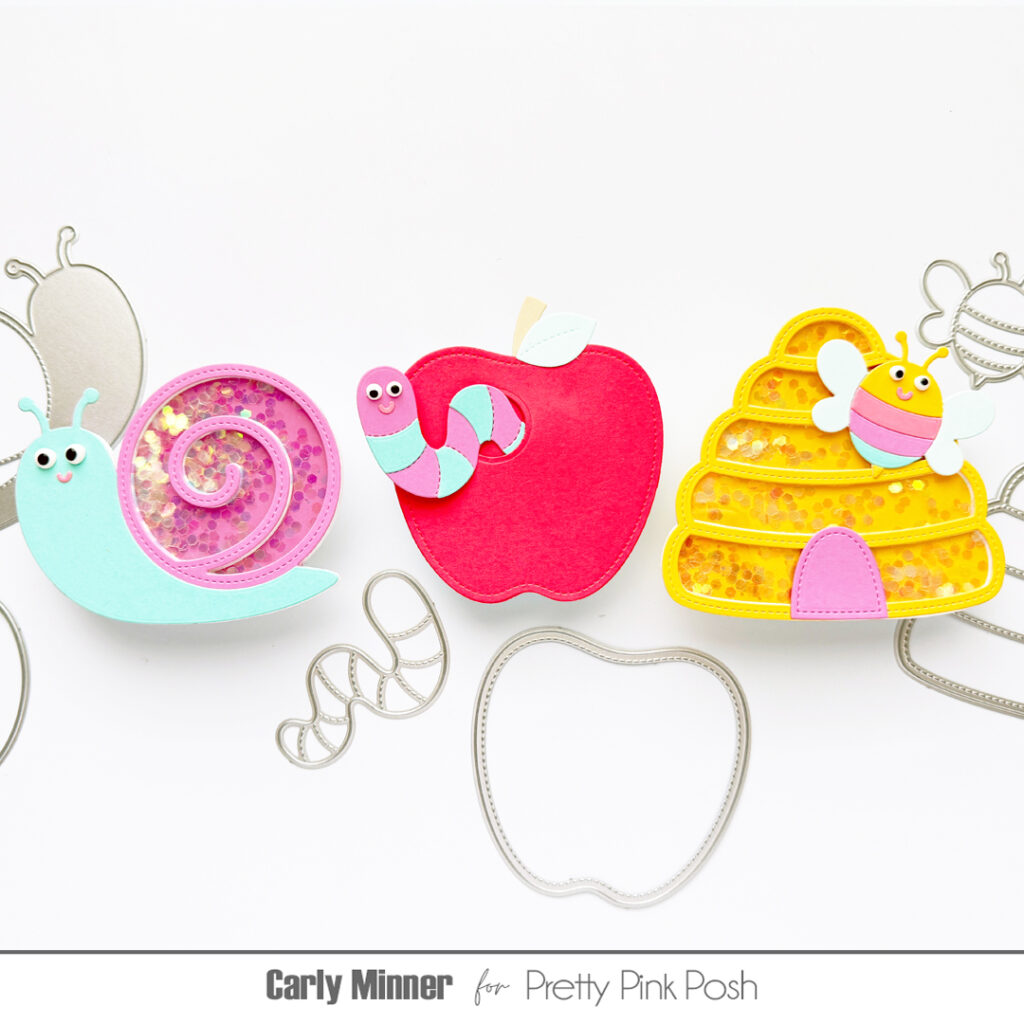
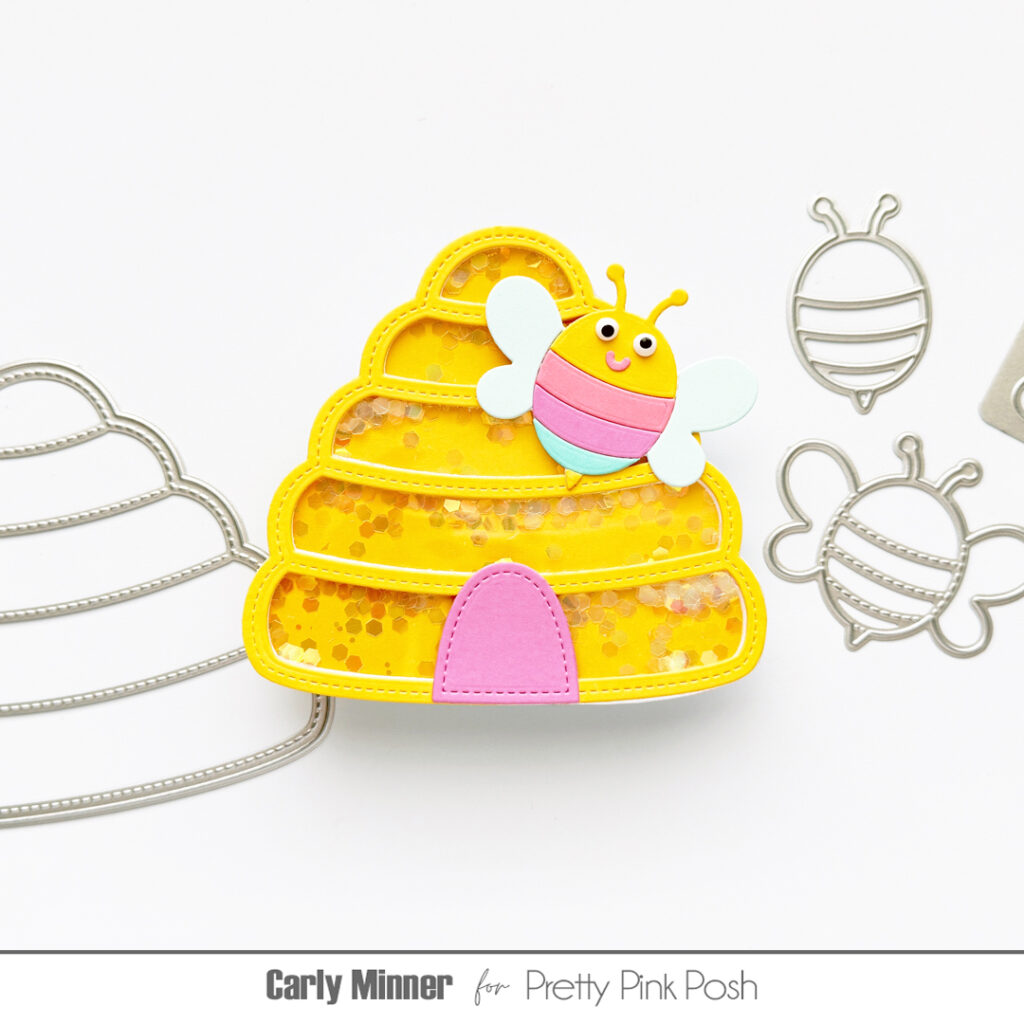
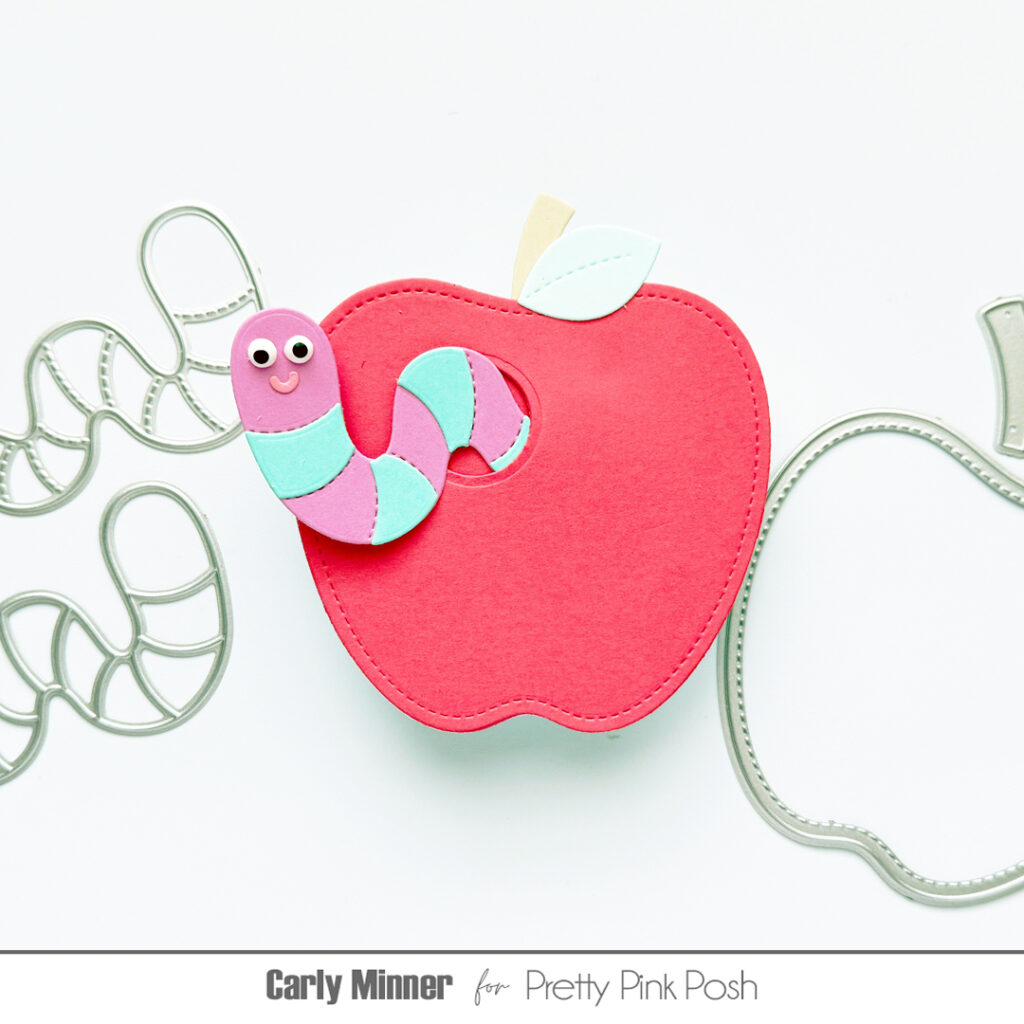
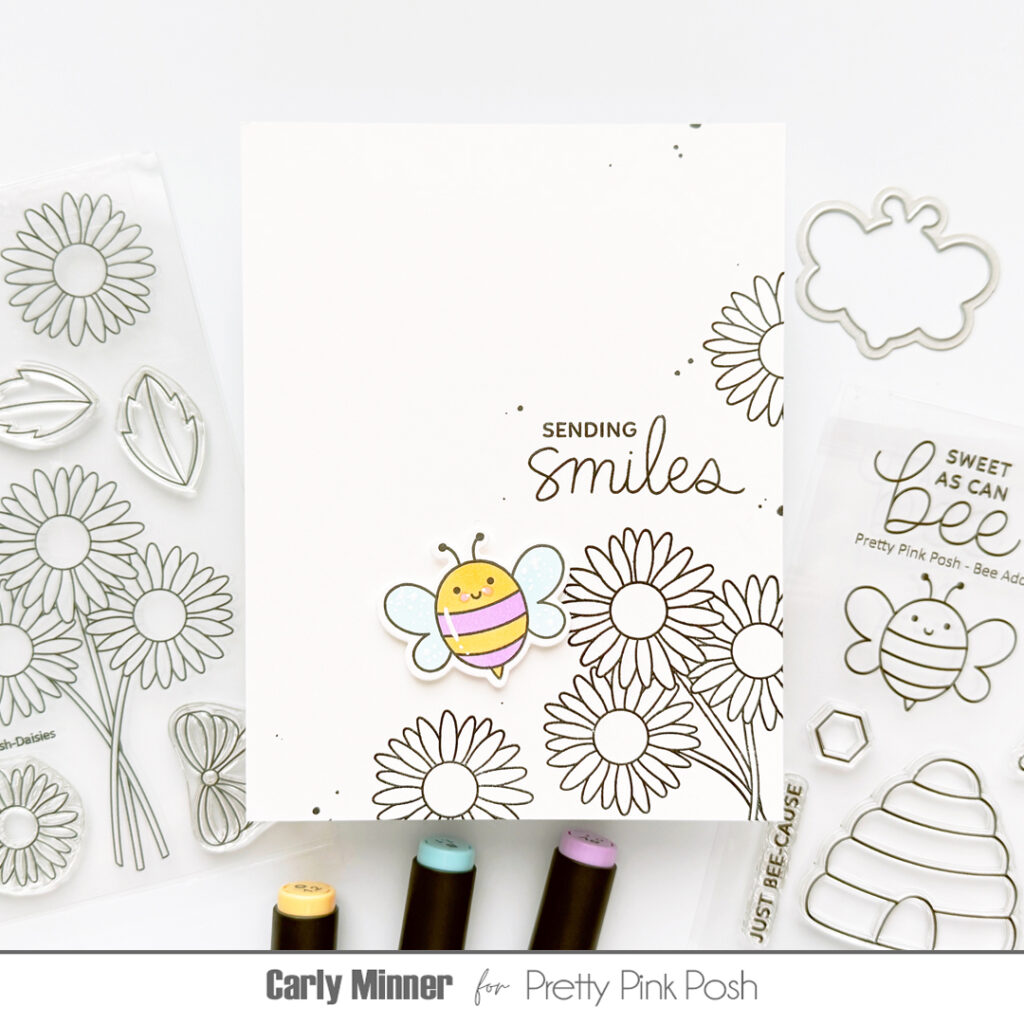
- choose the stamps I want to be the “main character” like the bees from the Bee Additions set and bugs from Cute Bugs.
- stamp & die cut the “main characters”.
- choose the “scenery” stamps.
- use the “main character” to help place the “scenery” and a sentiment (I like to use the center of my card front or the bottom corner,) and then stamp it.
- then color the “main character” and adhere to the card.
Bee Additions Stamps & Dies
Cute Bugs Stamps & Dies
Hello Friend Stamps
Daisies Stamps
Patterned Apples Stamps
Party Time Stamps
Friend Greetings Stamps
Spring Chicks Stamps
This process is quick, easy and even great for “compartmentalized makes” as Tim Holtz says because you can do one step today when you have a few minutes and come back for another step on another day.
OLO Marker Colors
O1.2
RV1.3
V0.1
BV0.3
B1.1
B1.3
Thanks for stopping by! I hope you enjoyed today’s tutorial.