Sneak Peek: August 2022 Stencils
Hi friends! It’s Dana here today and I am so excited to be showing you a sneak peek of the new stencils coming to Pretty Pink Posh on August 10th.
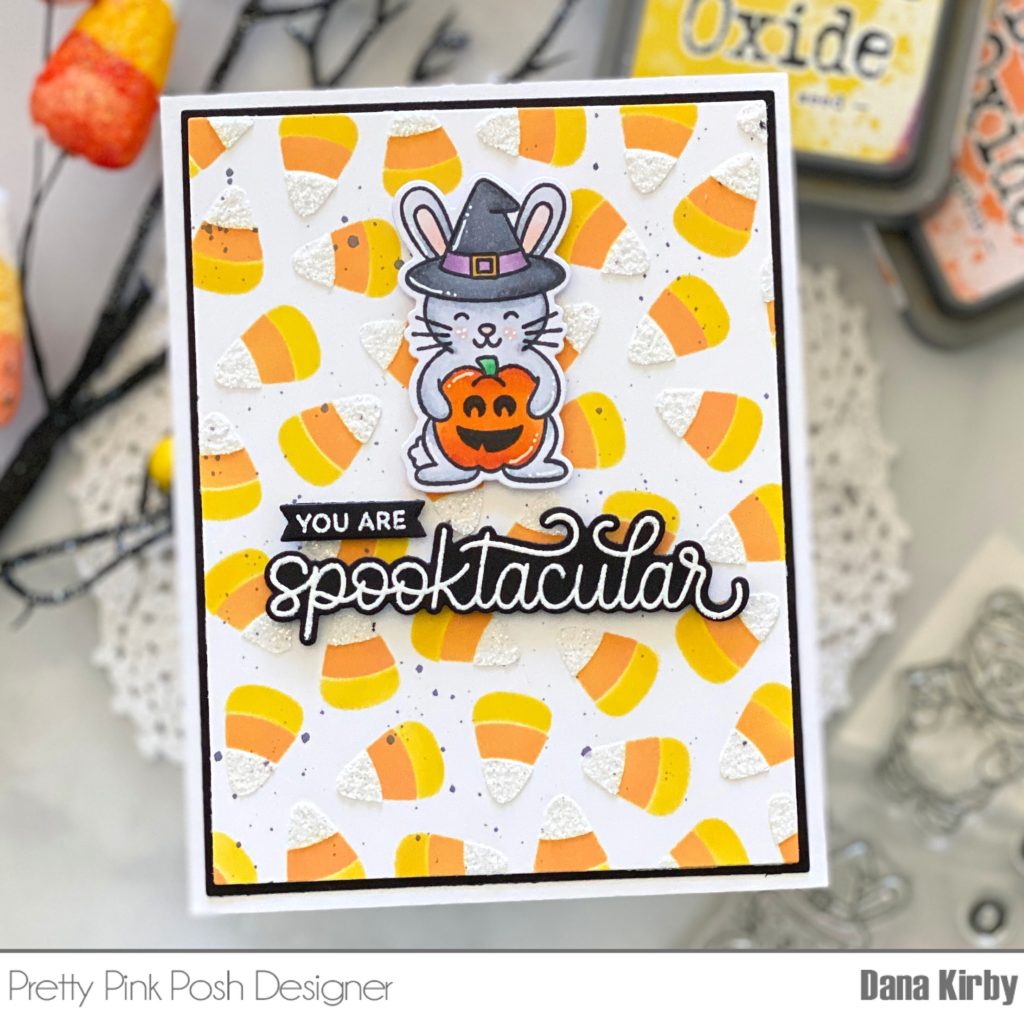
The new release is packed full of so many fun new products for Halloween. There are four new stencil sets: Layered Pumpkins, Layered Candy Corn, Layered Ghosts and a Starry Background perfect for so many occasions.
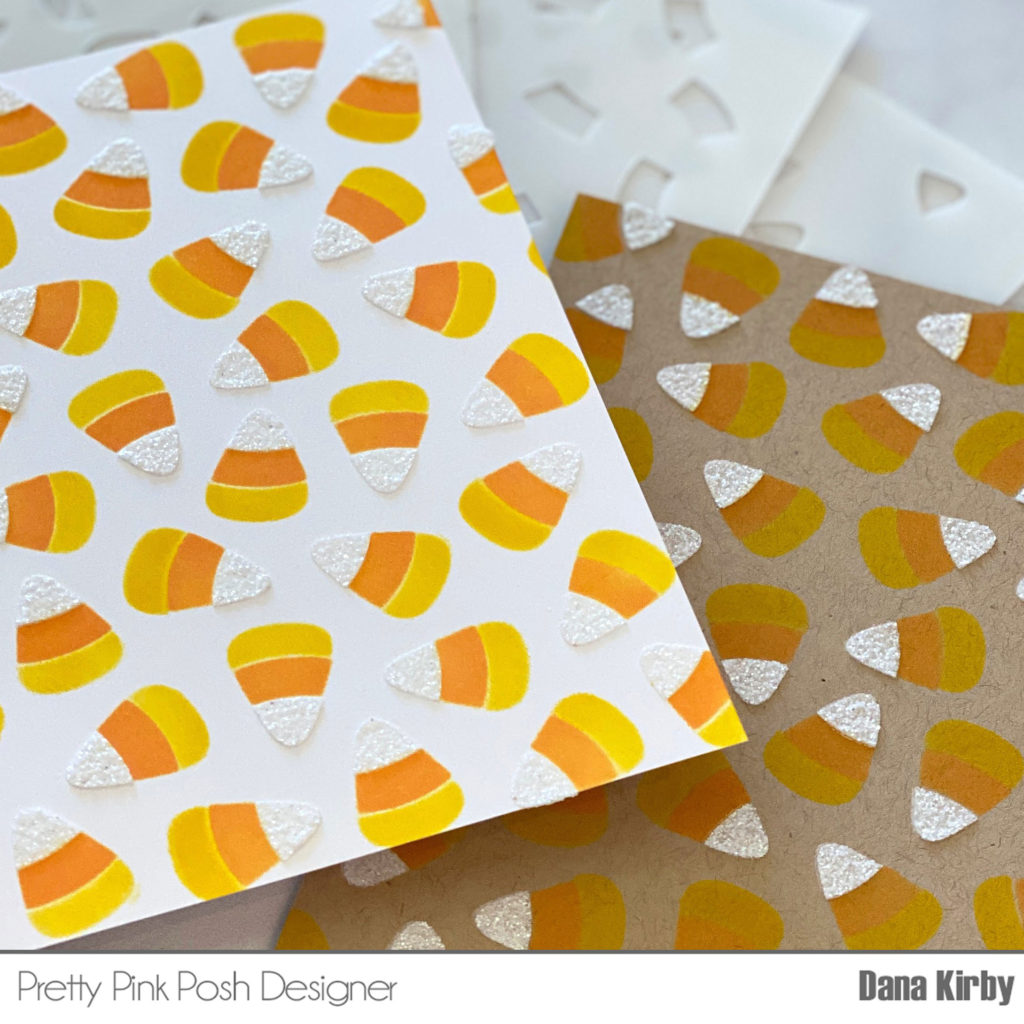
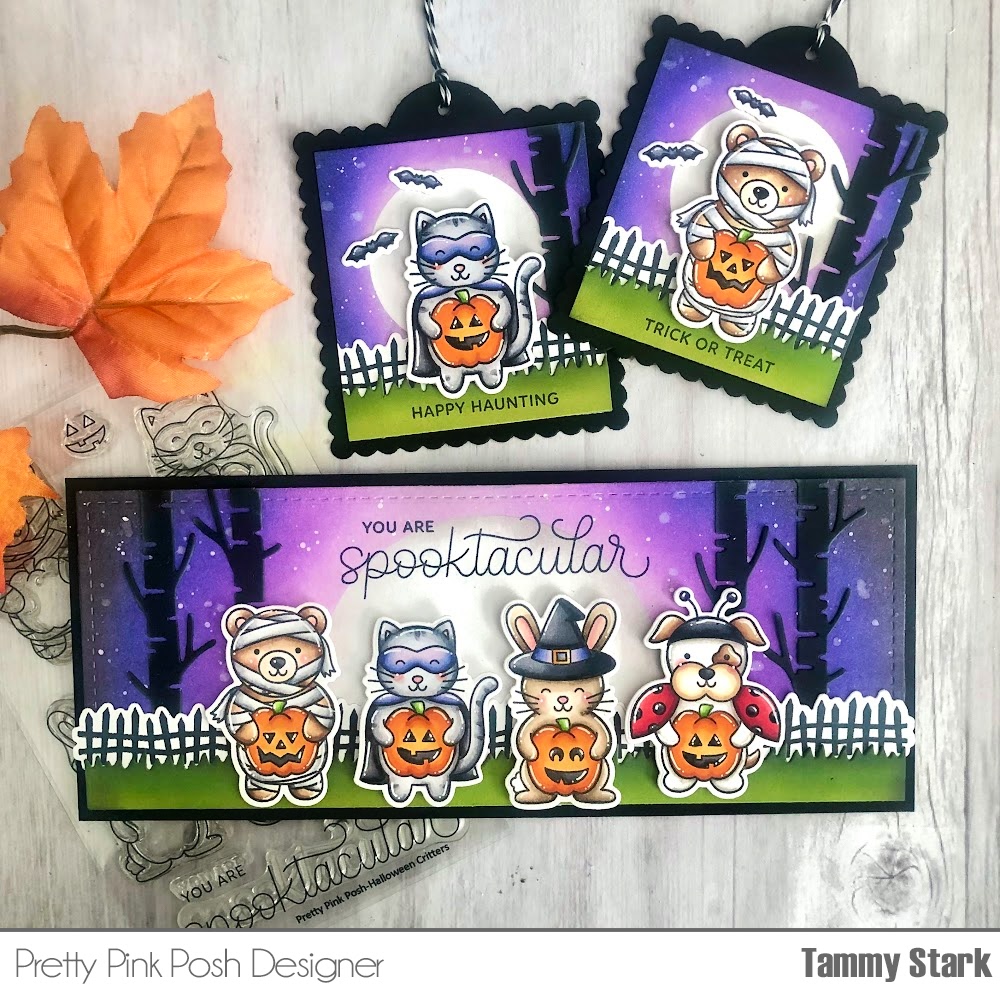
My first card uses the Layered Candy Corn stencil. This is a three pack of stencils that are so fun and easy to use. Each layer allows you to add another color and build your candy corn. I used Distress Oxide ink in Mustard Seed for the first layer. The second layer uses Distress Oxide ink in Carved Pumpkin. For the third and final layer I used Glitz Glitter Gel in white. I love the added detail the glitter gel adds to the panel!
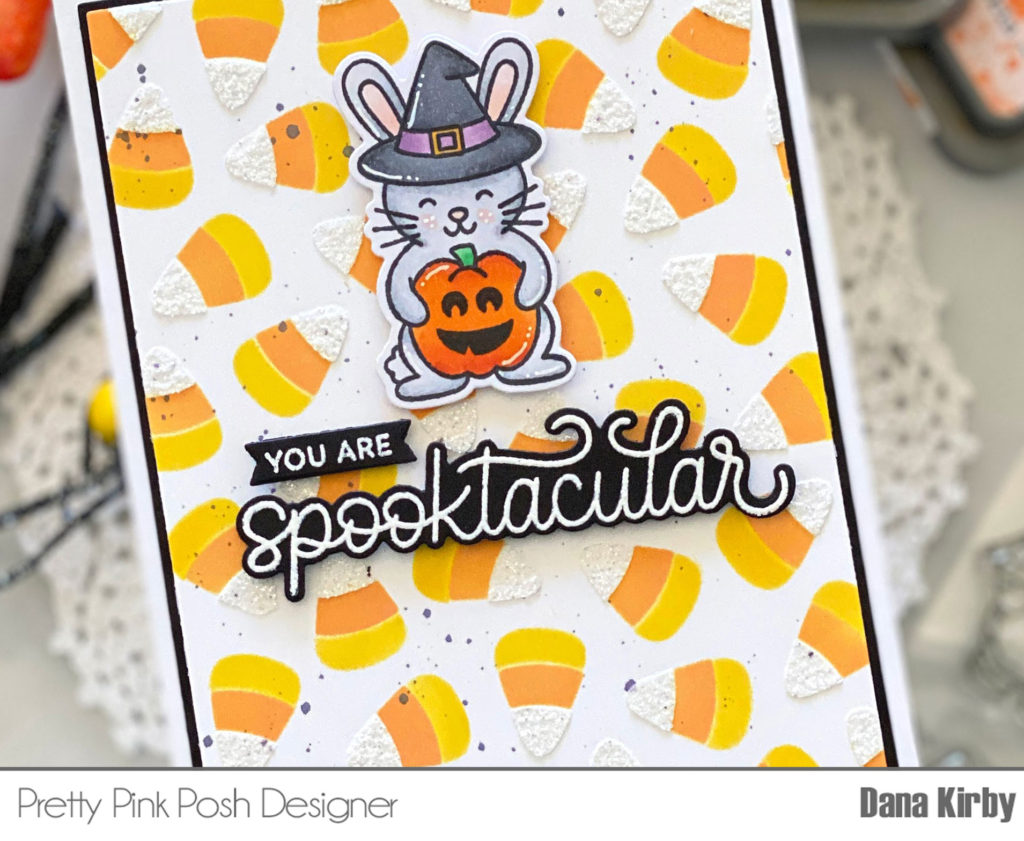
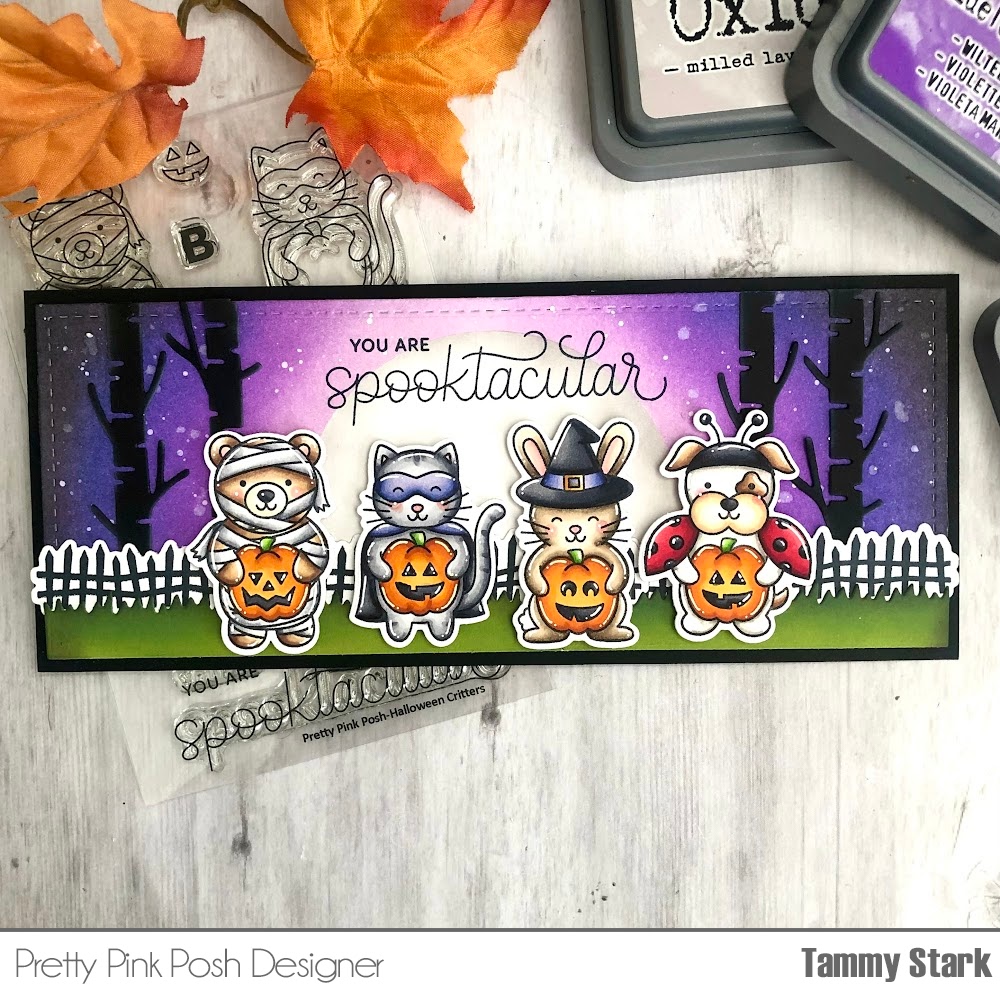
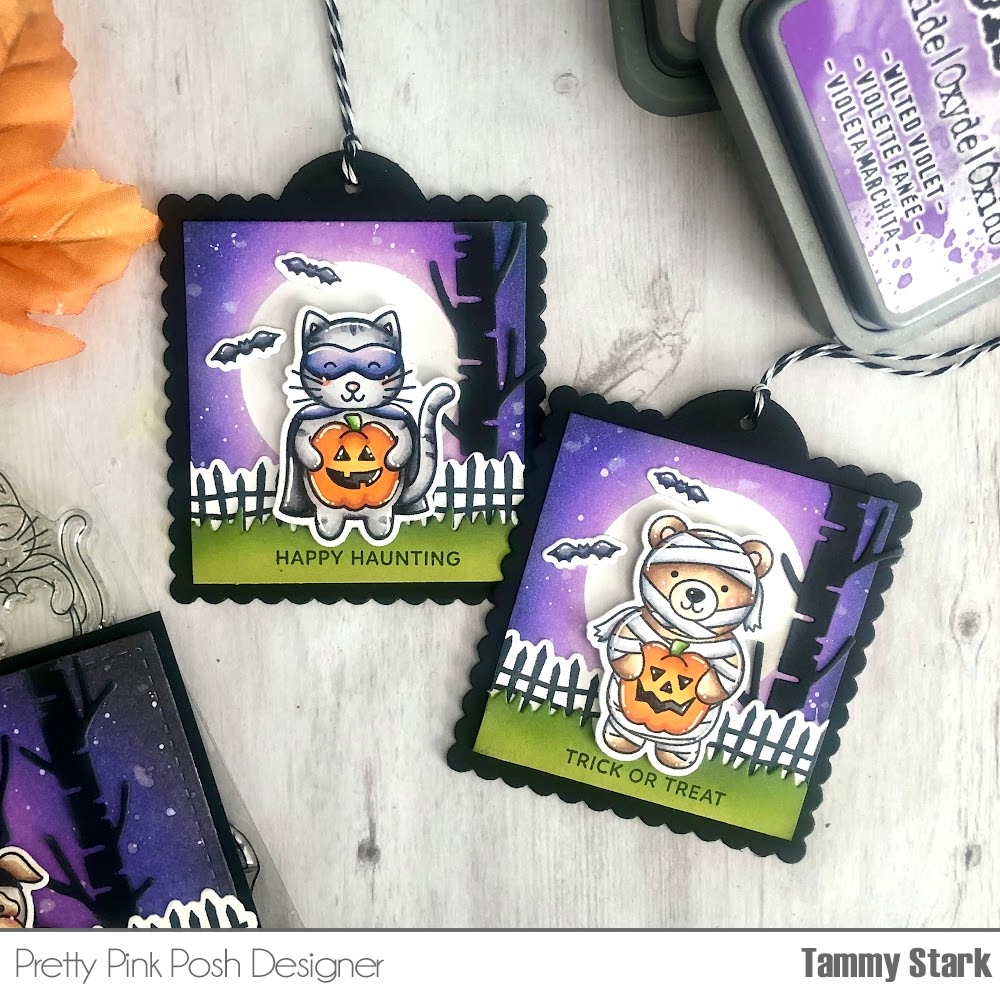
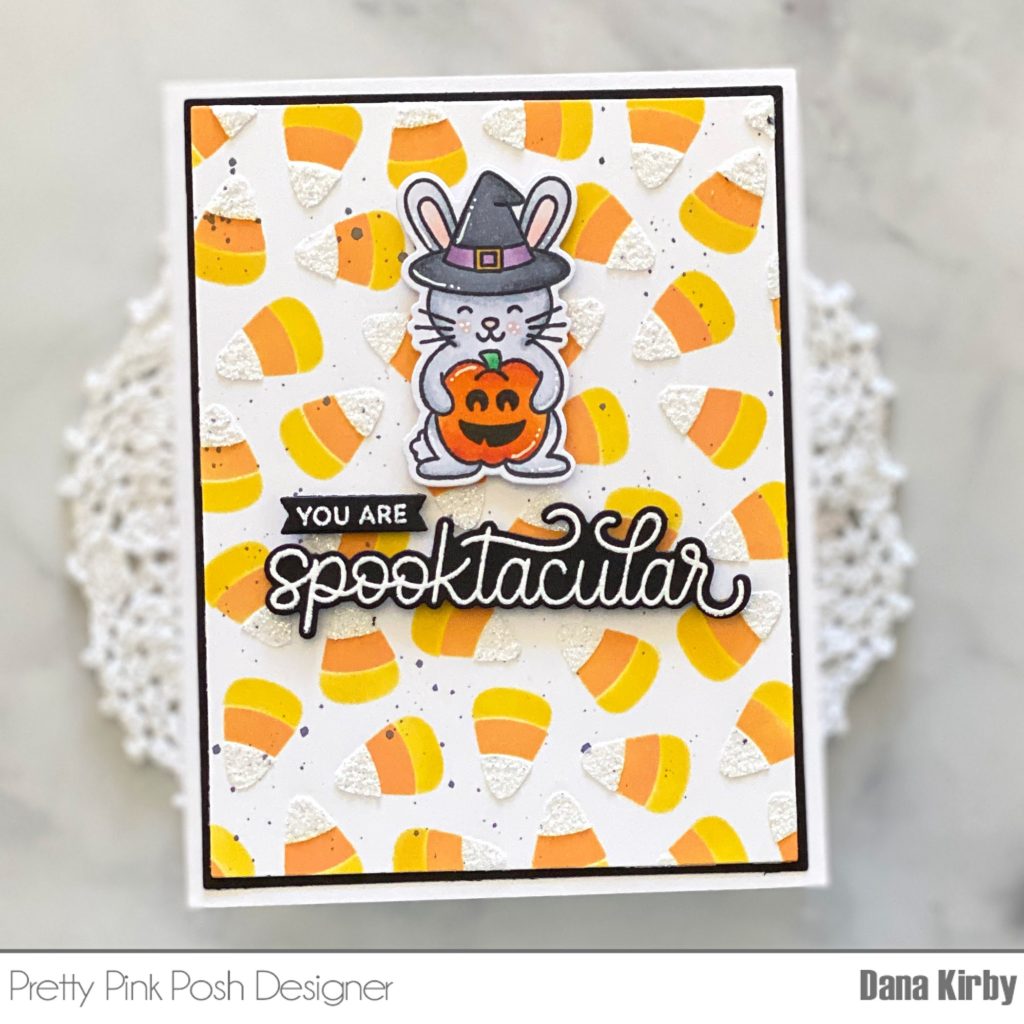
Next, I added a few black splatters to my panel and set it aside to dry. To finish my card, I used the adorable new Halloween Critters set to stamp my Halloween rabbit and sentiment.
My next cards use the new Layered Ghosts stencil set.
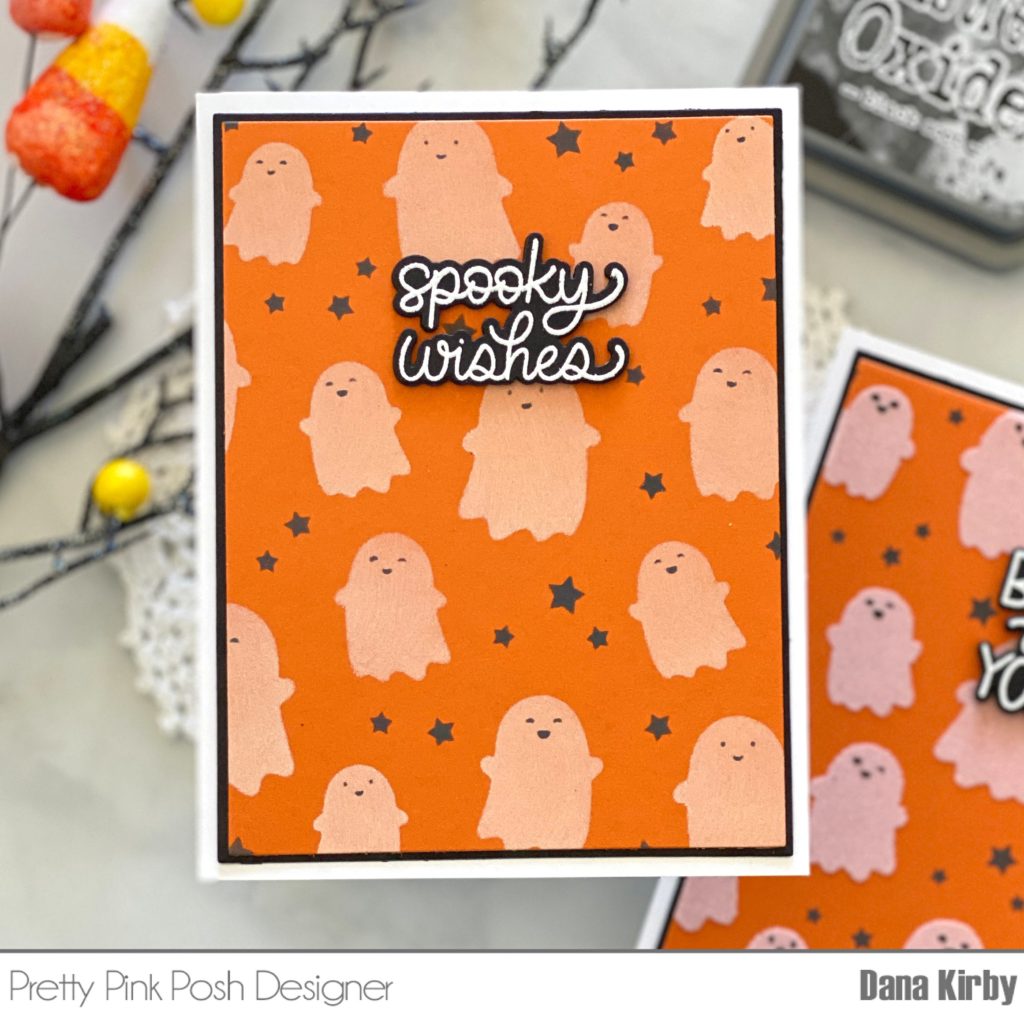
This is also a three pack of stencils. For my first layer (the ghosts) I used white pigment ink. I then used Distress Oxide ink in Black Soot for the stars and ghost faces (layers two and three).
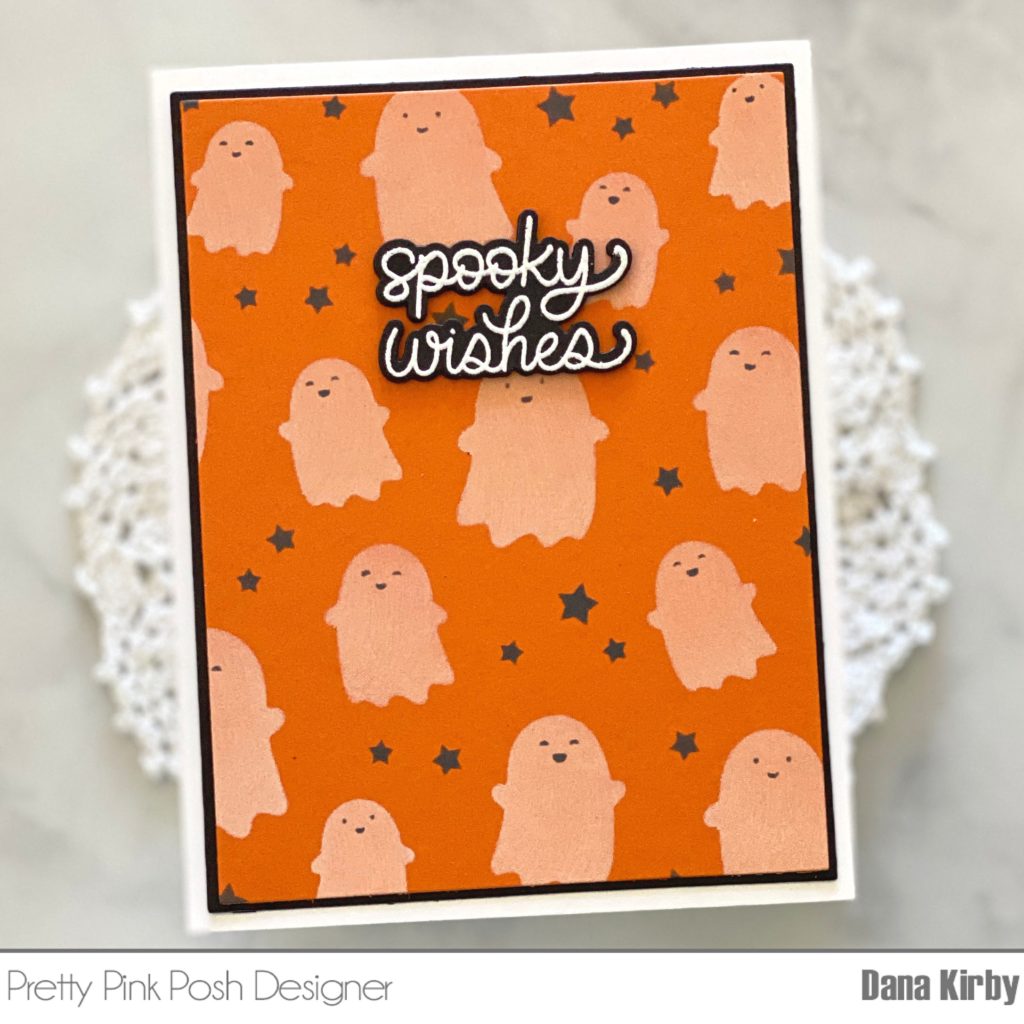
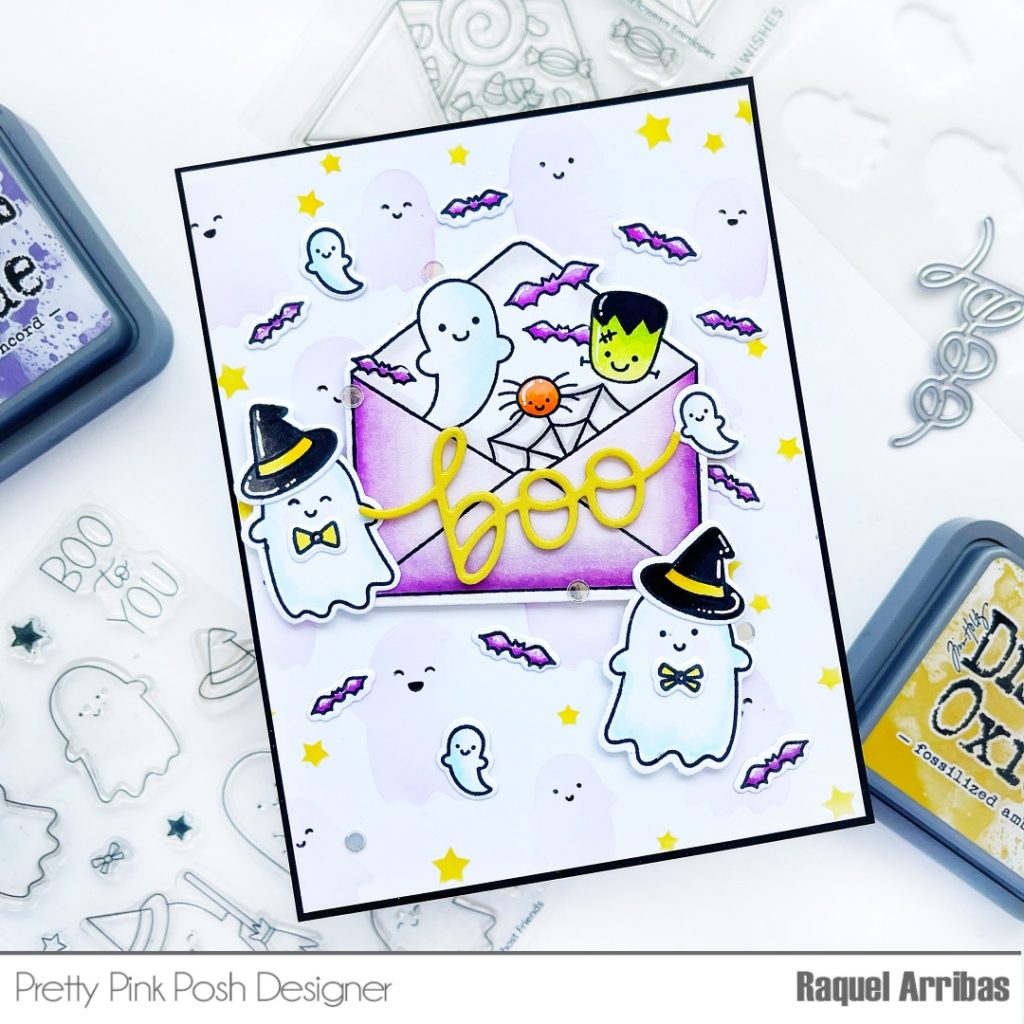
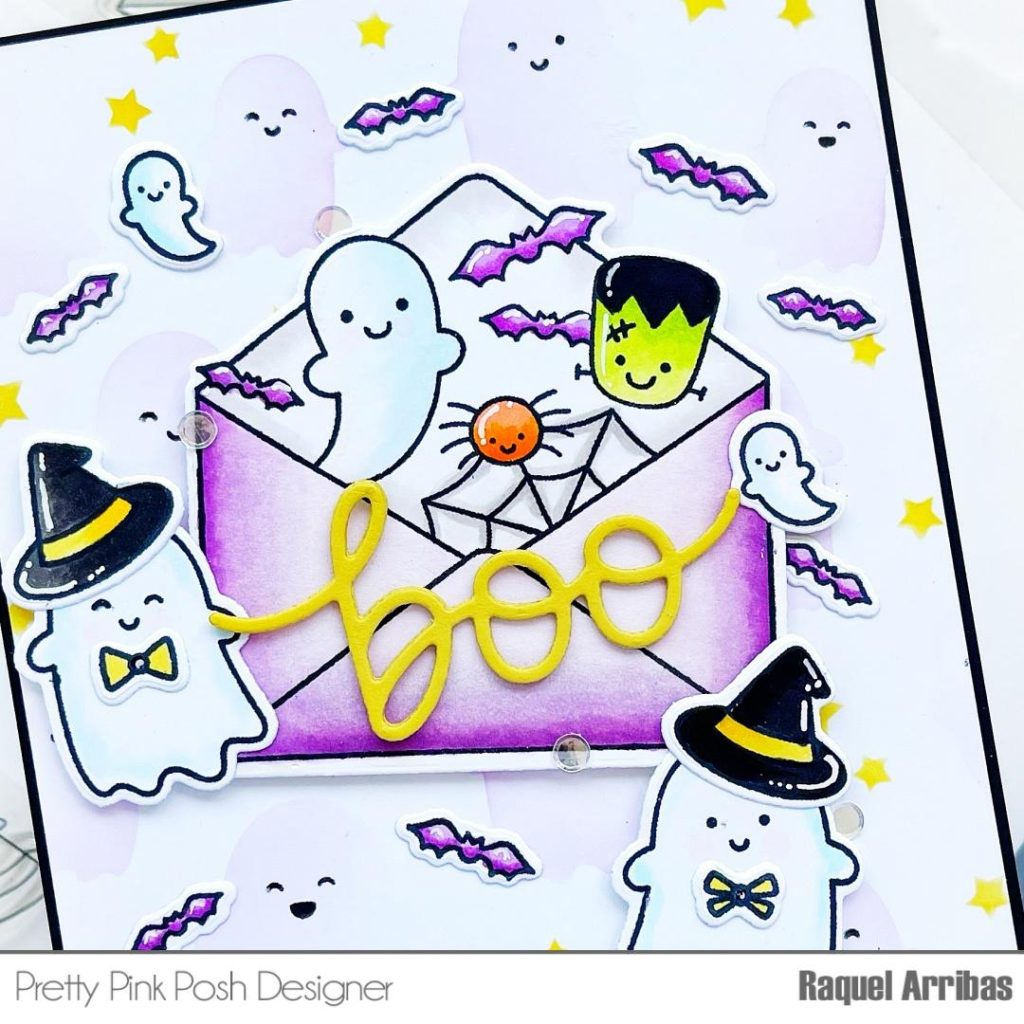
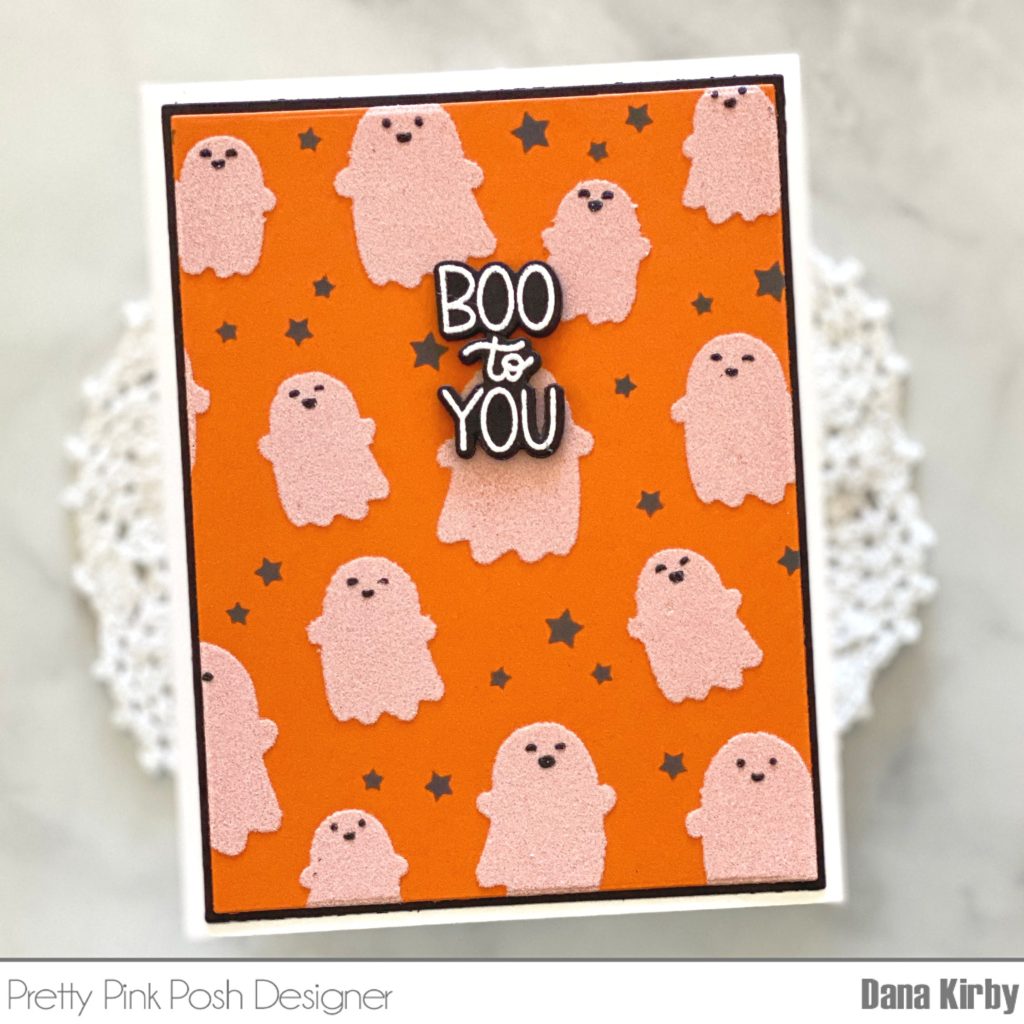
To finish my card, I used a sentiment from the new Ghost Friends stamp set. Using white pigment ink is such a fun and easy way to create your ghost, but I thought it would also be so cute to use White Flock from Therm O Web.
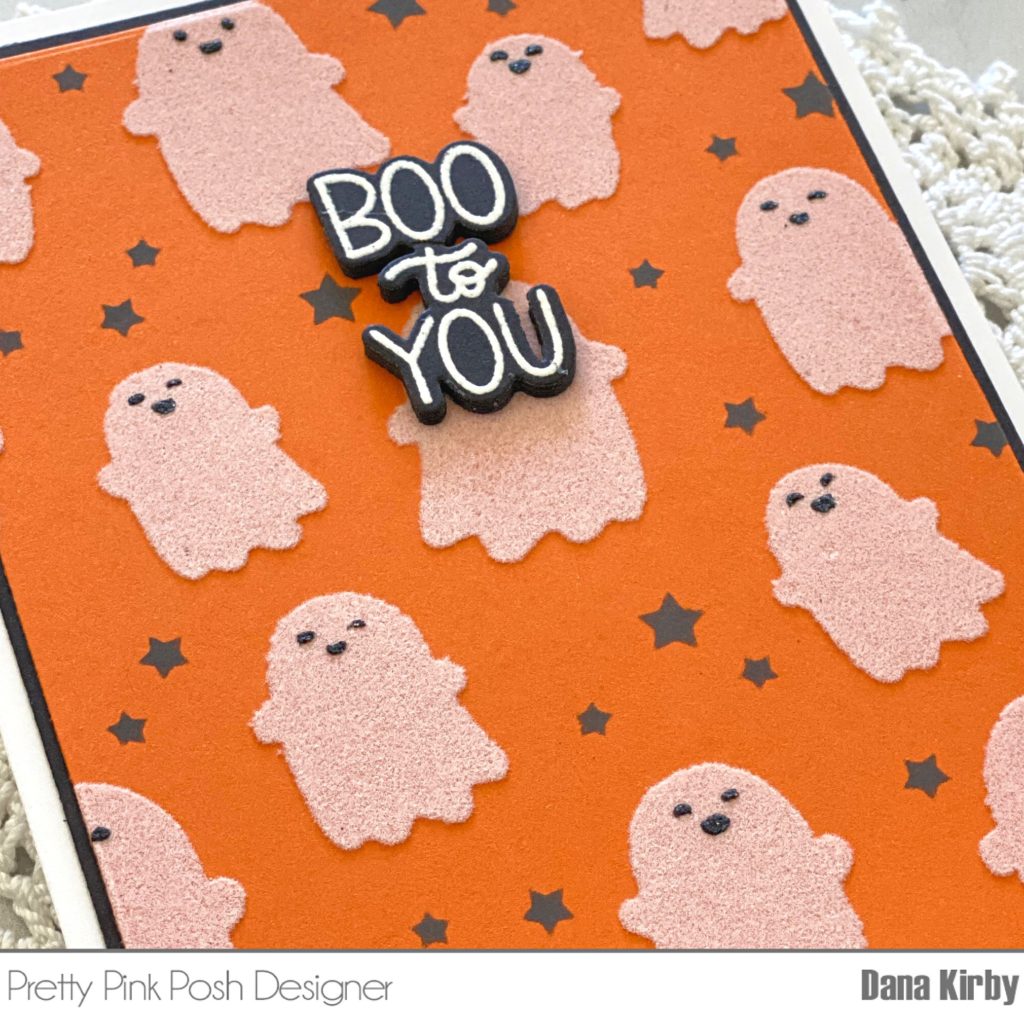
I started my card by applying Transfer Gel to the first stencil. Once the Transfer Gel was dry I ran it through my laminator with a White Flock Transfer Sheet. I love the fuzzy texture. Next, I used Black Soot ink to add the stars around the ghost. For the third layer I used the Glitz Glitter Gel in Black to add faces to the ghost. Lastly, I once again used the Ghost Friends set for my sentiment.
Thanks for joining me today. I hope you enjoyed my cards and I can’t wait to see what you create with these fun new products.
Enjoy your day, Dana