Gradient Candy Treats
Good morning! It’s Lindsey here today. I am a HUGE fan of the new Candy Treats Dies and couldn’t wait to start creating with them! Obviously there are some intended layering options here, but you’d be surprised at how many different combinations you can make with all the bits and pieces included in this set.
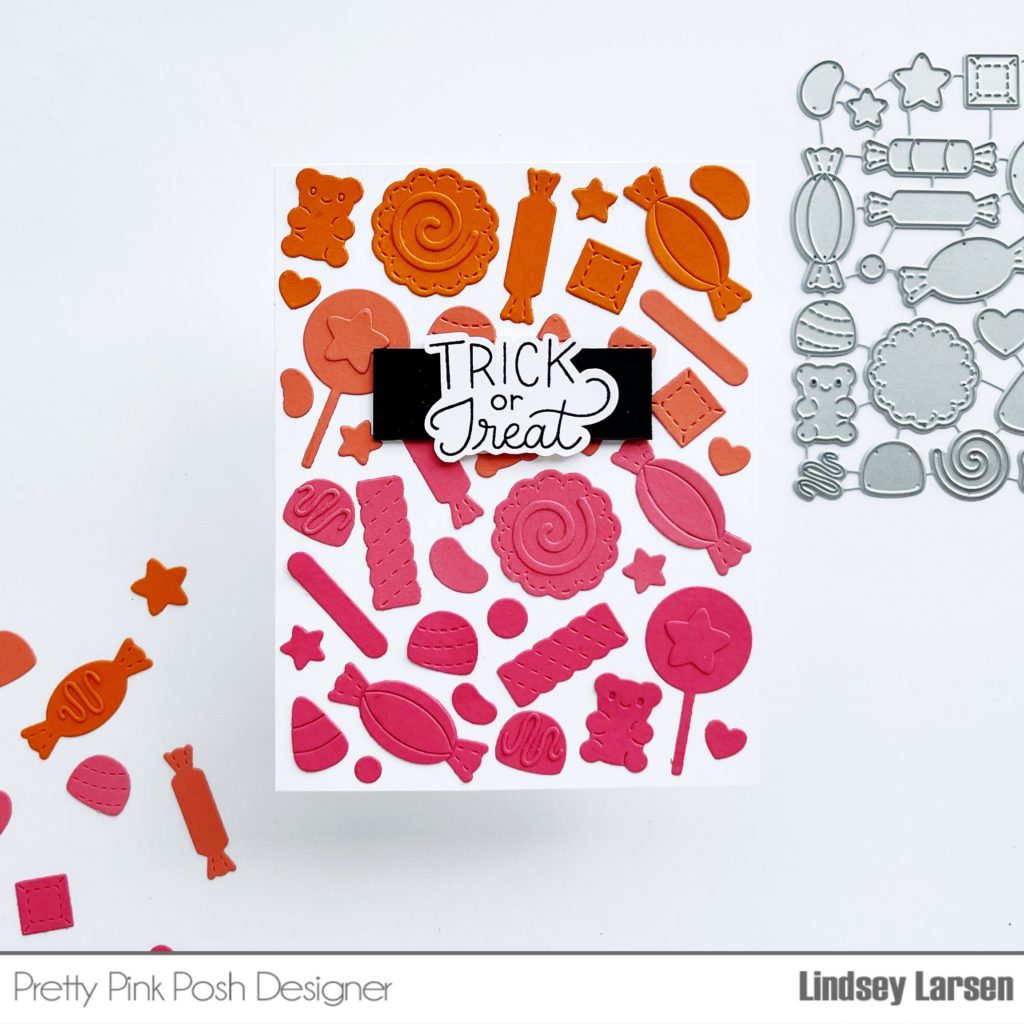
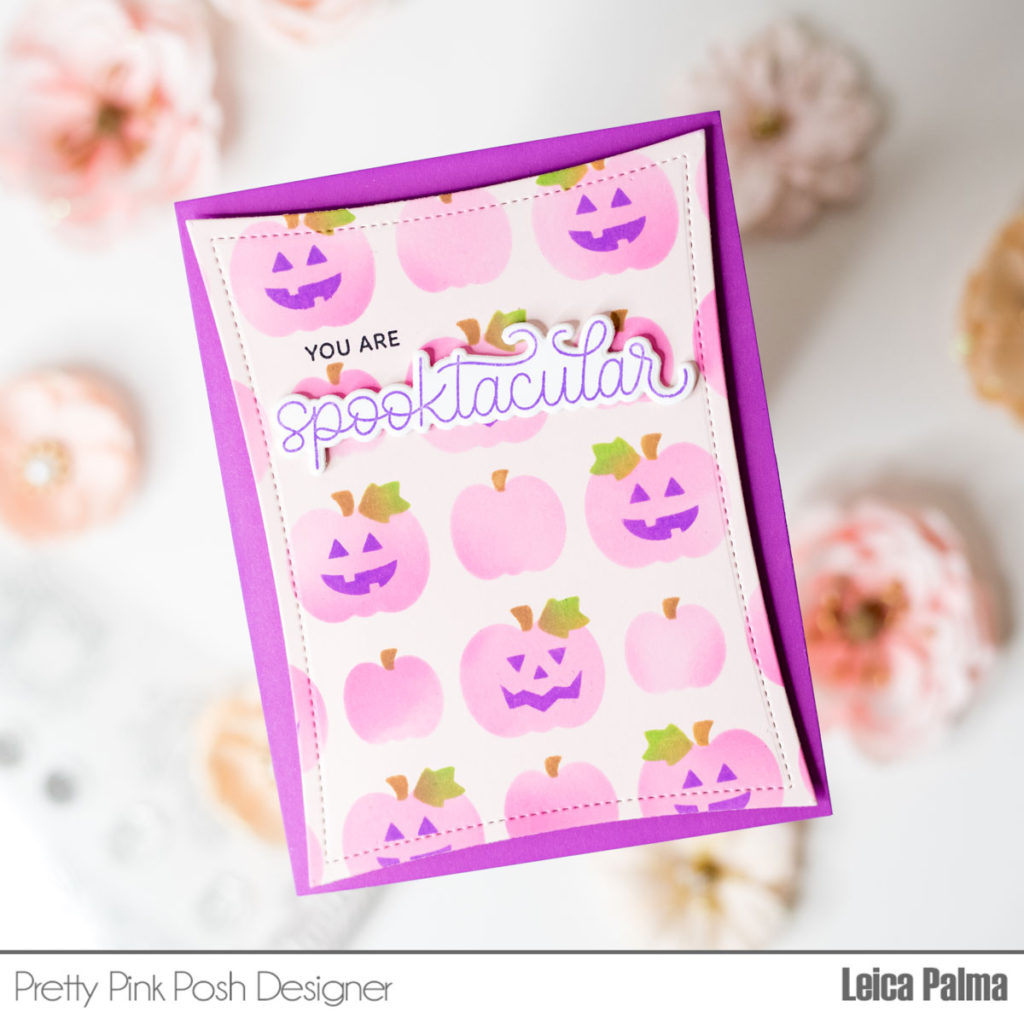
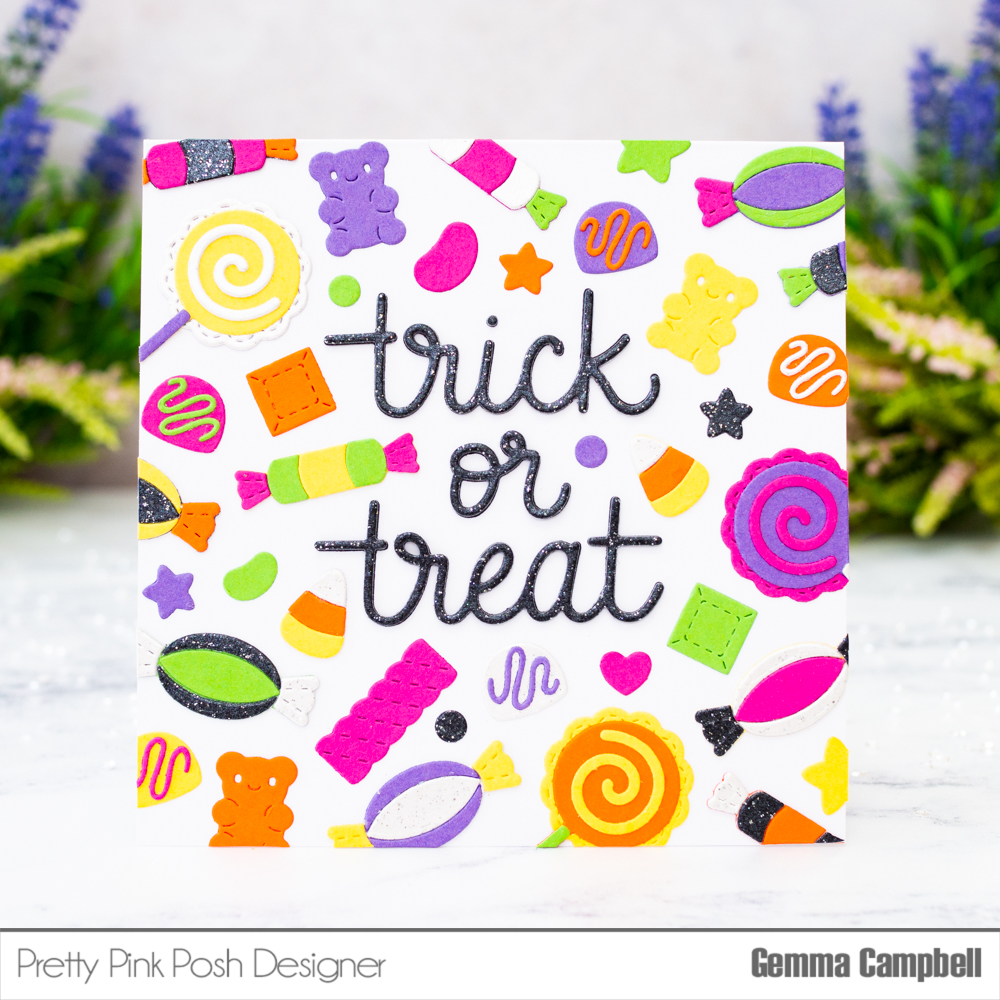
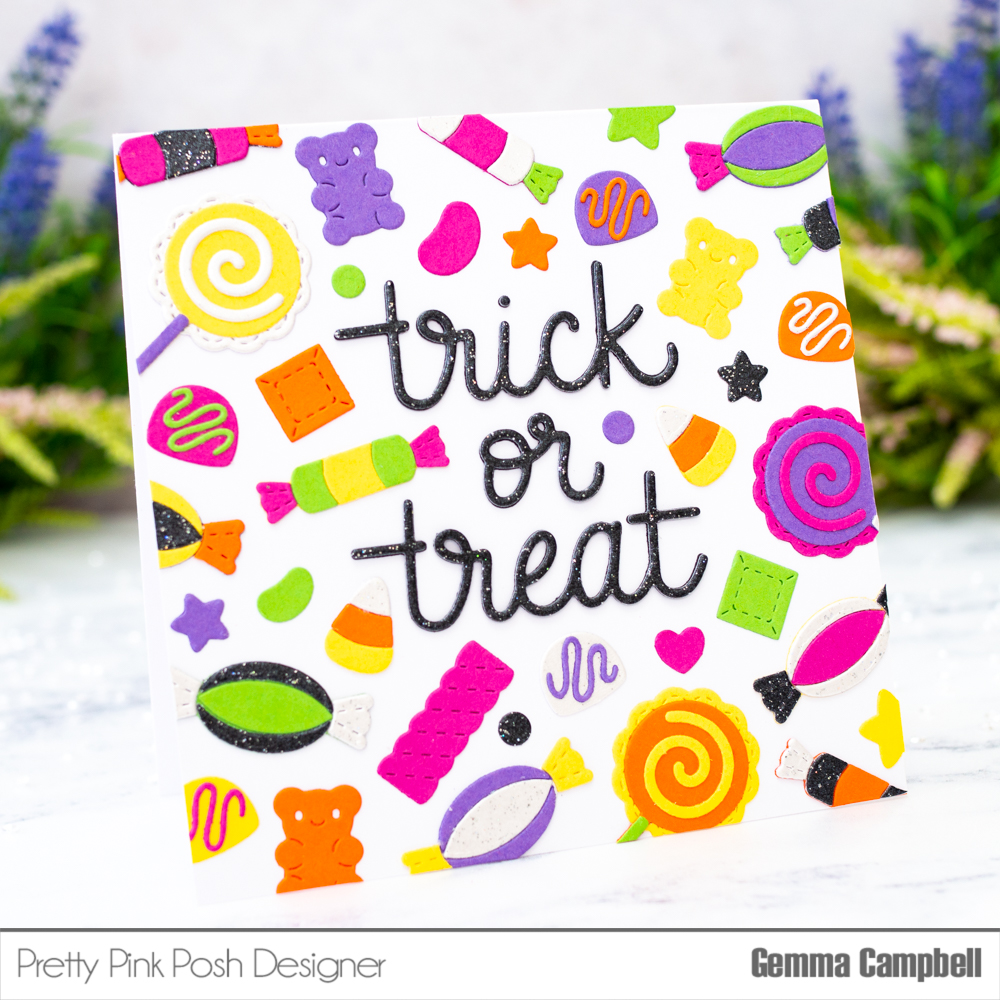
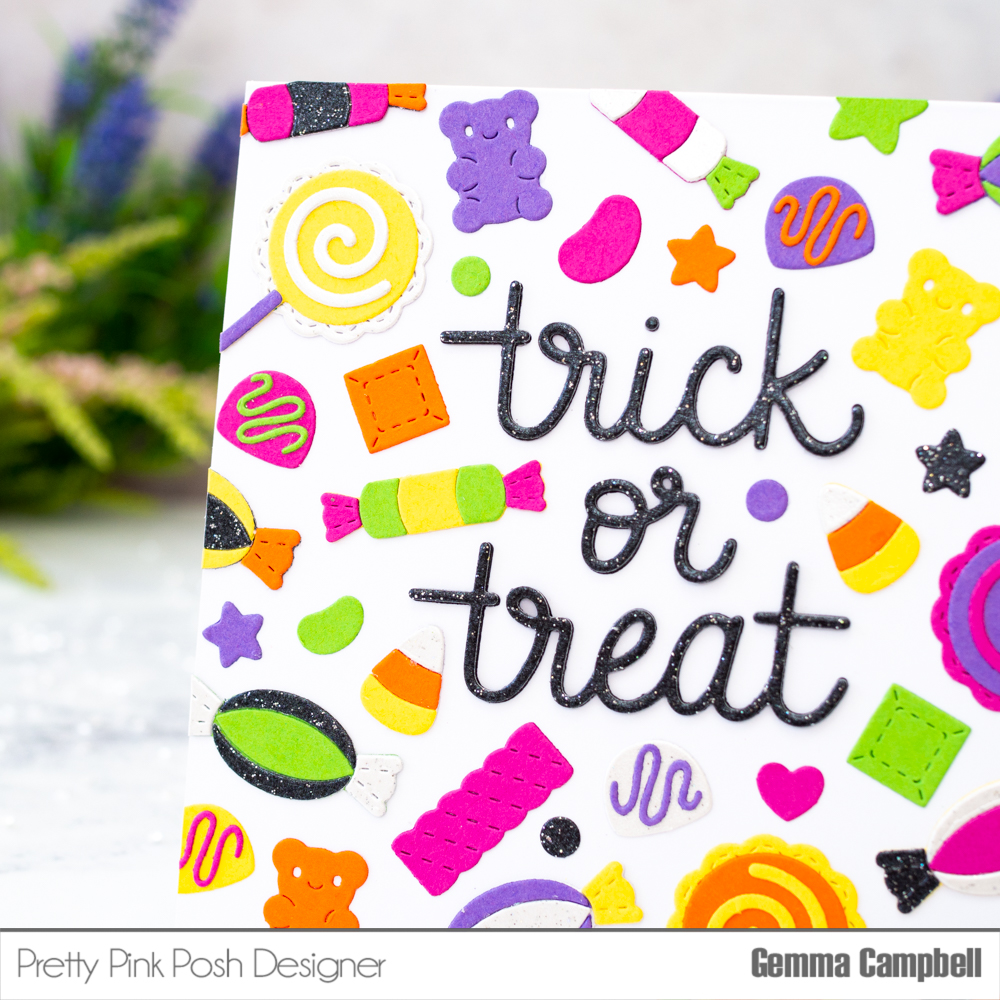
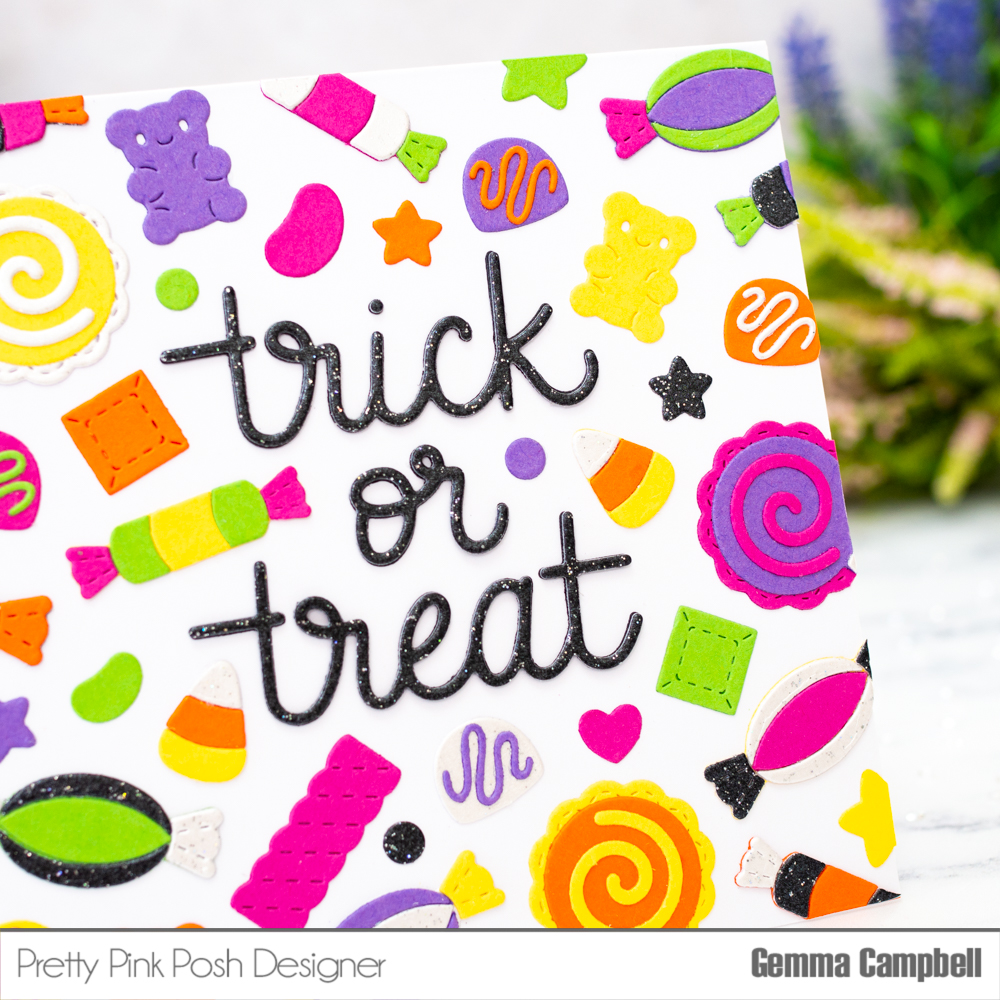
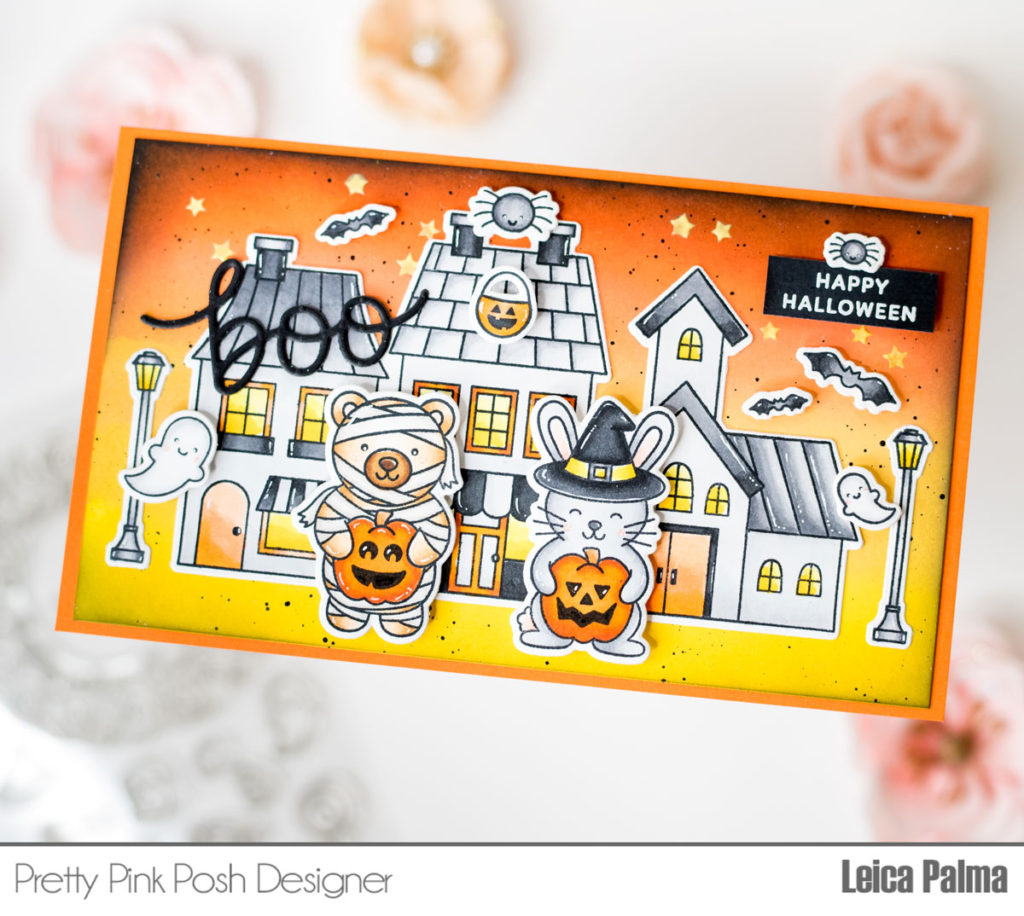
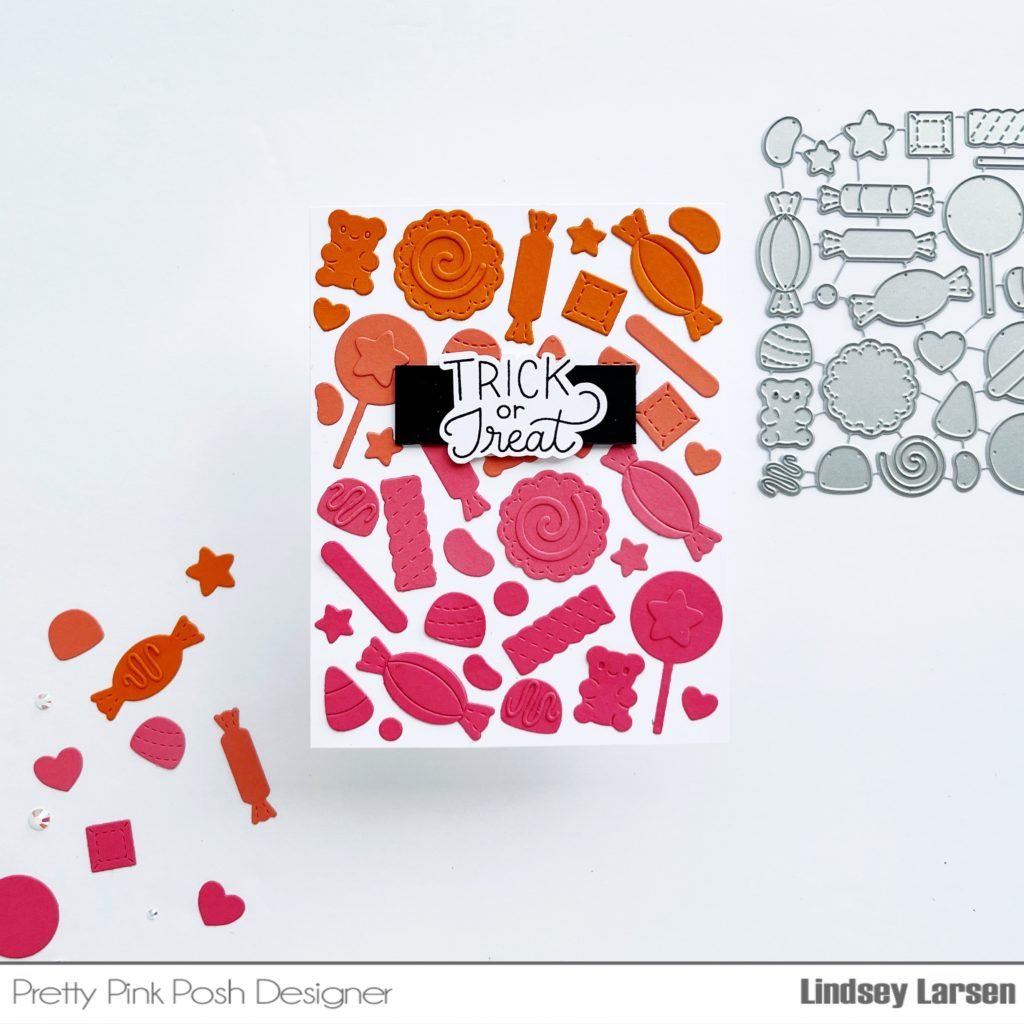
I loved all the possibilities, so I decided to make a card entirely covered with candies. I considered mixing and matching colors, but decided to make a gradient card instead transitioning from orange to pink.
To create the card, I ran all the Candy Treats dies through the machine four times in various shades of pink and orange. Next, I assembled my candies. Remember, the sky’s the limit here. Don’t be afraid to swap out a candy center that you think may be intended for something else.
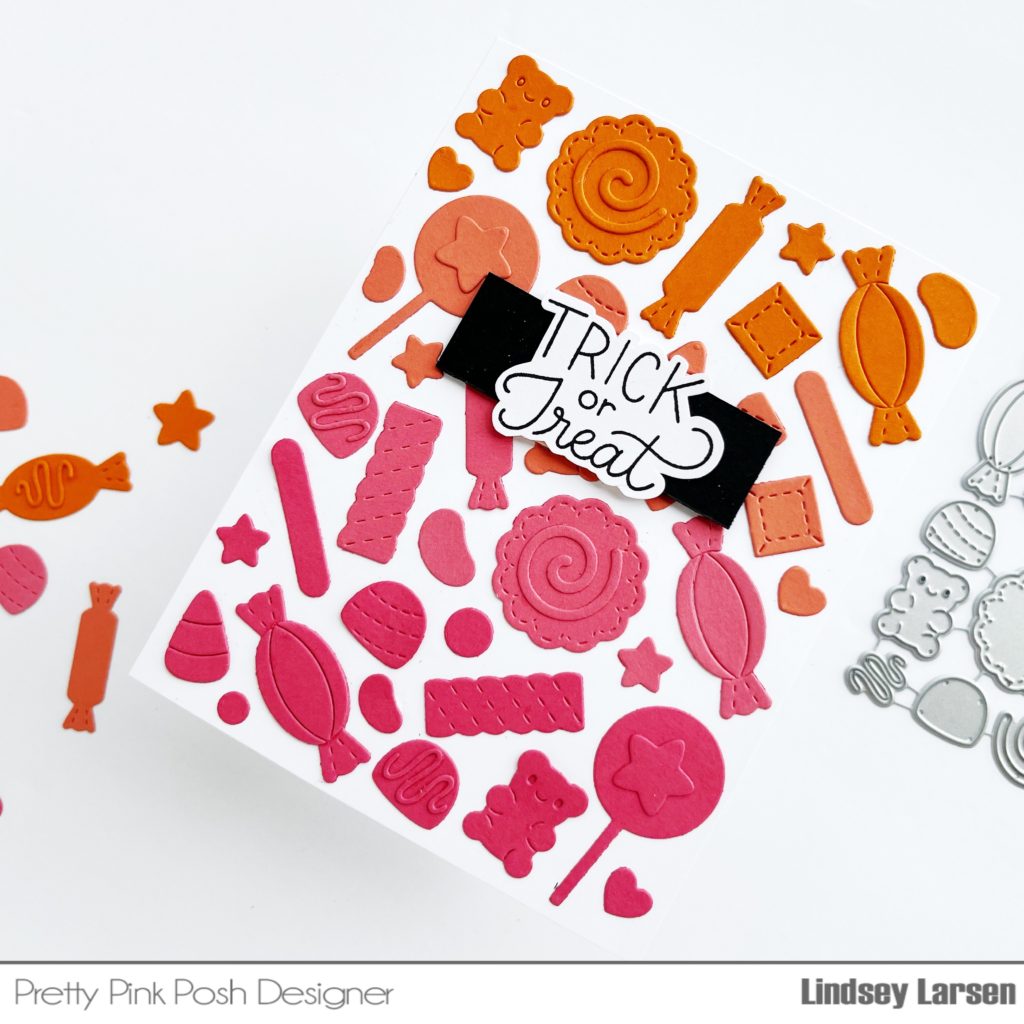
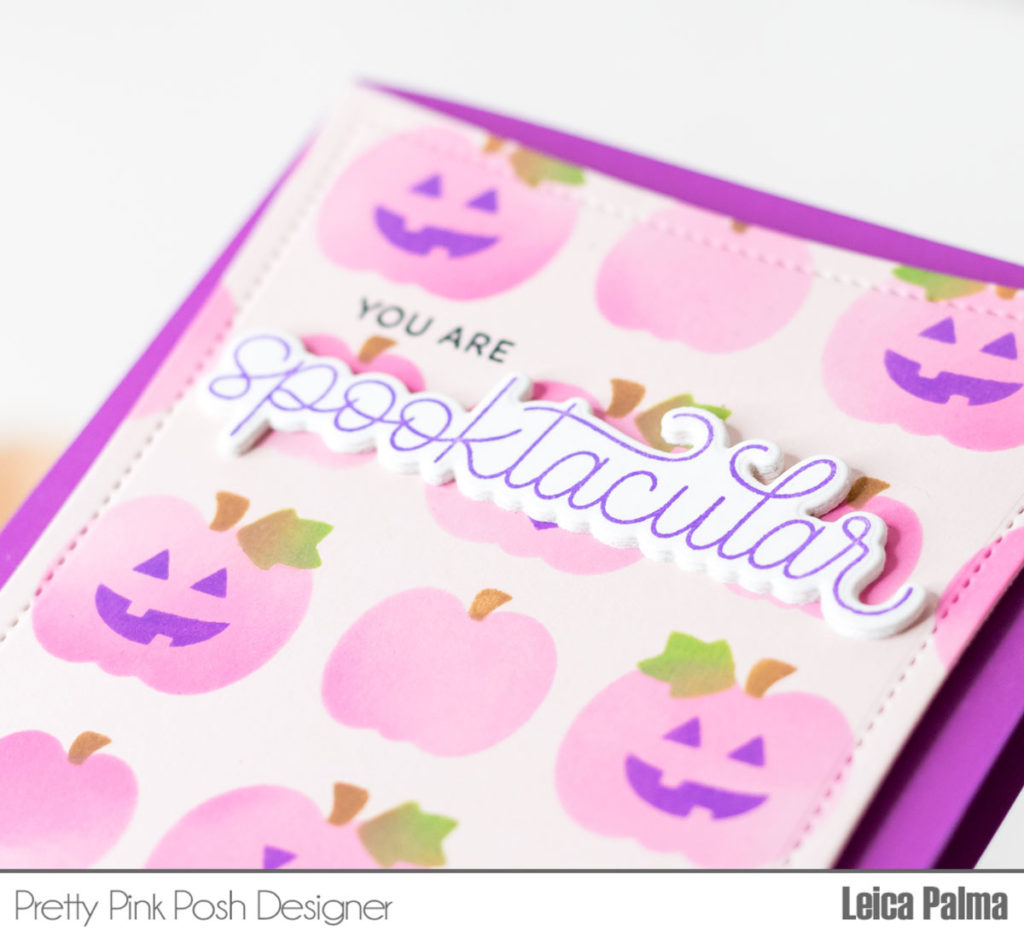
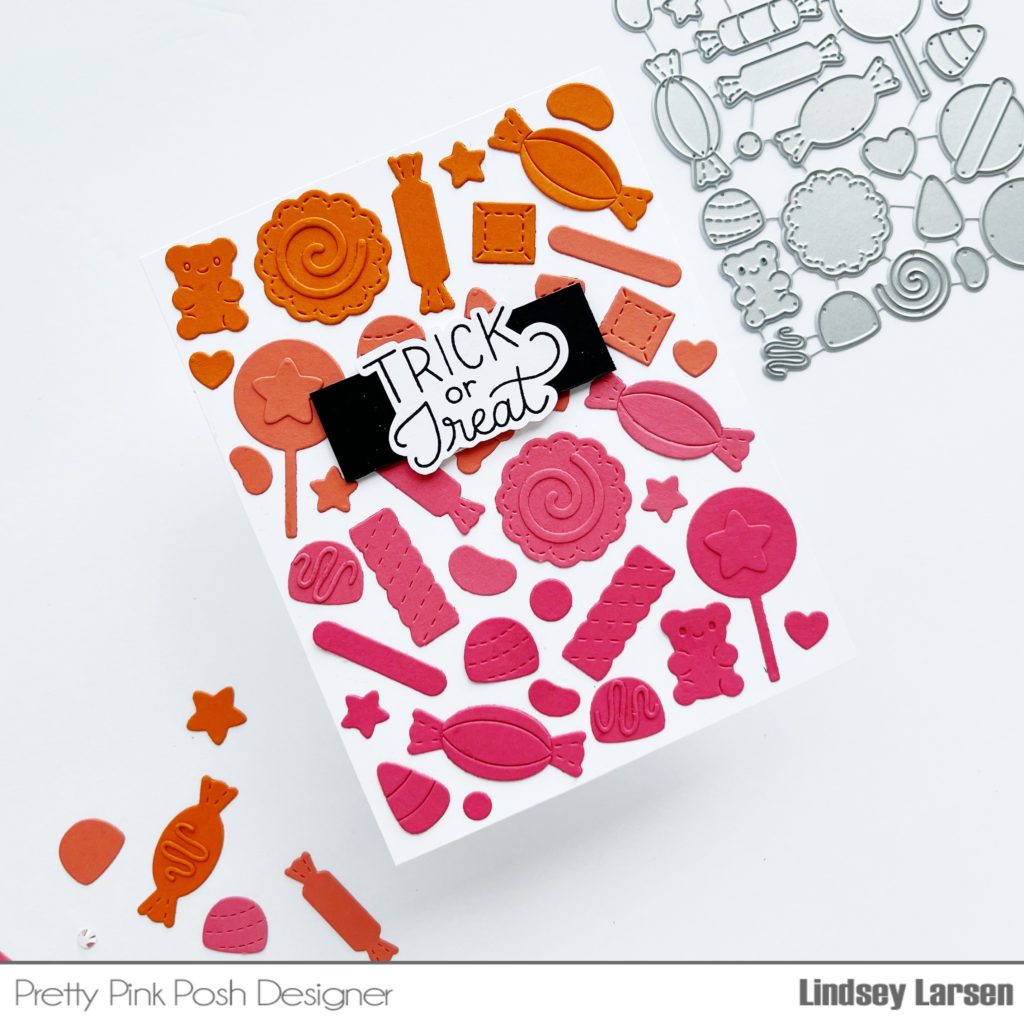
As I arranged the candies on my card base I kept a couple things in mind. Obviously color was the top priority, but I also tried to vary placement of candies by type, ones that were layered vs solid, as well as candies that did or did not have stitched lines. And don’t forget to start with the larger images first and fill in with the smaller bits. Luckily with this many dies you will have lots of pieces/sizes at your disposal.
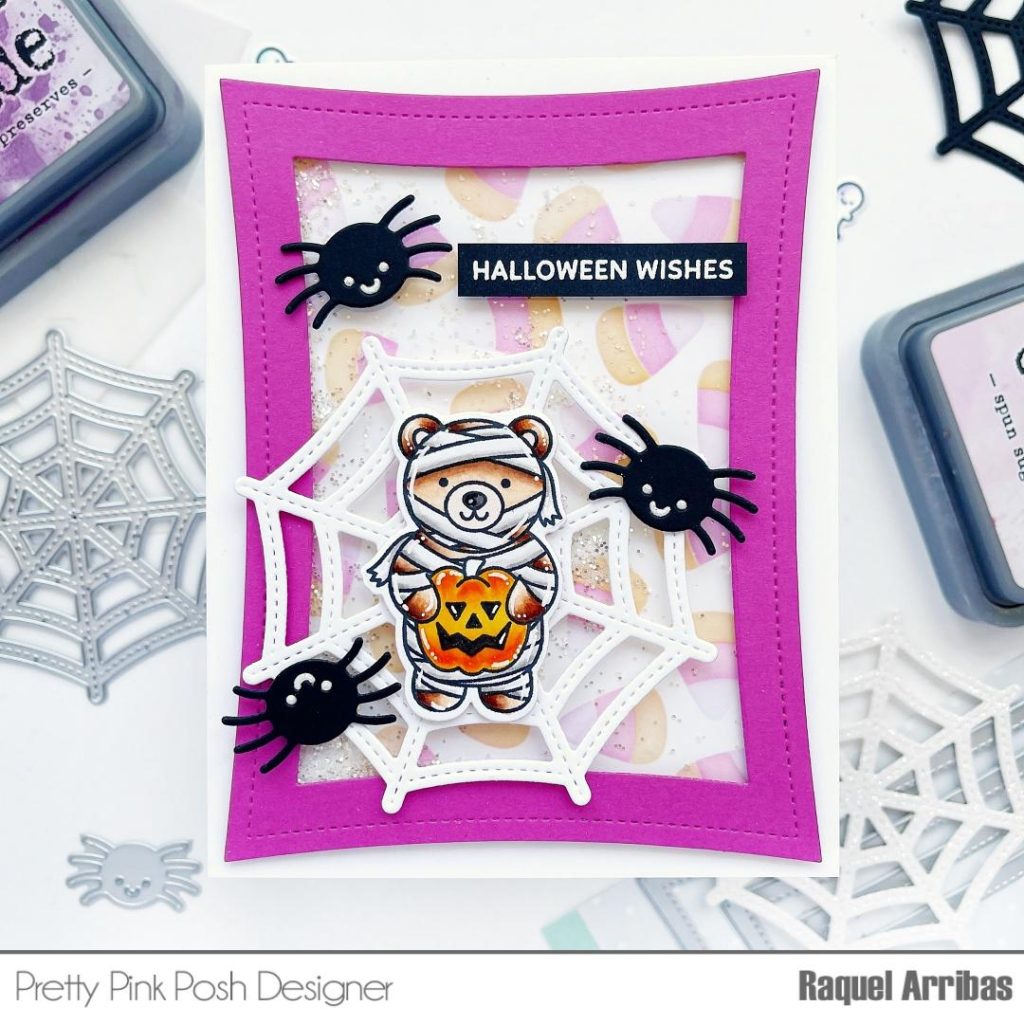
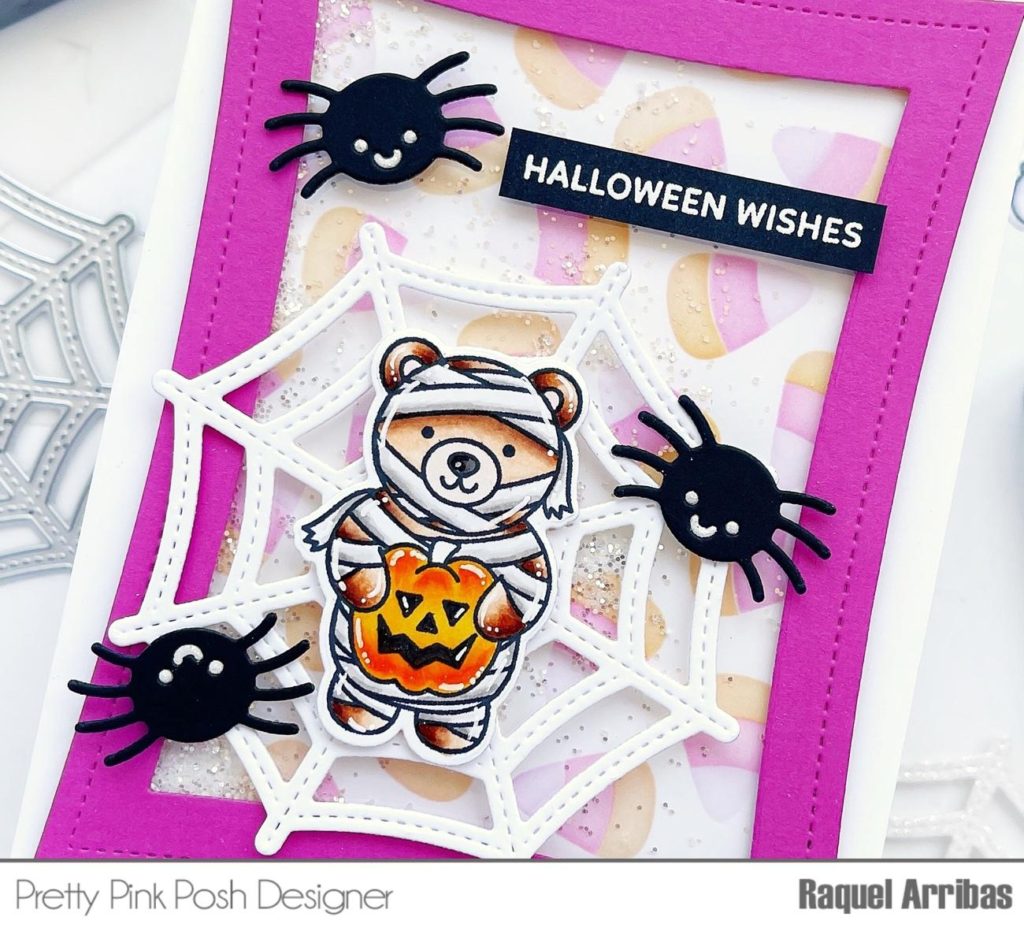
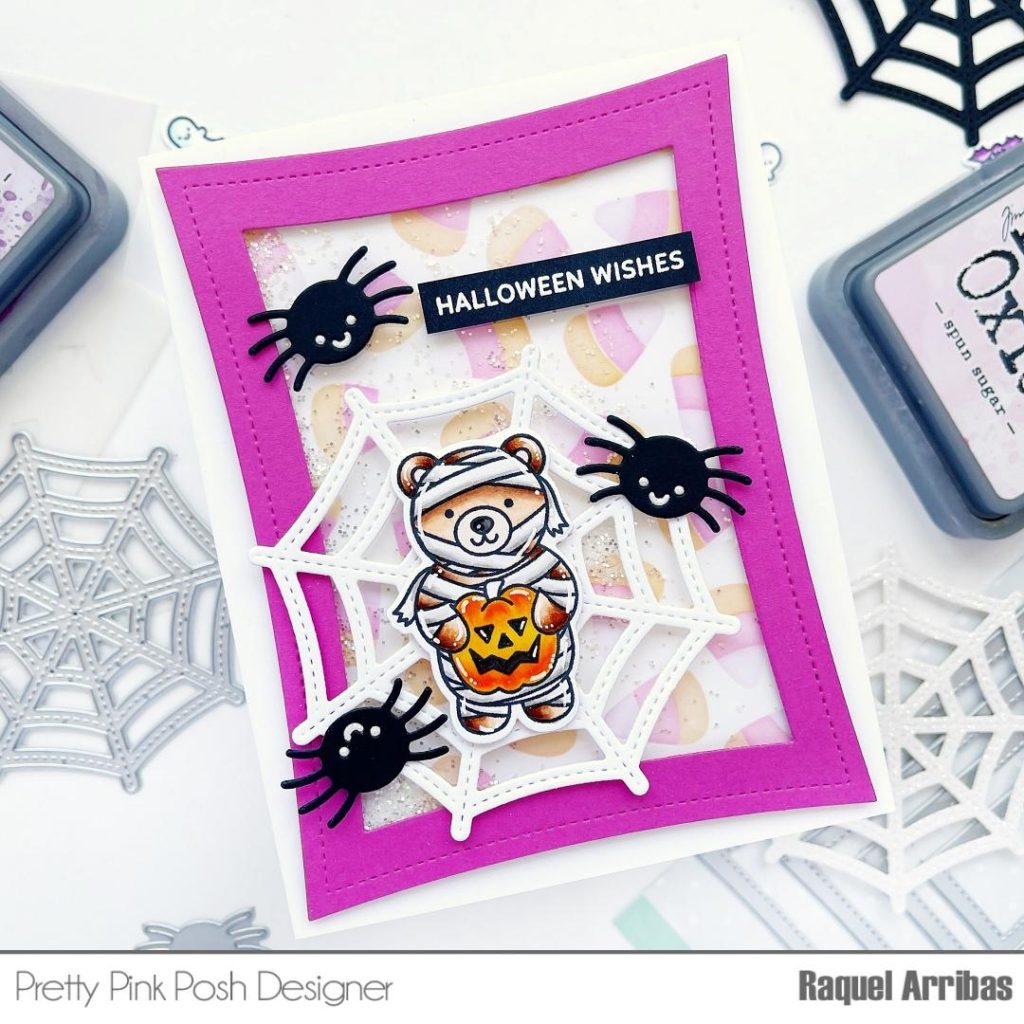
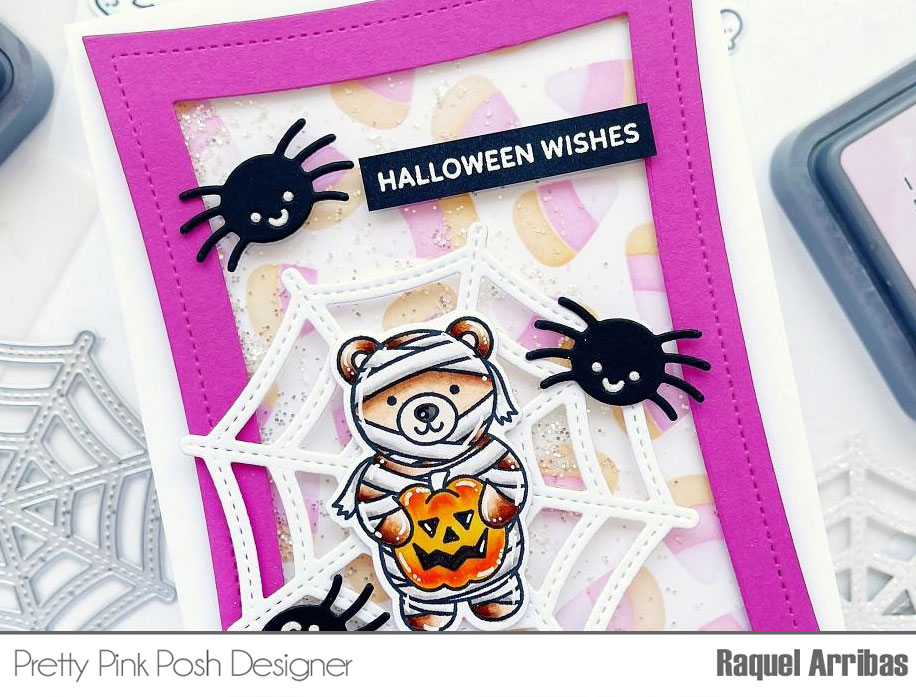
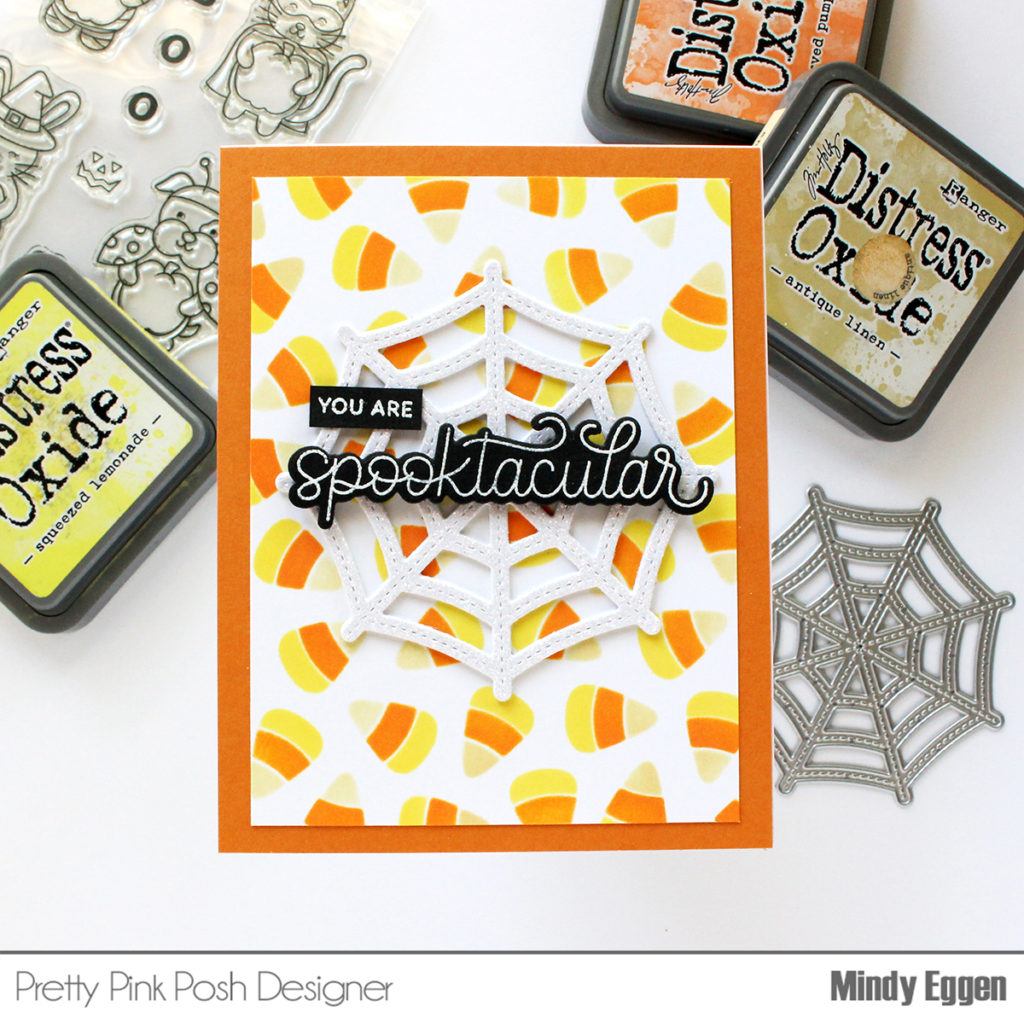
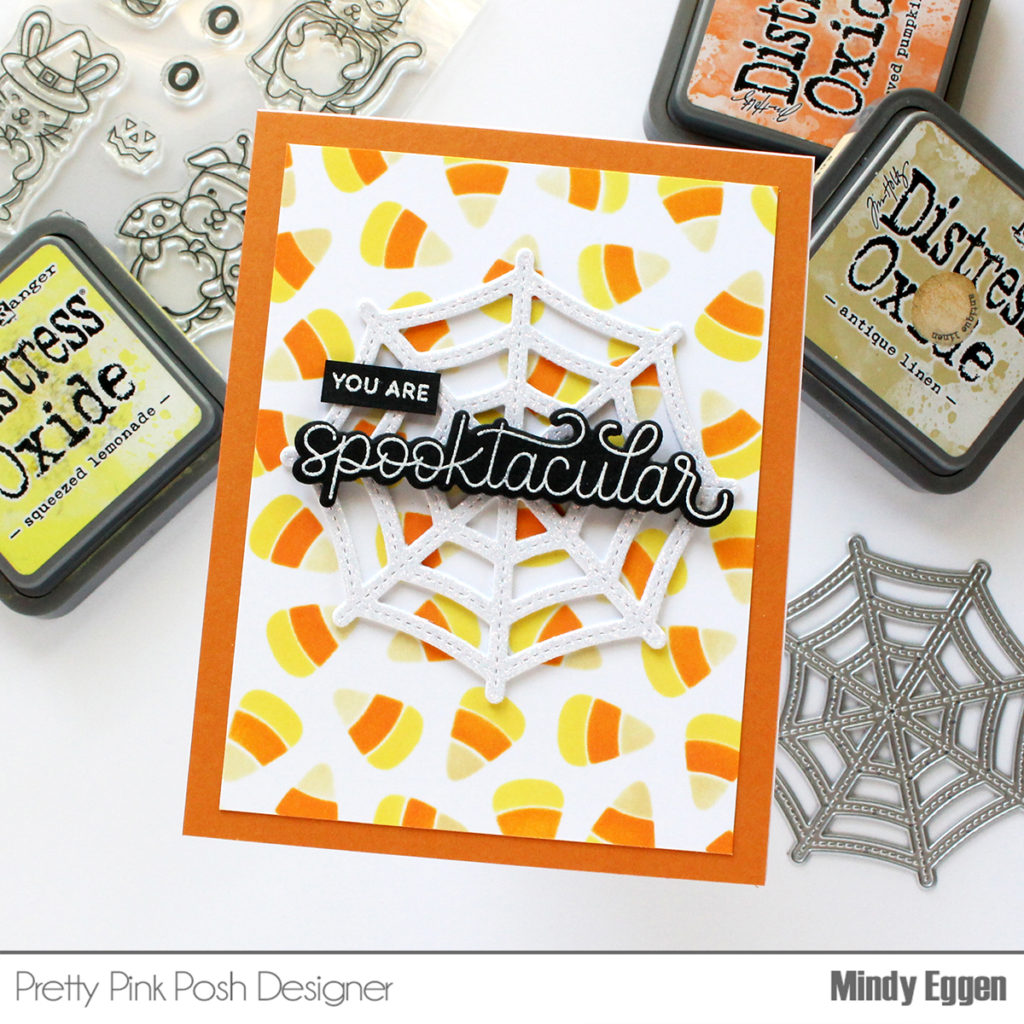
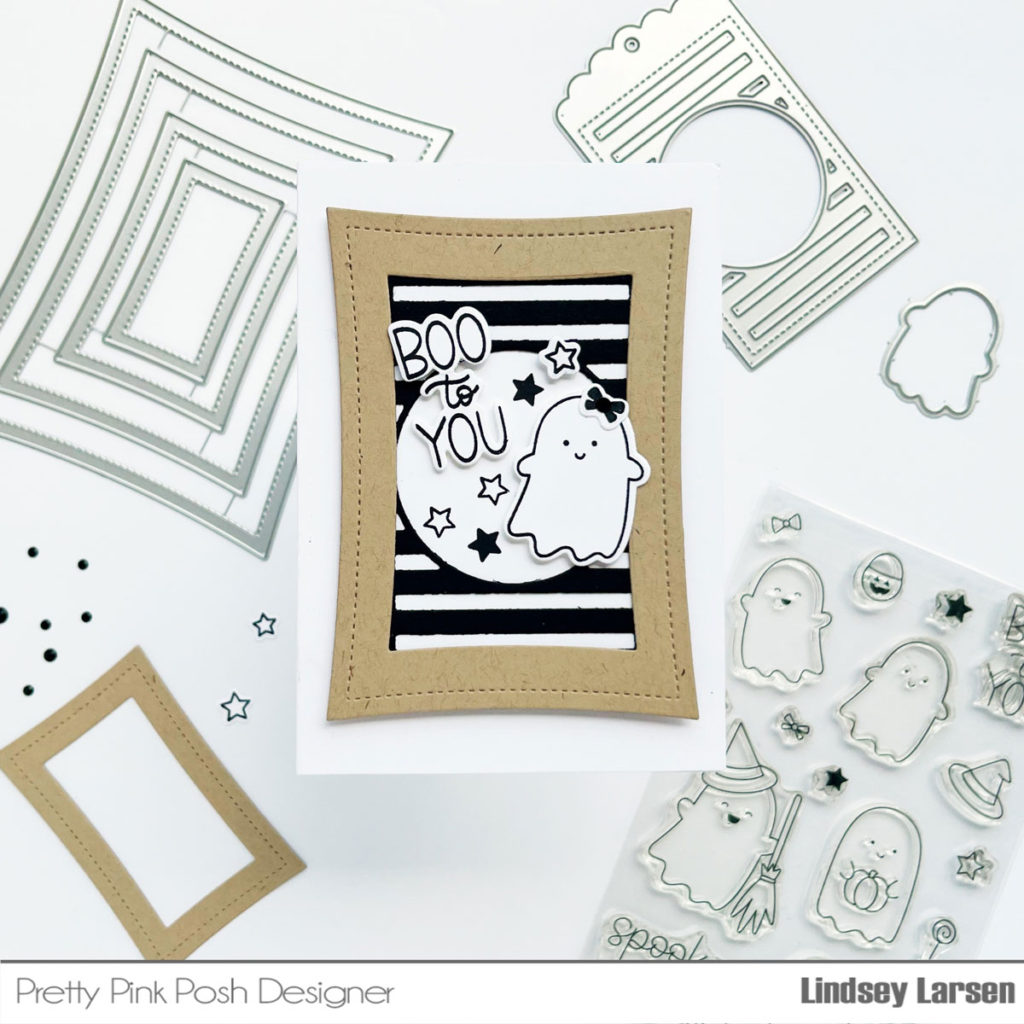
To finish off my card I stamped and trimmed out a sentiment from the previously released Halloween Wreath stamp set and mounted it on top of a big, black rectangle.
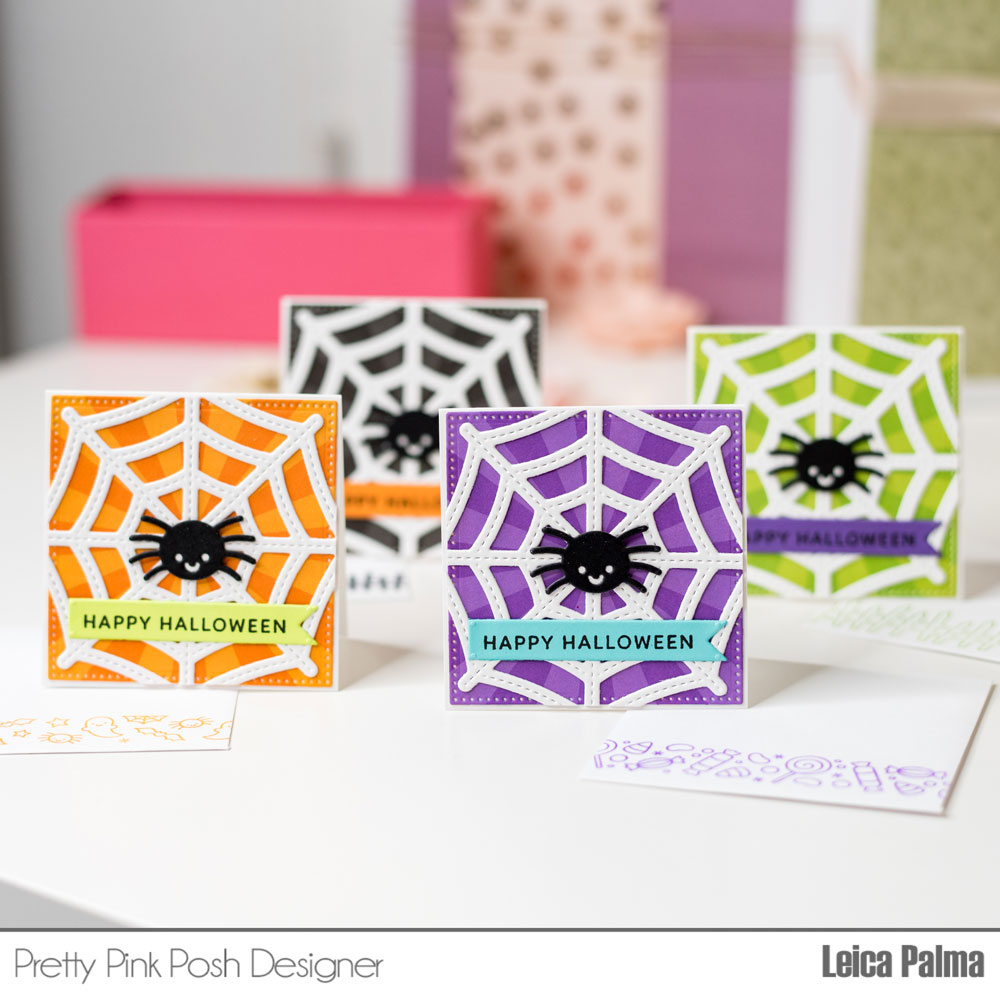
The Candy Treats die set is a must-have in my opinion. It works great for Halloween, but will be perfect for tons of other occasions. I’m thinking Christmas candies, birthdays, Valentine’s, sweet thank yous, or any card for the kids (or kids at heart) in your life. :) I can’t wait to see what you create with it!