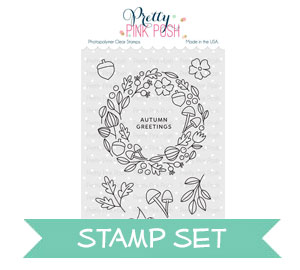
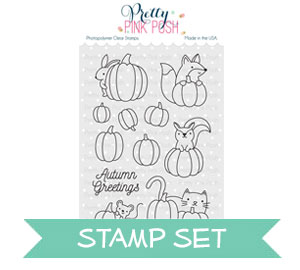
I am loving the transition to fall crafting and wanted to make a super fun fall card with the latest Pretty Pink Posh release. The new Autumn Wreath stamp set pairs up so well with the Pumpkin Patch Critters set so I decided to combine these stamp sets for my ‘Thankful for You” card using the latest script die. I also wanted to use the new Espresso jewels, which are a new favorite of mine.
Cut a 8 ½ x 11 inch piece of white cardstock in half, you will have two pieces of 4 ¼ x 11 paper
Take one piece and score and fold at 2 ¾ inches and 5 ½ inches, fold to create the easel stand
Take the other piece and score and fold at 1 3/8, 2 ¾, 4 1/16, and 5 ½ inches, fold to create the easel card front
Add adhesive to the easel stand and adhere the easel card front
Decorate your card front, I used mats but you can ink blend, watercolor, or choose whatever way you want to create the background
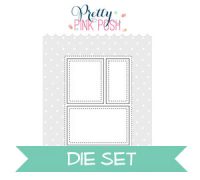
If you are going to mat your images the dimensions are 4 1/8 x 5 3/8 for the big panel and 4 1/8 x 1 ¼ for the 3 smaller mats for the “mountains”
Once you have created your card base, adhere the images to the mats and decorate your wreath with the new jewels! For the sentiment I used the new Thankful for You Script die, it is perfect for the season!
I created a window opening in the background using one of the Scallop Circle dies. For the focal image I used the adorable Koala Friends stamp set, which I colored with Copics. To finish it off I added an embossed sentiment from the Love Sentiments set.
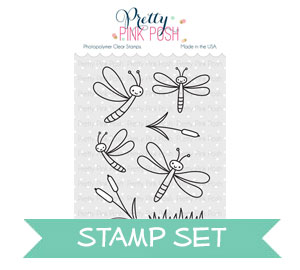
Hi friends, Eloise here today with a new project and video for you all. Today I’m going to be focusing on using some of my hoarded sequins for a fun rainbow background. I’ll also be pulling in the Darling Dragonflies stamp set as well as the Storybook 1 Dies for a little added interest.
To start off I took a piece of white cardstock and cut the Storybook 1 Dies from the top centre of the panel, I set that off to the side then I took another piece of white cardstock and used some 1/8” Scor Tape to create a full adhesive background. I then pulled out various colours of sequins from my stash and started in rainbow order. I like starting my rainbows at yellow and finishing in green, I don’t know why it’s just my preferred method sometimes. I used various sizes for my background and just mixed and matched as I went. To measure how far I needed to go along and down I placed my already die cut panel over top and went from there. In the end I needed 19 rows of sequins. If you don’t have as many colours as that though, either repeat the patterned again or use two rows of the same colour at a time.
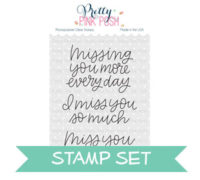
Now that my background was complete, I added foam tape around the sequin background. Then before adhering my front panel over top, I used the Simple Sayings: Miss You stamp set and stamped the simple ‘Miss You’ in black ink at the bottom. I adhered my panel over top and moved onto my stamping.
I stamped out my Dragonflies onto some white cardstock and coloured them in simply with Copic Markers. I used muted colours so they wouldn’t compete with the background. I added foam tape onto the back and adhered them over my sequin background. To finish off my card, I just adhered the entire panel to a card base and that completed my card.
For a light and airy look I used Zig Real Clean Color Brush Markers to color in the images. I stamped the images using Versafine Onyx Black Ink on Bristol Smooth paper. Here are the colors I used:
Flesh Color
Beige
Lilac
Orange
Cornflower Blue
Light Green
Blush
Light Carmine
Lemon Yellow
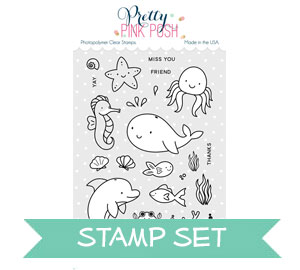
To create the shaker mechanism I used the smallest of the Window Frames dies. I marked my 4 ¼ x 5 ½ colored cardstock with a pencil to find the center and die cut twice to create a beach scene on top and an ocean scene at the bottom. This will create the card front.
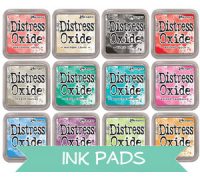
I then created the backer by inking the top half with Distress Oxides in Faded Jeans and Peacock Feathers. Spray with water to create a distressed look.
Take the images and place the beach scene images on top and the ocean themed images on the bottom. Use foam tape to pop some images up and adhere some images directly to create dimension on your card.
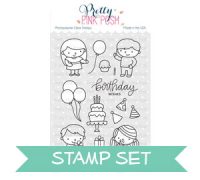
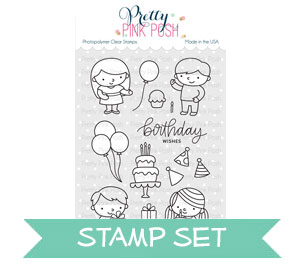
For the sentiment cut out a banner and stamp the Birthday Wishes sentiment from the Birthday Friends stamp set(or any sentiment you would like). Adhere this to the card, I adhered mine on top.
This step is optional but since I used a colored cardbase I made a liner for the card, stamping out small images from the stamp sets. Adhere this liner to the inside of the card base. Also, adhere the shaker mechanism to the front.
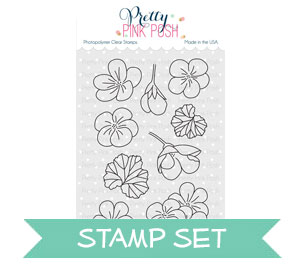
Hi everyone, Eloise here and today I have a card to share with you using the Geraniums stamp set. To colour these flowers, I also decided to pull in the Pearl Colors Watercolor Set from Gansai Tambi for my colouring today, since I haven’t used them much and thought it would be super pretty for my bouquet of Geraniums today.
To begin my card today, I started off with stamping out my Geraniums, I used Versafine Onyx Black Ink and clear heat embossed over them so it would contain my watercolour easier. I then used the Pearl Colors Watercolor Set, to colour them in. I used the same technique I do for colouring, start off with the darkest areas first and then blend them out to create a gradient. Watercolours are super easy like this, since generally you only need to use water to create several shades. I used the pink, red and then made my own purple to colour the flowers in. I then used the green for the leaves, and then I’ll use the blue on its own for a simple background. I dried all my pieces with a heat tool and cut out the Geraniums with their coordinating dies.
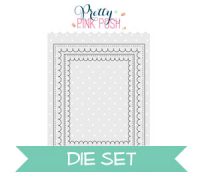
Now all my pieces were cut I used the rectangle from the Stitched Notes Die Set and cut it from some watercolour cardstock. I then used the blue from the Pearl Watercolor Set and did a simple wash over the background. I dried that off with a heat tool as well and moved onto assembling. I grouped together my flowers and added foam tape onto the backs. I adhered them down over lapping each other to create sort of like a bouquet.
For my sentiment, I wanted to use the ‘Love You’ dies, but it didn’t really fit well and I couldn’t find a colour that matched well enough but also stood out. So I used the Bear Hugs stamp set and white heat embossed the ‘Hello Friend’ sentiment onto a thin strip of black cardstock, like I always do and adhered it onto the card with more foam tape. For a last finishing touch I pulled a piece of patterned paper from my stash, this one is from an old Dear Lizzy pack and I mounted my panel over top and then onto a card base.
Thanks so much for stopping by today, I hope you enjoyed and got inspired. See you all next time.
Hey everyone! It’s Justine here showing off a fun die cutting technique that involved the Gemini Jr Die Cutting Machine that is super trendy right now! Pretty Pink Posh is also generously donating a Gemini Jr machine as a giveaway right now over on the Pretty Pink Posh YouTube Channel. Just leave a comment ON THE VIDEO for a chance to win.
This video is so full of techniques – Copic Colouring and how to add shadows, precise stamping, die cutting two panels, masking leaves and more! For this card I used the Cherry Blossoms stamp set. There are so many great elements in this set and it’s perfect for this technique.
For this technique, it involved some precise stamping and die cutting so it’s best to use a stamping tool like the MISTI. I stamped the exact same formation of flowers onto two different card panels. I coloured one of those panels only.
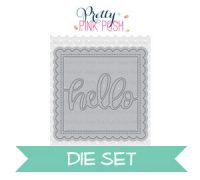
I then stacked both of the card panels onto each other and used the Hello Friend Script die to die cut through BOTH sheets of paper. This would be difficult to do with a manual die cutting machine (not necessarily impossible) due to the intricacy of the die and cutting through that thick of a layer.
TIP: If you don’t have the machine and want to do this technique, it is possible. Cut one panel, layer that panel onto the second one, use the die cut area to line up the die, then die cut again.
Giveaway details: Leave a comment on THIS video for your chance to win this giveaway. One comment per person, please. Comments must be left by August 17, 2018 to qualify for the giveaway. Winner will be notified via a comment reply and sent a message on YouTube.
I then went ahead and glued both panels onto card bases. I placed the coloured sentiment into the black and white panel and the black and white sentiment into the coloured panel. I added in all the little pieces to give it a more cohesive look.
I hope you enjoyed today’s video and technique. If you haven’t already, be sure to visit the Pretty Pink Posh YouTube channel. There are a lot of different technique videos there and we also share videos when we have a new release (our next one is in September). Thanks for stopping by and joining us today!
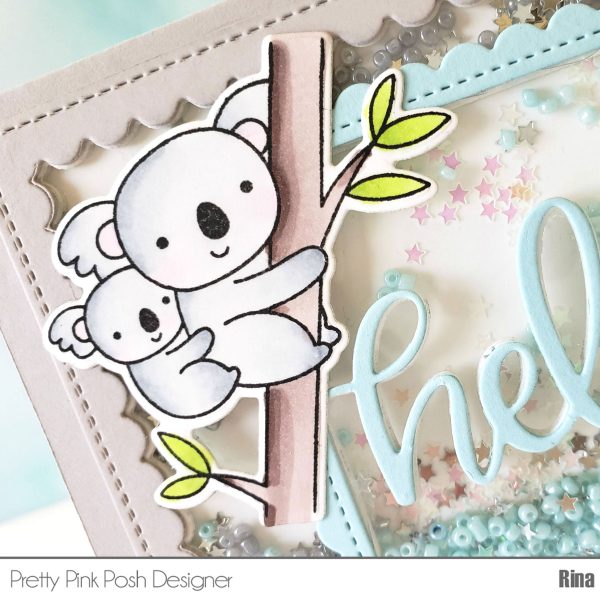
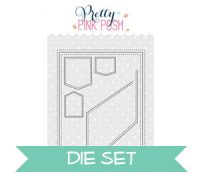
For today’s tutorial I thought it would be super fun to make a double shaker card where there are two distinct wells to put sequins in. This way you can have two separate colors of sequins without having them mix together.
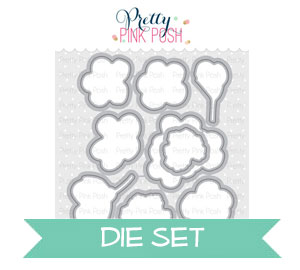
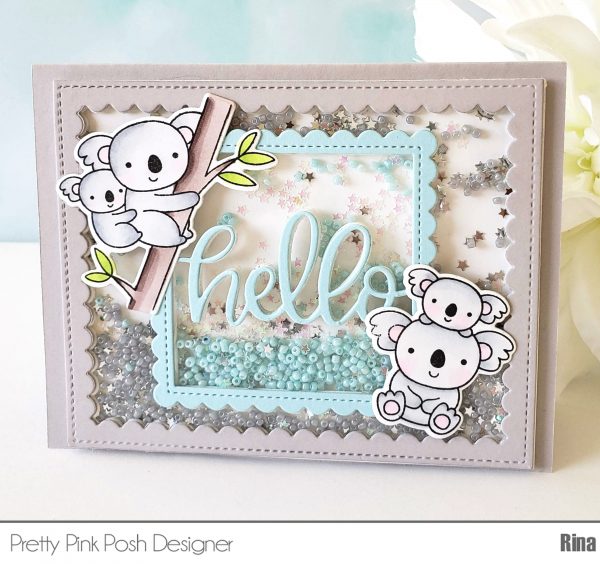
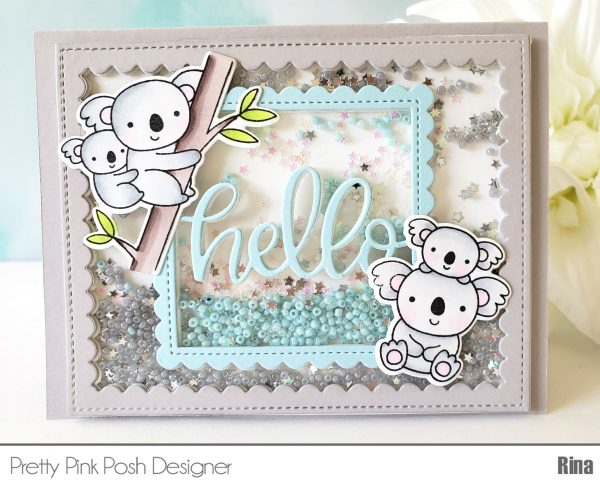
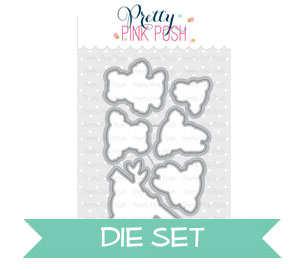
The video tutorial will show you how to cut all the white pieces from one piece of cardstock. You will need to cut out 5 pieces of the largest Scallop Frames Dies: One in a colored cardstock (I used gray) and 4 in white cardstock. Next you will need to cut out 5 pieces of the Hello Shaker Die: One in a colored cardstock (I used blue) and 4 in white cardstock.
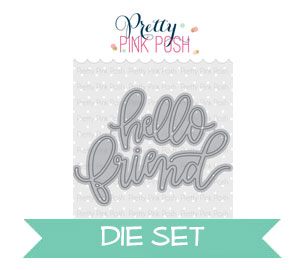
Adhere the attached Scallop Frames and Hello Shaker Die pieces onto a piece of acetate, these will create your 2 shaker wells. Make sure to put the glue on the front side of the Hello die and then adhere it to the back of the acetate. The adhesive that shows through will be hidden later.
Make sure to not overfill. Use the 4×5 White cardstock to cover the back of the shaker mechanism.
Turn the shaker mechanism over and you will see the front, use the remaining die cuts that were cut out with colored cardstock and place them on top to cover the adhesive
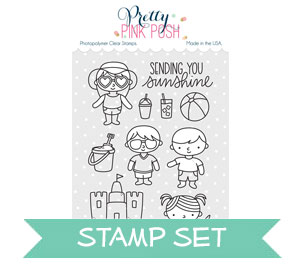
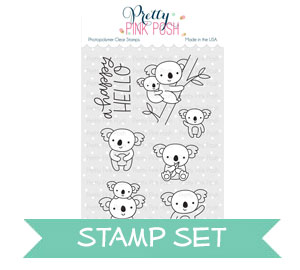
I will be using some images from the Koala Friends stamp set to embellish the card. Here are the copic markers I used:
Gray – C00, C1, C3, C5
Green – YG01, YG03
Pink – RV10
Brown – E70, E71, E74
To finish the inside of the card, take the panel die cut from the Stitched Notes Dies and stamp the sentiment “A Happy Hello” and adhere the small koala at the bottom. Adhere your shaker mechanism to the front of the card. Finally adhere the remaining koala images to the front of the card.
I hope you try this technique out! Thanks for stopping by!
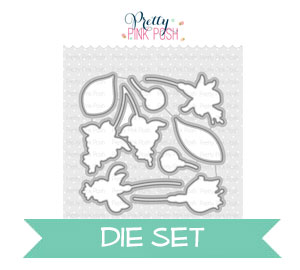
To begin my card today, I started off with my background. I pulled a few colours of Alcohol Inks out and some Yupo paper. I sprayed the background with alcohol solution that I popped into a small spray bottle. Once the background was coated, I took the alcohol inks and drew lines onto the background. Then taking a paint brush and more alcohol solution, I added it around the edges of the lines to soften them. I repeated the same process for all four colours I used. Once I was happy, I dried it off a little with my heat tool, but also dabbing up any excess with a paper towel so the paper didn’t warp too much. I set that off to the side and worked on my images.
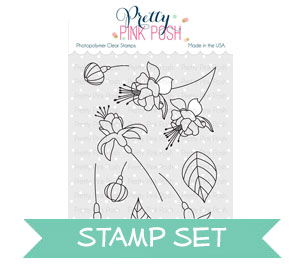
For my images, I stamped all the flowers and leaves I thought I would use from Flourishing Fuchsias onto some watercolour paper with Versafine Onyx Black Ink. Then, I clear heat embossed over the top so it would contain my watercolour easier. I used my Zig Clean Colour Real Brush Markers to colour today. These markers are super handy for when you want a quick colouring job and don’t feel like using a ton of shades of different colours. I used three colours for all my flowers today and they came out looking so gorgeous and with lots of shading, too. I also used a water brush to help spread the colour. I dried off my flowers and leaves with my heat tool and cut them out with the Flourishing Fuchsias coordinating dies.
Zigs Used: No. 25 – Pink, No. 81 – Light Violet, No. 47 – May Green
Now, it was time to finish up my card. I cut down my alcohol inked panel down to the size of my card base, then I used the Scallop Ovals dies and cut out the largest one from white cardstock. I added foam tape at the back and adhered it off to the right hand side of my panel and cut off the excess. I then added foam tape onto the back of my flowers and leaves and adhered them into place as well. I didn’t end up using all I coloured, but I can save those for another card later on. Once my card was looking pretty complete, I white heat embossed the ‘Life Is Better With You’ sentiment from Encouraging Greetings onto a strip of black cardstock. I adhered that down with foam tape as well underneath the frame a little. To finish off my card completely, I adhered my panel onto a white card base and scattered some of the Sparkling Clear Jewels around as well.
Thanks so much for stopping by and watching the video today, I hope you enjoyed and got inspired. I can’t wait to share more with you and I’ll catch you all next time.
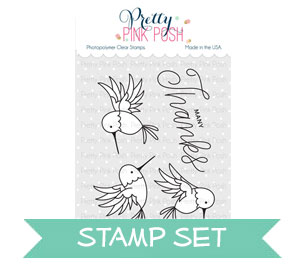
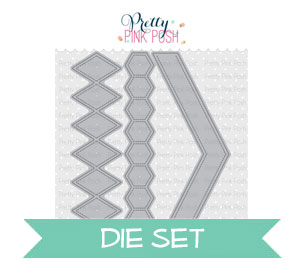
For this card, I wanted to have a lot of colour but still keep my signature white space and I was able to do that by keeping things quite simple with the rule of “threes”. Three items in a triangular pattern are pleasing to the eye. So that is why I chose to place my hummingbirds in a triangle. Not only are my hummingbirds in threes but I also chose three colours and three arrow die cuts.
I wanted to keep the colours to a light-pastel. Maybe mine are a little too dark to call them that but I’m always so inspired by the Pretty Pink Posh design team’s colour choices and thought I’d give a “lighter” look a try. I hope you enjoy this video tutorial and I will see you in August for another!
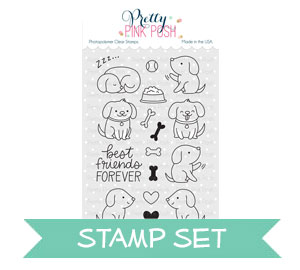
Hello Pretty Pink Posh fans! This is Yana and today I have clean & simple cards to share featuring the Playful Puppies stamp set. This stamp set is filled with images of cute little puppies and some fun accessories to go along with them.
Just like always, I started working only cards by stamping all of the images in copic marker friendly ink onto white paper. I love to mix and match stamp sets and today I am mixing a few Birthday sets. I used images from the Birthday Friends set – balloons, party hats and gifts and stamped some along with my puppies.
I used the following Copic marker colors for my coloring:
E79, E37, E33 and E31 to color the dark brown puppy;
E31, E11 and E00 to color light brown puppy.
B02, B00 and B00
YG13, YG01 and YG00
Y35, Y15 Y13 and Y11
There are coordinating dies available for the Playful Puppies stamp set and also there are dies for the Birthday Friends stamp set so I used those to cut my colored images out. Next, I stamped Birthday Wishes sentiment in black ink and foam mounted images on top.
I trimmed panel to 4 x 5 1/4” and adhered it onto an A2 white side folding card base. I also used a bunch of things to embellish this card and add some details. I started with a shimmer pen to add some sparkle to the gifs and balloons. Next, I added some jewels in Sea Glass andSpring Green and lastly I used my Nuvo Drops in clear and later Glossy Accents to add some dimensional details to the dots on the party hat, gifts, balloons and puppy noses. Nuvo drops will crack if you apply they over a large area, so I used glossy accents for the balloons to prevent cracking.
Happy Birthday Card
For my next project I decided to use Birthday Scene stamp set. I love Birthday banner and balloons in the background, but I wanted to switch up the critters that are holding this banner to puppies. To do that I needed to do some masking. I used masking paper and scissors and cut the part that I didn’t need masked. I only needed to be careful when cutting next the the areas where critters were holding the banner and the other areas I just cut out very loosely.
I placed my mask onto white cardstock panel and stamped the scene. Next, I stamped and colored a few more puppies and accessories to go on this card.
I decided to use different colors and make this card into a feminine one. I used: RV13, RV11, RV10 and RV00 Y35, Y15 and Y11 YG13, YG01, and YG00
I also stamped little bows using image from the Fly a Kite stamp set. I colored, cut it out and adhered onto the party hats. I used foam adhesive squares and foam mounted my images in place. Next, I trimmed my panel to 3 3/4 by 5” as my stamping was a bit off to the left and I wanted it centered on the card. I foam mounted the stamped panel onto an A2 card base and added pretty jewels in Spring Green and Watermelon, once again I used Glossy Accents to add dimensional detail to the balloons.
Best Friends Forever Card
I have one more project to share and this one features simple pattern stamping. I love to use small stamps to create my own unique patterns so I was excited to use bone images from the Playful Puppies stamp set to stamp a fun pattern for my card.
There are both solid and outline images in this stamp set so first I used the 2 solid bone images and stamped them using Khaki ink onto kraft paper creating a pattern. Next I used just one of the outline bone images and stamped it over some of the solid images in black ink offsetting it slightly. To finish this card I stamped Best Friends Forever in black ink onto white cardstock panel. This sentiment comes from the Playful Puppies stamp set and next I foam mounted the two puppies in place. This time I colored my puppies gray – one is a warm and another one is a cool gray puppy: W1, W3 and W5 C1, C3 and C5
I added a food bowl and some stamped and die cut bones to complete my scene. I also used a white pen and added some white highlights to the puppies and embellished this card using Metallic Gold Jewels.

 Hi everyone, Rina here!