March Product Release Blog Hop- Day 1

Hello, Gemma here today to share a card featuring the beautiful new Happy Easter Shaker die along with the cute Bunny Friends stamp set. I wanted to create a layered look with the Happy Easter Shaker die, with different colours of cardstock and some jewels too.

To begin, I die cut the Happy Easter Shaker die from four colours of card stock – green, light pink, dark pink and lilac. I chose the green die cut as my base layer, so the leaves are set back the most when all the layers are put together.

Next, I fussy cut the flowers from both of the pink die cuts and adhered them over the green layer. Although these flowers will eventually be covered by jewels, where any of the card does show underneath, I want it to be the same colour as the jewels. I then trimmed away the leaves and flowers from the lilac die cut, leaving just the frame and the sentiment. I added this onto the green die cut.

Once all the layers of card are put together, I picked out some Pink Blush jewels and Watermelon jewels and adhered them over the top of the flowers with liquid glue. The jewels look so pretty as an accent on the card. I put the Happy Easter Shaker aside to work on the rest of the card. I die cut the largest of the Scallop Frame dies from white card, then blended on an ombré of lilac ink, to closely match the colour of the shaker frame.

I just had to add two of the cute bunnies from the Bunny Friends stamp set to my card. I stamped them out and coloured them with copic markers, then die cut them with the coordinating dies. I tucked one of the bunnies under the scallop frame at the bottom. I tucked the other bunny at the top of the Happy Easter Shaker die cut, trimming him a little to fit, then adhered everything to the card.
To finish, I added some foam squares just under the heads and ears of the bunnies, so they have some dimension.

Ready to hop along and see LOTS more fabulous inspiration with this new release?
PRIZES: be sure to leave comments on each stop. I’m giving away 4 $25 gift certificates to four random comments (2 winners each day) left before March 12, 2018 at 11:59 PM PST. I’ll be announcing the winners next week, so be sure to return and see if you are one of the winners!
Pretty Pink Posh blog << you are here
Yana Smakula
Gemma C.
Heather Meeson
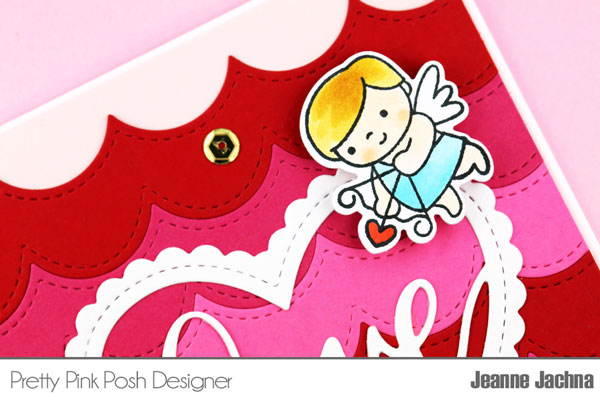
Jeanne Jachna
Justine Hovey
Kathy Racoosin
Lexa Levana
Mindy Baxter
Rubeena Ianigro
Eloise Blue
Shannon McComb
Jeannie Lieu
Amy Yang

I hope you enjoyed today’s super fun post by Gemma. Be sure to stop by tomorrow for a whole new batch of inspiration and designers!


 As I was stamping I made notes in my head which flowers and leaves were going to be in the front and which would be in the back. If you struggle with this – you can either mask your images so that you don’t have confusing stamped lines on your panel or test stamp your cluster onto a piece of scrap paper and label everything – then when you go to color your image you can use that as a cheat sheet.


 Hello, friends!