5th Birthday Celebration Blog Hop- Day 3
If you missed Day 1 CLICK HERE // If you missed Day 2 CLICK HERE
Hi friends, Angelica here and today I’m sharing a fun shaker card using new products from the Pretty Pink Posh January release. I am so in love with the new Cupcake Critters stamp set, and the images pair perfectly with the new Celebrate Shaker die.
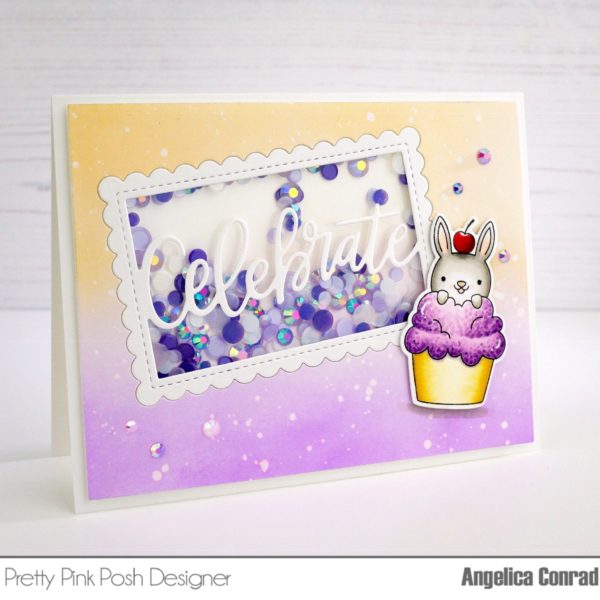
My first step was coloring the cupcake critter. I stamped the image onto white card stock with Copic-friendly ink. I then colored the image with Copic Markers. I started with the bunny: W5, W3, W1, W00, R00. For the frosting, I used V00, V01, V12, V15. I colored the frosting with V00, did a little shading with V01, then did little dots of colors to finish the rest of shading, and to add texture. For the wrapper, I used Y21, Y23, Y26, Colorless Blender, and V91 for the drop-shade under the frosting. Lastly, the cherry I colored with R24, R27, R29, and R59. I used each marker to draw a line, leaving white space around the stem.
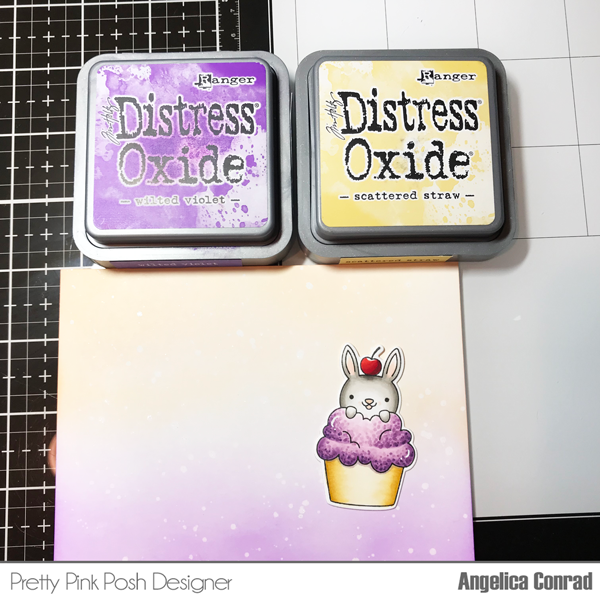
My next step was inking the card front. I used Scattered Straw and Wilted Violet Distress Oxide Inks to blend onto Neenah Solar White 80 lb card stock. I started at the top with the Scattered Straw, blending ink down towards the middle of the card front. I blended the same with the Wilted Violet, blending the ink up towards the middle. I didn’t want the inks touching too much. When I was finished, I tapped shimmer water all over the paper. I let the water sit for about 15 seconds, then dabbed the water up with a paper towel. This left shimmery drops all over paper.
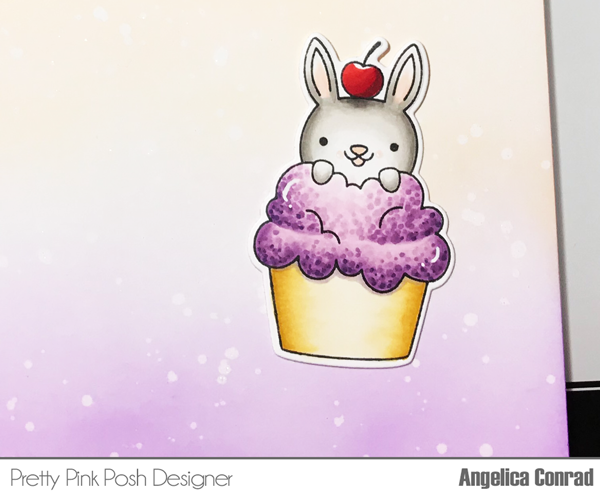
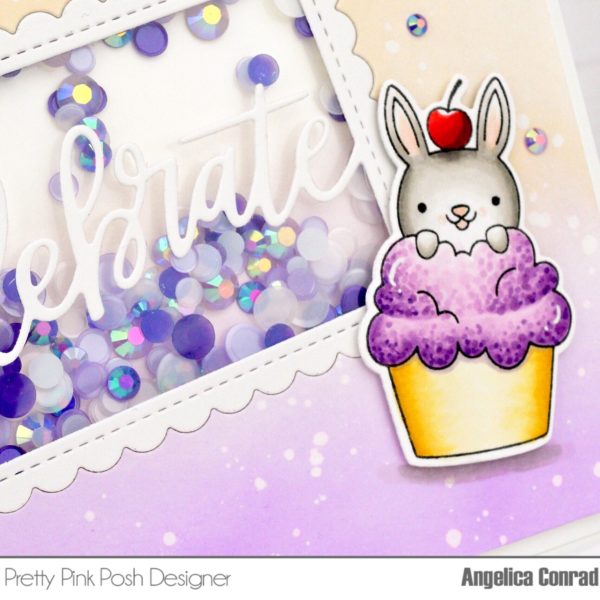
To make the shaker element, I ran the card front through my die-cut machine with the Celebrate Shaker die. I then closed the window from the backside with a piece of acetate and 1/8 inch Scor Tape. I die-cut Celebrate again out of white card stock that I had added Stick It Adhesive to on the backside. This made it really easy to attach the die cut to the front of the shaker window. I flipped the card front around to the backside and added Darice Double-sided Adhesive Strips to all four sides of the window. I filled the window with Sugar Plum Jewels and Sugar Plum Confetti, then closed the window with another piece of acetate. I added foam tape to the rest of the back and attached the card front to an A2 size card base. I used thin adhesive squares to add the Cupcake Critter, then used W3 and W1 Copic markers to draw a quick shadow under the cupcake. My final touch was adding a few Sugar Plum Jewels using Ranger Multi Media Matte.

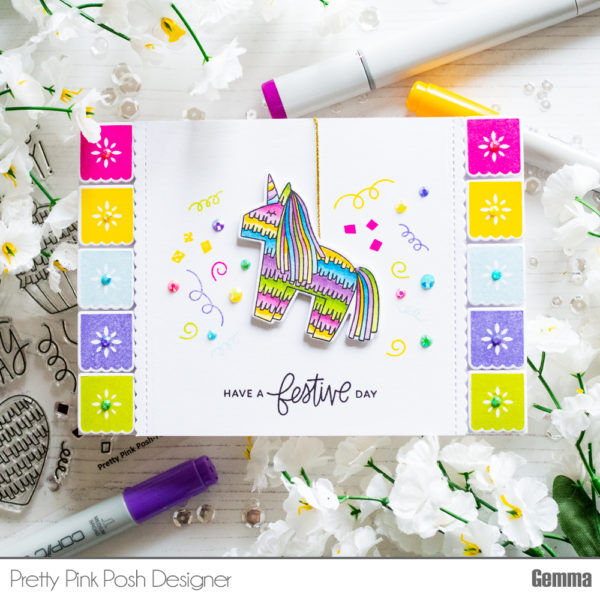
For the celebration, I brought along some very special guests to celebrate with us. Be sure to leave them lots of comments on their blogs and check out their amazing projects!
We have lots of amazing designers in today’s blog hop sharing new inspiration. Be sure to leave them lots of love- I’ll be giving away prizes to some comments left on their blogs!
PRIZES: We’ll be giving away 3 $25 gift certificates to random comments left on the different stops every day! That’s right, we’re giving away a total of NINE $25 gift certificates over the three days! Comments must be left before January 17th at 11:59 PM PST. I’ll be announcing the winners next week, so be sure to return and see if you are one of the winners!
Thank you for celebrating with me. I’m looking forward to the upcoming year and bringing you new products and inspiration. Have a great weekend!




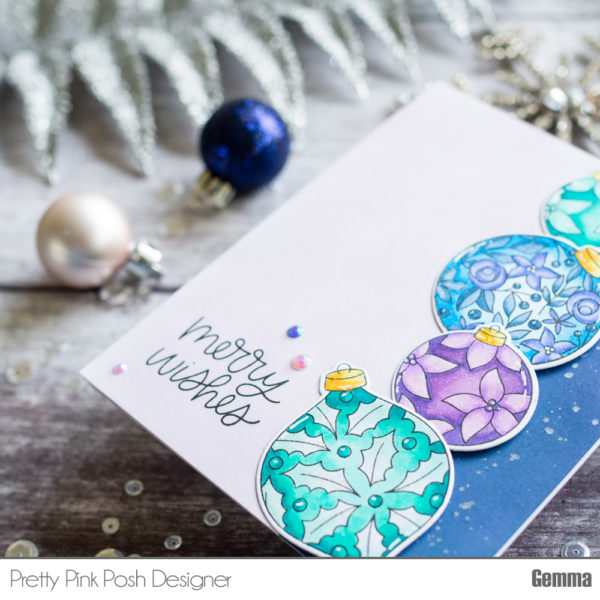
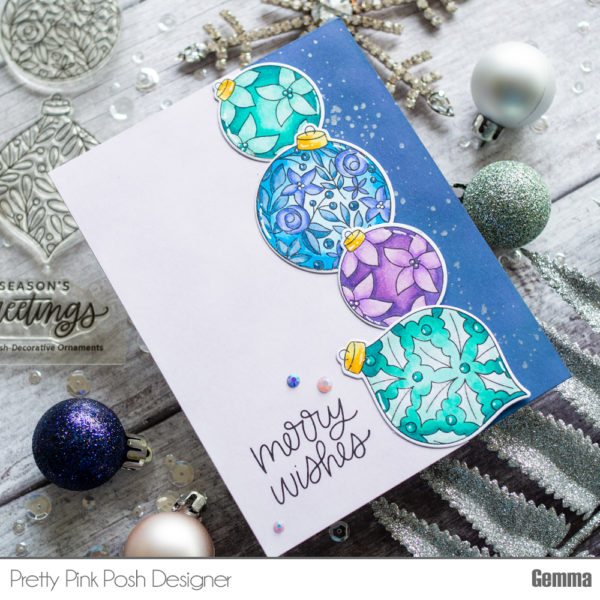
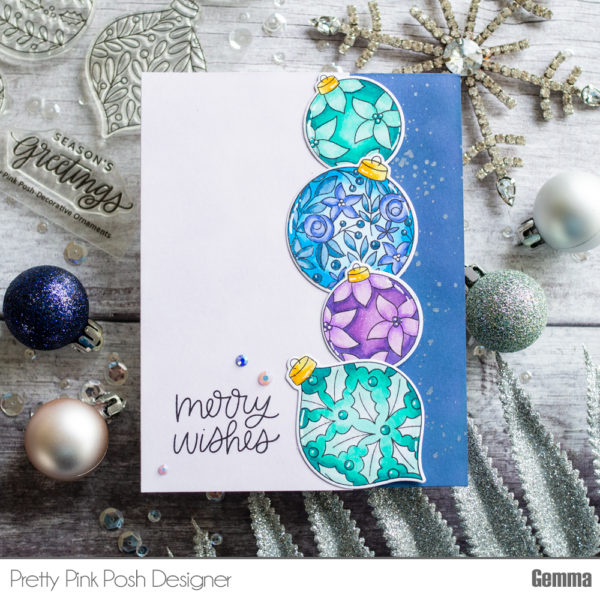 I’ve had fun trying different techniques with this set, including watercolour with zig pens, and embossing on vellum. I love to copic colour images, though, so decided to stamp some images with copic friendly black ink and colour that way. I kept to one colour family on each bauble, to keep the tones similar and let the patterns shine out. Once they were coloured in, I die cut them with the
 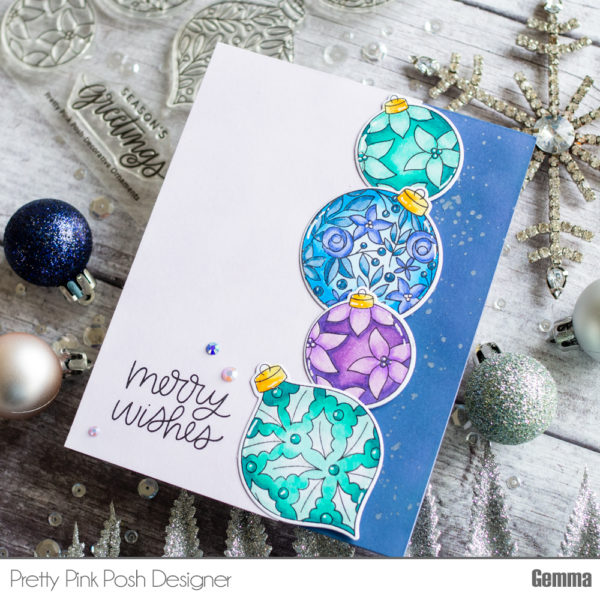 For this card, I thought it would be fun to revisit a design I made (
 I took another piece of card, not as wide as my card base, and blended on