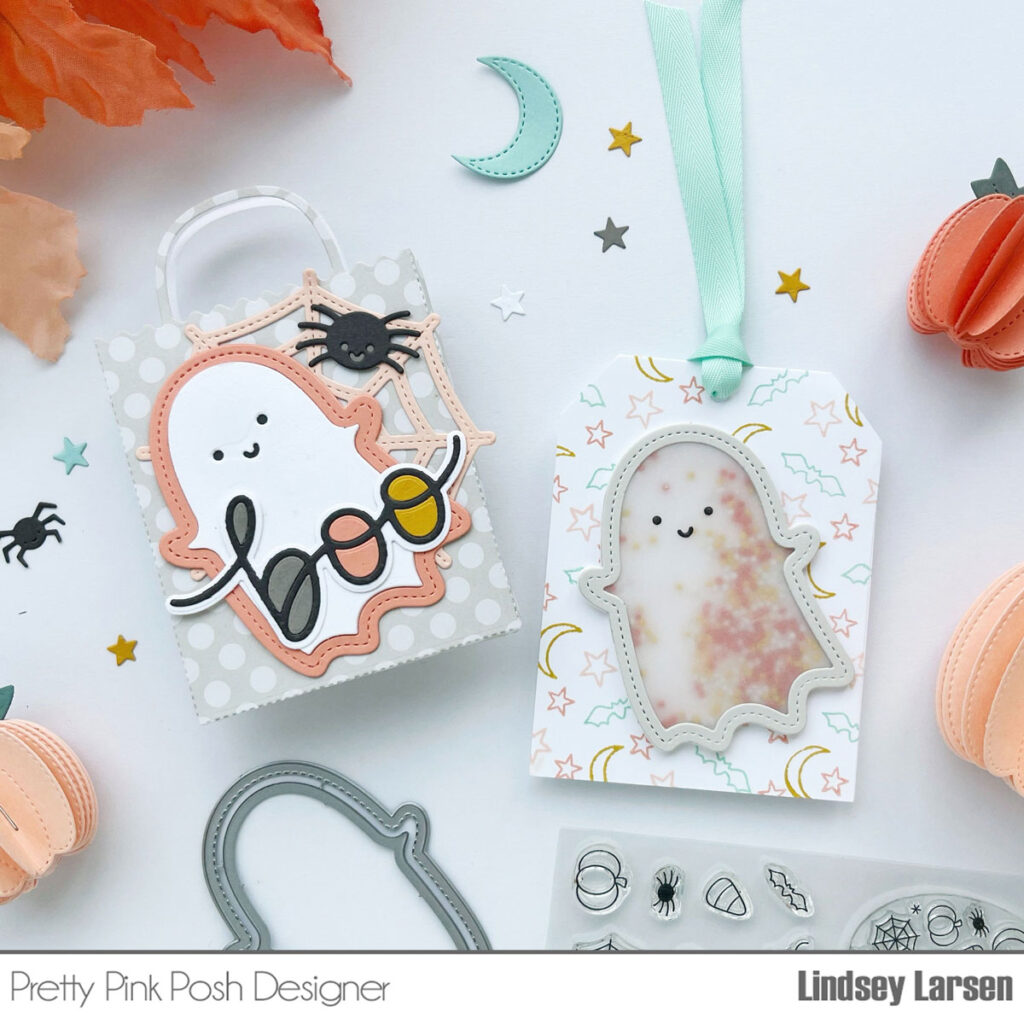
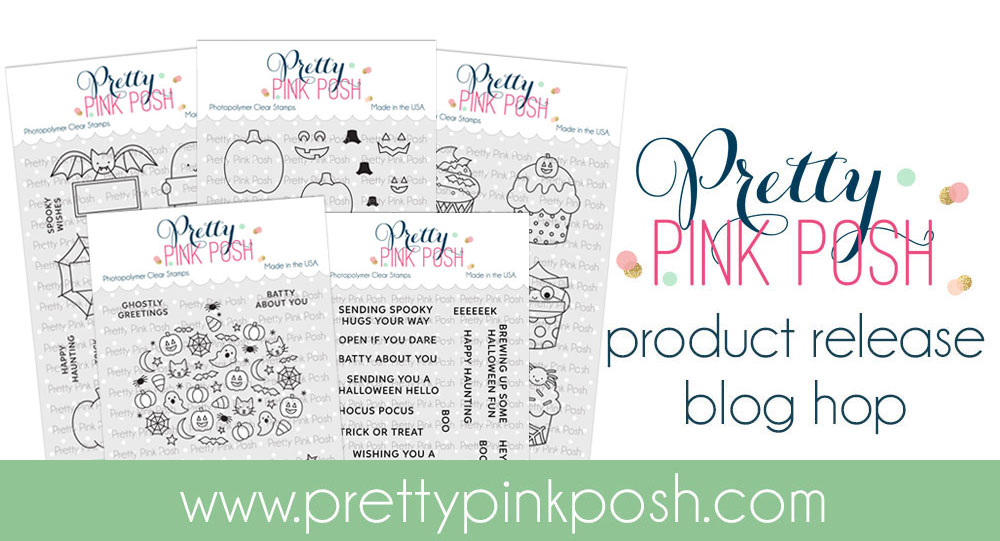
Easy Halloween Tags
Hello friends. It’s Lisa Mears on the blog today and I’m sharing some Halloween tags that would be super fun to add to Halloween treats.
Watch the video above I Watch the video in HD on YouTube
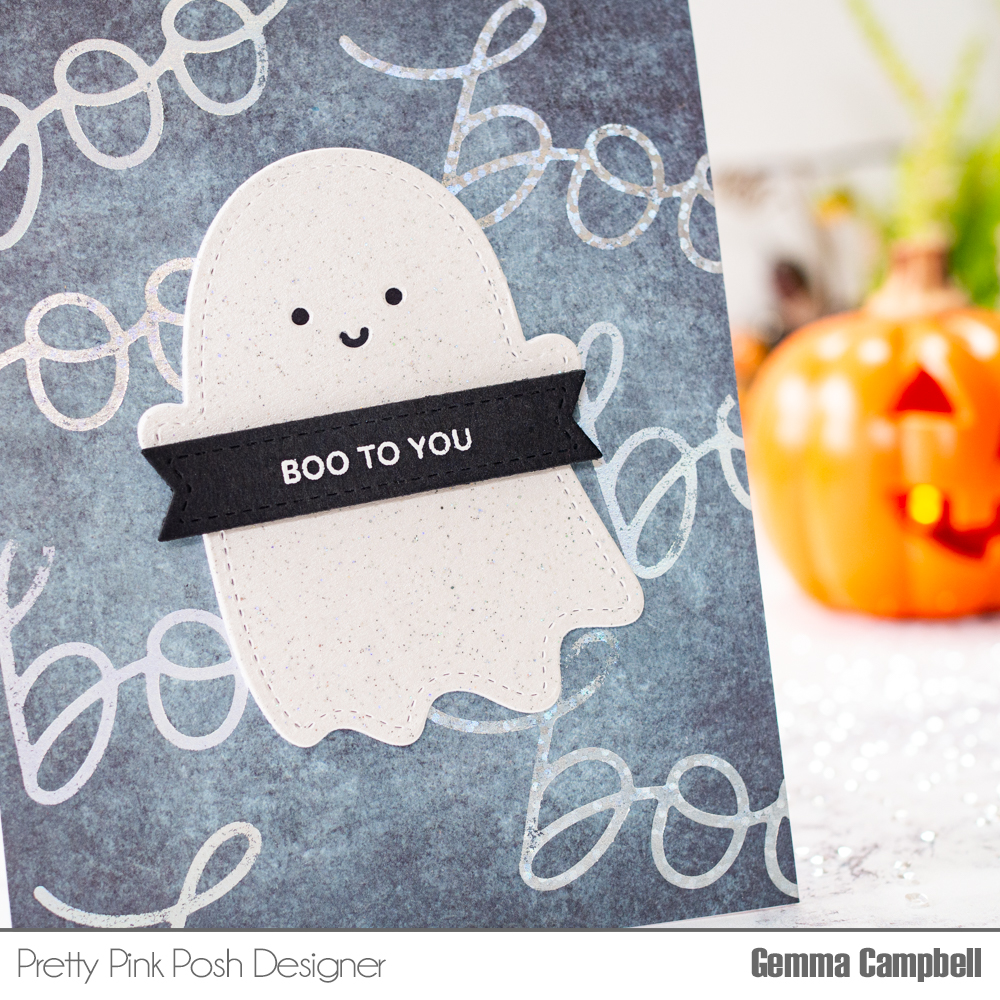
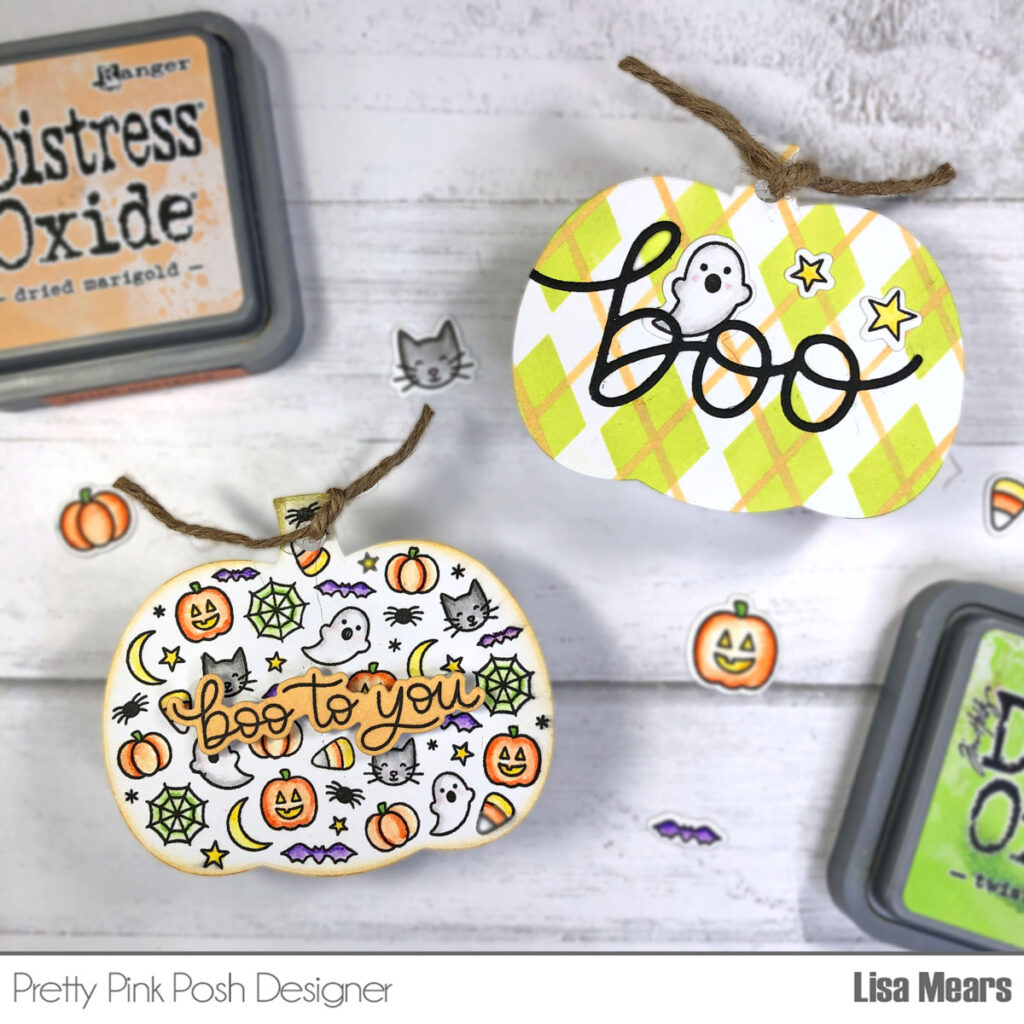
For my tags, I used the large pumpkin from the Boo to You stamp set. The pumpkin stamp is made up of several Halloween icons such as ghosts, pumpkins, spider webs, candy corn, and more.
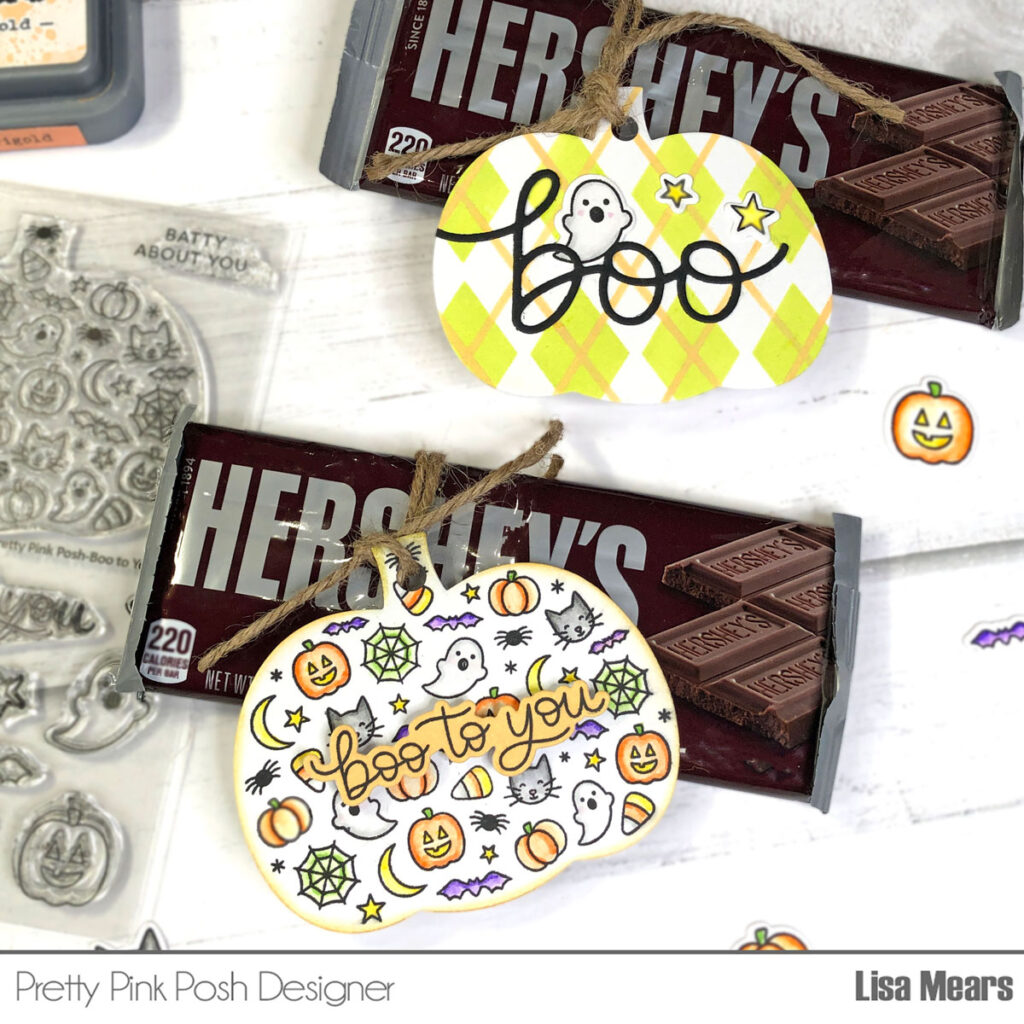
I stamped the pumpkin onto Bristol Smooth cardstock and colored it with Zig Clean Color Real Brush pens in the following colors:
Bat: Violet and Blender
Pumpkin with Face: Orange, Yellow, Light Green, Blender
Pumpkin without Face: Orange, Light Green, Blender
Candy Corn, Orange, Yellow, Light Gray, Blender
Cat: Dark Gray, Blender
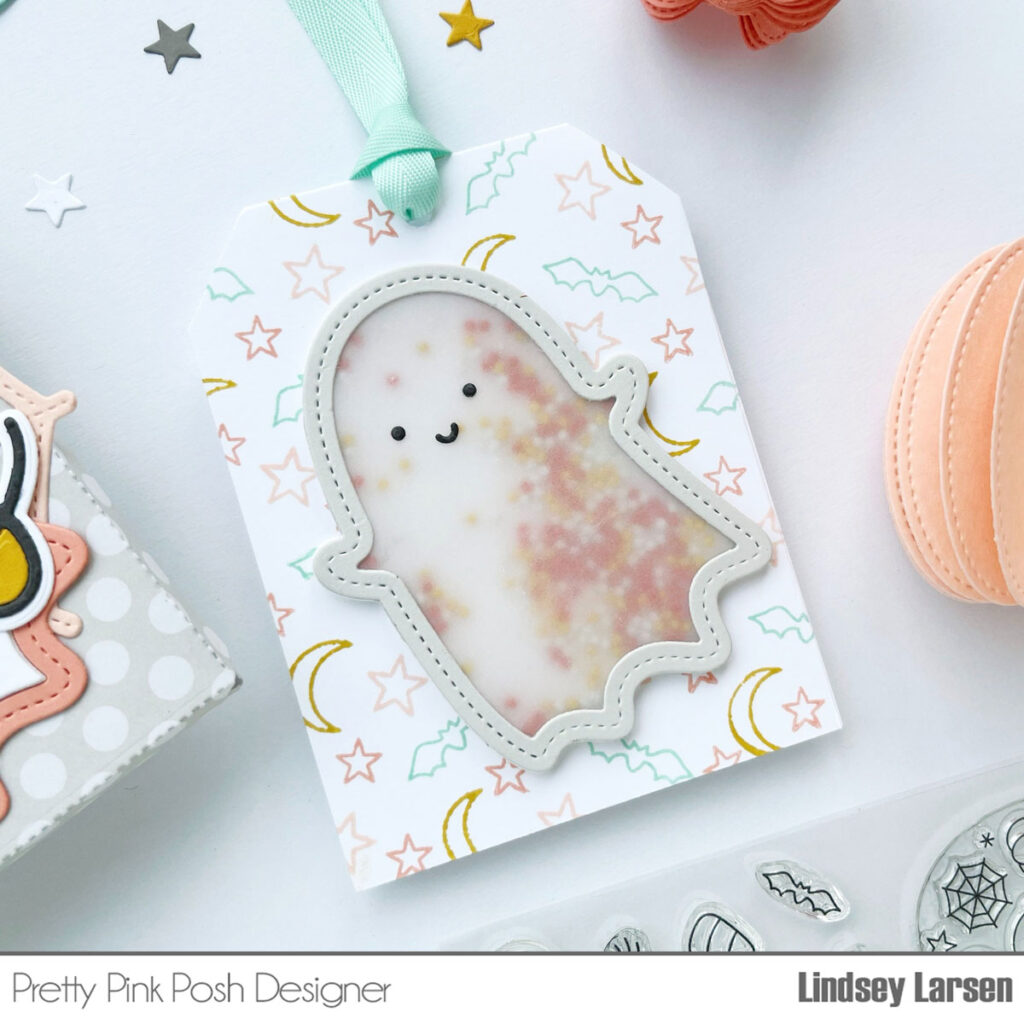
Ghost: Light Gray, Sugar Almond Pink, Blender
Spider Web: Light Green
Stars: Yellow

After coloring the pumpkin, I die cut it with the coordinating pumpkin die. Next, I added some orange ink around the edges of the pumpkin shape and then added the sentiment to the top.
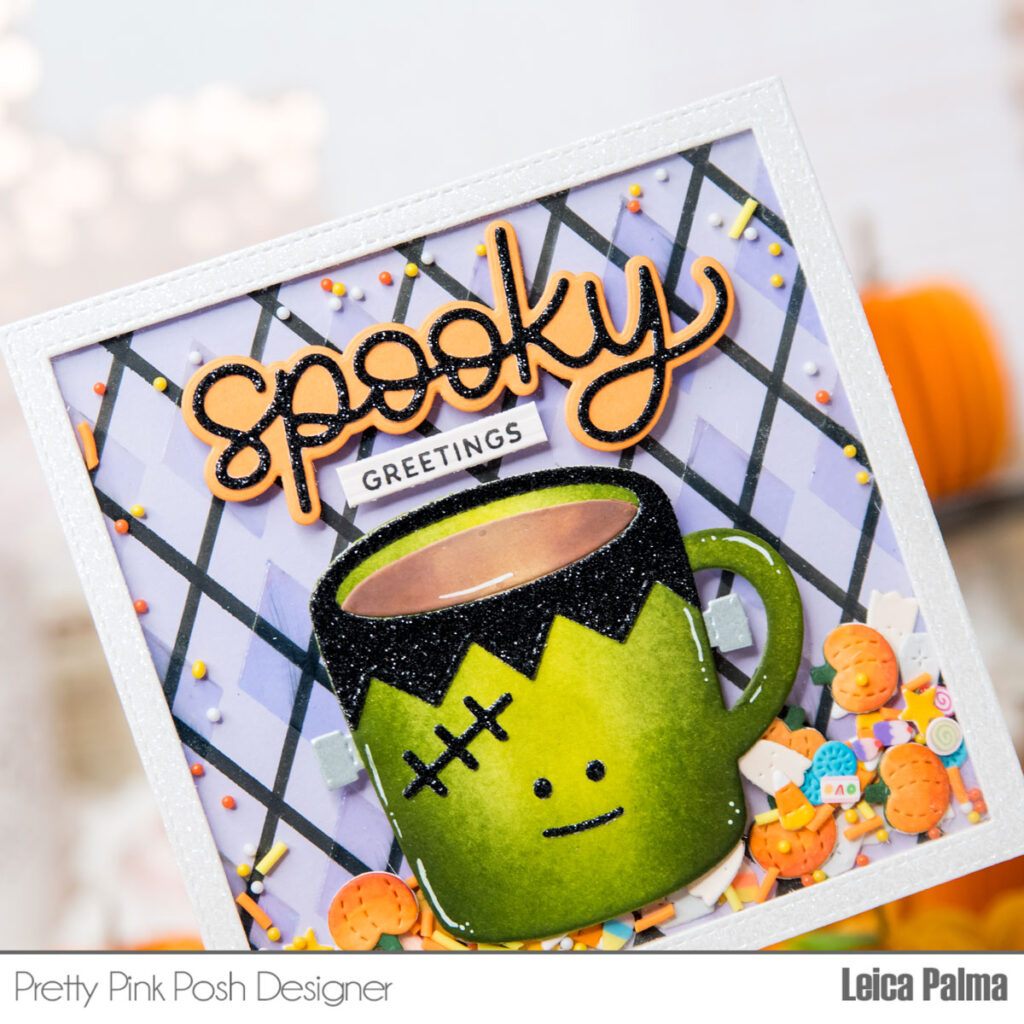
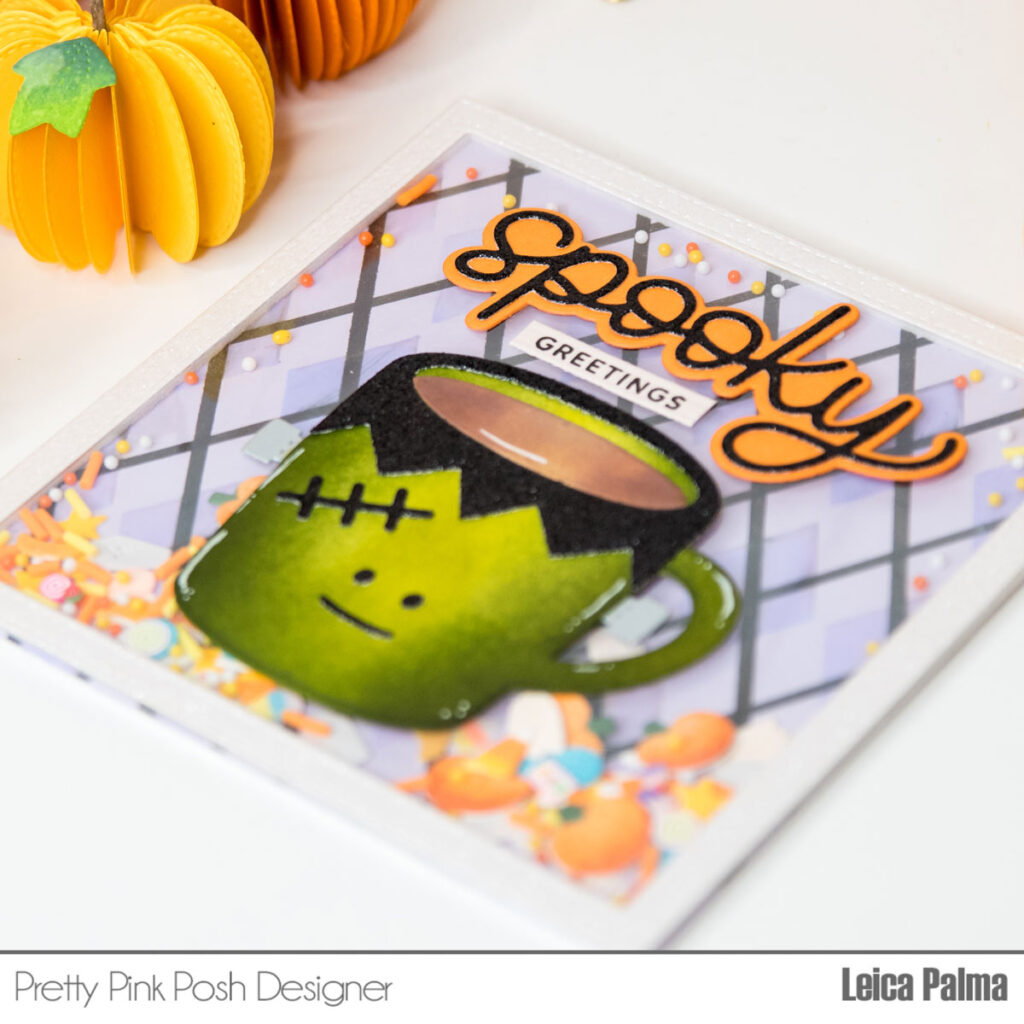
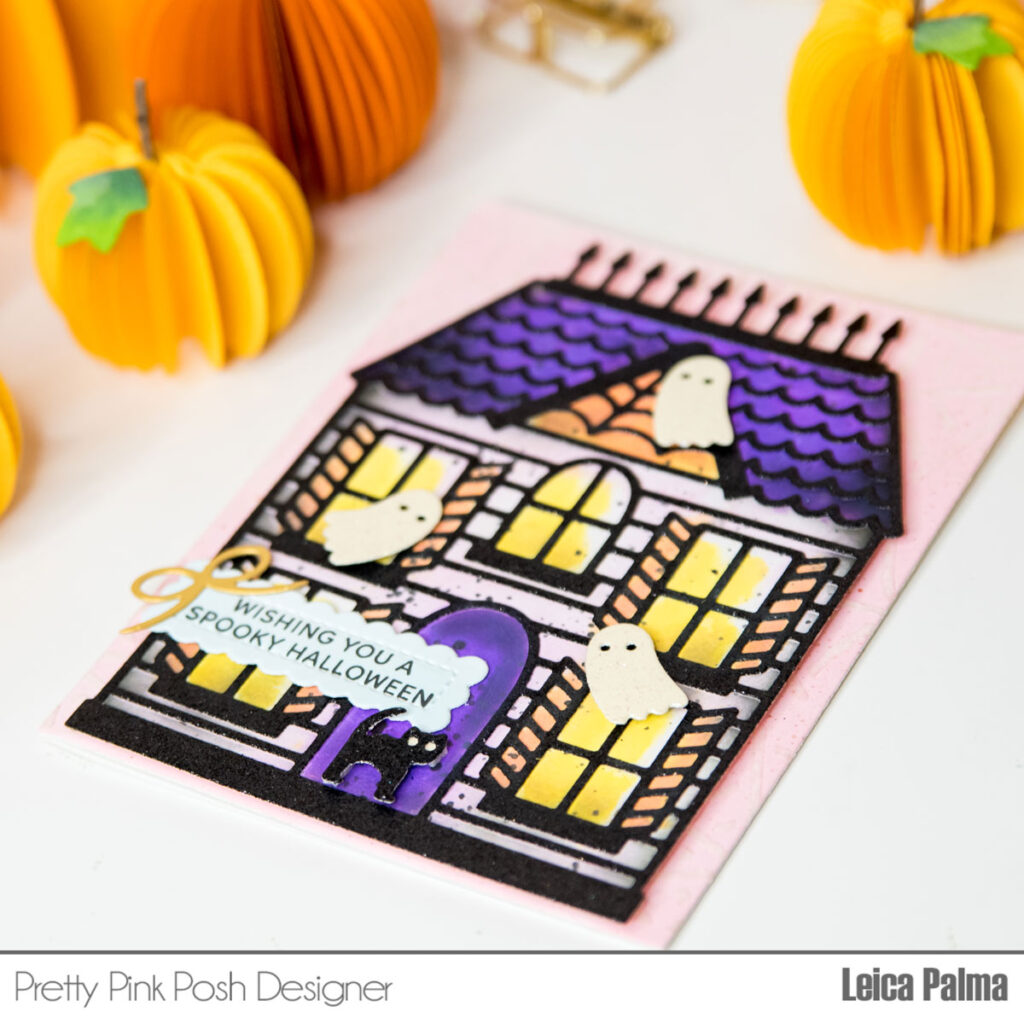
For my second tag, I stenciled a piece of cardstock using the Layered Argyle Stencil. I used Distress Oxide Inks in the following colors: Twisted Citron and Dried Marigold. I die cut the stenciled background using pumpkin die from the Boo to You die set.
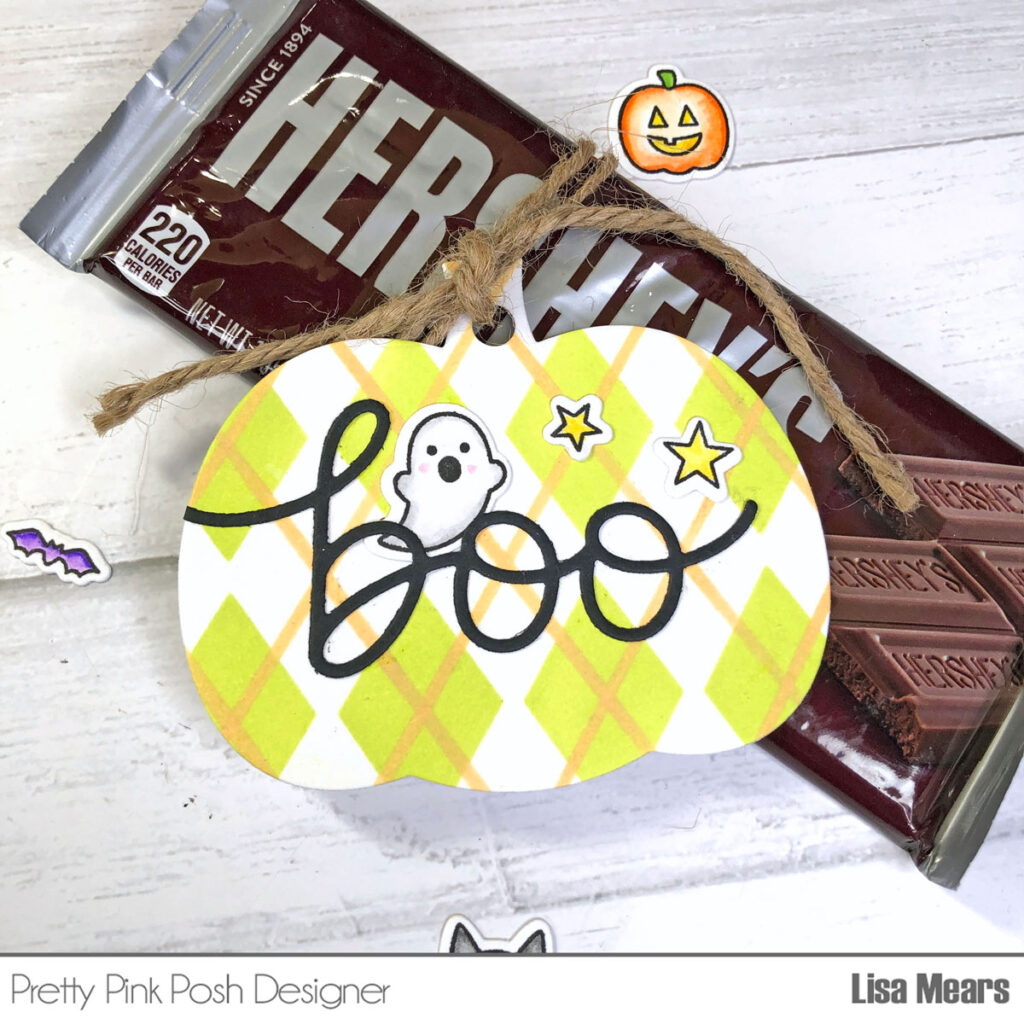
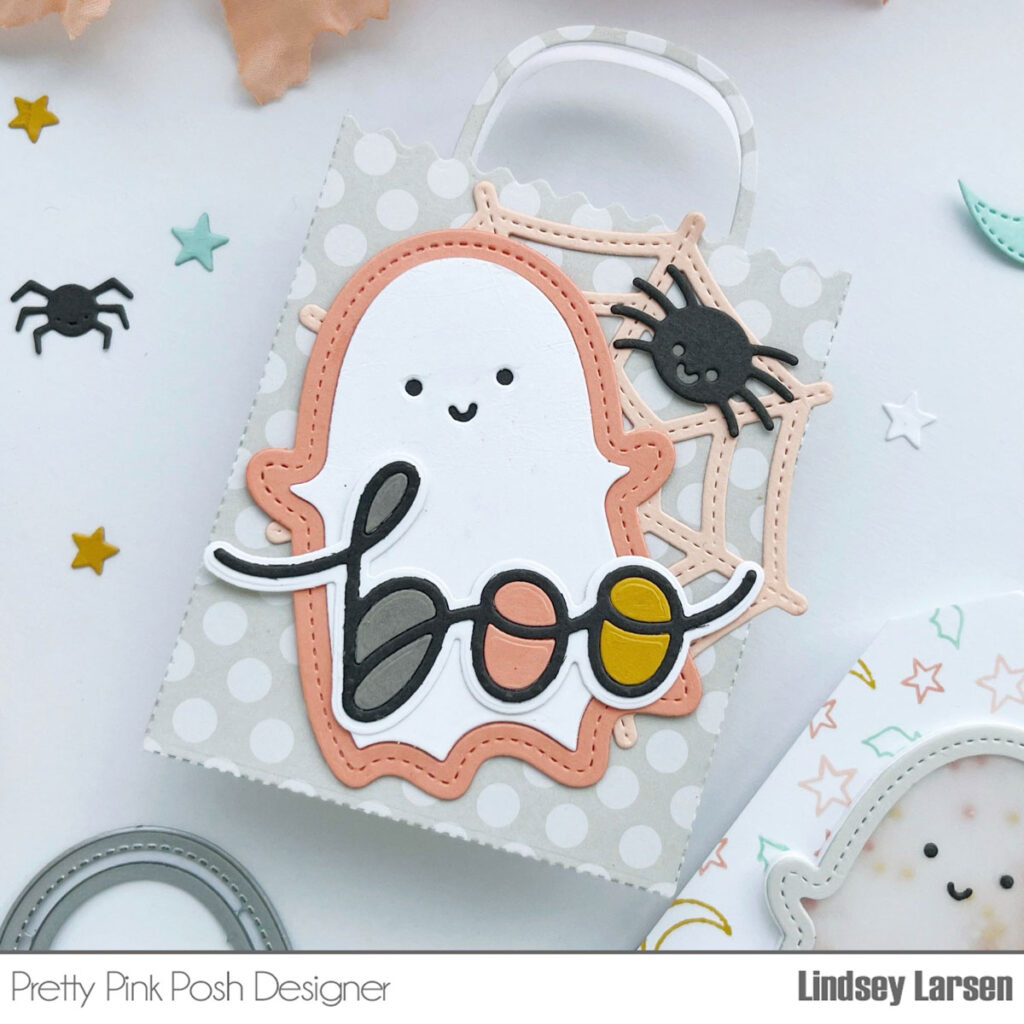
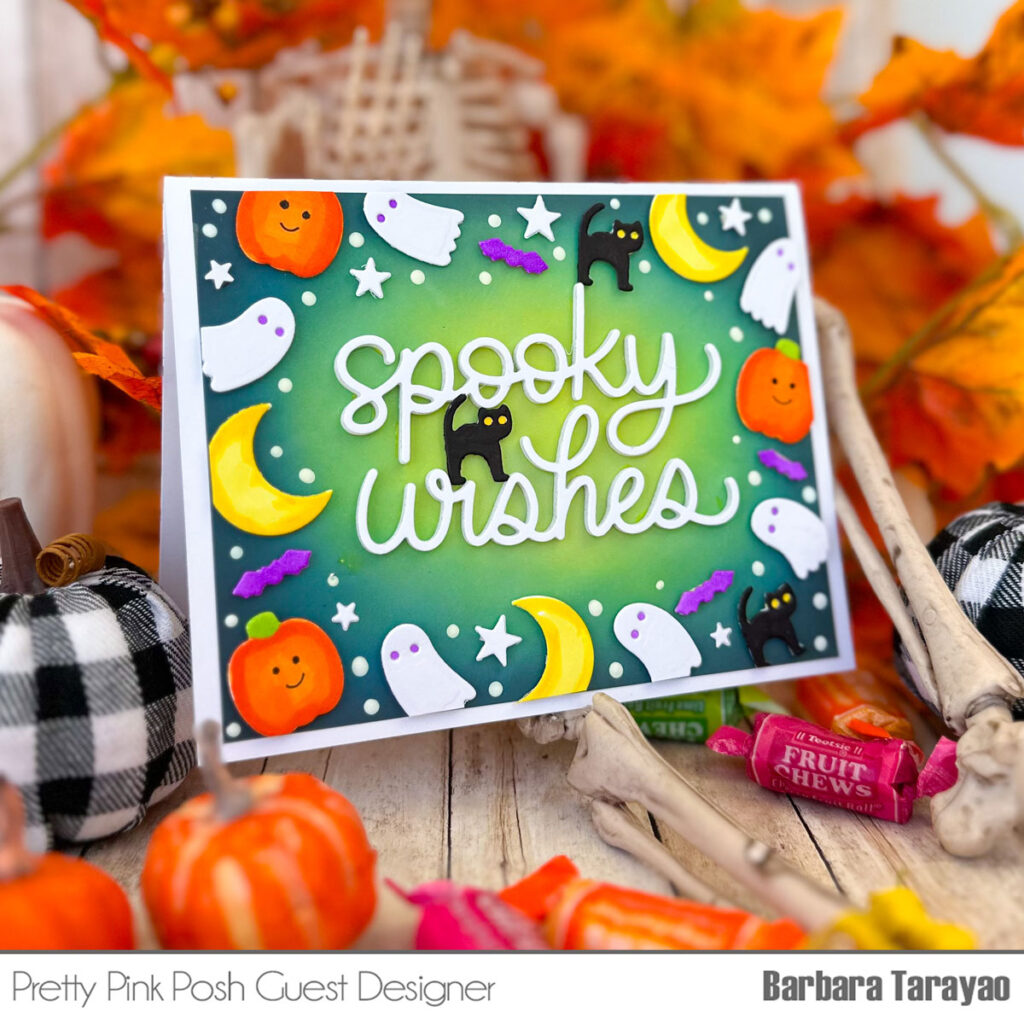
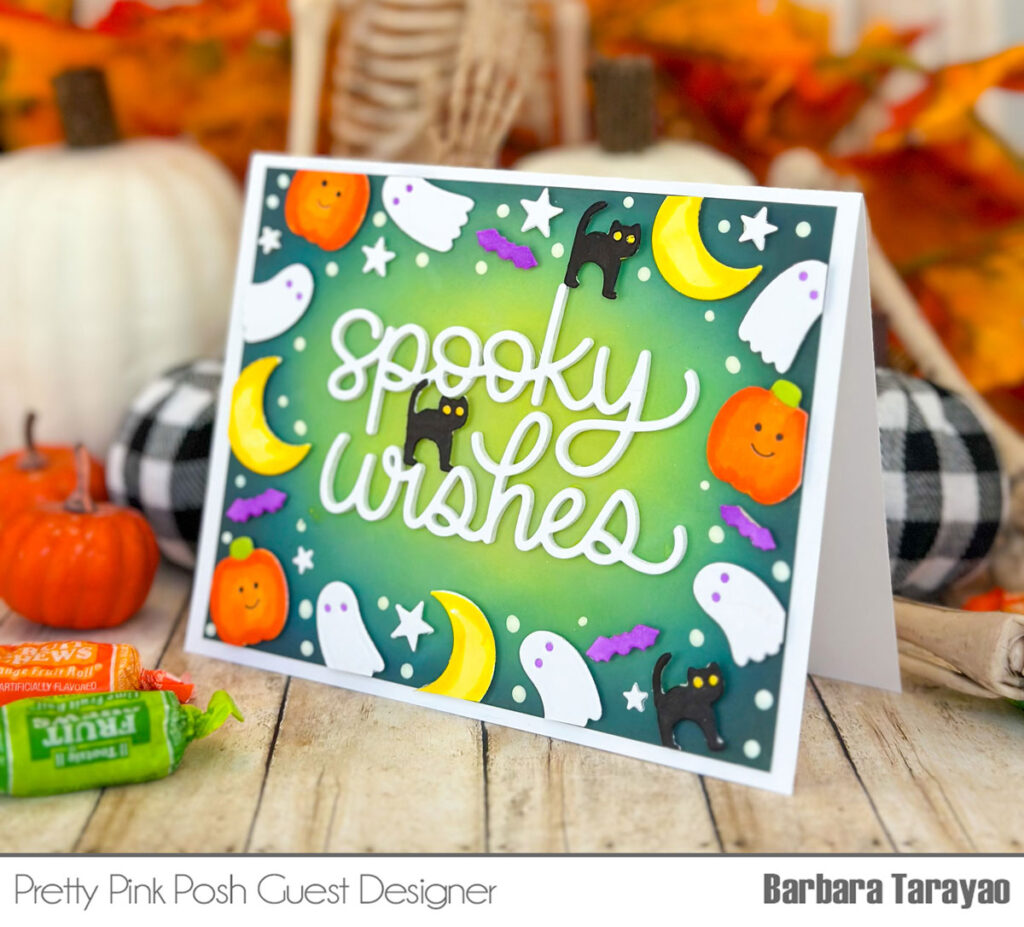
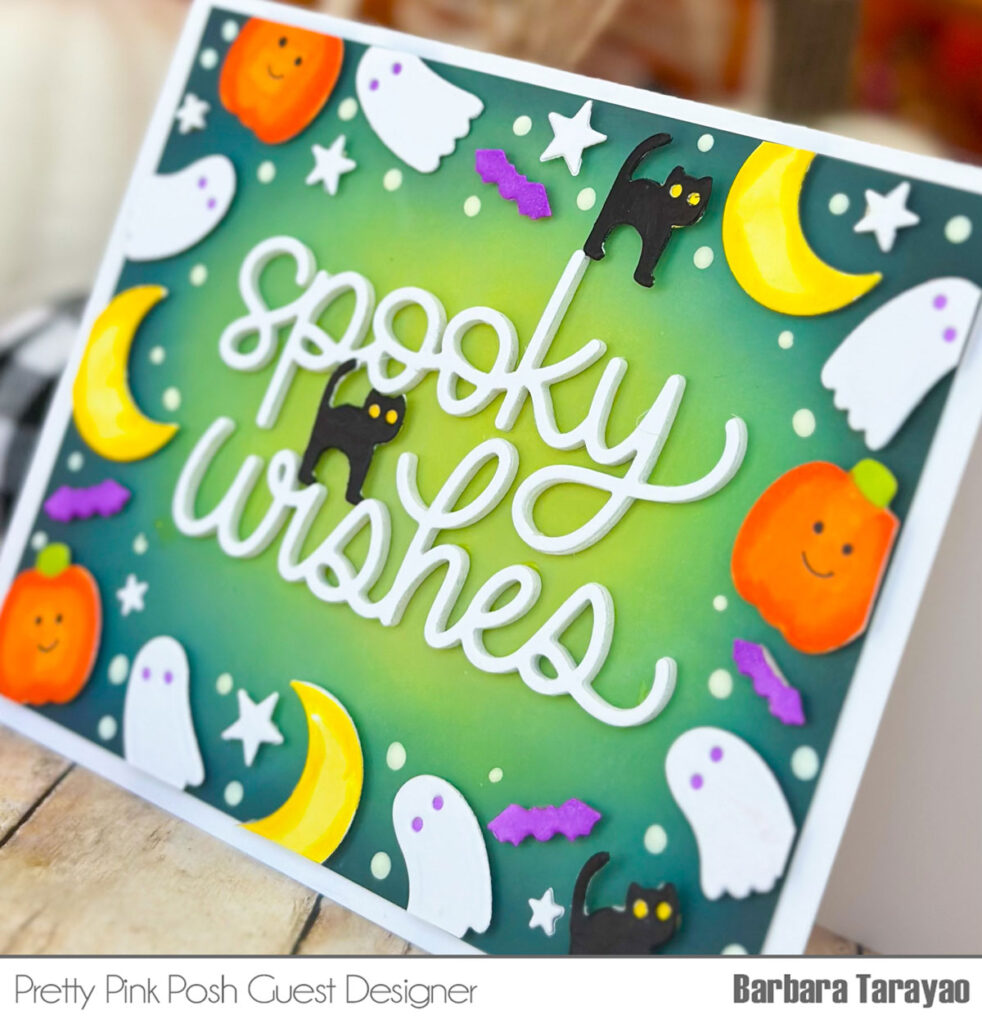
I added the Large Boo Script word die to the front as well as some Halloween images from the Boo to You stamp set.
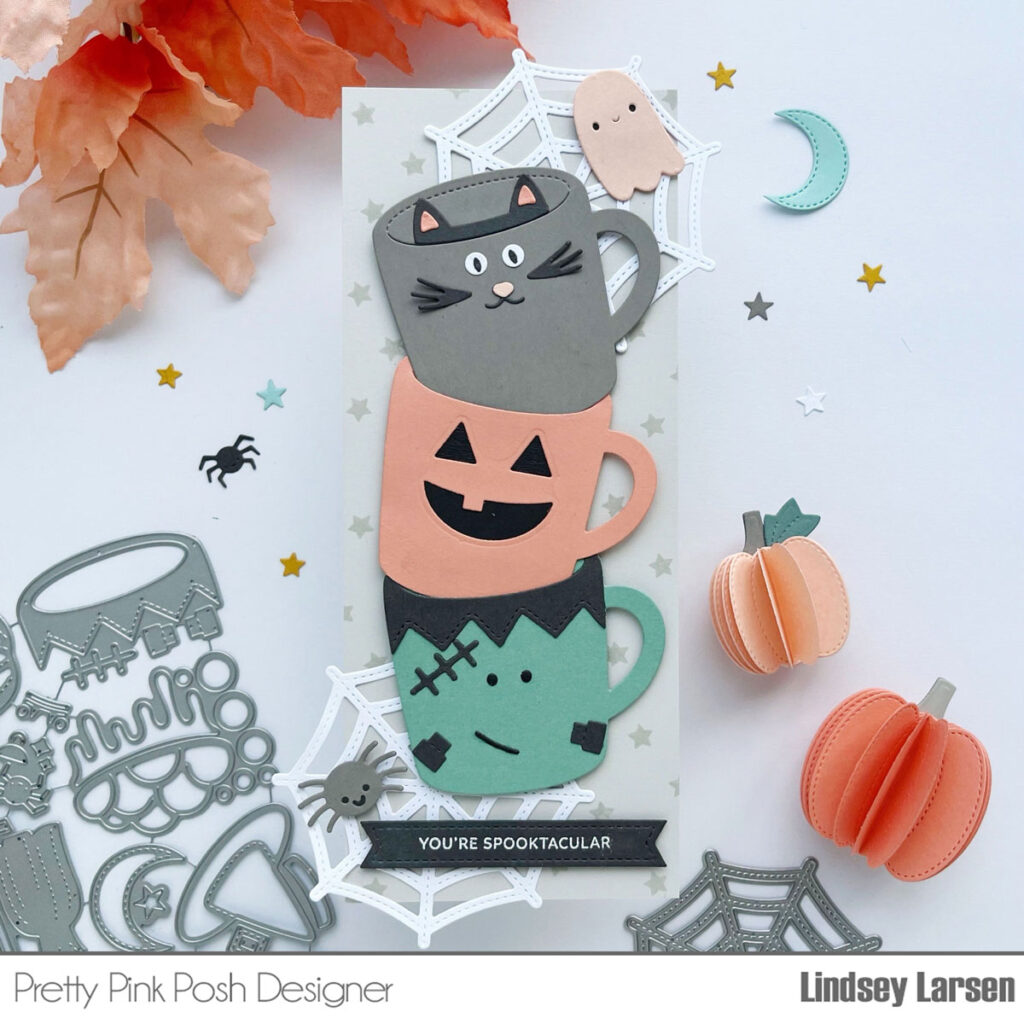
I just love these Halloween tags. They are perfect to add to a Halloween treat which can be given to friends, family, co-workers, and trick-or-treaters for Halloween.
Thank you for stopping by today. Have a great day!