Sneak Peek: Geraniums
Hi crafty friend, Crystal here today sharing a sneak peeks of the June Release! I have the honor of creating with the stamp set called Geraniums. You will absolutely fall in love with this newest floral stamp set from PPP.
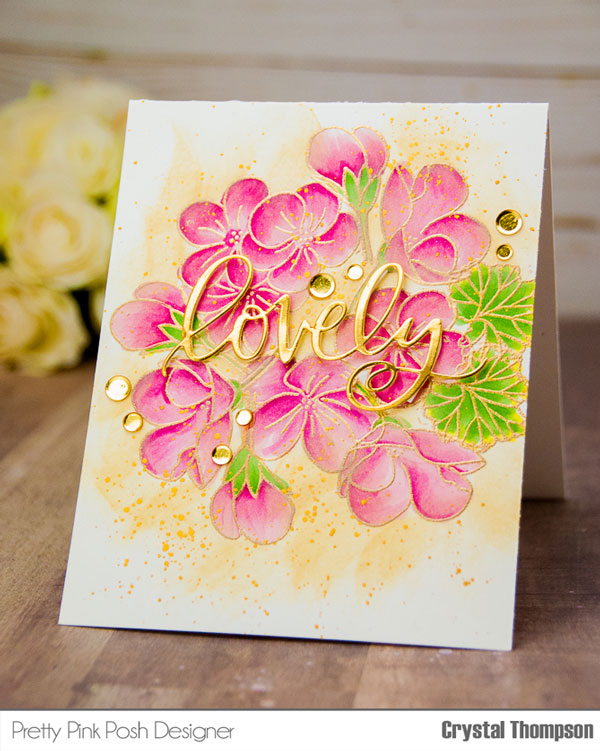
For today’s post I have created a sweet and delicate floral card that is perfect for any occasion.
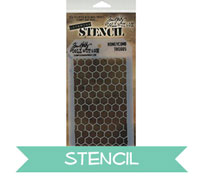
To make this card, I stamped and heat embossed the Geraniums and leaves with gold embossing powder. I did not mask any of it, just stamped the flowers in a round pattern.
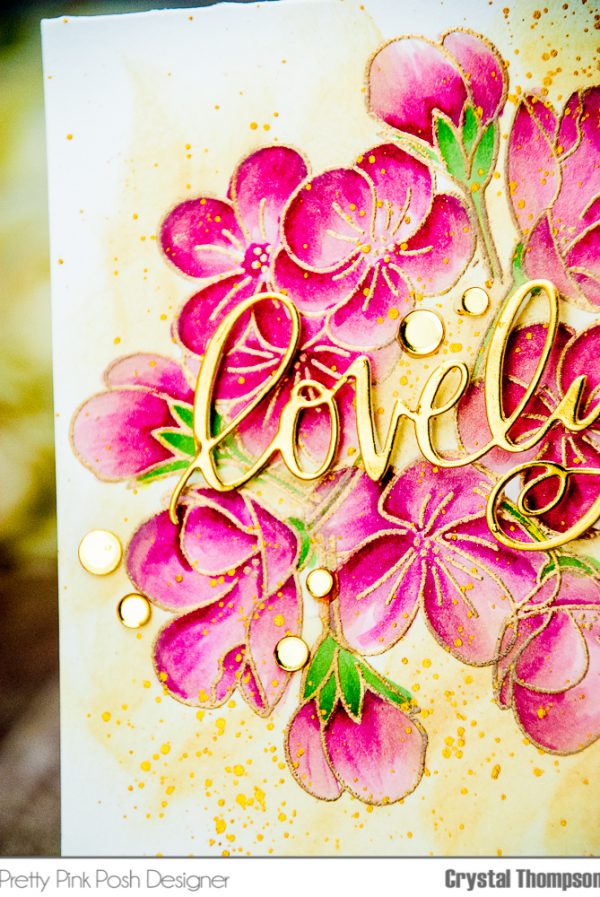
Next, I colored each petal of the Geraniums with Copic numbers. I used RV17 for my darkest shade and RV10 for my lightest shade. The leaves were colored with YG13 (lightest) and YG17 darkest shade. You will notice, I am only using two markers, for that medium shade I do a “kissing” technique where the lightest marker tip kisses the darkest. Then feathering up from the dark to light on the actual petal or leaf.

Once my Geranium was colored, I moved on to shade the edges of the entire floral bundle. Using Distress Ink in Antique Linen, I blended starting at the edge of the petal and moving down careful not to color the interior of the petal.
Then with Gansai Tambi Starry Colors, I flickered yellow gold watercolor over the entire card panel.
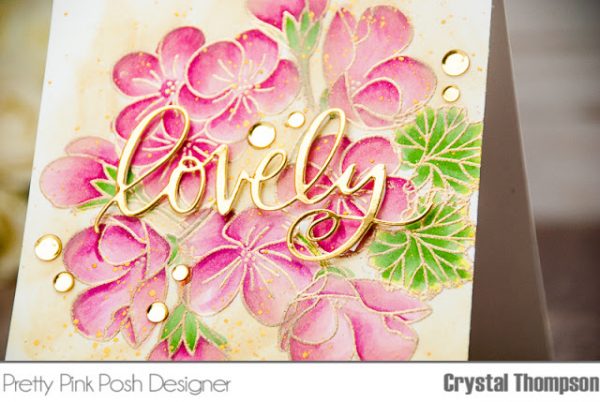
Now onto that gorgeous sentiment! For this I used the Lovely Script die released in May! Ran that die through my gemini on a piece of gold foil cardstock. I then trimmed tiny pieces of foam adhesive and added those to the die.
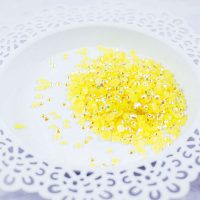
To finish, I added a variety of Metallic Gold Confetti Mix to card.
These Geraniums are absolutely super fun to color! Hope you enjoyed today’s sneak peek! Thanks so much for stopping by today!


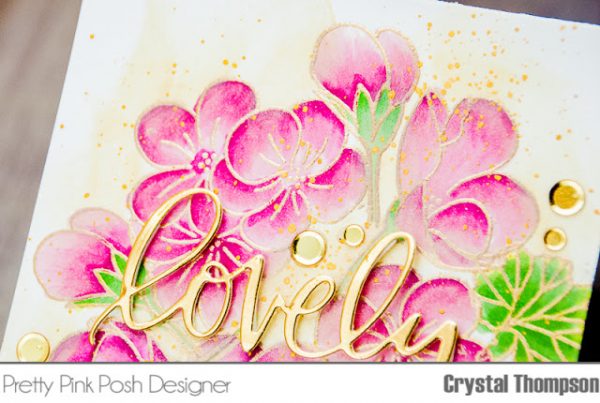
 After I finished watercoloring as shown in the picture above, I added more details on those blossoms by using
  Just compare the two photos of before and after adding pencil detailing. It is always fun to look how the images come to life by a little bit of pencils touch.
 After coloring was done, I added splatters of dark watercolor ink and white acrylic ink onto the panel and let them dry. In the mean time, I diecut
 That’s it from me today. Thank you so much for visiting and reading this post.