I stamped the eggs onto Strathmore Bristol Smooth paper with embossing ink. I then heat embossed using gold embossing powder. I used Zig Clean Color watercolor brushes to color the eggs. I pulled random colors and added color to the edges, then used a #4 round watercolor brush and clean water to move the color. I used the coordinating die to cut the eggs out when I was finished.
To assemble the card, I cut a panel of white card stock and blended Broken China Distress Oxide ink onto it. Then I splatter shimmer water onto the panel, let it sit for a few seconds, then dabbed the water up with a paper towel. While the panel was drying, I used the curved scallop die from the Scallop Borders Die Set to die cut plaid pattern paper and green card stock. I glued the papers together, and added a strip of foam adhesive to the backside bottom. I added thin adhesive squares to the backs of the eggs. I stamped and heat embossed Happy Easter on the panel after it was dry, then trimmed it to 4 x 5.25. I added it to an A2 size card base, then added the border and eggs. To finish the card, I trimmed the outside eggs to fit the card base.
Thanks for stopping by! We hope you were inspired by today’s post!
Hi everyone, Lindsay here today! I’m showcasing the Peacock Friends stamp set and coordinating die set from the new release. I’d say it’s one of my favorites but really the whole release is my favorite! I can’t pick!
For today’s card, I started off with making the background. I used a piece of kraft cardstock and white heat embossed the flowy feathers from the Peacock Friends stamp set. I love these feathers so much and have actually used them on other cards all by themselves as the central image. I then used the Window Frame Die to cut out a window for my main peacock image.
I decided that the background of the window needed more of a pop so I used some Distress Oxide Inks and a stencil to create a background designed to look like the sky. I popped up the kraft background on foam tape and adhered it to my card base. I also adhered the sky window background, but without any dimension.
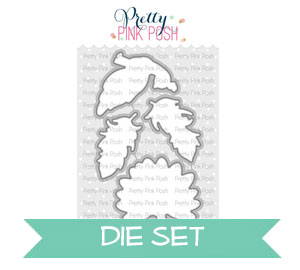
I then got to coloring my image from Peacock Friends stamp set using copic markers. Once die cut, I adhered the peacock to the window aspect of the card, also using foam tape. I then white heat embossed a sentiment from the Peacock Friends stamp set onto black cardstock and cut the ends to look like a banner.
Finally, I finished it all off with some sequins and a glitter pen! Hope you enjoyed today’s card and had fun over here on the blog! Have a great day!
Hello friends! It is Dana here today for Day 2 of our blog hop featuring the new release. This release is amazing…full of gorgeous stamps, dies, and of course, embellishments!
Today, I am using the Spring Wreath Stamp Set along with the Spring Wreath Coordinating Die. I started my card by stamping my wreath image with a watercolor friendly ink. I then used my Zig Clean Color Real Brush Pens to watercolor all of my spring flowers. Once this was dry, I used the coordinating die to die cut my wreath.
Next, I began working on my card panel. I used a piece of white cardstock for my card front. I die cut the scallop border with the Scallop Borders Die Set. I then attached this to a piece of plaid patterned paper.
To finish my card, I stamped my sentiment (also included in the Spring Wreath set) in the center of my white cardstock. Lastly, I attached my wreath with foam adhesive to my card front.
PRIZES: be sure to leave comments on each stop. I’m giving away 4 $25 gift certificates to four random comments (2 winners each day) left before March 13, 2019 at 11:59 PM PST. I’ll be announcing the winners next week, so be sure to return and see if you are one of the winners!
Hi, everyone! It’s Marge for you today and I’m so happy to share a card featuring the New Release products from Pretty Pink Posh.
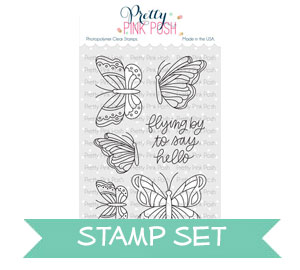
I started by trimming a piece of heavy weight cold press watercolor paper into A2 size, and then I stamped beautiful Magnolia Flowers using Versafine onyx black ink. I water-colored my images using watercolor brush markers and watercolor paints. I also colored a butterfly from Beautiful Butterflies set and cut it using Beautiful Butterflies Coordinating Dies. Once I finished coloring, I splattered with white and dark ink all over the panel and let them dry. Then, I stamped a sentiment from the Beautiful Butterflies set and adhered the butterfly close to flowers using Mini Glue Dots.
PRIZES: be sure to leave comments on each stop. I’m giving away 4 $25 gift certificates to four random comments (2 winners each day) left before March 13, 2019 at 11:59 PM PST. I’ll be announcing the winners next week, so be sure to return and see if you are one of the winners!
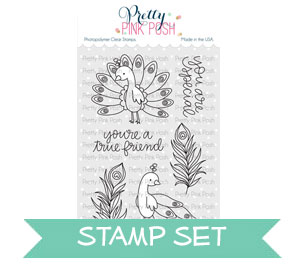
Hi there, Suzy here featuring some of the new March release. This Peacock Friends stamp set is just beautiful and I don’t think I’ve seen another peacock stamp set, so fairly original too! I used the two birds, but not the feathers on this card. I also used a set of leaves from the new Spring Wreath set.
I stamped the peacocks from the Peacock Friends stamp set using MFT Natural Ink on white cardstock. I colored them in with colored pencils (both Prismacolors and Polychromos). I colored them with one color and then added little lines of several other colors to mimic the look of feathers. I used a black fine tip marker for the eyes.
I stamped the sentiment from the stamp set with clear embossing ink and embossed with white embossing powder. I added some Mermaid Mix sequins around the sentiment.
The March 2019 Release is now available in the Pretty Pink Posh Shop and select retailers that carry our products. If you missed our post yesterday, we revealed all of the products in picture form, but if you would like to see them in a video, Ardyth has that for you today!
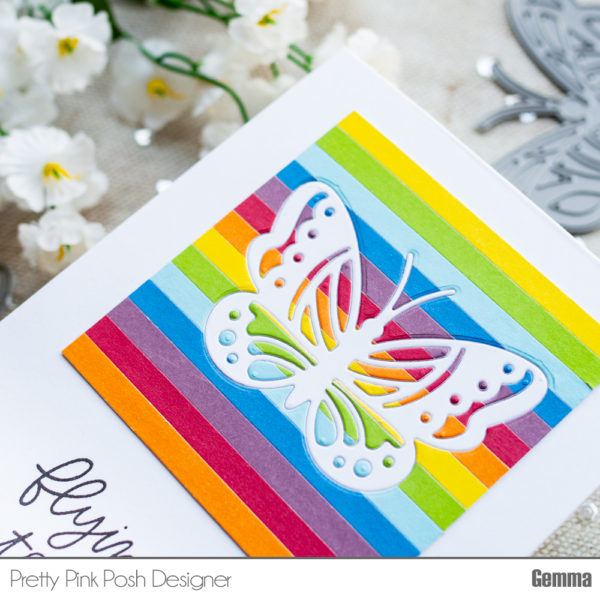
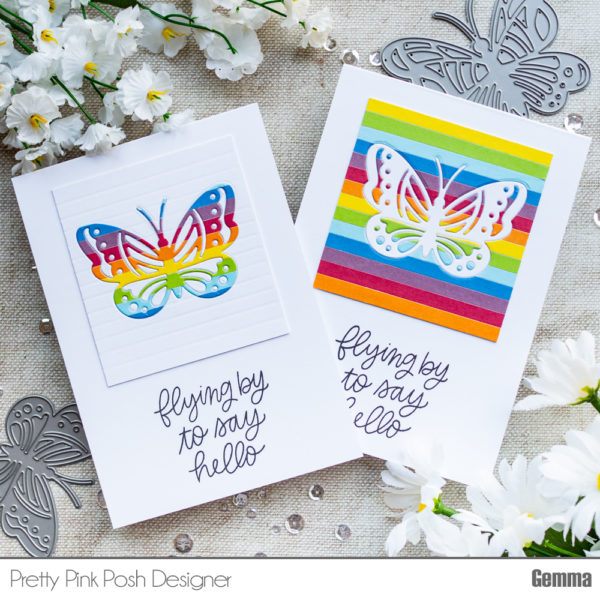
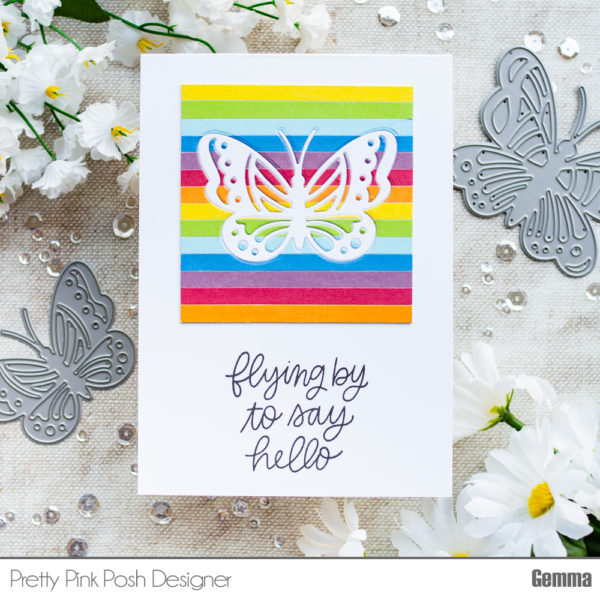
Hello, Gemma here today to share two cards featuring the new Bold Butterflies die set. I love the detail of these pretty butterflies and they are perfect for creating die cut inlay cards.
I began by creating my rainbow panel. I cut a piece of white card, approx. 3 x 3 1/8 inches. I took some scraps of paper in rainbow colours, cutting thin strips and adhering them with liquid glue to the panel until it was covered.
From this panel, I die cut the smaller of the Bold Butterflies dies, making sure to keep all the pieces. I also die cut the butterfly from plain white card. I adhered the rainbow panel onto my card base, then added the white die cut butterfly within the panel. In the spaces in the butterfly, I adhered the rainbow die cut pieces, filling it in like a puzzle.
The lovely thing about die cut inlay is you can make another card with the extra piece, in this case the rainbow butterfly I die cut from the panel.
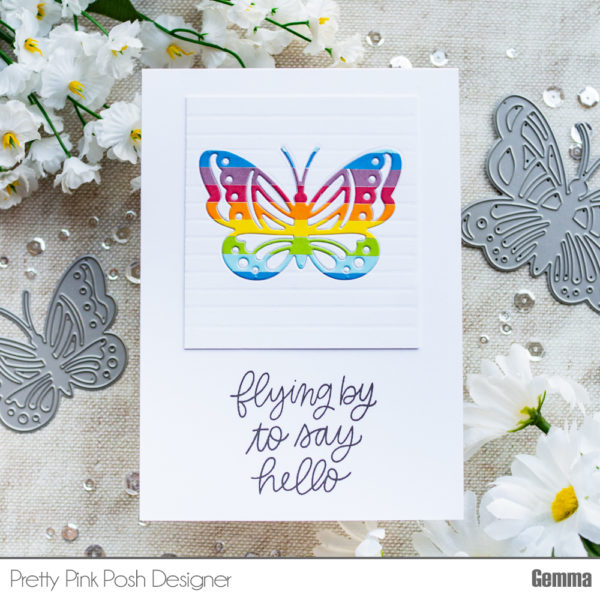
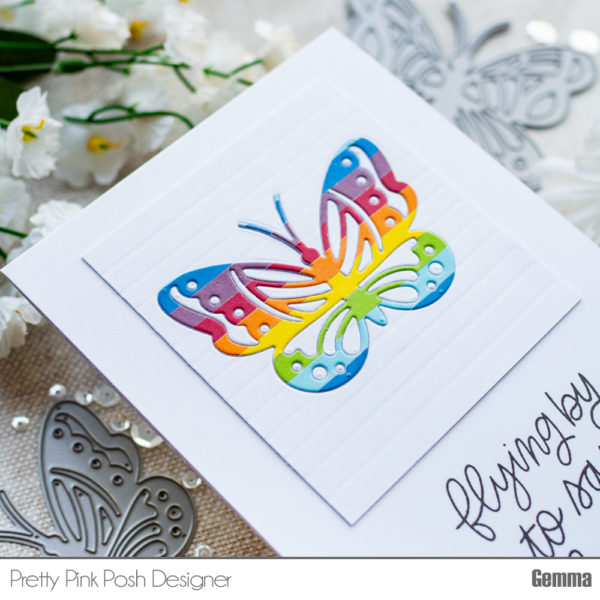
For my second inlay card, I followed the same steps but added score lines to my white card panel instead, to match the rainbow stripes on the butterfly. To finish both cards, I stamped the sentiment from the Beautiful Butterflies stamp set.
Enjoy browsing the Pretty Pink Posh Shop full of the new products. There will be more inspiration with the new release in a two day blog hop filled later this week. We hope to see you there!
I’m excited to reveal all of the individual products that are part of this March 4th release.
Here’s a look at the five new stamp sets that will be available for purchase: Beautiful Butterflies, Easter Eggs, Magnolia Flowers, Peacock Friends and Spring Wreath. Each stamp set also has coordinating dies.
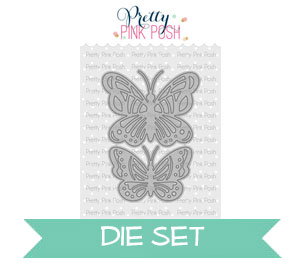
Here are the three new individual dies that will be available: Bold Butterflies, Spring Frame and Thinking of You Script.
Lastly, we have three new confetti mixes. The names of the mixes are: Easter Confetti Mix, Friendship Confetti Mix and Wisteria Blossoms Confetti Mix.
I have a limited amount of bundles available where you can buy the whole collection in one easy click. Plus, you’ll get 10% off!
We will see you tomorrow as we show you the new products in a video, the individual products go live in the shop and we’ll have a card sharing some of the new products!
Hello friends! Angelica here, and I’m so excited to share with you a few cards featuring new products from Pretty Pink Posh Mach Release. Today I am focusing on a couple new dies. Let’s get started!
How beautiful is this butterfly? The Bold Butterflies die set comes with two butterflies. I used the larger of the two to make this first set of cards. I added double-sided adhesive to the back of several colors of card stock, sticking to a pinkish-peach-coral theme. I die- cut all the colors with the butterfly. I also die-cut 4 dark pink butterflies with no adhesive on the back. I traced the butterfly onto two pieces of white card stock, then cut the shapes out a bit smaller than the traces. I glued the white shapes to the backs of the pink butterflies. Next I started filling in the wings with cuts from the other die-cuts. Putting adhesive on the backs of the yardstick before cutting made this process easy and clean.
After I finished filling in the wings, I used a shimmer pen to add sparkly to all the different colored card stock. I attached the top pink butterfly by gluing only the body, and then bent the wings slightly. I die-cut the butterfly two more times out of black glitter paper, and fussy cut the bodies away from the wings. I glued the black bodies onto the top. To assemble the card, I used the rectangle die from Stitched Notes die set to cut Neenah Desert Storm paper. I stamped and heat embossed with white embossing powder a sentiment from the new Peacock Friends stamp set. I added the rectangle to craft foam, then attached the panel to an A2 card base. I glued the butterfly above the sentiment.
I made the second butterfly exactly the same for the second card. For the background, I blended a bit of Scattered Straw Distress Oxide ink onto white card stock to give the butterfly a nice glow. I stamped a sentiment from Birdie Friends with black ink, and heat embossed with clear embossing powder.
My second card showcases the gorgeous Spring Frame die. This is the first large frame die with a design for Pretty Pink Posh. Isn’t it beautiful?
I die-cut this frame two times out of white card stock. Next I pulled out a rainbow of Copic Markers and started coloring. Once I finished coloring, I used my paper trimmer on the second die cut to trim off all the flowers and leaves and glued the frame onto the colored paper.
On light blue card stock I stamped and heat embossed with white embossing powder a sentiment from Simple Sayings: Life stamp set. I then blended Mermaid Lagoon Distress Oxide ink around the edges. I glued the blue card stock to an A2 card base. I added foam adhesive all over the back of the colored frame, and attached it to the card base.
Hello, Gemma here with another sneak peek to share with you all. Today I have a card featuring the new Spring Wreath stamp set. This pretty wreath is so fun to colour and is large enough to be the perfect focal point on a card.
I began by stamping the wreath image with clear embossing ink, then heat embossing with pale gold metallic embossing powder. I coloured the wreath with my zig clean color real brush pens, choosing a fresh spring colour palette. I then die cut the wreath with the Spring Wreath coordinating die.
On my card base, I layered a panel of white woodgrain card, then added a 2” wide strip of patterned paper.
I stamped the greeting from the Spring Wreath set on the patterned paper, then adhered the die cut wreath to the card with foam tape. For a finishing touch, I adhered some confetti from the new Easter Mix around the sentiment.
I hope you’ve enjoyed this sneak peek at the new Spring Wreath. Visit us tomorrow for a look at the new die sets coming on March 4th!
Hello everyone, Mayra here today. I am super excited to share with you a sneak peek of the beautiful new Magnolia Flowers stamp set that releases on March 4th.
I began my card by coloring in the lovely magnolia images. I used Copic markers. There are so many beautiful variations you can use.
I chose to use RV000, RV52, RV63, RV66, and RV69. I added a bit of YR30 to the center of each one along with a bit of YG00, and YG03.
For the leaves, I used G99, G94, YG17, YG03, YG00, and YG0000.
Next, I used the coordinating dies to die cut the flowers. I then added Distress Oxide Inks to what would be the base of my card. I began with Tumbled Glass then blended in Peacock Feathers. I added a couple of white and black splatters using a bit of water and acrylic paint.
To finish the card I used the lovely new Thinking Of You Script die. I die cut the phrase four times, glued them together and then added them to my card.
I hope you enjoyed the sneak peek of the beautiful Magnolia Flowers stamp set. Hope you will join us tomorrow for another sneak peek.


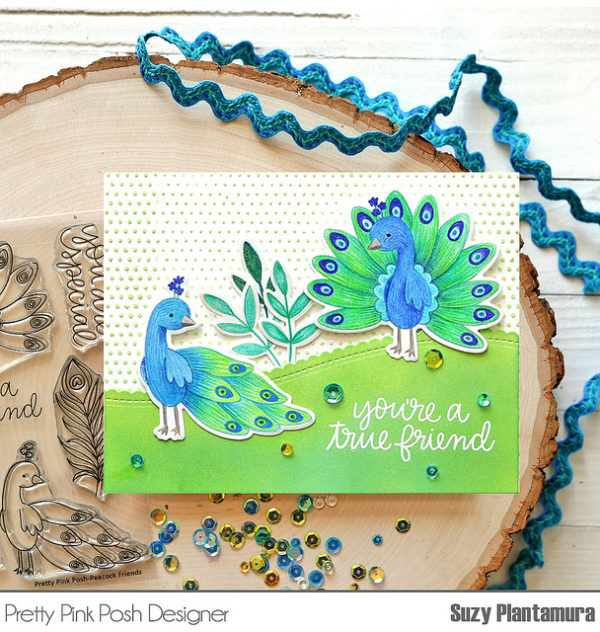 I made the background with a SSS Tiny Dots stencil,

 From this panel, I die cut the smaller of the