Valentine’s Day Heat Embossed & Hot Foiled Cards
Hello Pretty Pink Posh fans! This is Yana Smakula. I love the look of heat embossing on my cards, it instantly adds a ton of elegance to my projects and wow!

Recently I’ve also became fond of foiling. I’m able to easily take my handmade projects to a new level with the help of foil. In this blog post & video I’ll show you how to combine these 2 technique to create easy to make Valentine’s Day cards. Of course you can apply this to any other occasion cards or even other projects, not only card making.
Watch my video tutorial below to learn how I made this card.
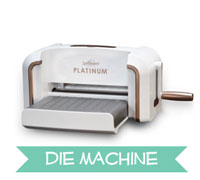
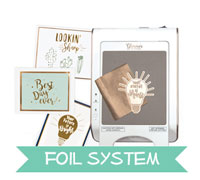
I started working on my cards by doing hot foiling first. This is very easy to do with the Glimmer Hot Foil System. It’s a new tool that basically is an add on to your die cutting machine, it doesn’t work with every die cutting machine, but it is compatible with many machines that accept Steel Rule Dies. What this tool does is it allows you to add foiled effects to your handmade cards with the the help of dies. Pretty cool, right?

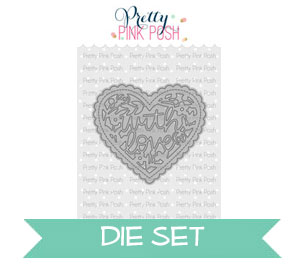
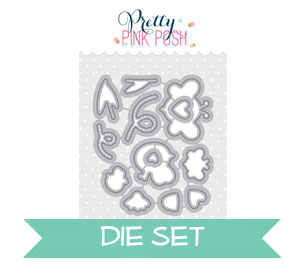
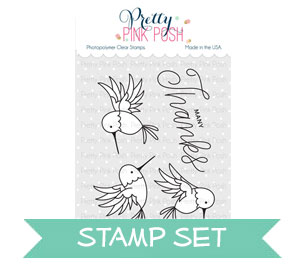
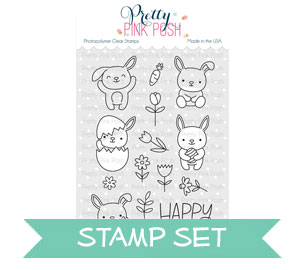
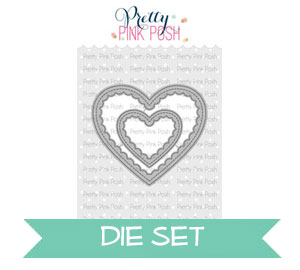
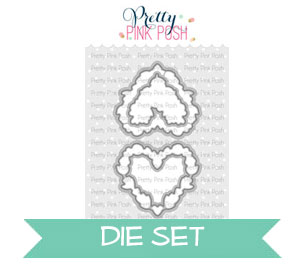
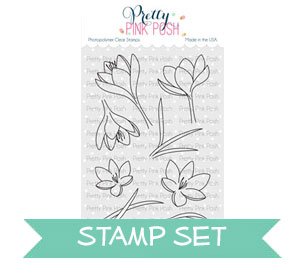
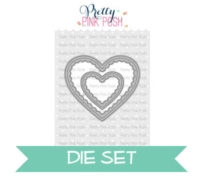
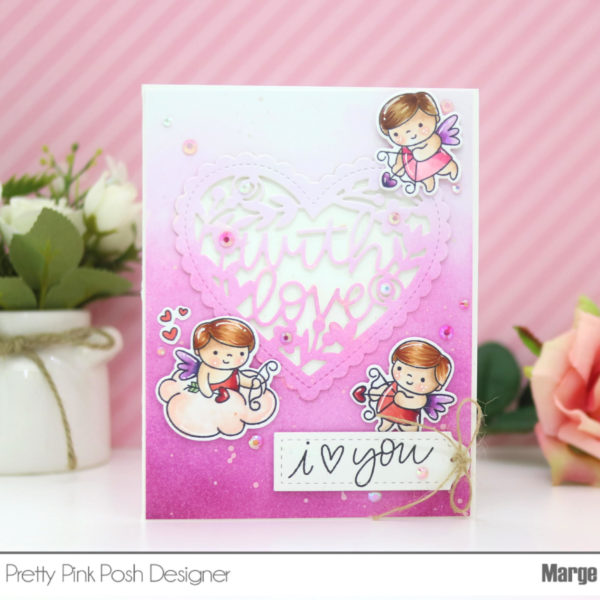
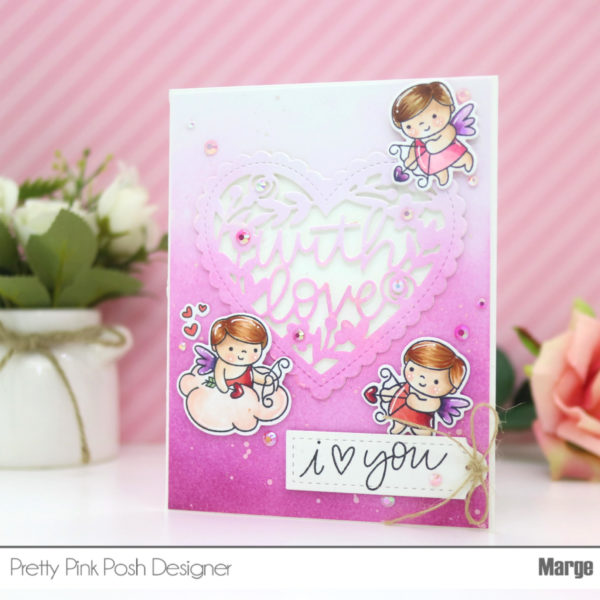
I foiled the heart outline using the coordinating die from my Floral Hearts stamp set on several pieces of colored cardstock using with gold foil. My plan for these cards was heat emboss the heart image inside the foiled outline for some extra wow.

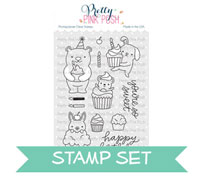
I used gold & white detail embossing powder as well as heart outline image & the inner smaller heart stamp along with the outline for my cards today. To help me position everything and heat emboss perfectly inside the foiled outline I used my Mini MISTI stamping tool.

If you want to recreate these cards be sure to do your foiling first and heat embossing later. First of all, you won’t be able to align the foiled outline around the heat embossed stamped image, it’s much easier to align the stamping inside the foiling; and second, the Glimmer machine applies heat and that heat can potentially mess up all of your heat embossing.

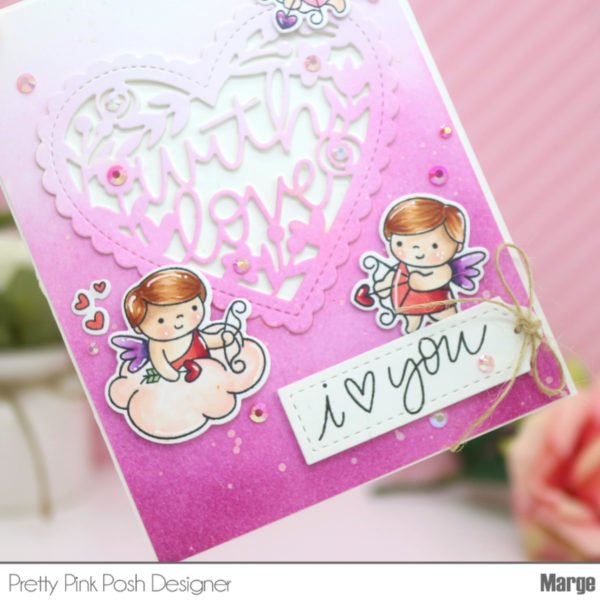
I used a combination of colored pencils (Polychromos by Faber Castell) and white white pen to color the hearts.
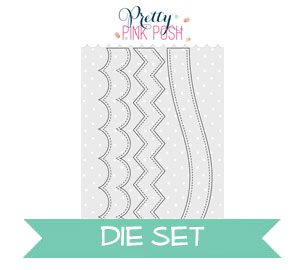
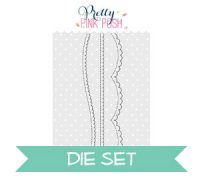
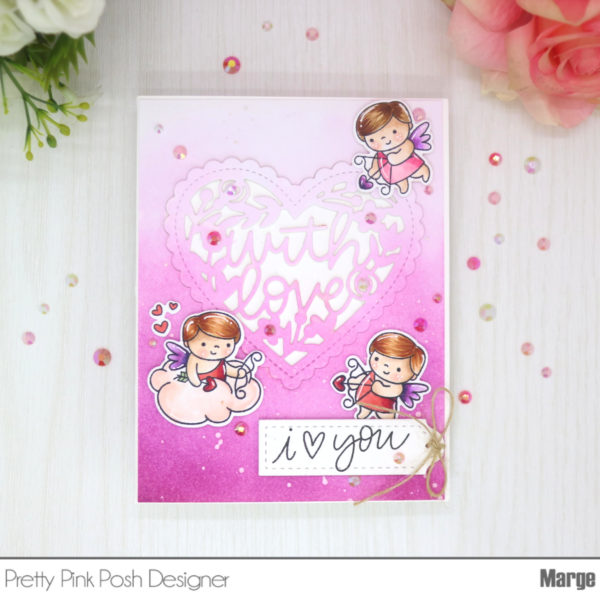
To add interest to some of my cards & panels I added some selective manual scoring to the background. It’s a very simple technique that allows you to add some nice texture to the background of the card. It’s not the easiest thing to do, as it can be hard and tiring on the wrist to add all of these score lines, but it does look really nice on the finished card.

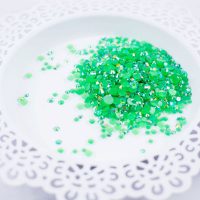
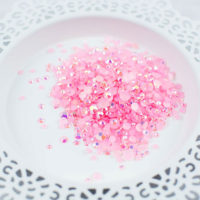
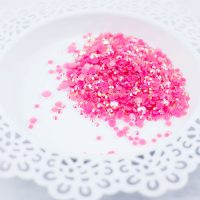
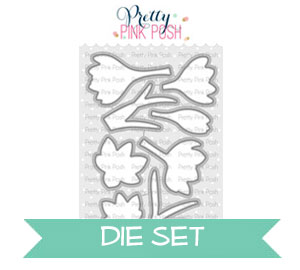
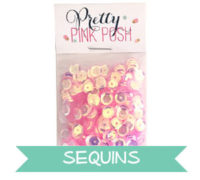
I used jewels from the Valentine Mix to embellish my cards and also added some die-cut branches using just the coordinating dies from the Autumn Blooms die set.


 I embellished the card with stamped, colored, and die cut