Valentine Theme Week- Day 6
It’s Valentine Theme Week at Pretty Pink Posh and I’m excited to share a super sweet card with lots of sparkle and shine! The hardest part about making a card for this event was deciding what to use. There are so many beautiful dies and stamps in the store that I love!
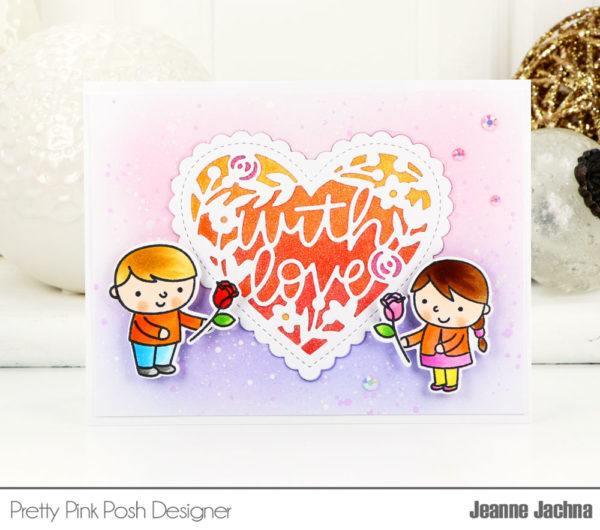
I’m mixing a little old with the new. Because all the items in the shop are from the same designer, you know everything is going to coordinate perfectly.
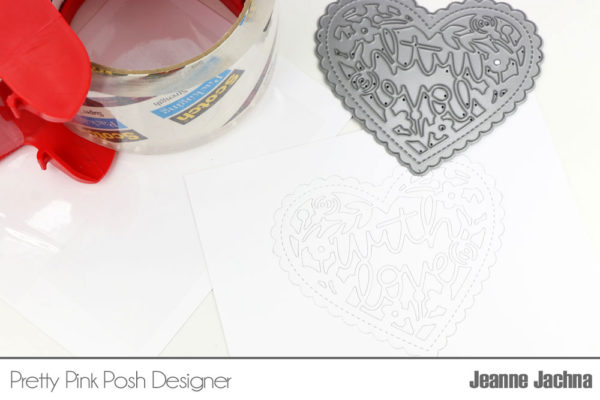
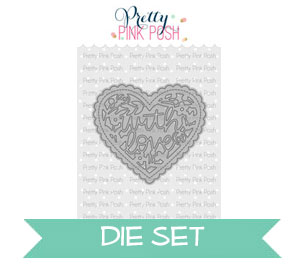
I started my card by cutting the new With Love Shaker die into a panel of white card stock. I didn’t want it to cut all the way through so I attached some packing tape to the back of the panel before running it through my die cut machine. The extra thickness from the tape prevents the die from cutting all the way through.
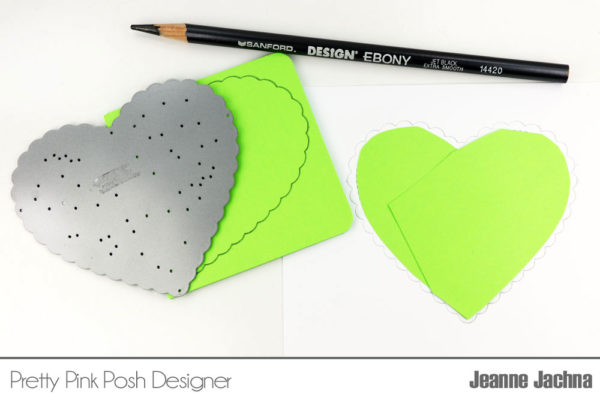
Next I created a mask to cover the heart. I traced the die on a sticky pad one half at a time. I cut the paper inside the line so the mask is smaller than the die cut design. Don’t worry if the scallops are exposed, you just want to protect the inside of the heart.
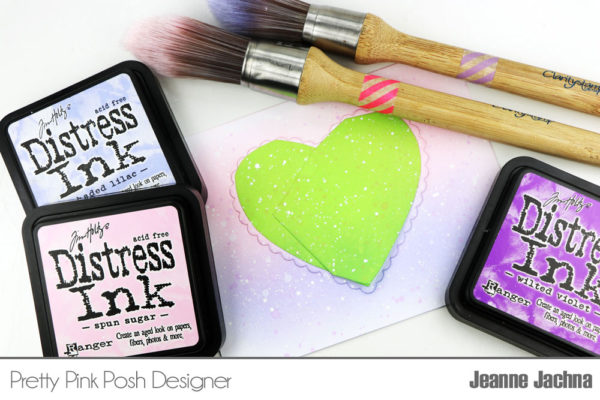
I applied Distress ink in Spun Sugar and Shaded Lilac using a stencil brush so there would be no hard lines. I splattered the panel with water, some watered down Wilted Violet distress ink, and some white ink. I love Dr. Ph. Martin’s Bleed Proof White Ink.
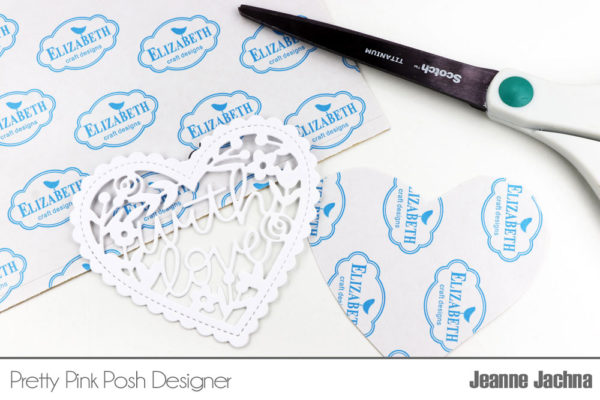
While that’s drying, I cut the With Love Shaker from white card stock and then cut a piece of double sided adhesive to fit under the heart. Again, don’t worry about the scallop edges, the double sided adhesive should cover the interior decoration of the heart.
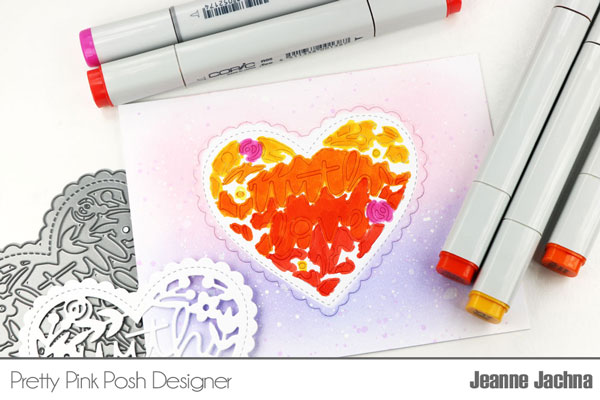
I removed the mask from the card panel and color the inside of the heart with markers. I used Copics, but ANY markers are fine. Use darker shades of ink for more color, and don’t worry about staying in the lines.
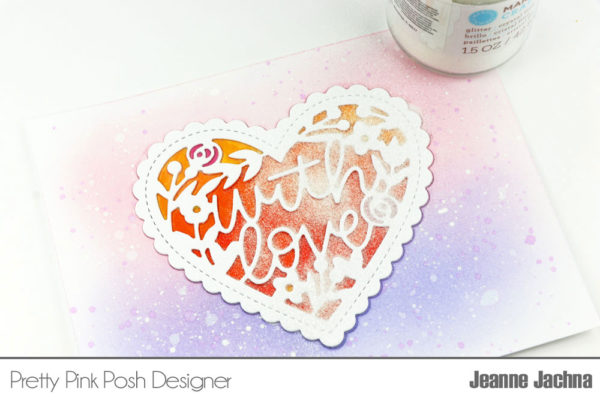
Attach the double sided adhesive sheet to the colored die cut. Position the white die cut With Love Shaker over the die cut heart and press it in place. The double sided adhesive will secure it. Lastly pour crystal fine glitter over the heart. Press it into the adhesive with your finger and shake off the excess.
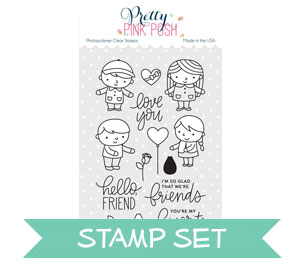
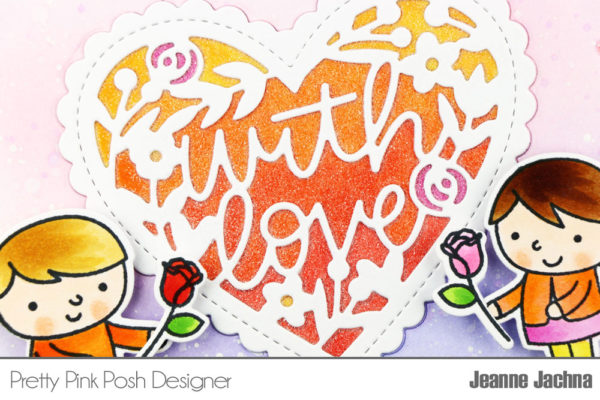 I embellished the card with stamped, colored, and die cut Friends Forever. I thought they were adorable the first time I saw them, and I still love them today.
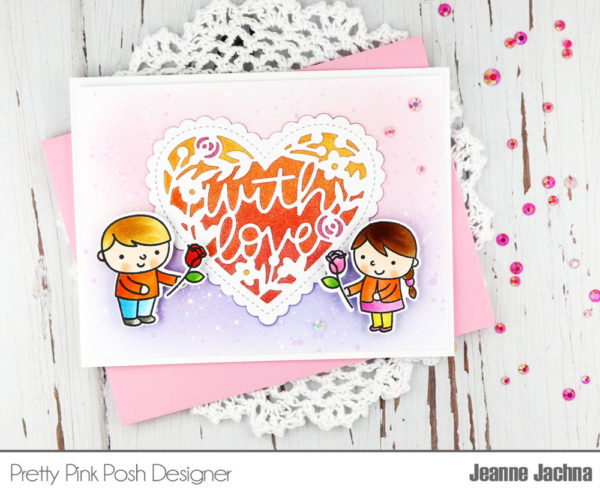
The finishing touch was a little bling! The Pink Blush Jewels come in lots of different colors so you’re sure to find something to match your project. I added Pink Blush and Pansy Purple Jewels to the distress ink background.

This is wonderful, Jeanne. Thanks for sharing how you achieved the sparkly look in the heart. Sounds easy enough to replicate. The card is lovely and those little people are adorable. Such a fun card!
What a wonderful card!! Love your tutorial and am in love with how gorgeous the heart came out!!!
Aww this is so sweet! My favorite heart die cut along with the cute boy and girl 😍
Lovely palette and technique on the die cut and these cuties make a fab scene. Thanks for sharing this inspiration with these fun products.
I really enjoy the simply design , beautiful job !
Adorable card!!
So pretty. I love the colors and dies. The images are so cute. That is on my list of wants. I love your background colors. Really makes the heart die pop out.
I really love that die set. It can be used all year round as far as I am concerned
Aww…this is so sweet!
Love the set of little kids